



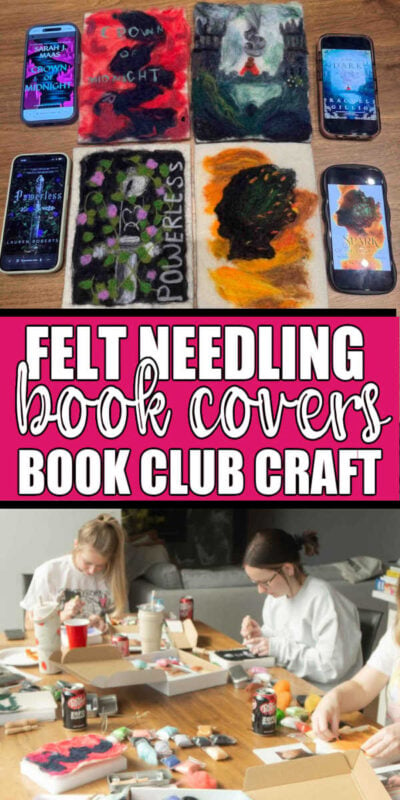
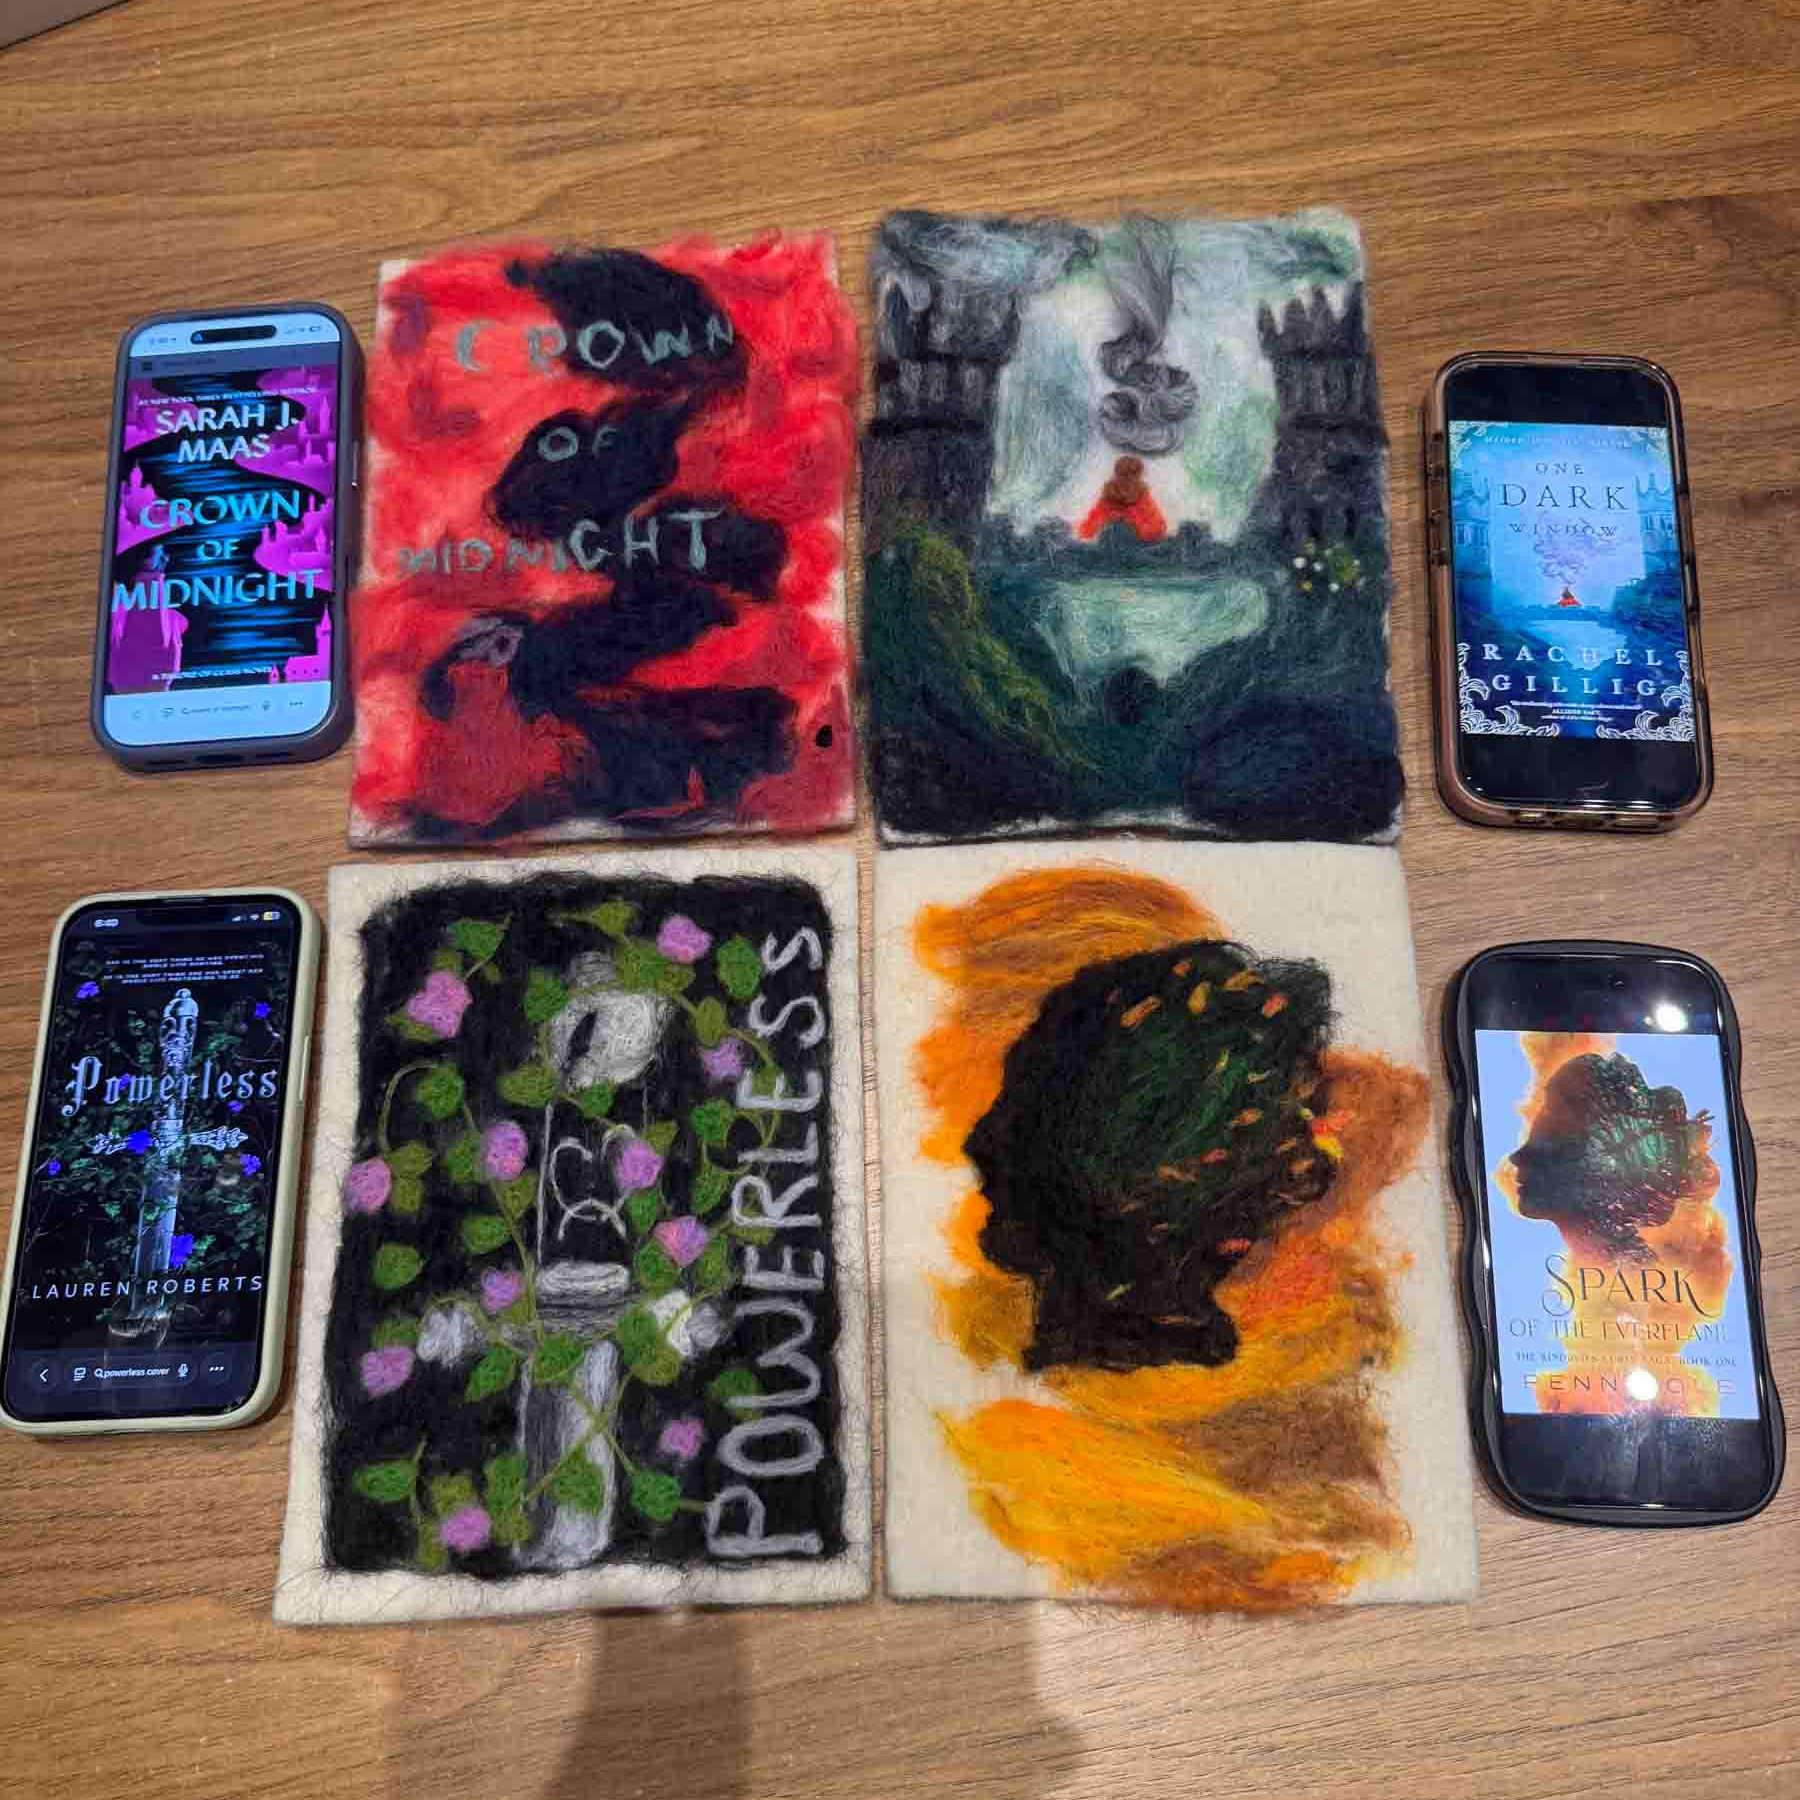
Mix up your book club with this amazing book cover needle felting craft. This beginner-friendly craft yields amazing book covers that you will want to display, and it’s likely using a craft technique you and your friends have never tried before!

Want to save this Idea?
Enter your email below and we’ll send this idea straight to your inbox (plus you’ll receive tons of fun weekly ideas from us!)
Book Cover Wool Painting Craft
My sister and I tried out wool painting for the first time this year at Pinner’s conference. It’s a craft where you “paint” on wool by using needles to add wool to felt. We were instantly hooked. This craft is the perfect combination of creative and cathartic. Yes, cathartic – once you try it, you’ll agree with me.
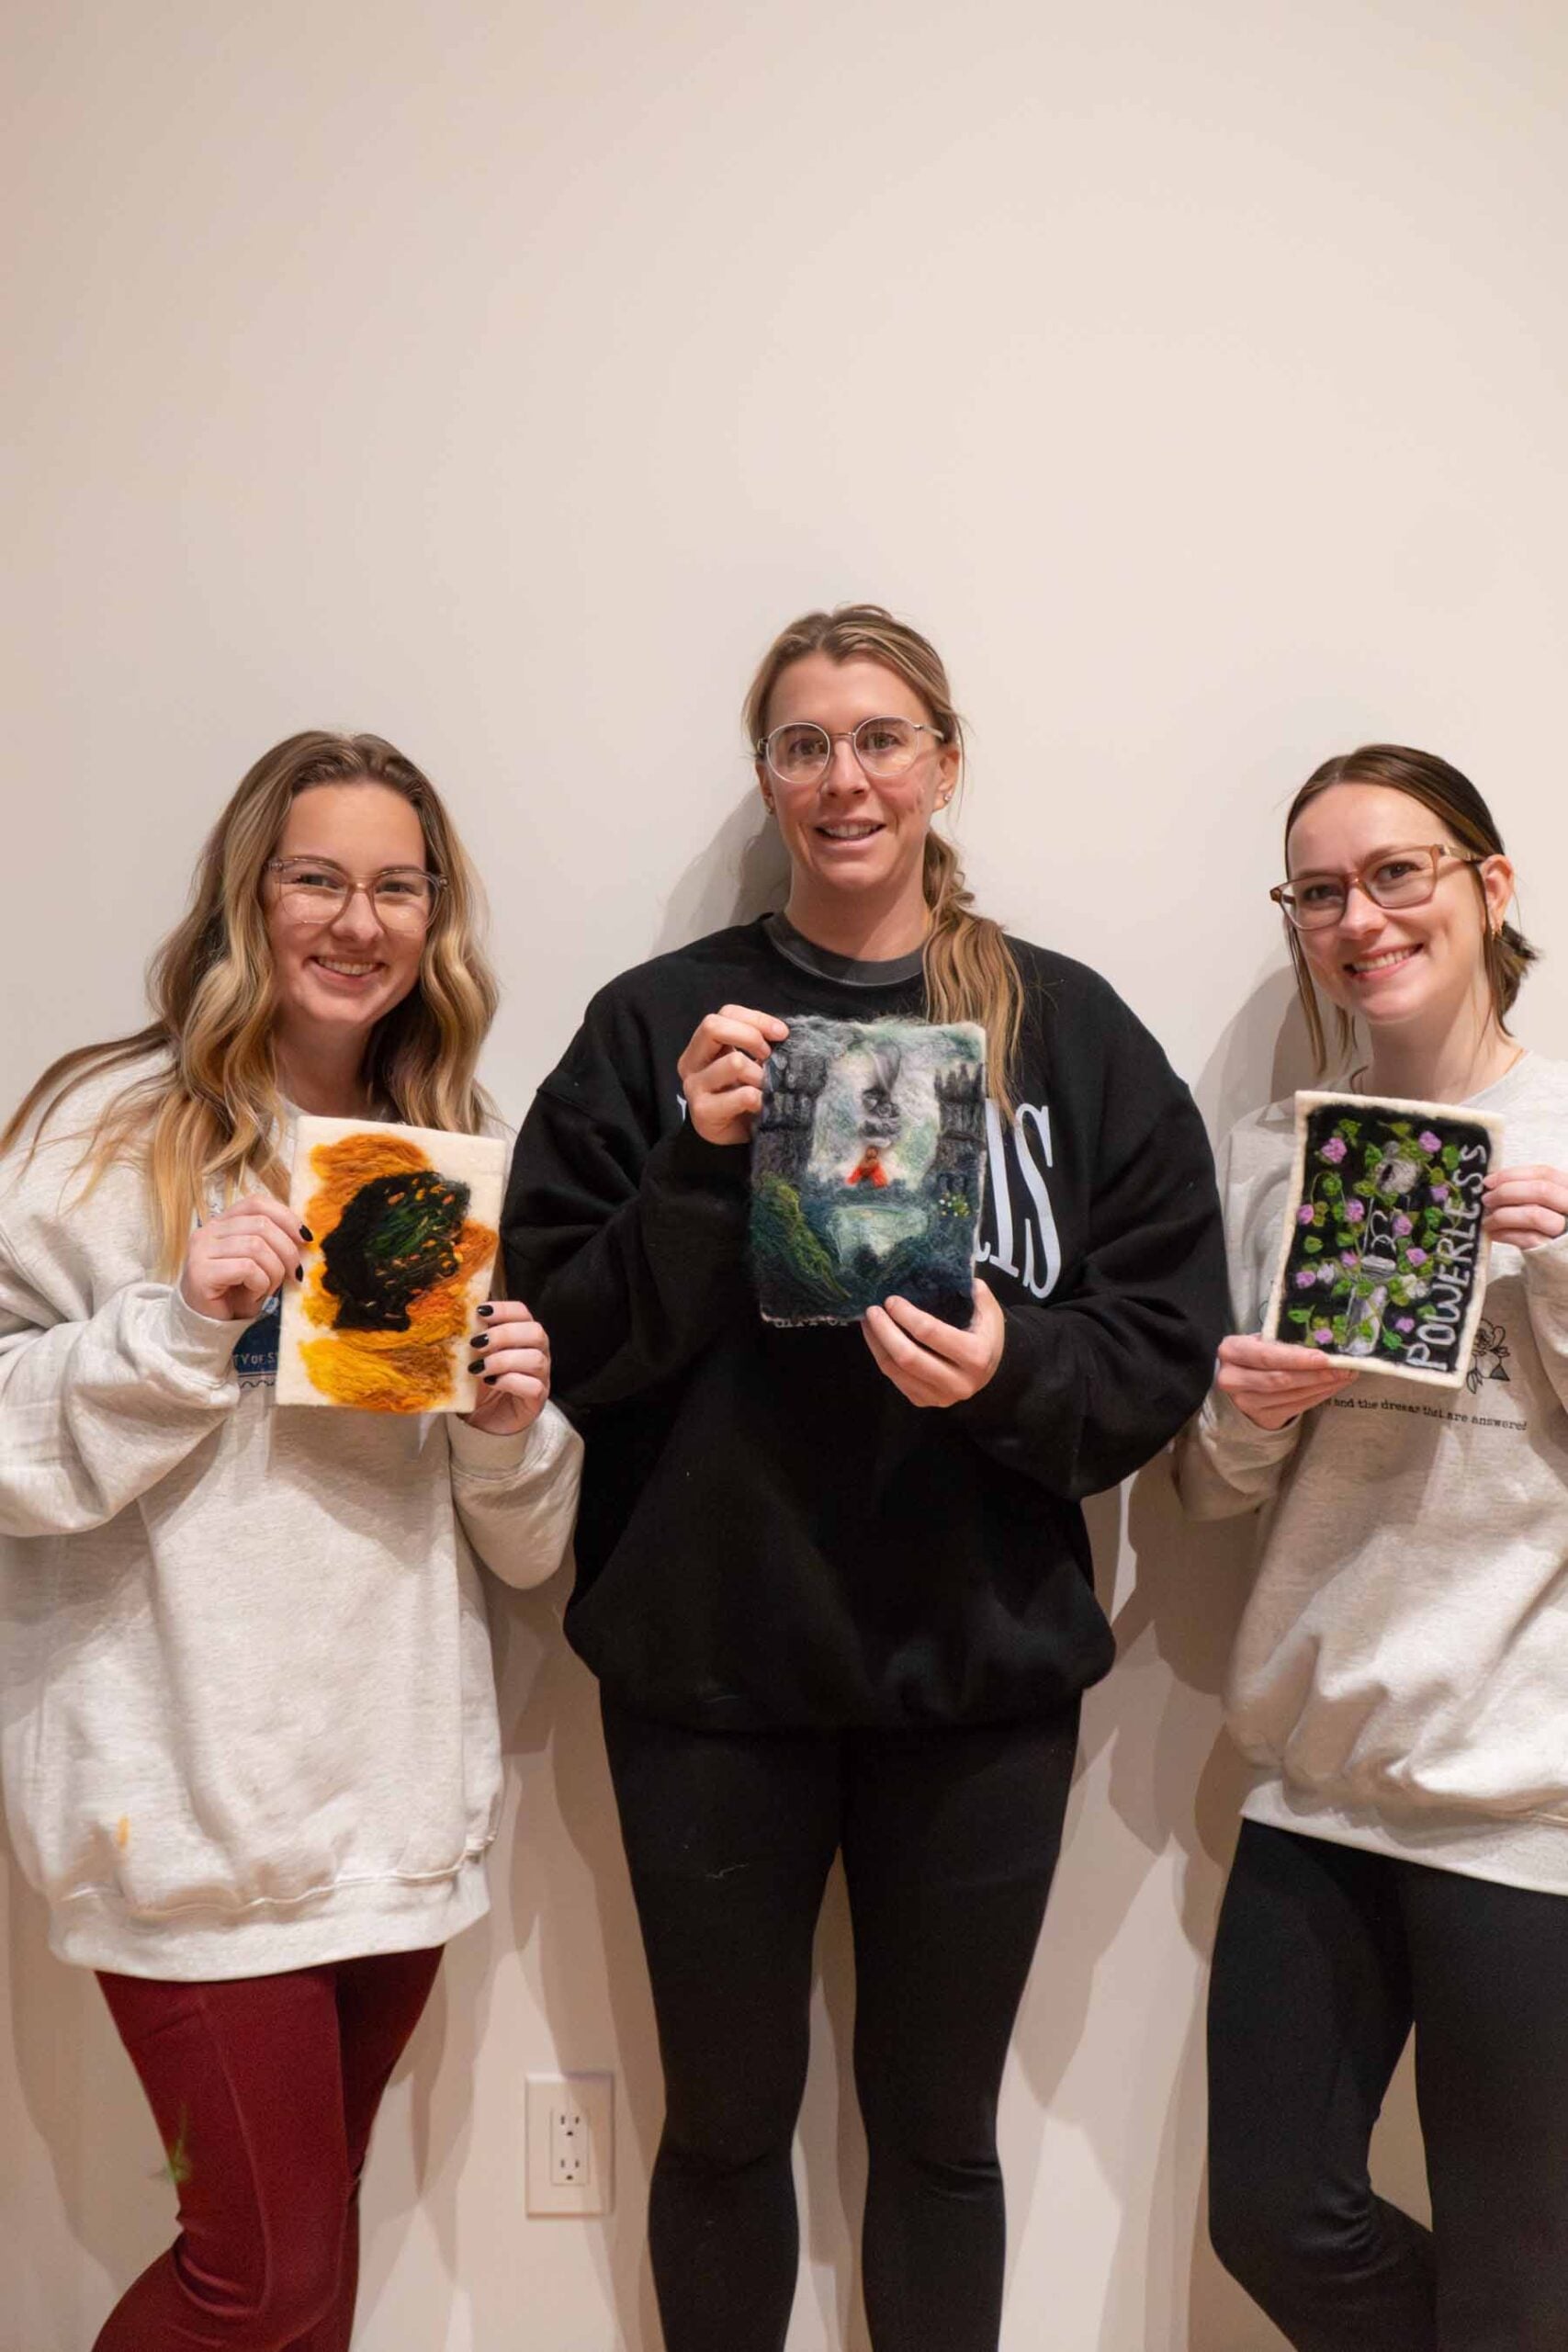
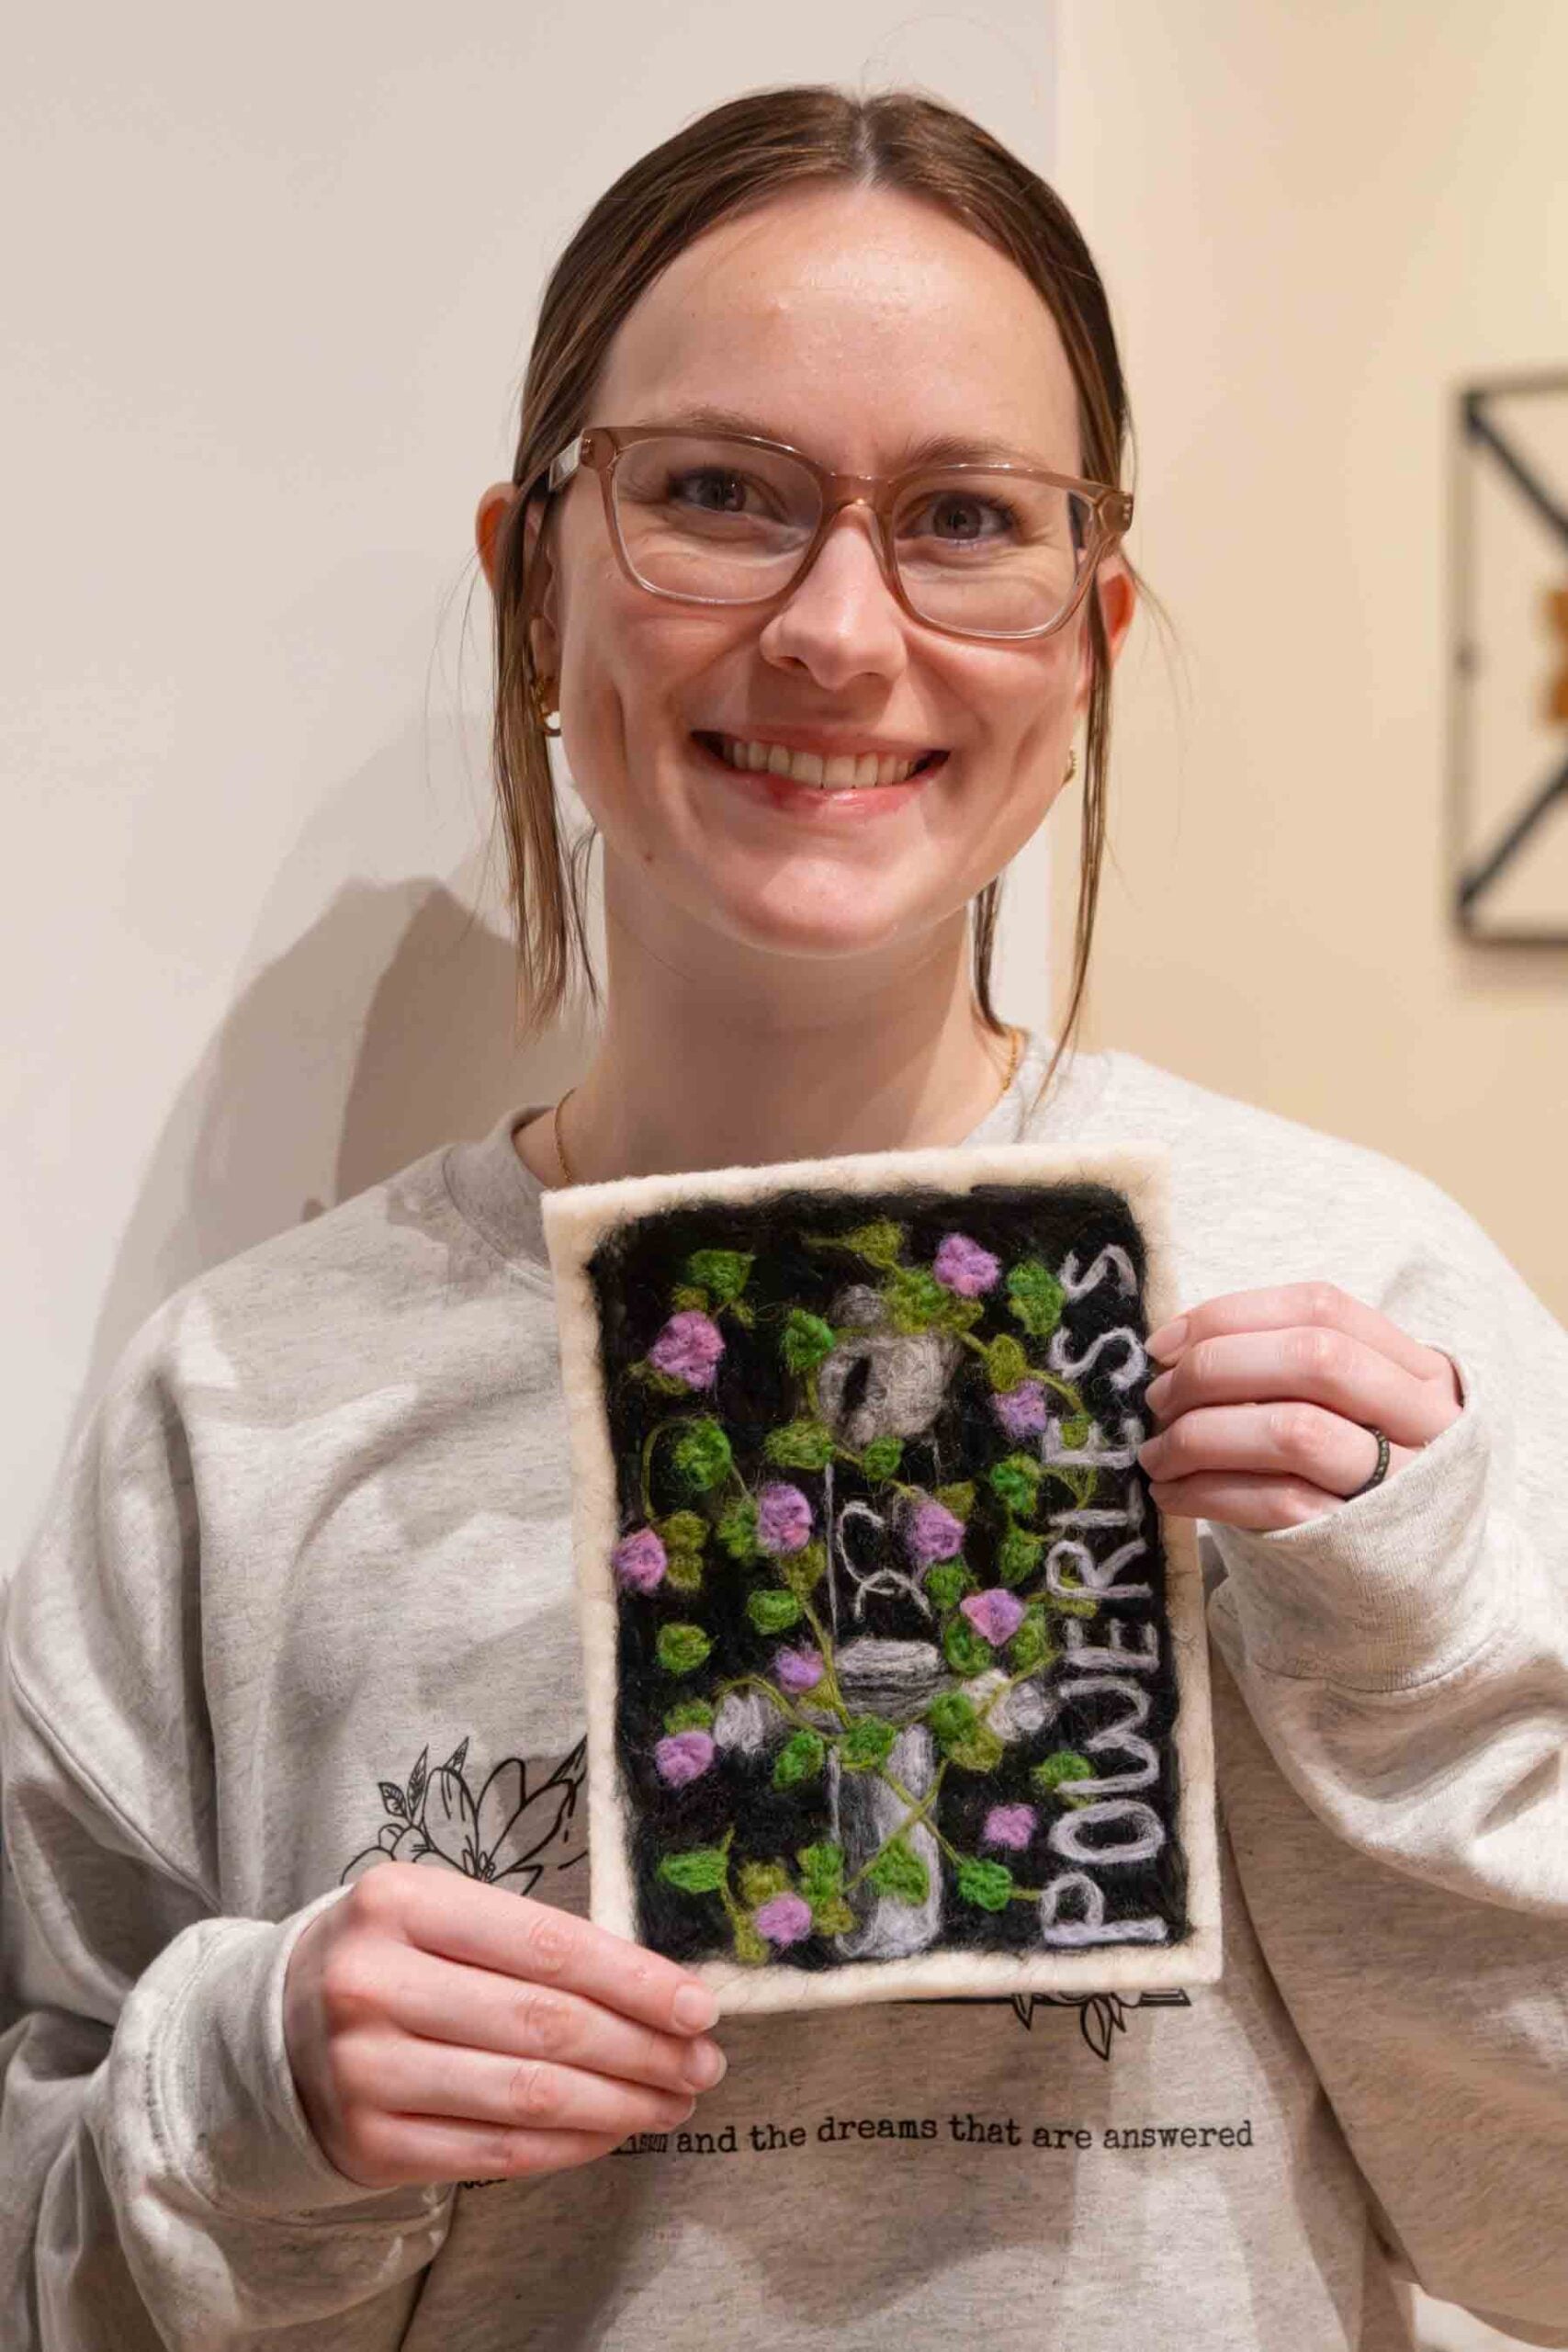
As soon as I tried it at Pinners, I knew I wanted to make wool painted book covers for this year’s book retreat. And everyone loved it. Seriously, it was one of the best parts of the retreat this year. The best part is that everyone came up with something amazing with very little instruction on my part!
If you’re not into book covers, that’s okay. With this craft, you can make anything you want. Once you have the supplies, the sky’s the limit. And it’s way easier than actual painting, the perfect girls night for those of us who aren’t natural artists!

Supplies
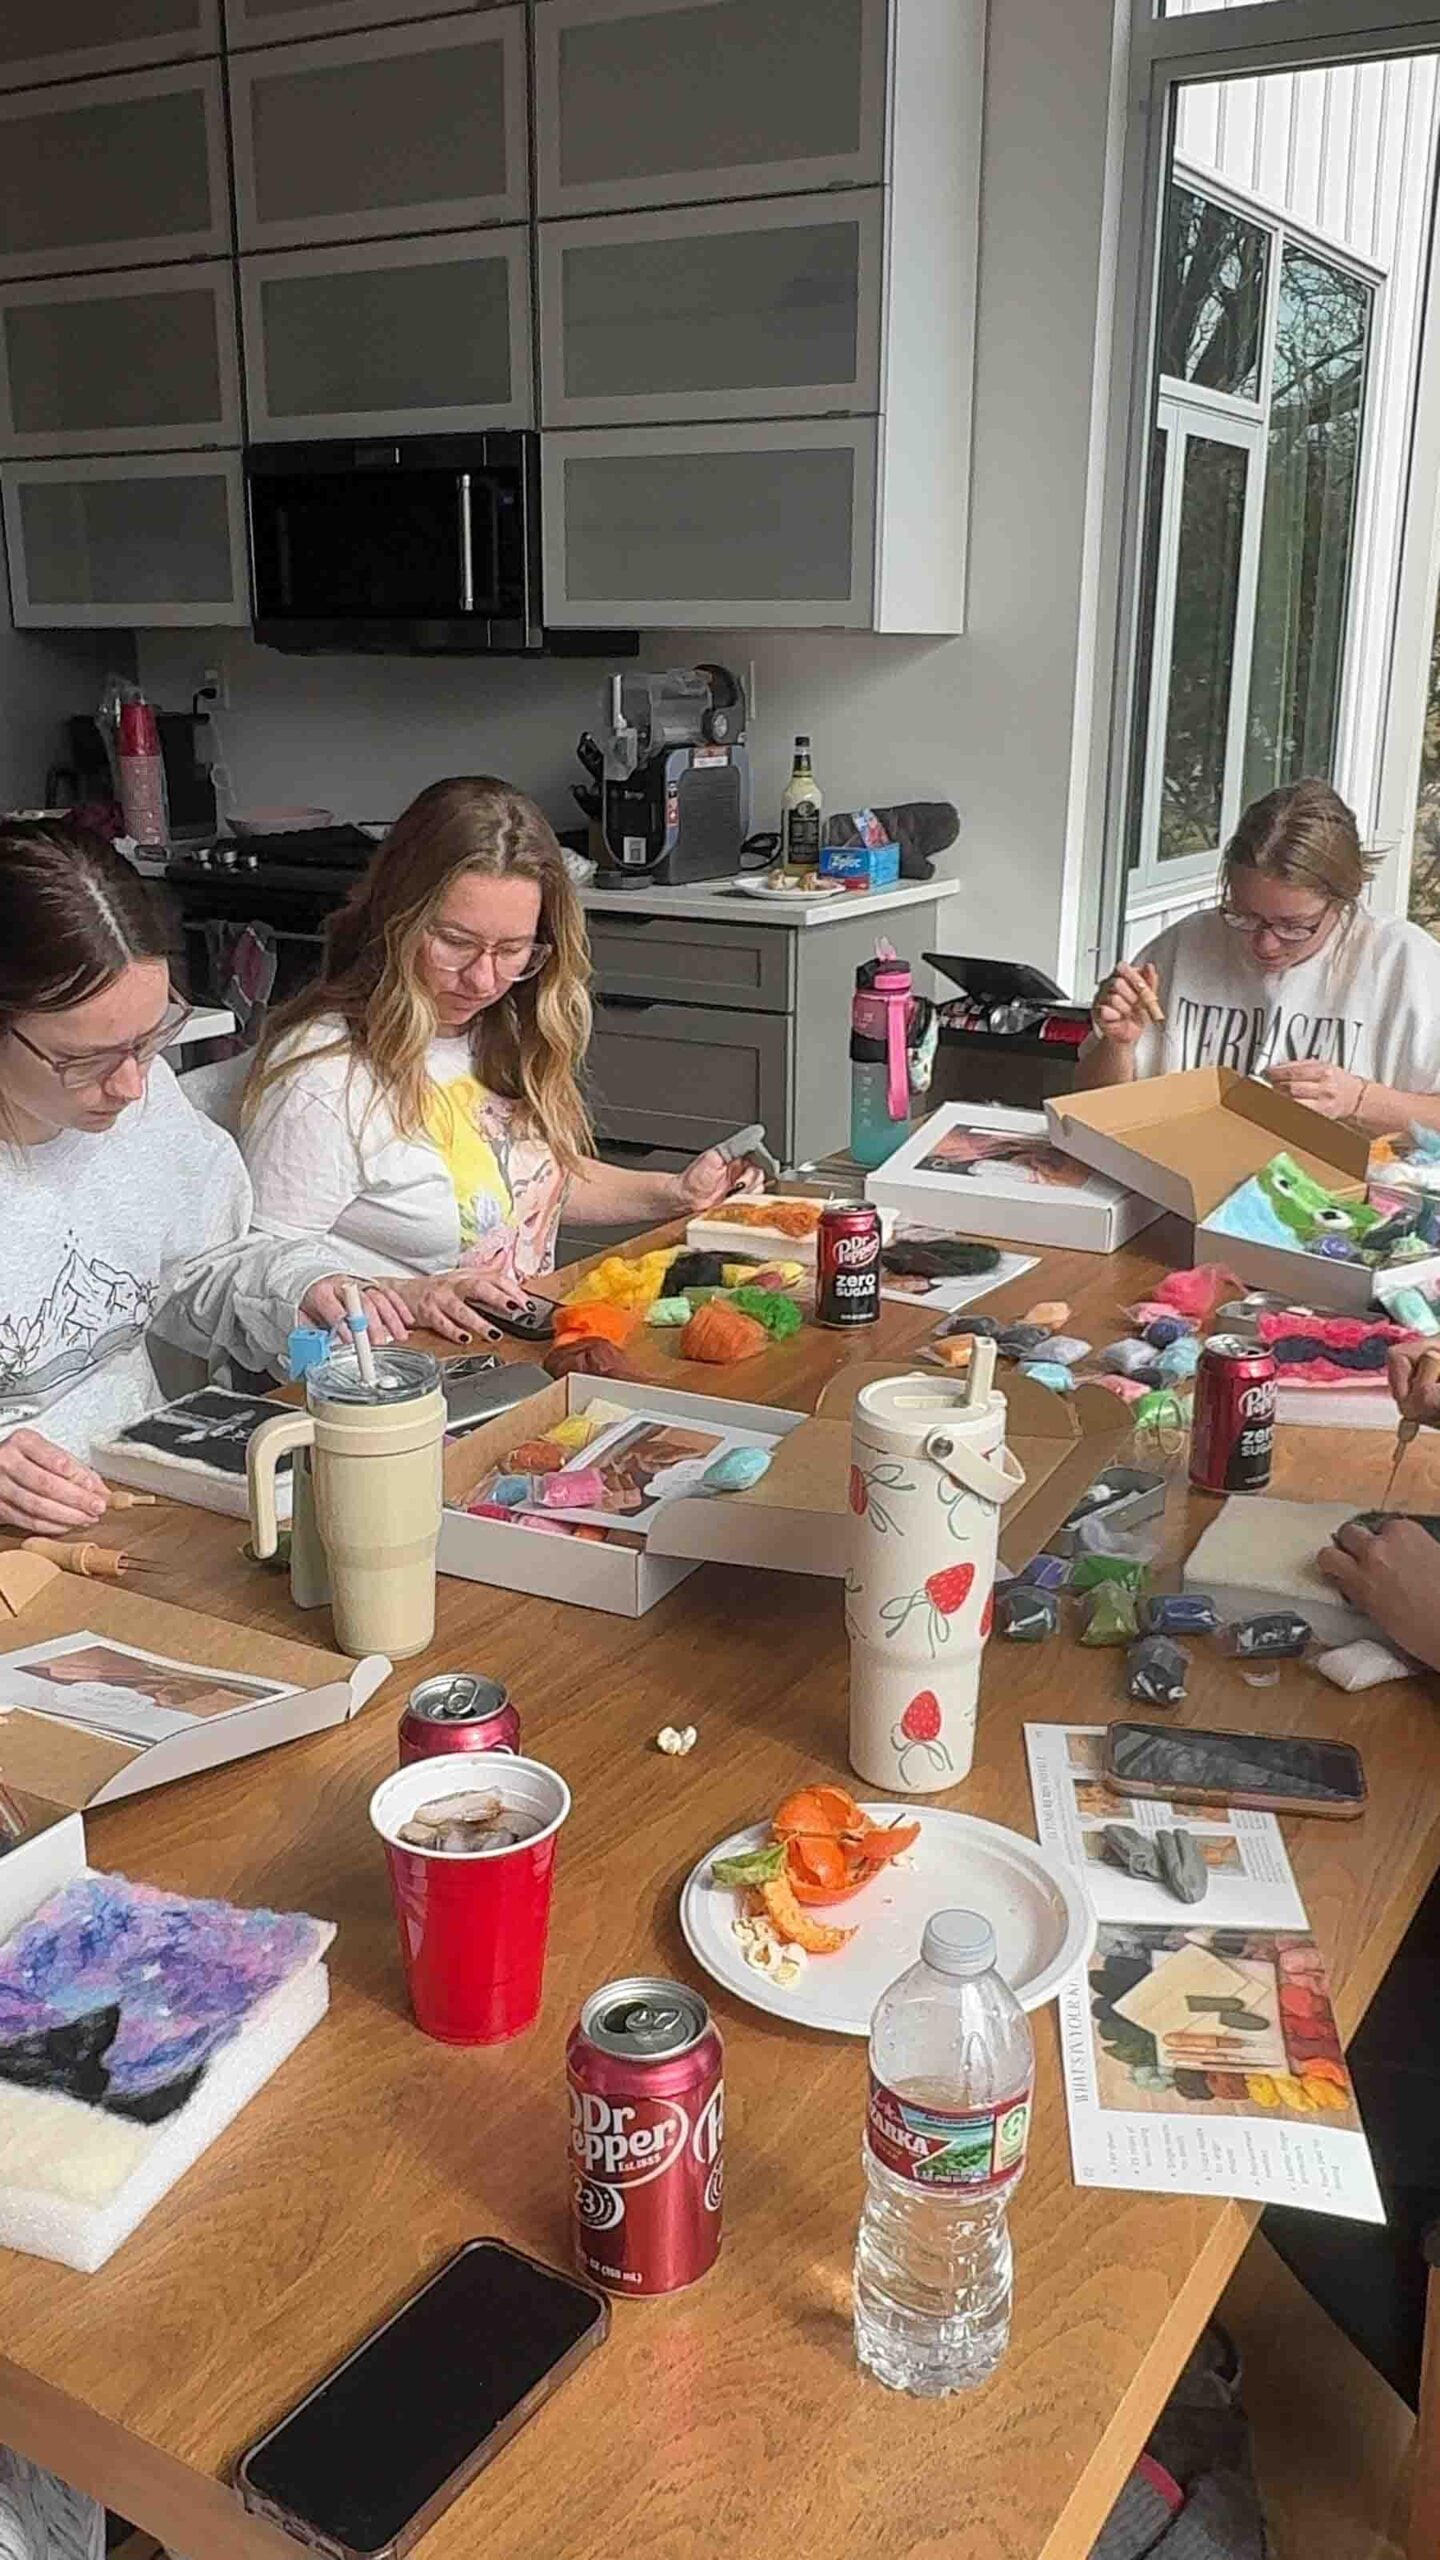
I bought these kits from Plum Diddle, and have since made several things, including the book cover, with that kit. You can go that way, or you can buy the tools individually. Either way, below you’ll find a list of what you need if you don’t get a kit.
- Foam base – these keep both your table and needles safe. These styrofoam bases work just as well, as long as the texture doesn’t bother you. Or you can get one of these felting mats, I’ve heard great things about them and the wool doesn’t stick to them as much as the foam!
- Felting needles – you will want at least two different sizes, one with three needles and one with a single needle. Depending on your group size, you could get a couple of packs to share or have everyone get their own.
- Thumb covers – this is totally optional but does protect you from pricking your thumb, which does happen sometimes if you’re not careful.
- Wool sheets – thicker cream Merino wool works best for this, but it can be done using regular thick felt as well.
- Colored Wool – you don’t need a ton of each color, but you do want a variety of colors, so this pack is great. A pack this size (depending on book cover colors) is enough for three people.

What You need to know to get you started
I am not an expert in this, nor do I think you have to be to make something you love. A huge part of this craft is trying things out, seeing how it works, and creating something that’s never been done before. There’s no one right way to do it, but I can explain the technique I used to do mine.
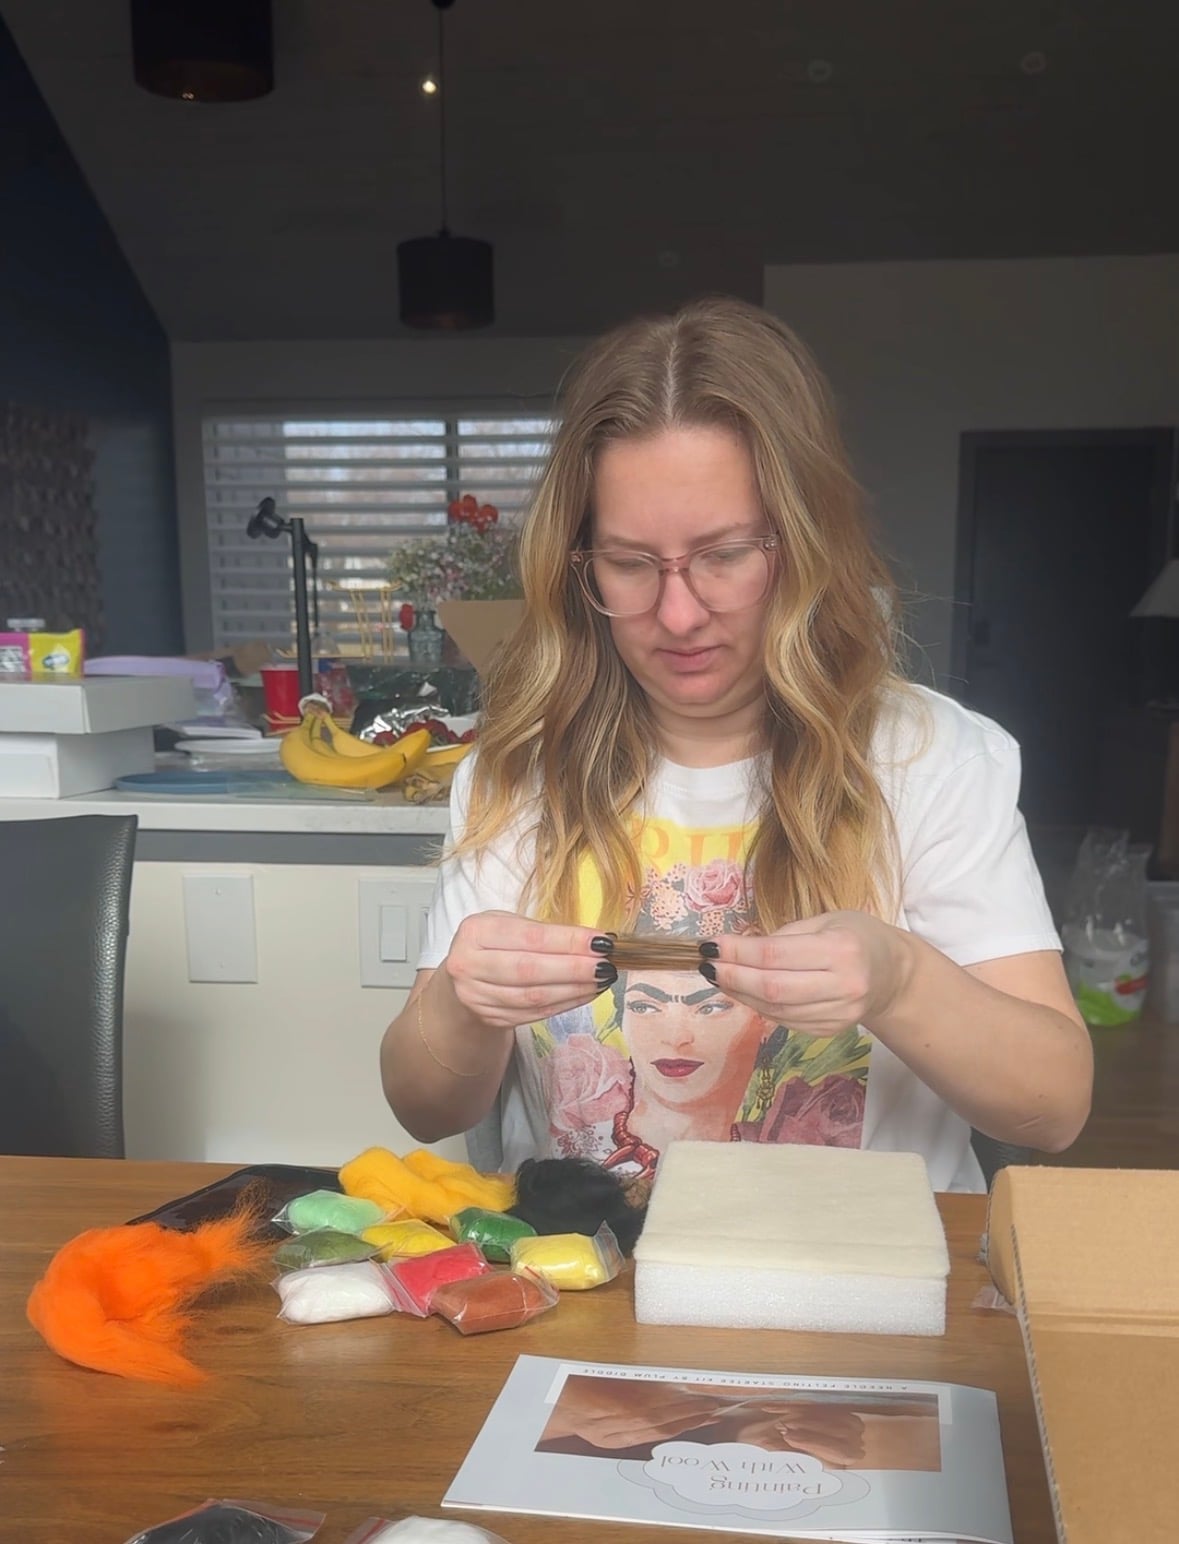
Blending technique
Nothing is ever just one flat color; it has depth by including a variety of lighter and darker colors in it. The same idea applies to the felt; you will likely have to blend a variety of colors to get the desired color. Here’s how you do that.
- Gently pull out the desired amount of the chosen colors and lay them on top of each other.
- Gently pinching both sides of the stack, pull outward in both directions, pulling the fibers away from each other.
- Place the two new piles on top of each other and repeat the pulling process.
- Continue until you are satisfied with the blend.
You do not want to ever ball the colors together in attempts to blend them; this will result in tangled felt. You want to keep it as long as stringy as possible and layer them on top of each other.
Basic Felt needling Technique
The basic technique is simple: stab and stab some more. Working in sections at a time, you lay down small portions and poke them into place using the needles.
For larger sections, you’ll want to use the three-needle tool. This allows you to poke more in at a time. Poke as much or as little as you want. The more you stab it, the more matte it’ll appear.
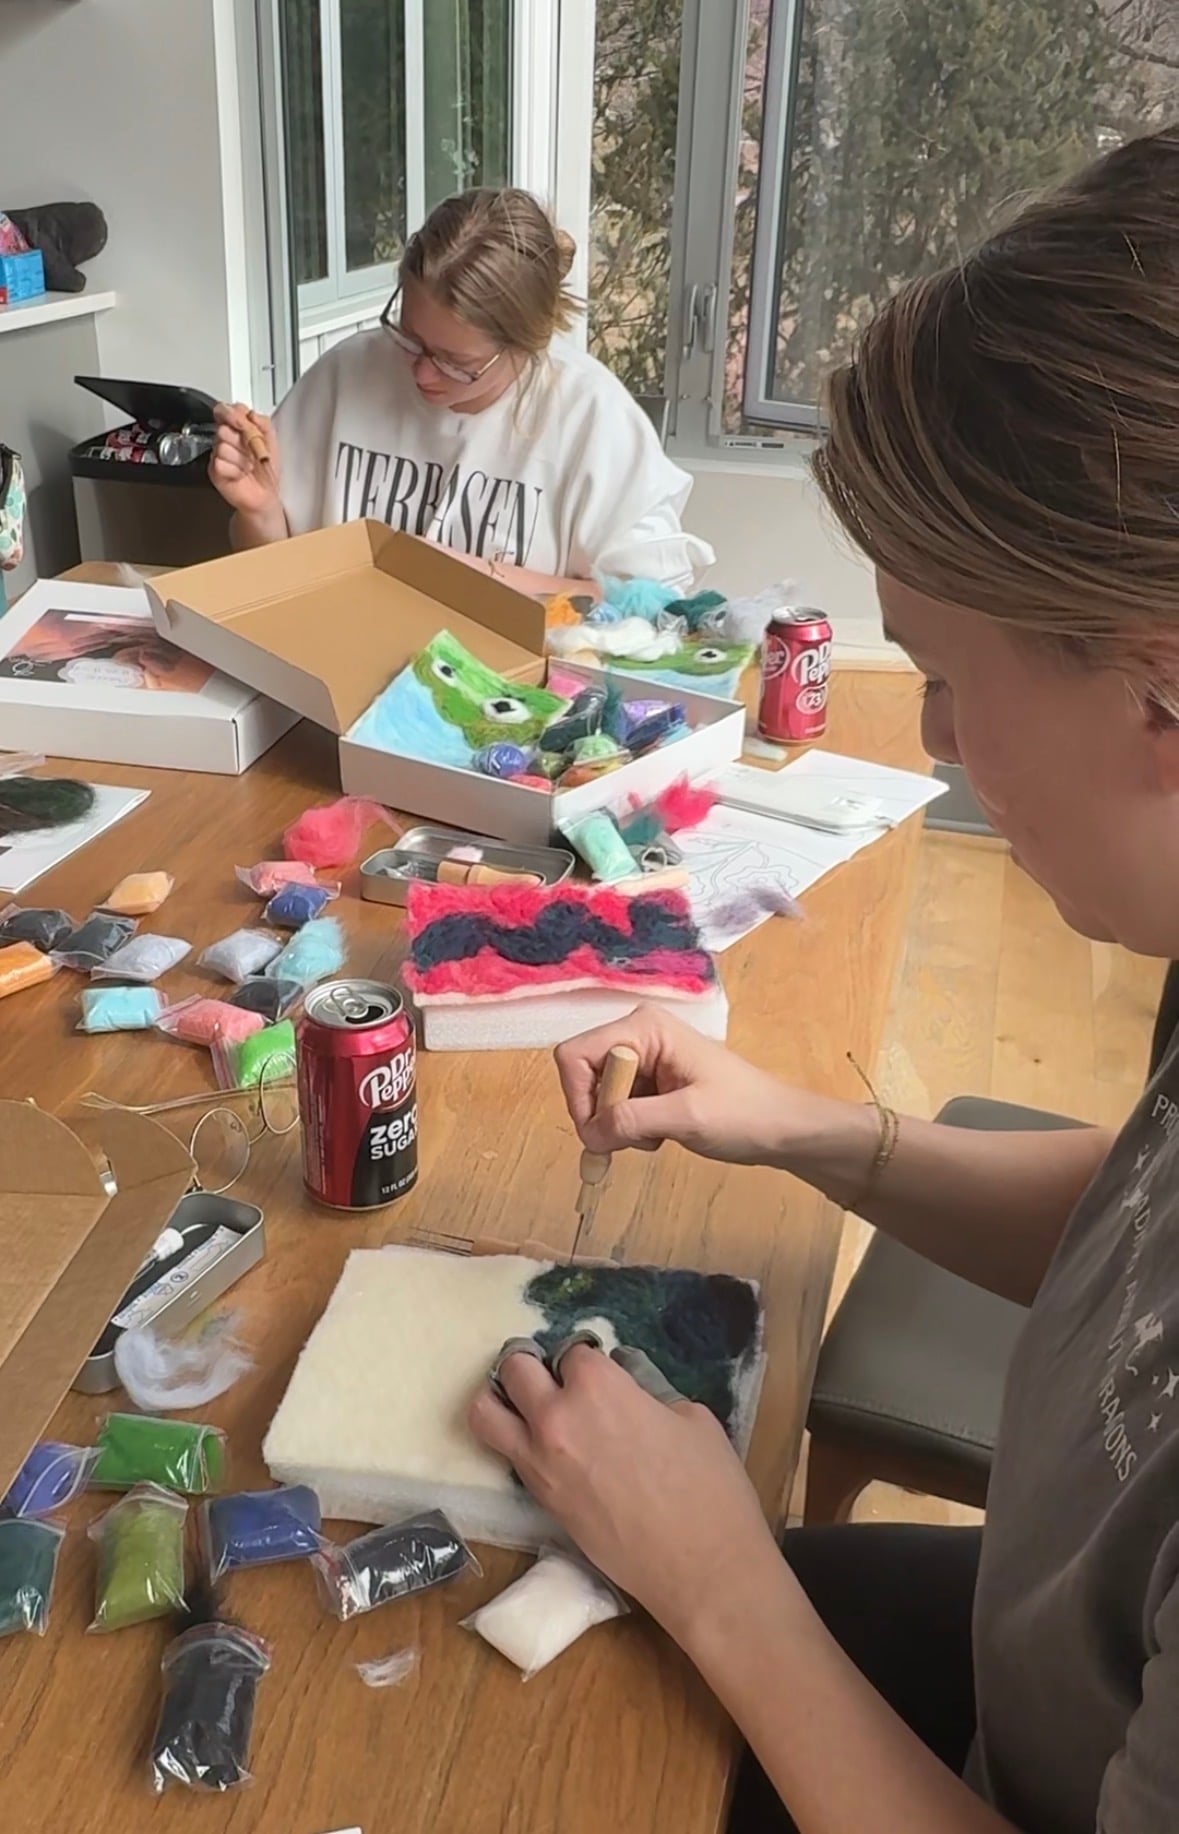
For smaller or more detailed sections, use the single-needle tool. This allows you to only stab the parts you want in. Change up the angle you’re poking it to give it more volume or help define a shape.
The key to this craft is to test things out! If you added something you didn’t like, pull it out and try it again. Figure out how to make the shapes you want by playing around and manipulating the wool on and off the canvas to see what works best.
Tip!
If you want to make something round or a little puffy, take a piece together, wrap it around your fingers, and then pull it off into a little ball – kind of like a cotton ball. Then put that onto your canva, stab around the outside to put it on the wool, and then use the same technique above to poke it down in the center until you get the puffiness you’d like.
How to make The Wool Book Covers
The most important thing to remember when creating these is to work in layers. Start with whatever color or image is the base of the cover, then build on top of that.
For example, if you were making Spark Of The Everflame as your cover, you would want to complete the orange streak first. Then build the head silhouette onto the streak and finish with the words as the top layer.
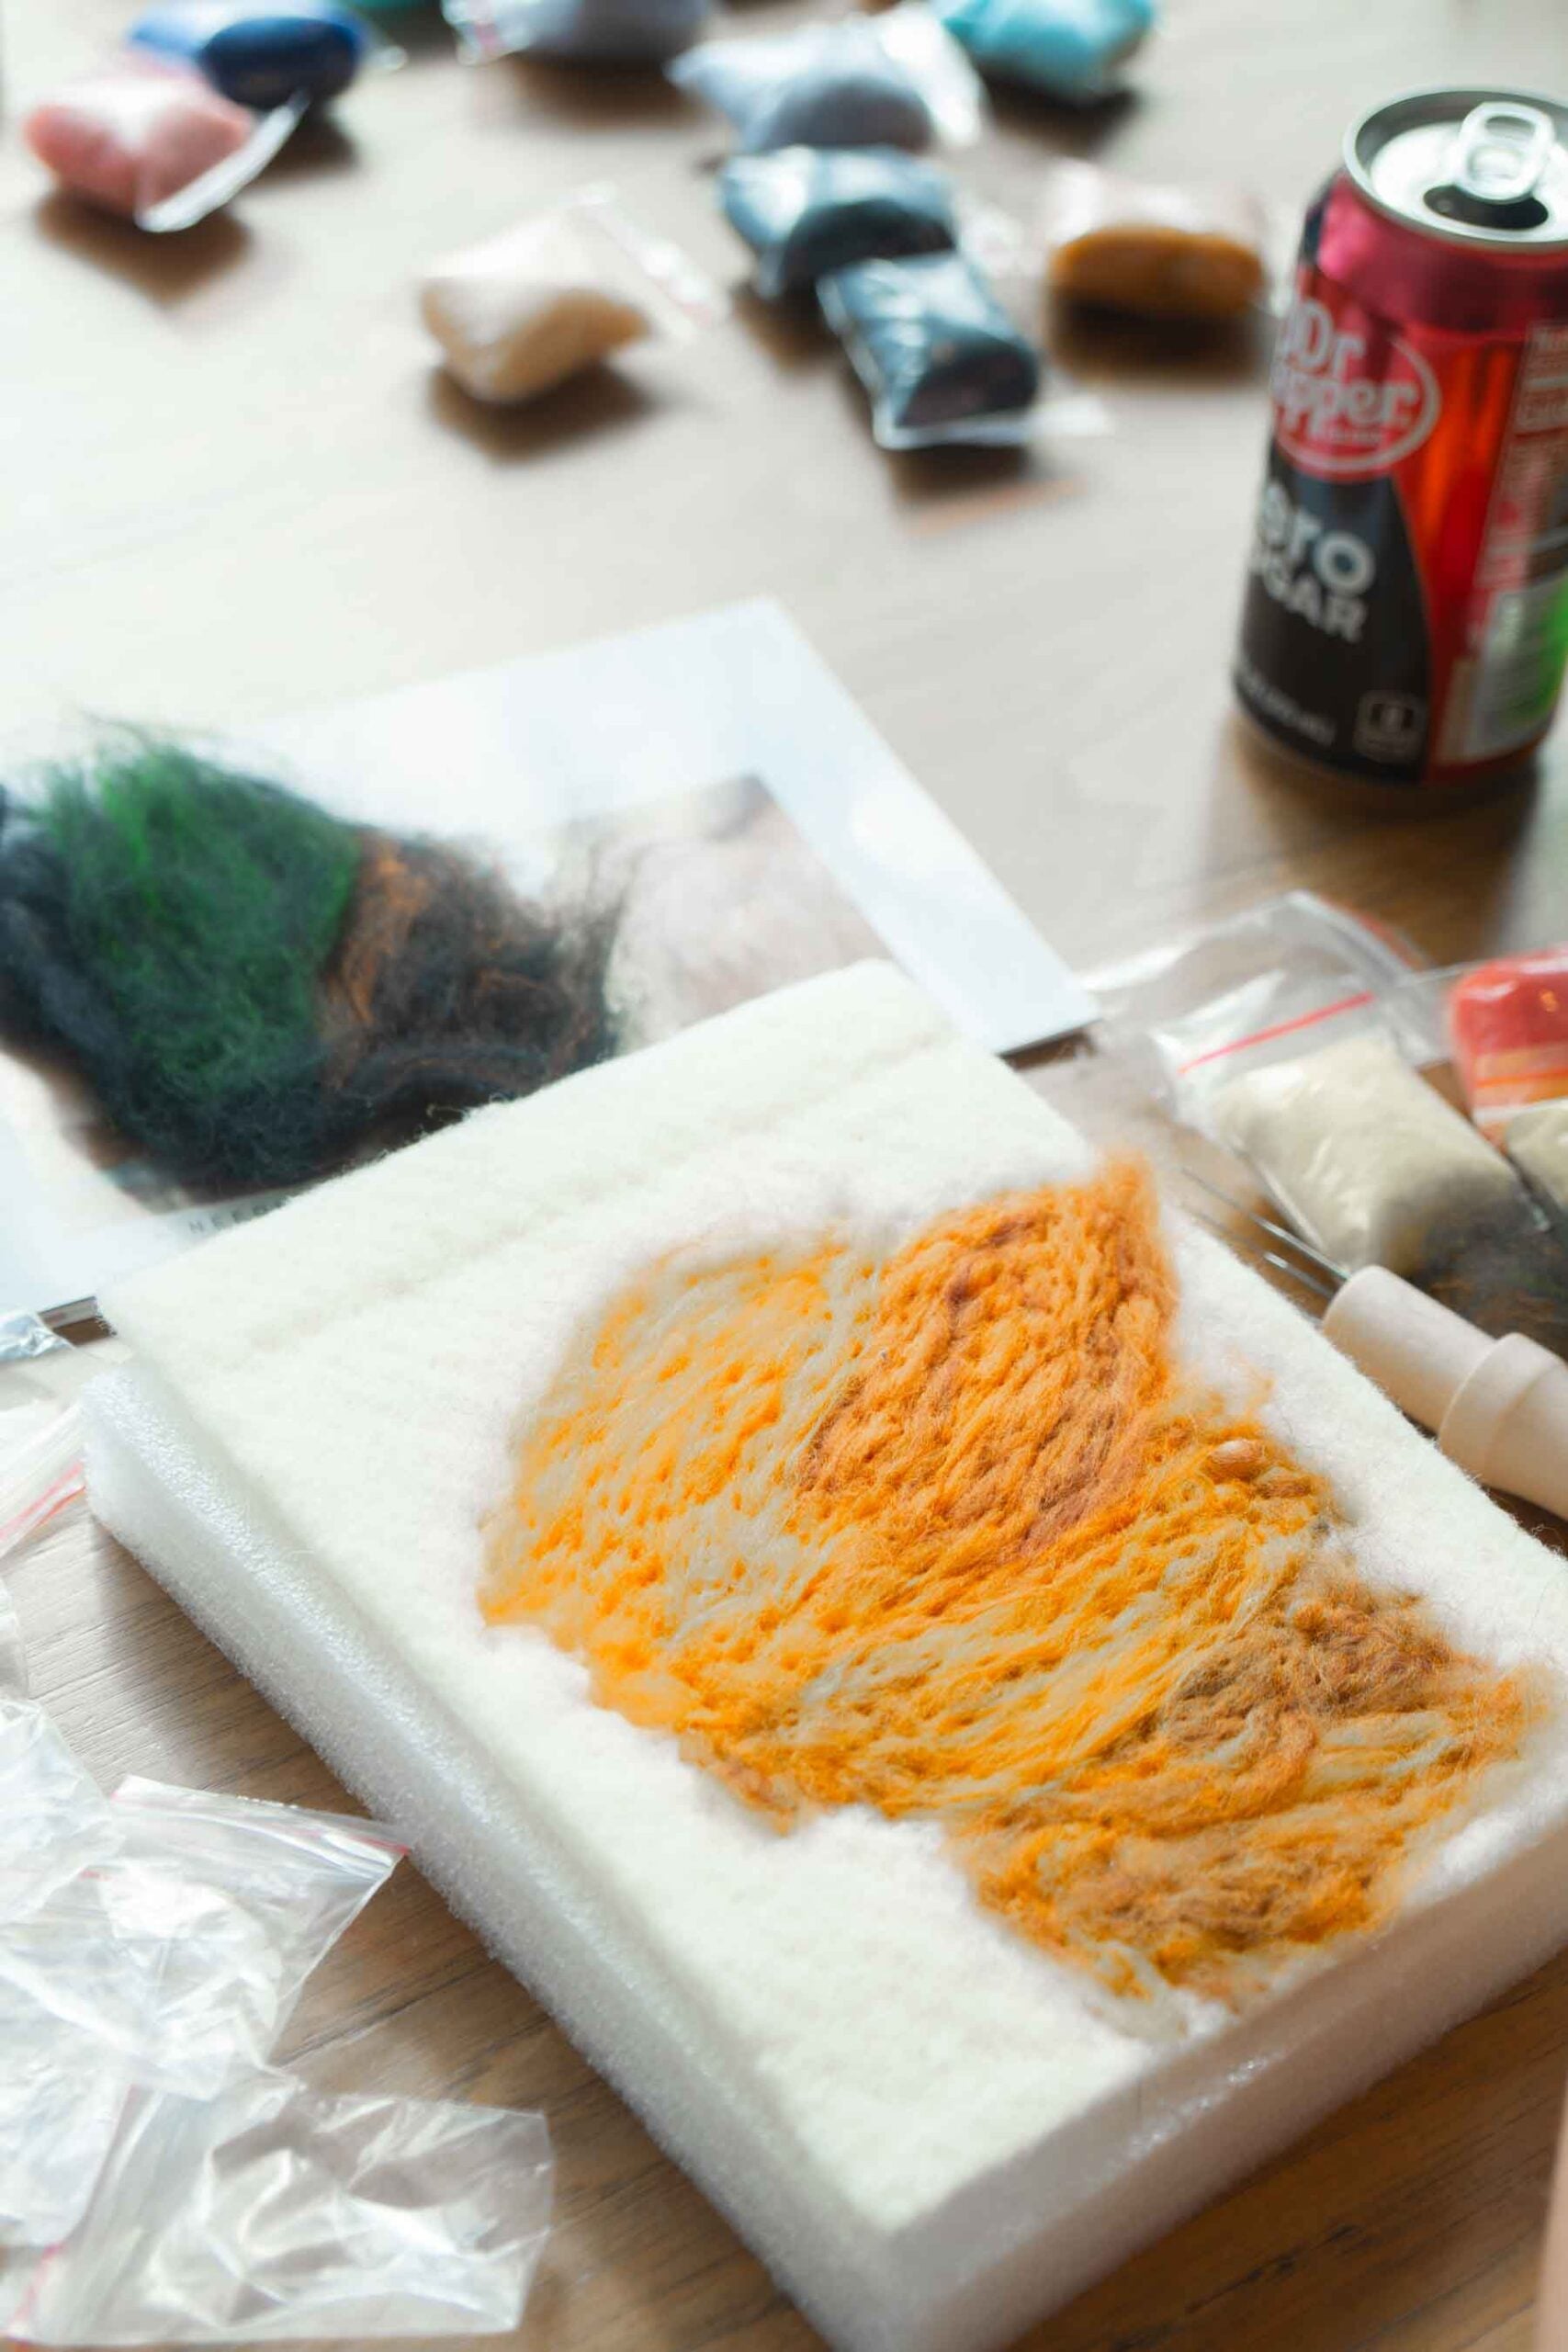
How to Make A Wool Paint Book Cover
- The first, and potentially hardest part, is picking out which book cover you want to do. Keep in mind that small text may be hard to replicate, but you can always leave it off.
- Once you’ve chosen your cover, it’s time to pick your colors. Start with the base color, you will likely have to blend it some to get the right color.
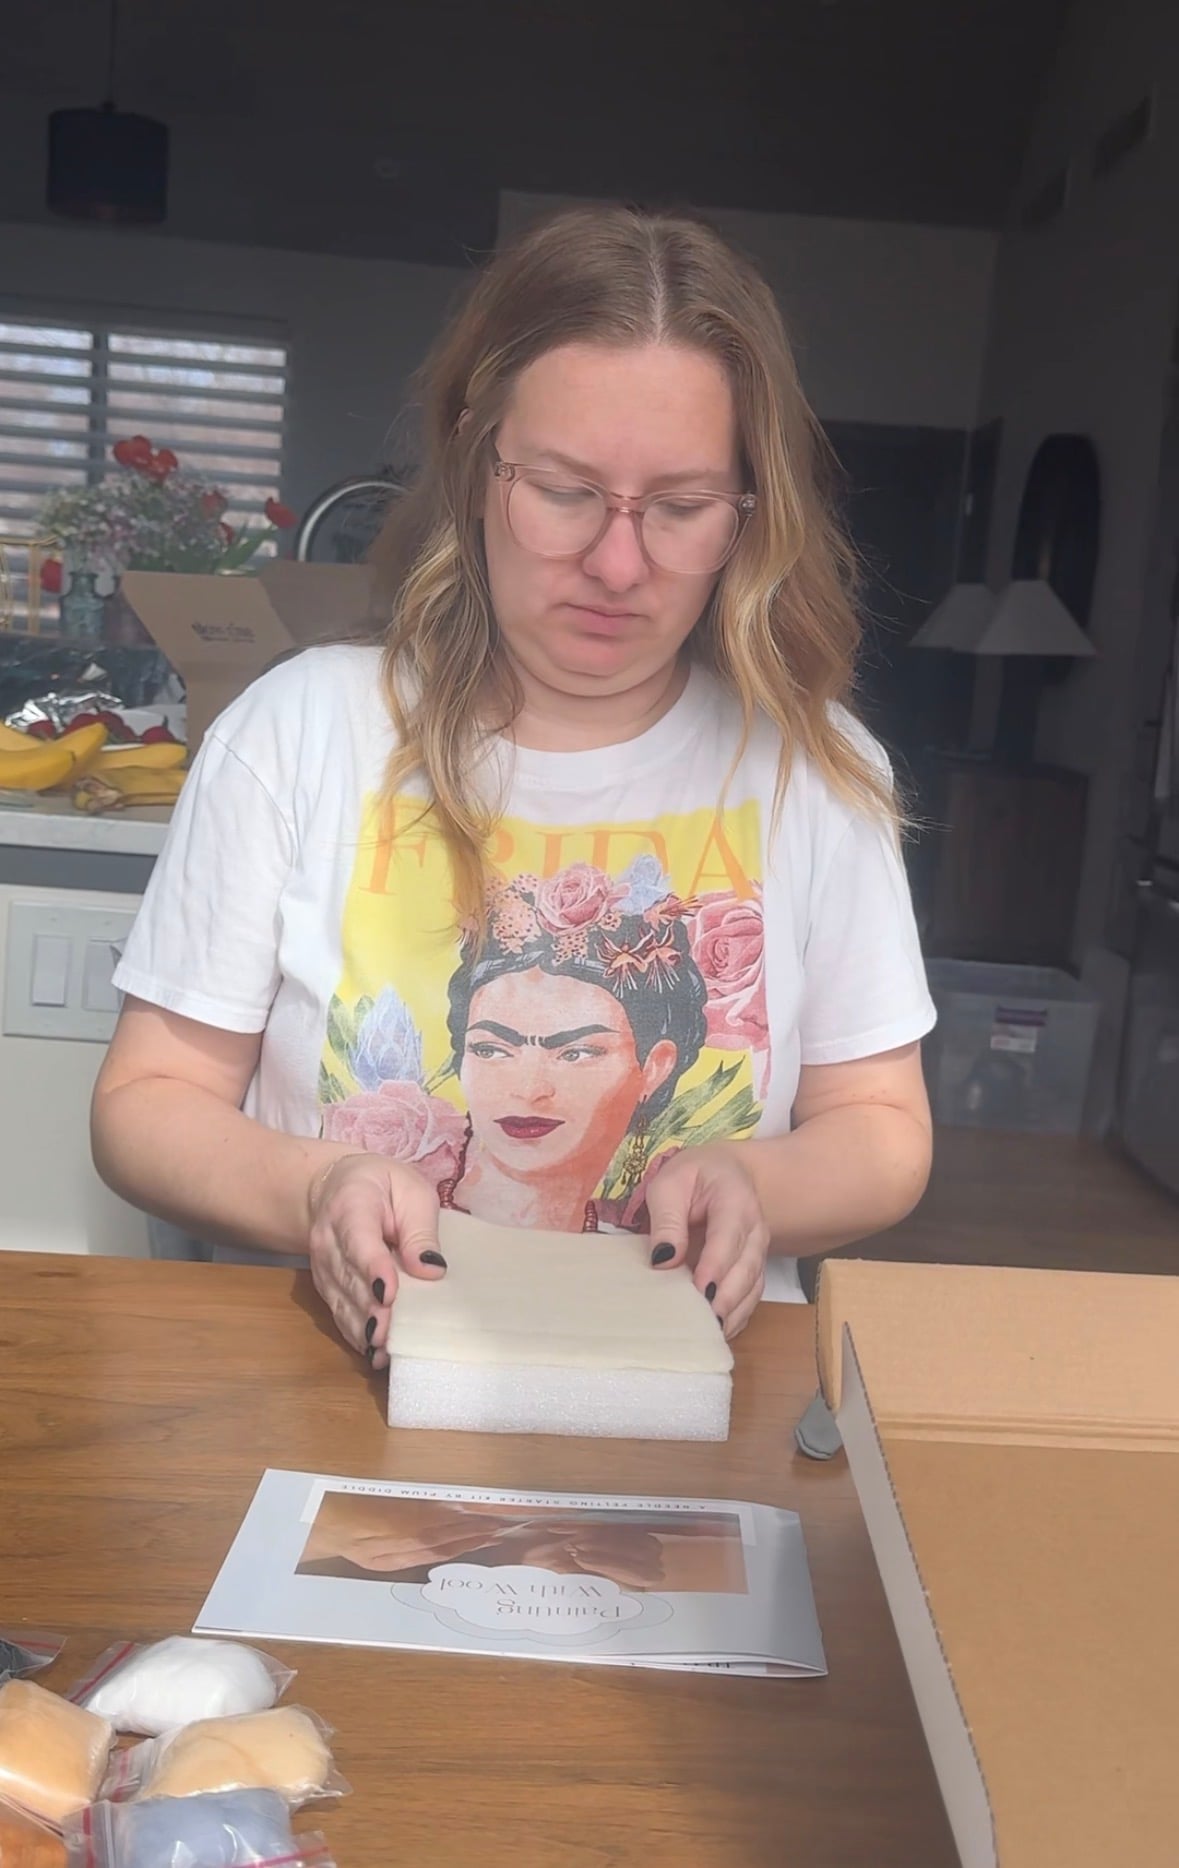
- Take your felt (or wool) base sheet and place it on top of the foam block.
- Now, take your base color and place it on the felt base where it’s appropriate for your cover.
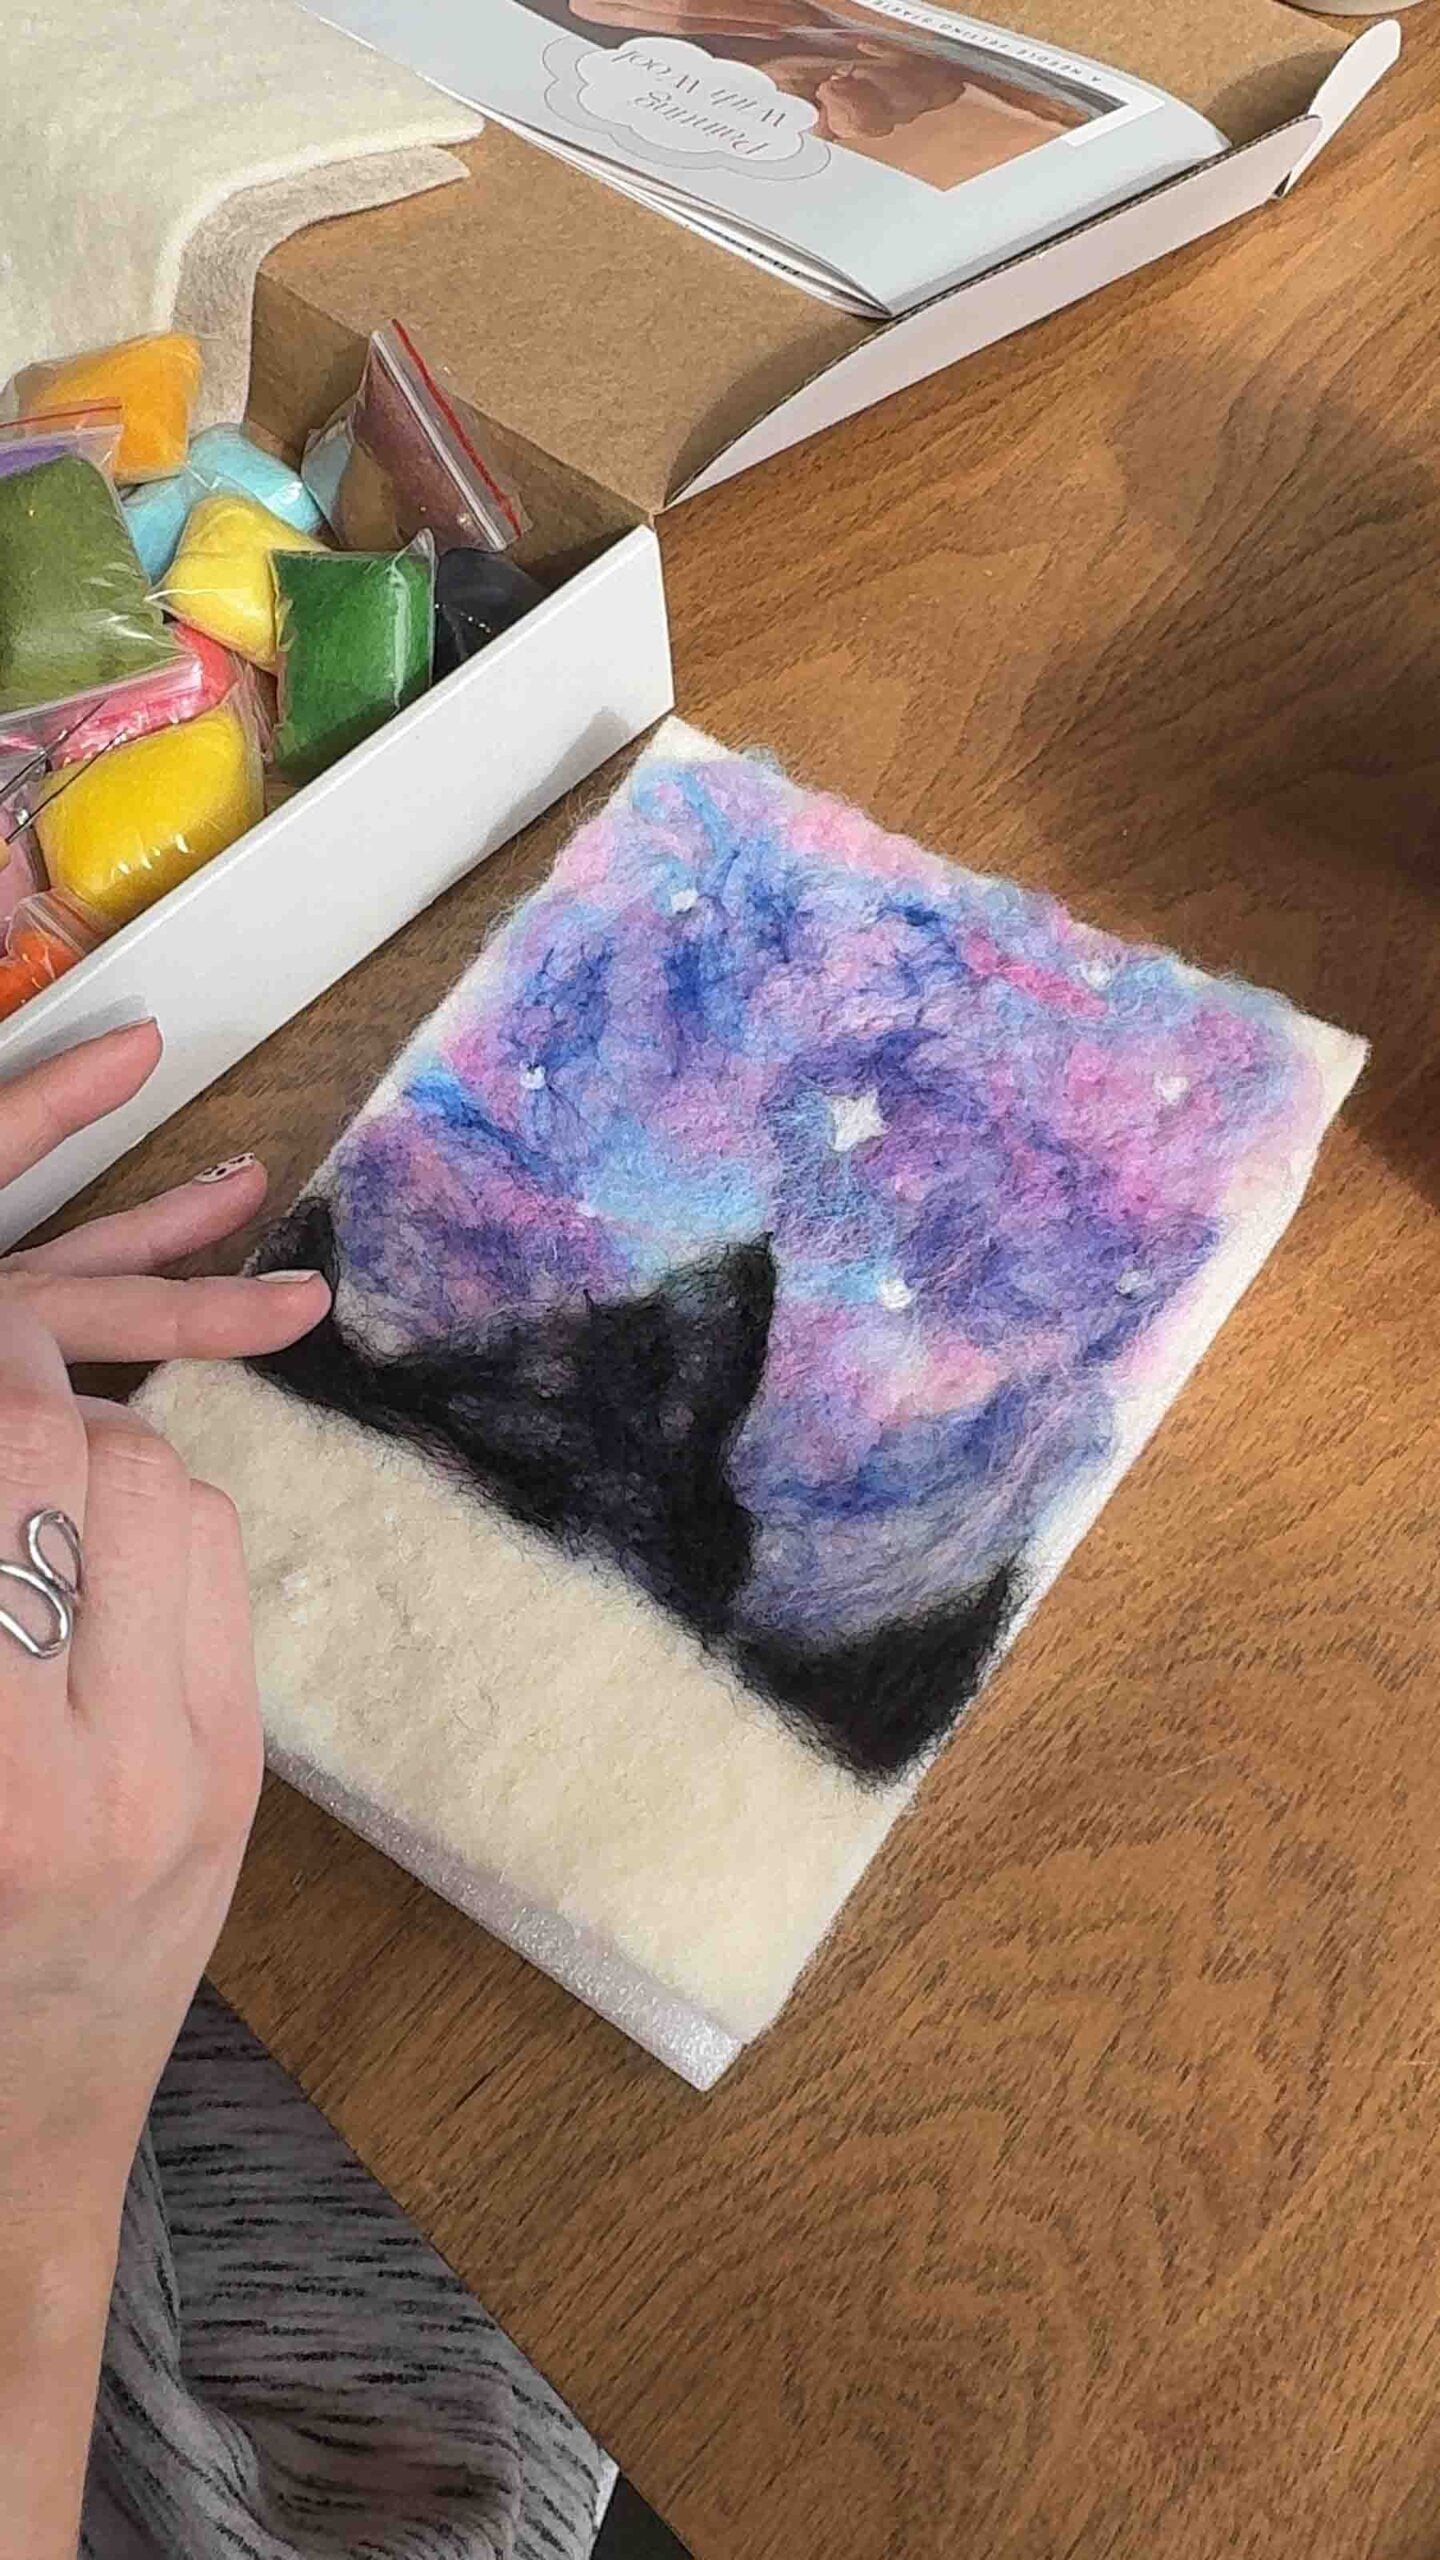
- Now for the fun part, start stabbing the colored wool into the base sheet. Careful not to stab your fingers or stab too hard that you go through your foam block.
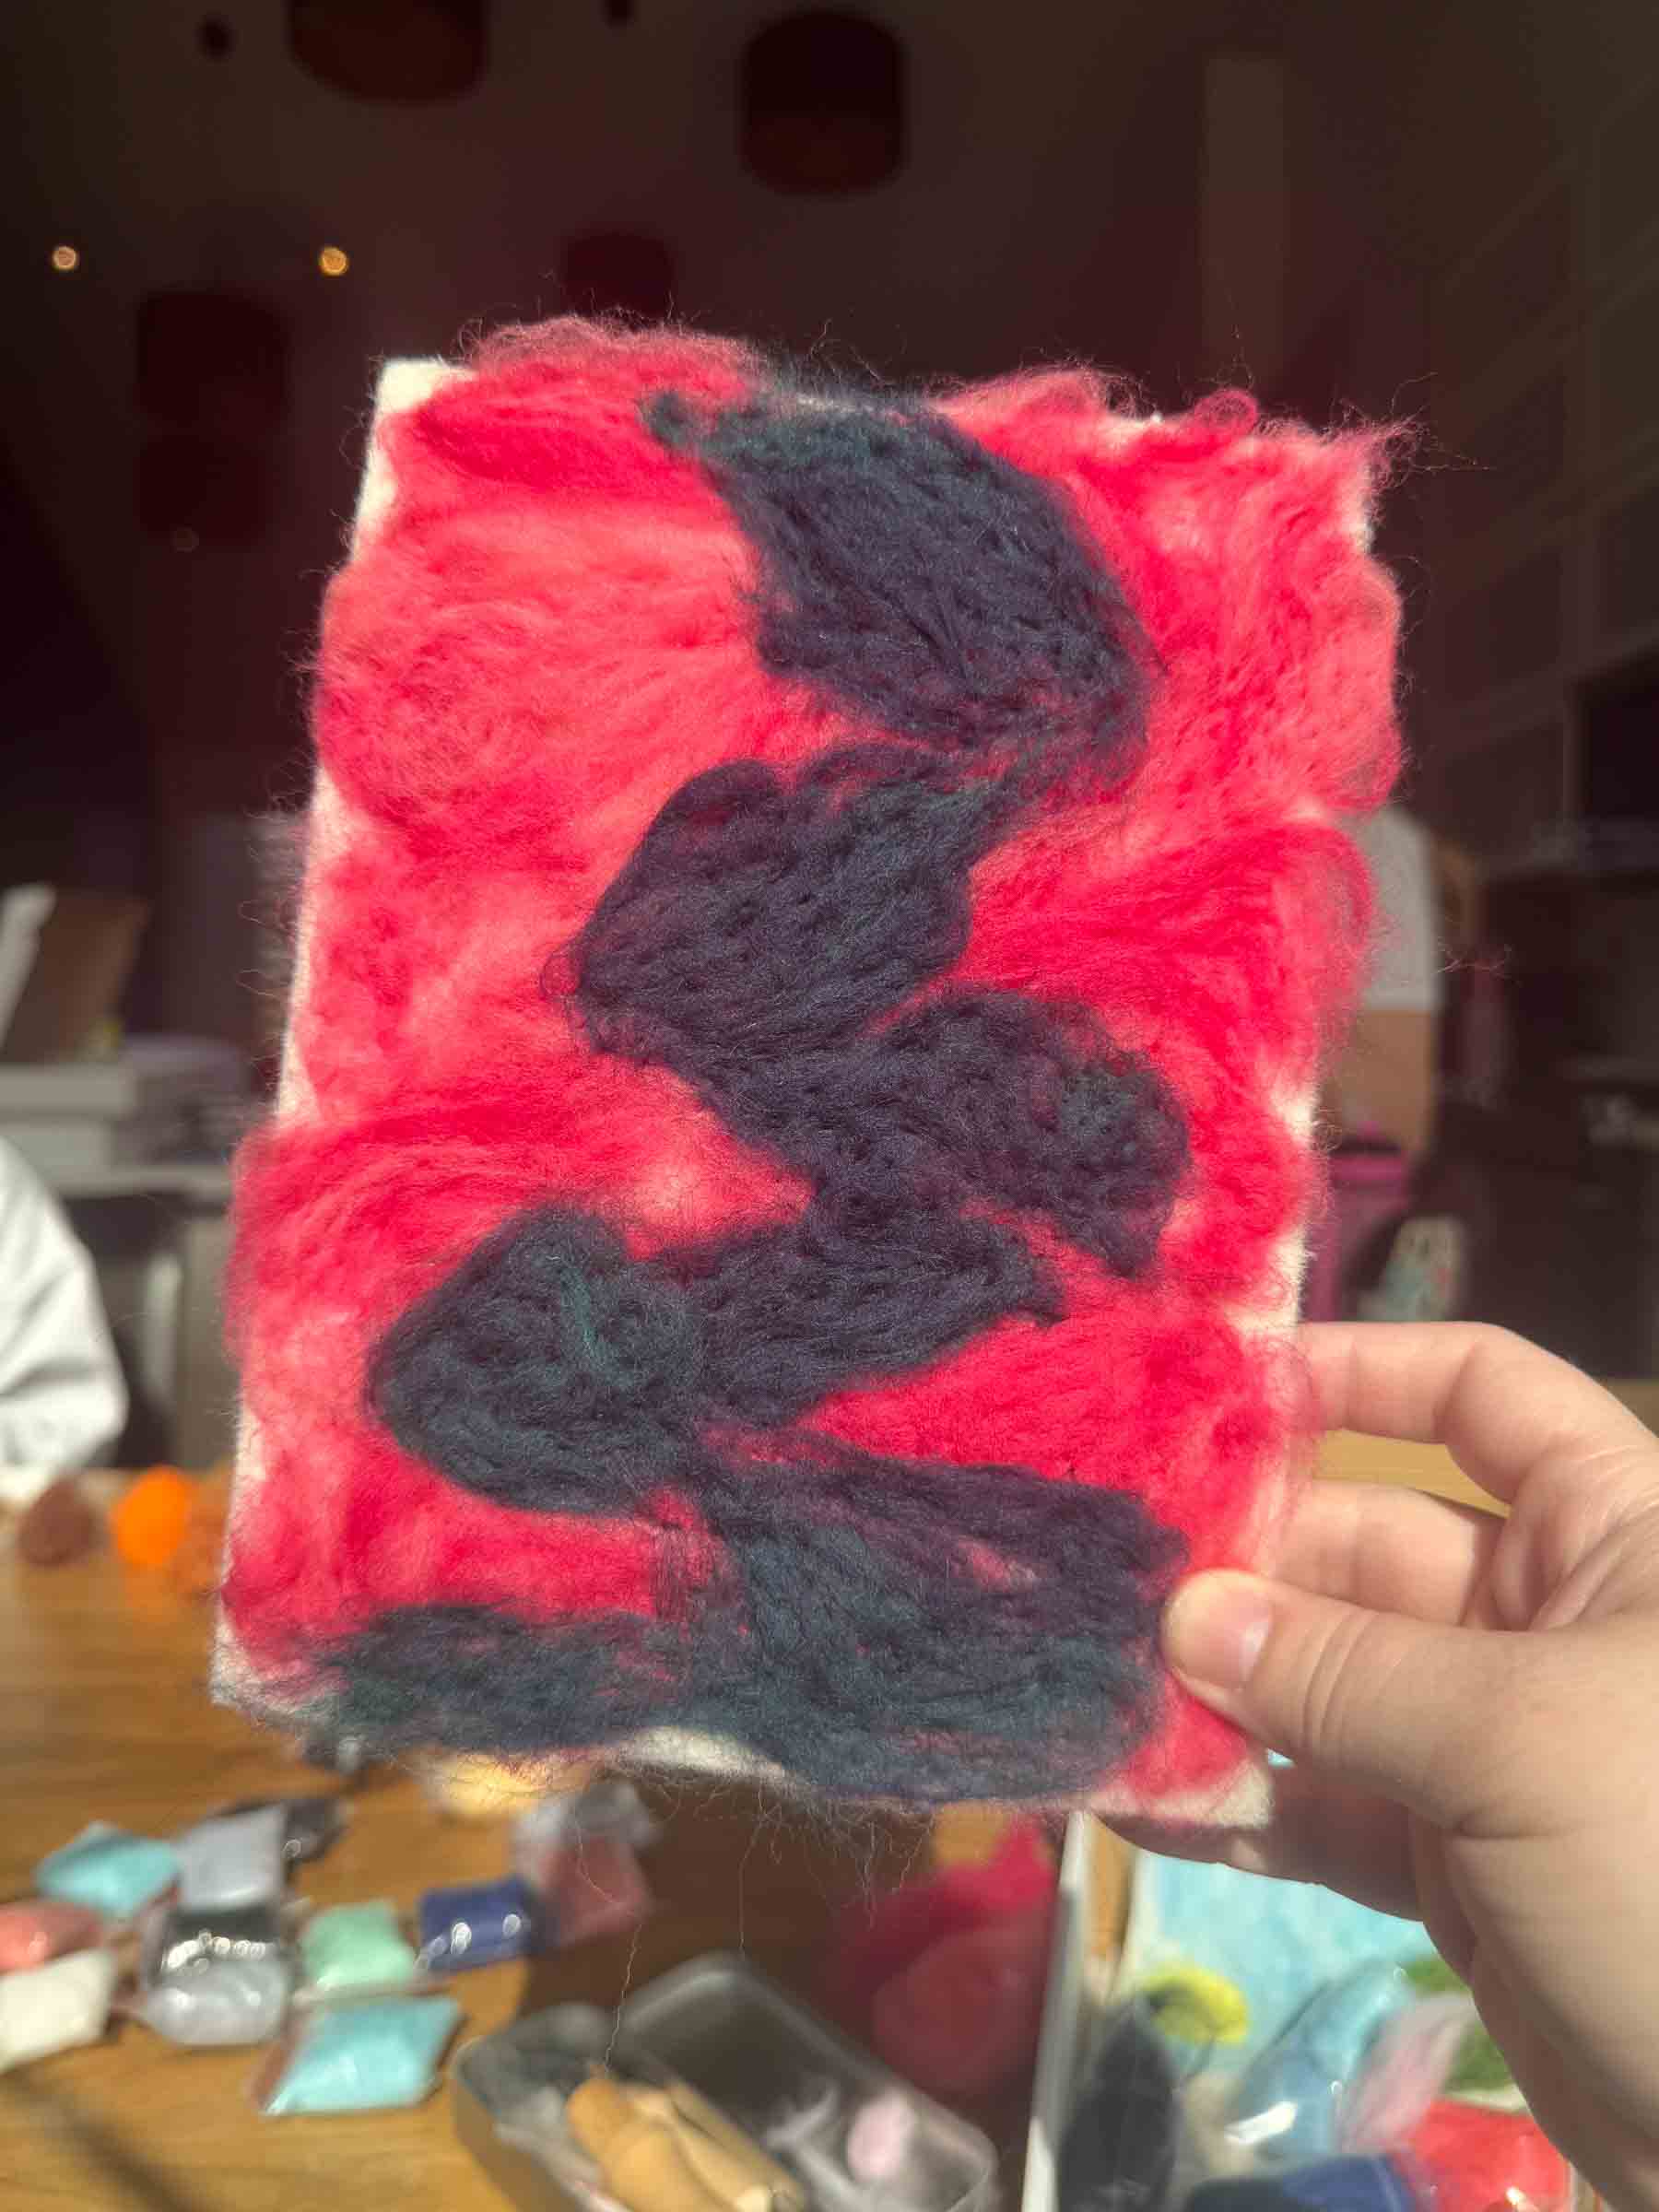
- Continue to add more of your base color and stabbing it in until you are happy with how it looks. Don’t be afraid to layer other colors into the base to add dimension or texture as needed.
Tip!
It can be easy to get lost in the constant stabbing and layering of this craft. However, you do want to occasionally stop and pull your base sheet off of your foam block. The wool gets stabbed into the base sheet, making them stick together. It’s not the end of the world if you forget, but it can be tricky to remove the final thing if you don’t do it occasionally while creating it.
Details and Finishing touches
- Once you have your base layer (or layers in some cases) completed, it’s time to add details. You’ll follow the same process for picking colors and blending for this.
- With your colors ready, map out with the wool where you want your details to be.
- When ready, stab the details into place using the appropriate needle tool.
- You can shape the wool by hand before you stitch it in to create shapes or add dimension. For example, if I were making the body of a sheep, I would gently roll a small portion of black wool into a ball by hand, then place it onto the sheet to stab in. Try stabbing at an angle to help lift the wool off the base and create cleaner lines.
- Add details until you are satisfied with how it looks.
- Remove the final product from the block and put it in a frame to be put on display.

Helpful Tips
- Don’t forget, if you put a strand in that you don’t love, you can remove it. So don’t be afraid to make mistakes or to try something.
- Using the single-needled tool at an angle will help define shapes and make cleaner lines.
- The more you stab something in the more integrated it will become into the base sheet. If you want to add depth to your cover, make some layers more matted in than others.
- Making small shapes can be tedious; try forming them by hand, then stabbing them into place with the single-needle.
- Avoid covers that have small words unless you want to leave them off. Or you can mix mediums and embroider them on later.
More Book Club Ideas
Don’t stop with just these wool felt book covers, try one of these other book club activities next! And don’t forget to grab some of these bookish gifts for prizes!
- Book basket swap – everyone brings a themed book basket to swap!
- Book bingo cards – a fun way to make your new TBR together!
- Book exchange game – a really fun way to swap books!
- Bookish trivia game – higher or lower trivia just a book theme!

Wool Book Covers
Ingredients
- Foam base
- Single-needle felting tool
- Triple-needle felting tool
- Wool sheets
- Colored wool
Instructions
- To begin, choose what book cover you want to recreate.
- Begin with the base layer of the book cover. Pick, or blend, wool that matches the base layer.Colored wool
- Take your felt (or wool) base sheet and place it on top of the foam block.Foam base, Wool sheets
- Now, take your base color and place it on the felt base where it’s appropriate for your cover.
- Stab the colored wool into the base sheet by repeatedly bringing the triple needle in and out of the wool sheet and foam block. Careful not to stab your fingers or go too hard that you go all the way through your foam block.Triple-needle felting tool, Single-needle felting tool
- Continue to add more of your base color and stabbing it in until you are happy with how it looks. Don’t be afraid to layer other colors into the base to add dimension or texture as needed.
- Every cover will be different, some may have multiple layers with details on top. Follow the same process as the base layer as you continue to add layers to your cover.
- Once you have your base layer, or layers, completed, it’s time to add details. You’ll follow the same process for picking colors and blending for this.
- With your colors ready, map out with the wool where you want your details to be.
- When ready, stab the details into place using the appropriate needle tool.
- Add details until you are satisfied with how it looks.
- Remove the final product from the block and put it in a frame to be put on display.
Tips & Notes:
- Don’t forget, if you put a strand in that you don’t love, you can remove it. So don’t be afraid to make mistakes or to try something.
- Using the single-needled tool at an angle will help define shapes and make cleaner lines.
- The more you stab something in the more integrated it will become into the base sheet. If you want to add depth to your cover, make some layers more matted in than others.
- Making small shapes can be tedious; try forming them by hand, then stabbing them into place with the single-needle.
- Avoid covers that have small words unless you want to leave them off. Or you can mix mediums and embroider them on later.

Want more Party Ideas?
Want more easy party ideas like this one? Enter your first name and email address in the form below to join the Play Party Plan community! You’ll receive weekly party ideas, games, and recipes directly to your inbox!












Leave a Reply