



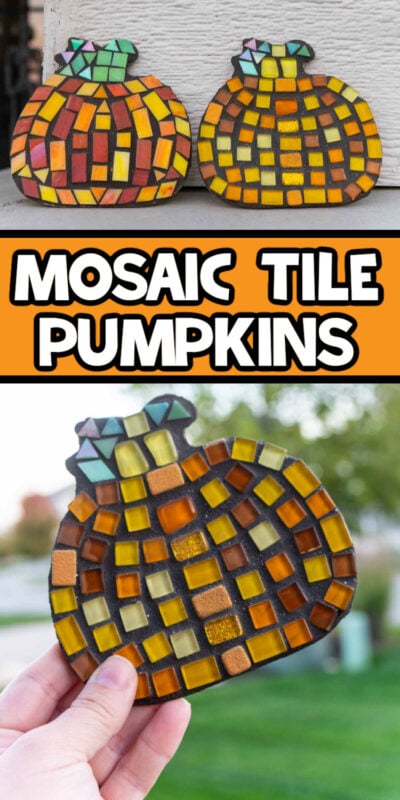
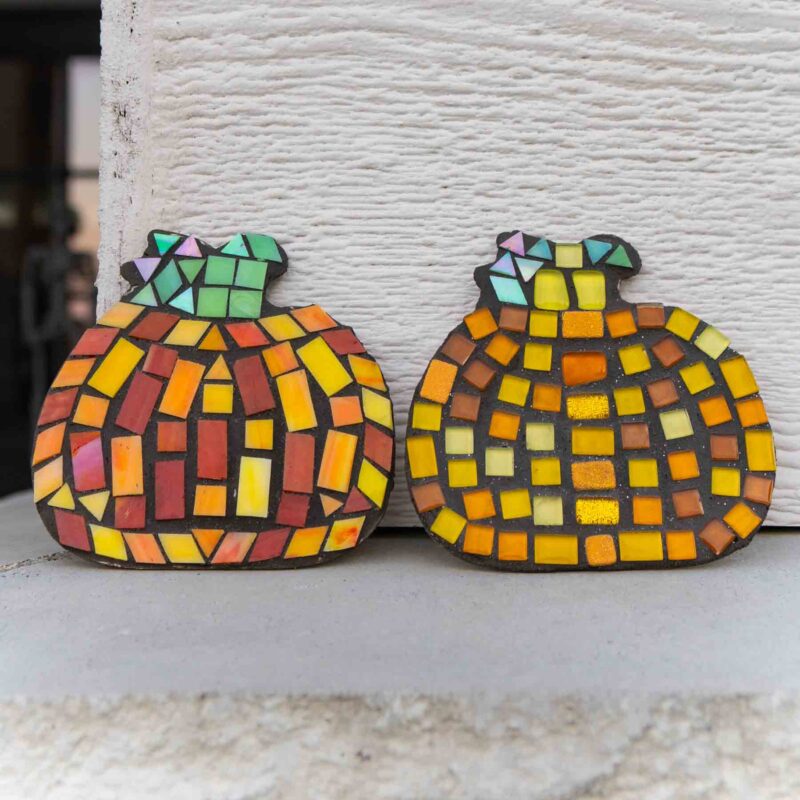
These easy mosaic pumpkins are a simple fall craft you make on your own or turn it into a craft night with the girls! They take less than 30 minutes to make and can be used as fall decorations year after year! Customize them with your favorite color of mosaic tiles and grout to match your own style and preference!

Want to save this Idea?
Enter your email below and we’ll send this idea straight to your inbox (plus you’ll receive tons of fun weekly ideas from us!)
With Thanksgiving right around the corner, I wanted to come up with a new fall craft that could easily be done while chatting with friends and family. I’ve been in love with mosaic art ever since we made mosaic ornaments during our trip to Gatlinburg this summer, and I thought it’d be fun to make mosaic pumpkins to use as decorations all fall long!
We tried out various shapes, styles, and color of mosaic tiles and while I’ve included the ones that we personally used in this post, the best part about mosaic tile art is making it match your own style and preference. As long as you follow the process, you can really use any type of tile pieces you want to make your own mosaic pumpkins!
And we made pumpkins but you could absolutely do this same thing with Christmas trees, hearts, even Easter eggs! Once you know how to make mosaic projects, you can turn them into anything you want!

Why You’ll love this craft
- Budget-friendly – these look way more expensive than they actually are! You can buy larger sizes of things and just share all the supplies to make this super budget-friendly!
- Customizable – just like all our fall crafts, you can totally customize these to your color and style preference! It’s an art project that you really get to be an artist!
- Reusable – I made pumpkins that I’ll pull out year after year to use as decorations! And since you’re going to grout these, you can use them both indoor and outdoors if you want!

Supplies

Supply notes
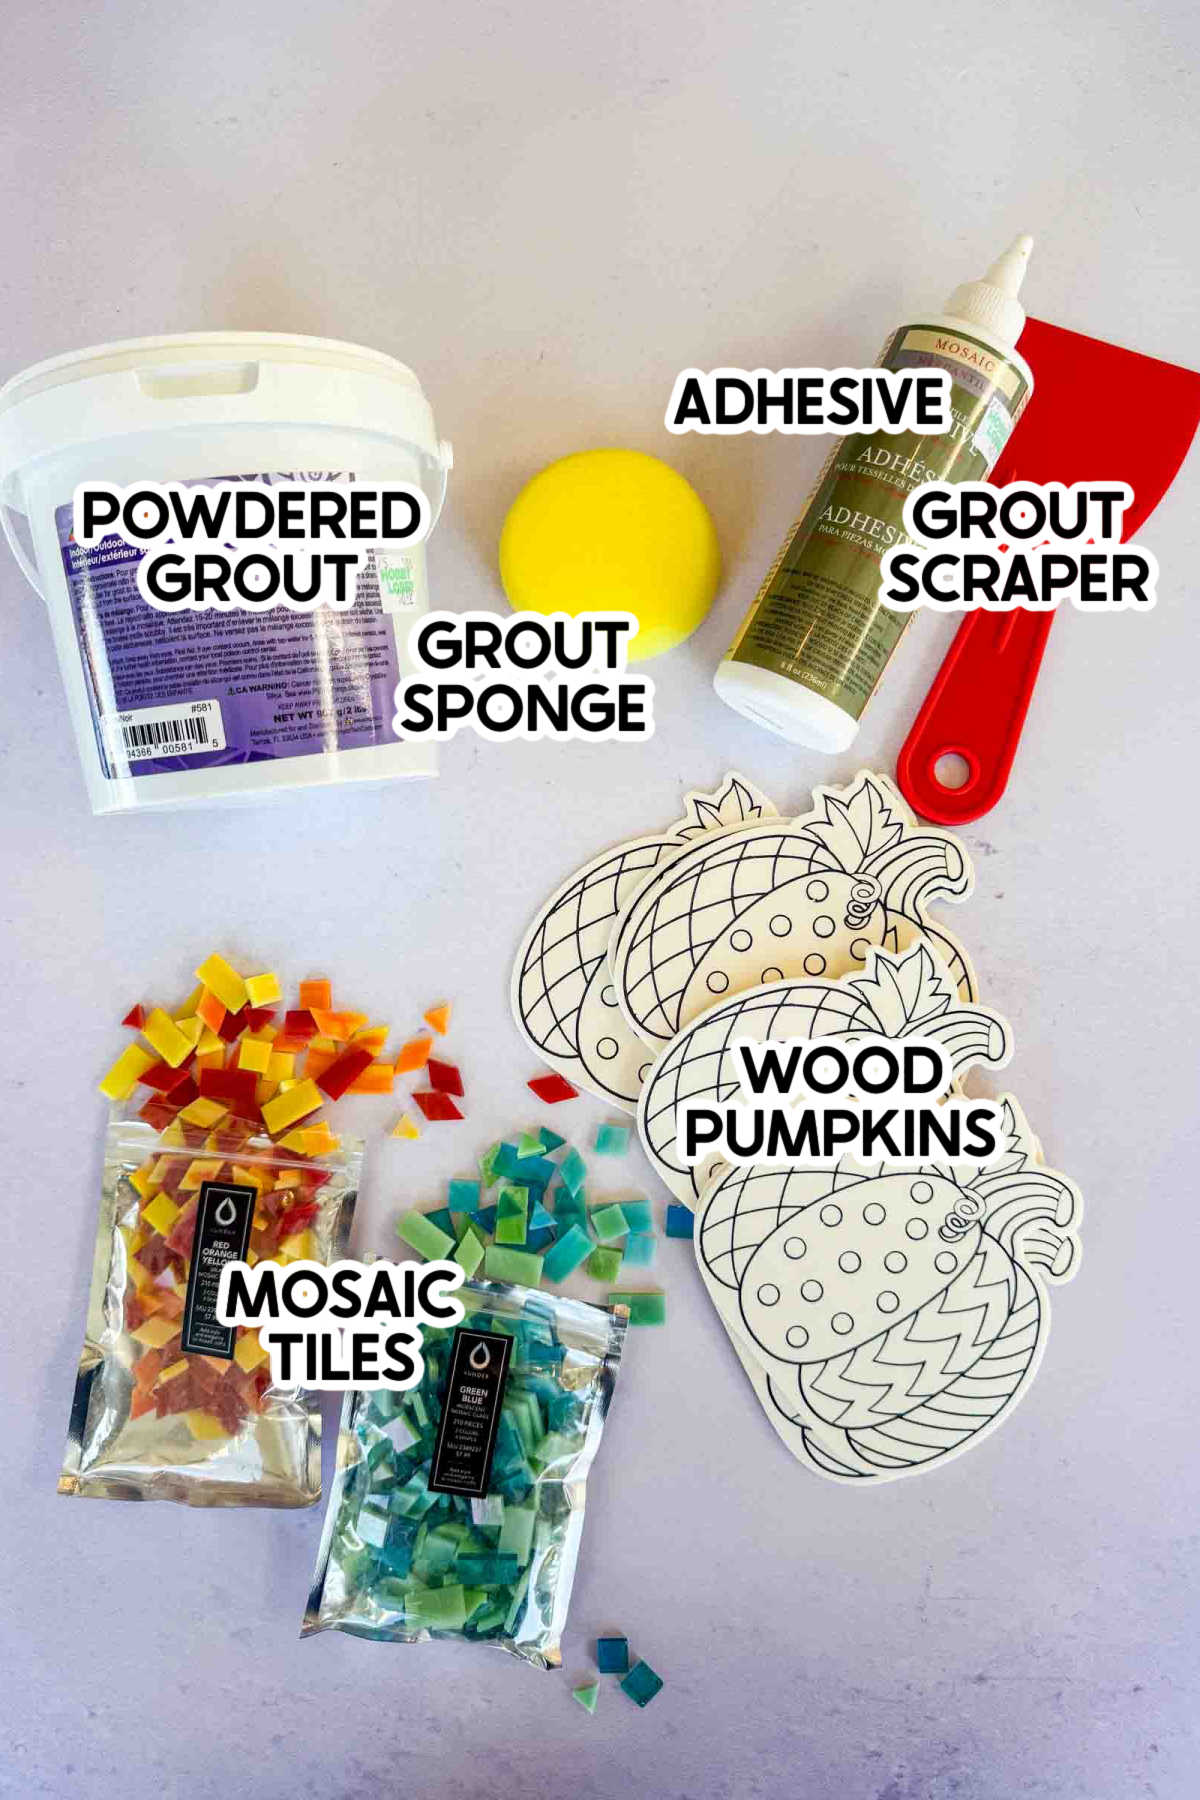
- Mosaic tiles – the sky is the limit here. These are the ones that we used but there are so many shapes, colors, and designs of these. I recommend smaller pieces so you can really piece things together into a design.
- Wooden pumpkins – we grabbed some for cheap at Hobby Lobby but you this pack on Amazon is the same size if you want something without the writing (it gets covered up regardless). If I was getting them again, I would try and get ones without leaves and just stick to the stems.
- Mosaic adhesive – this is designed specifically to work with mosaic tiles and dries quickly!
- Powdered grout – this mixes with water to make your mosaic grout. They also have it in various colors like white or gray. I’ve linked to the one we used on Amazon but it’s much cheaper to buy in stores at Hobby Lobby!
- Grout scraper (aka putty knife) – this helps smooth everything out. You can also use a butter knife, it’s just trickier to get it smooth.
- Mosaic sponge – we used these mini sponges to get rid of excess grout once it’d dried a little.

How to make mosaic pumpkins
These mosaic pumpkins are so easy to make, which is why it’s my kind of craft!
Start by placing the mosaic tiles you want on top of your wooden pumpkin in whatever design you want. This is easily the most time consuming part of the entire craft.
I highly recommend putting them as close together as possible so that there is less grout showing once you fill in the gaps. Take your time here because once you figure out your design, you’re going to glue it in and there’s no turning back once you start gluing!
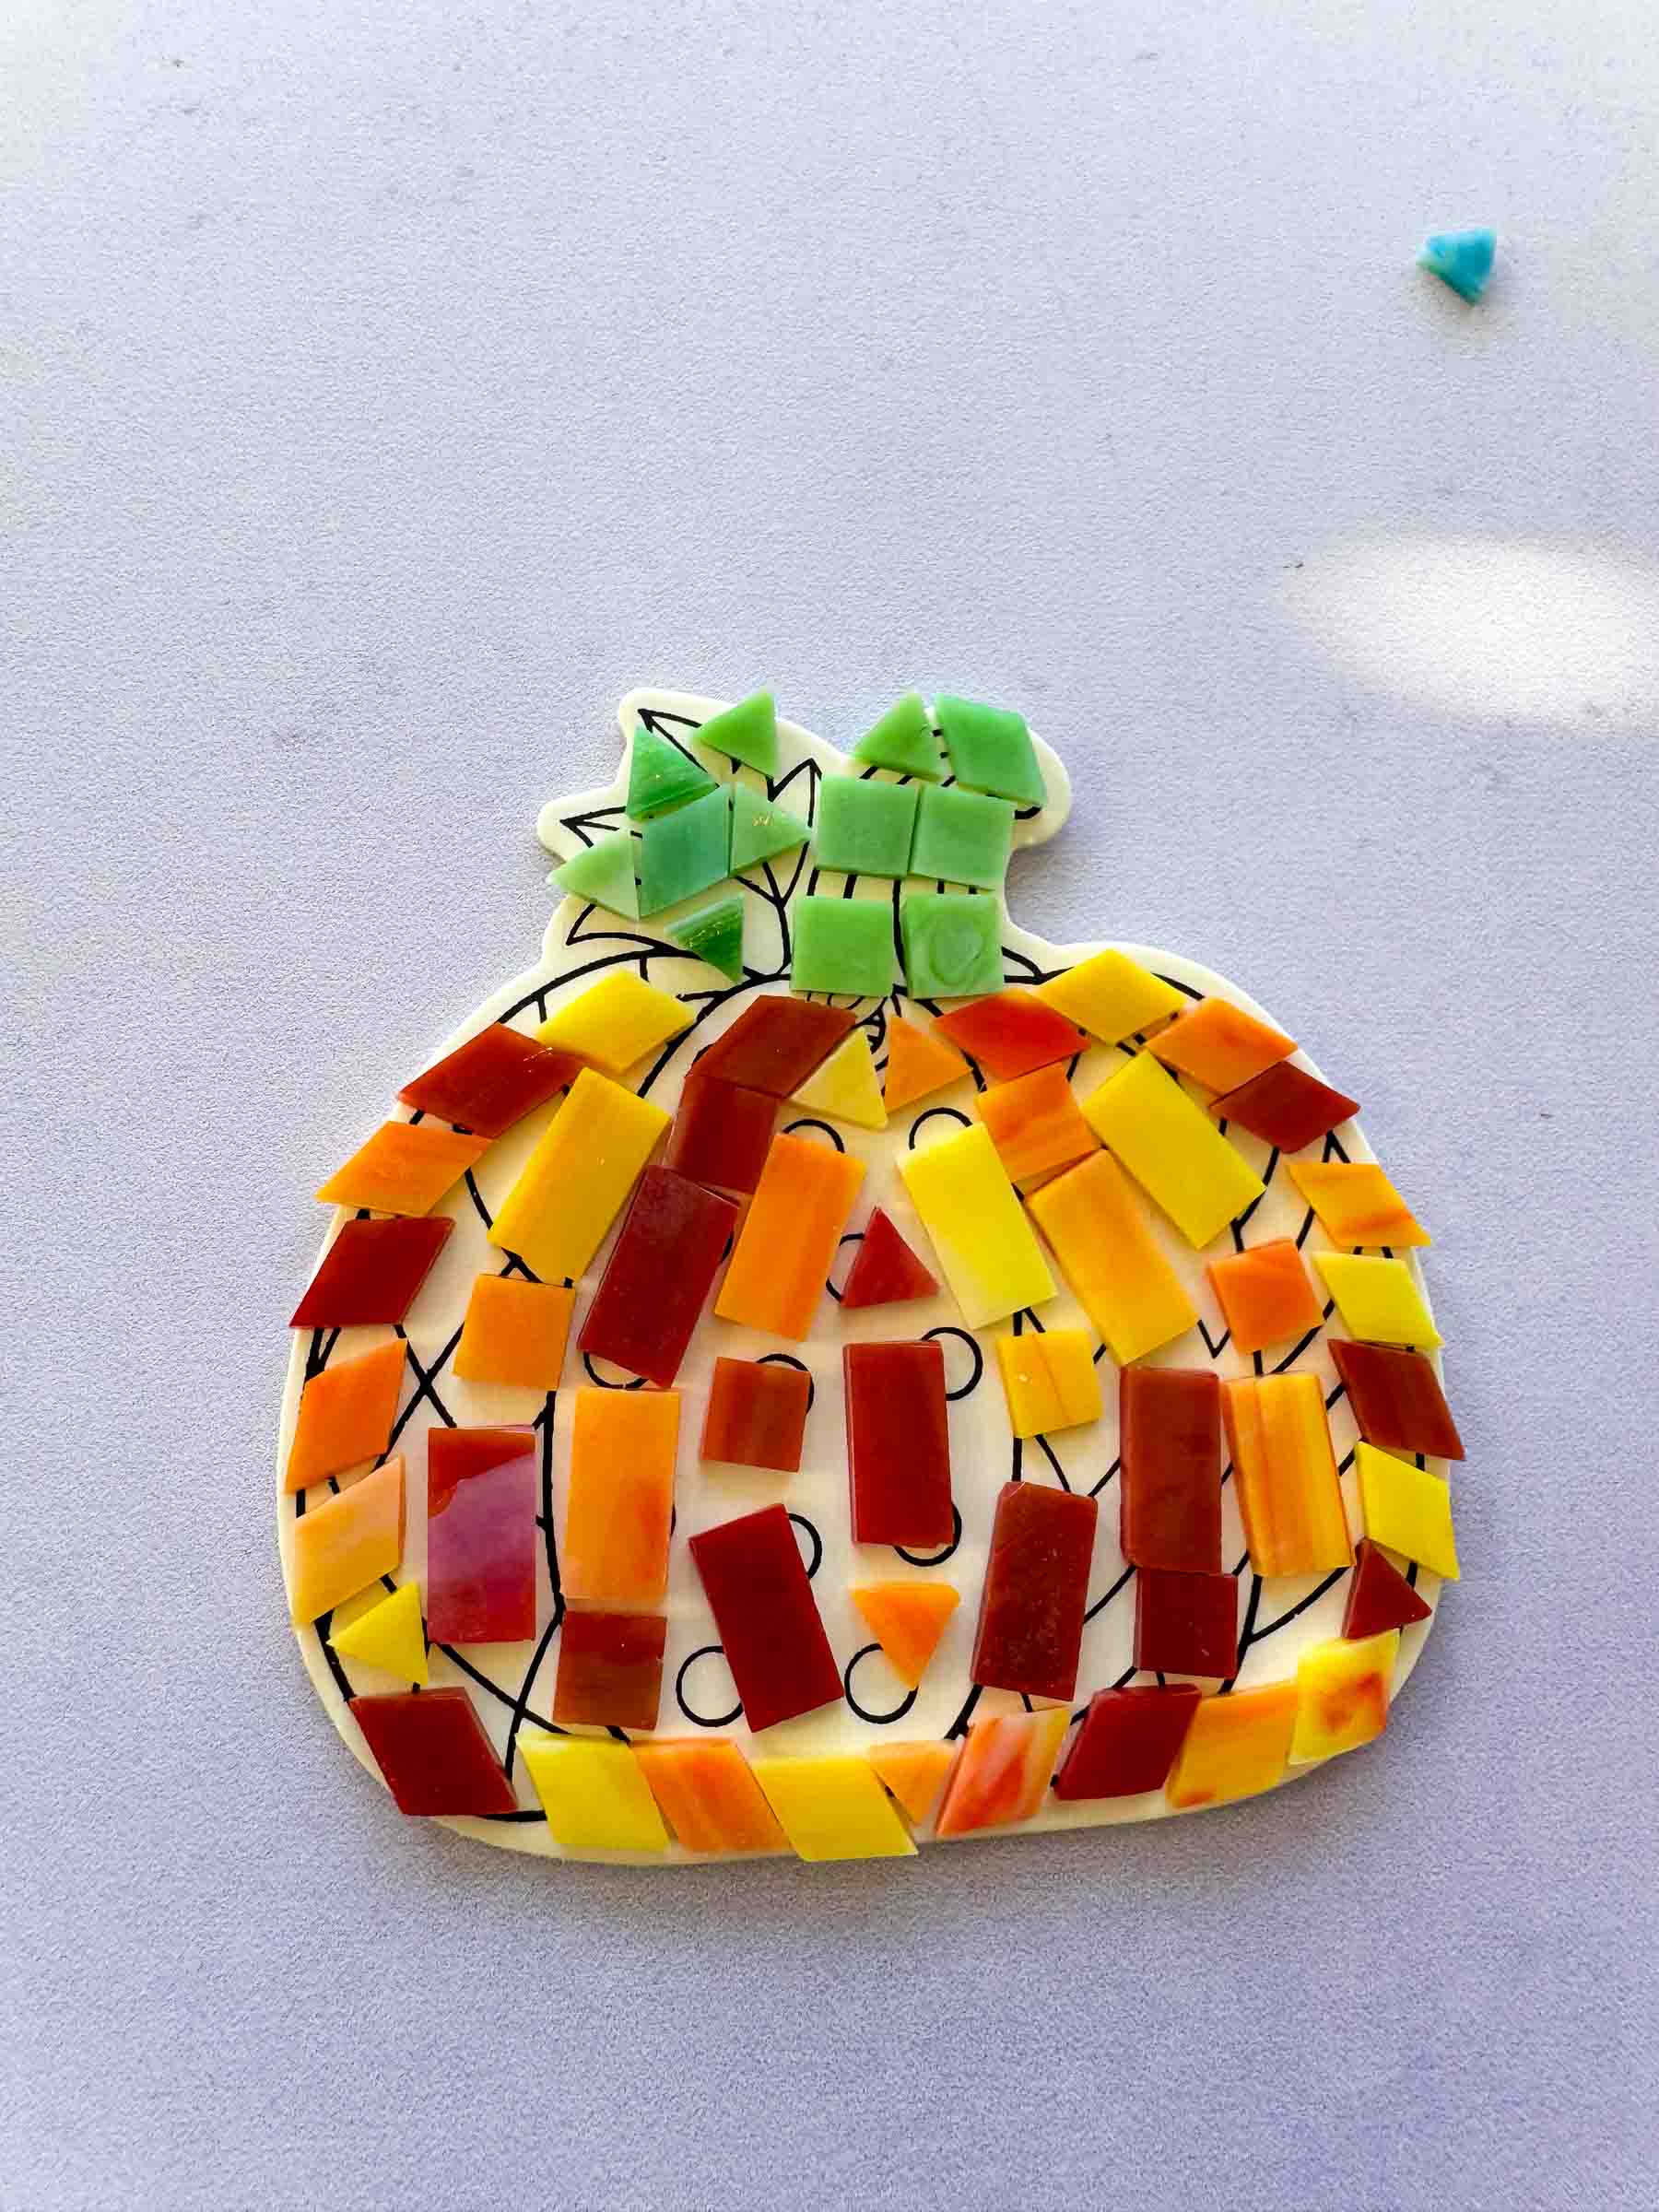
Once you’ve finalized your design, it’s time to start gluing the pieces on. Take off one piece at a time, add some glue to the back, and press it firmly down back onto the pumpkin.
Tip!
You can make it a little easier and less messy by putting some of the glue onto a plate and using a q-tip or even a toothpick to transfer a little glue from the glue pile onto the back of your tile.
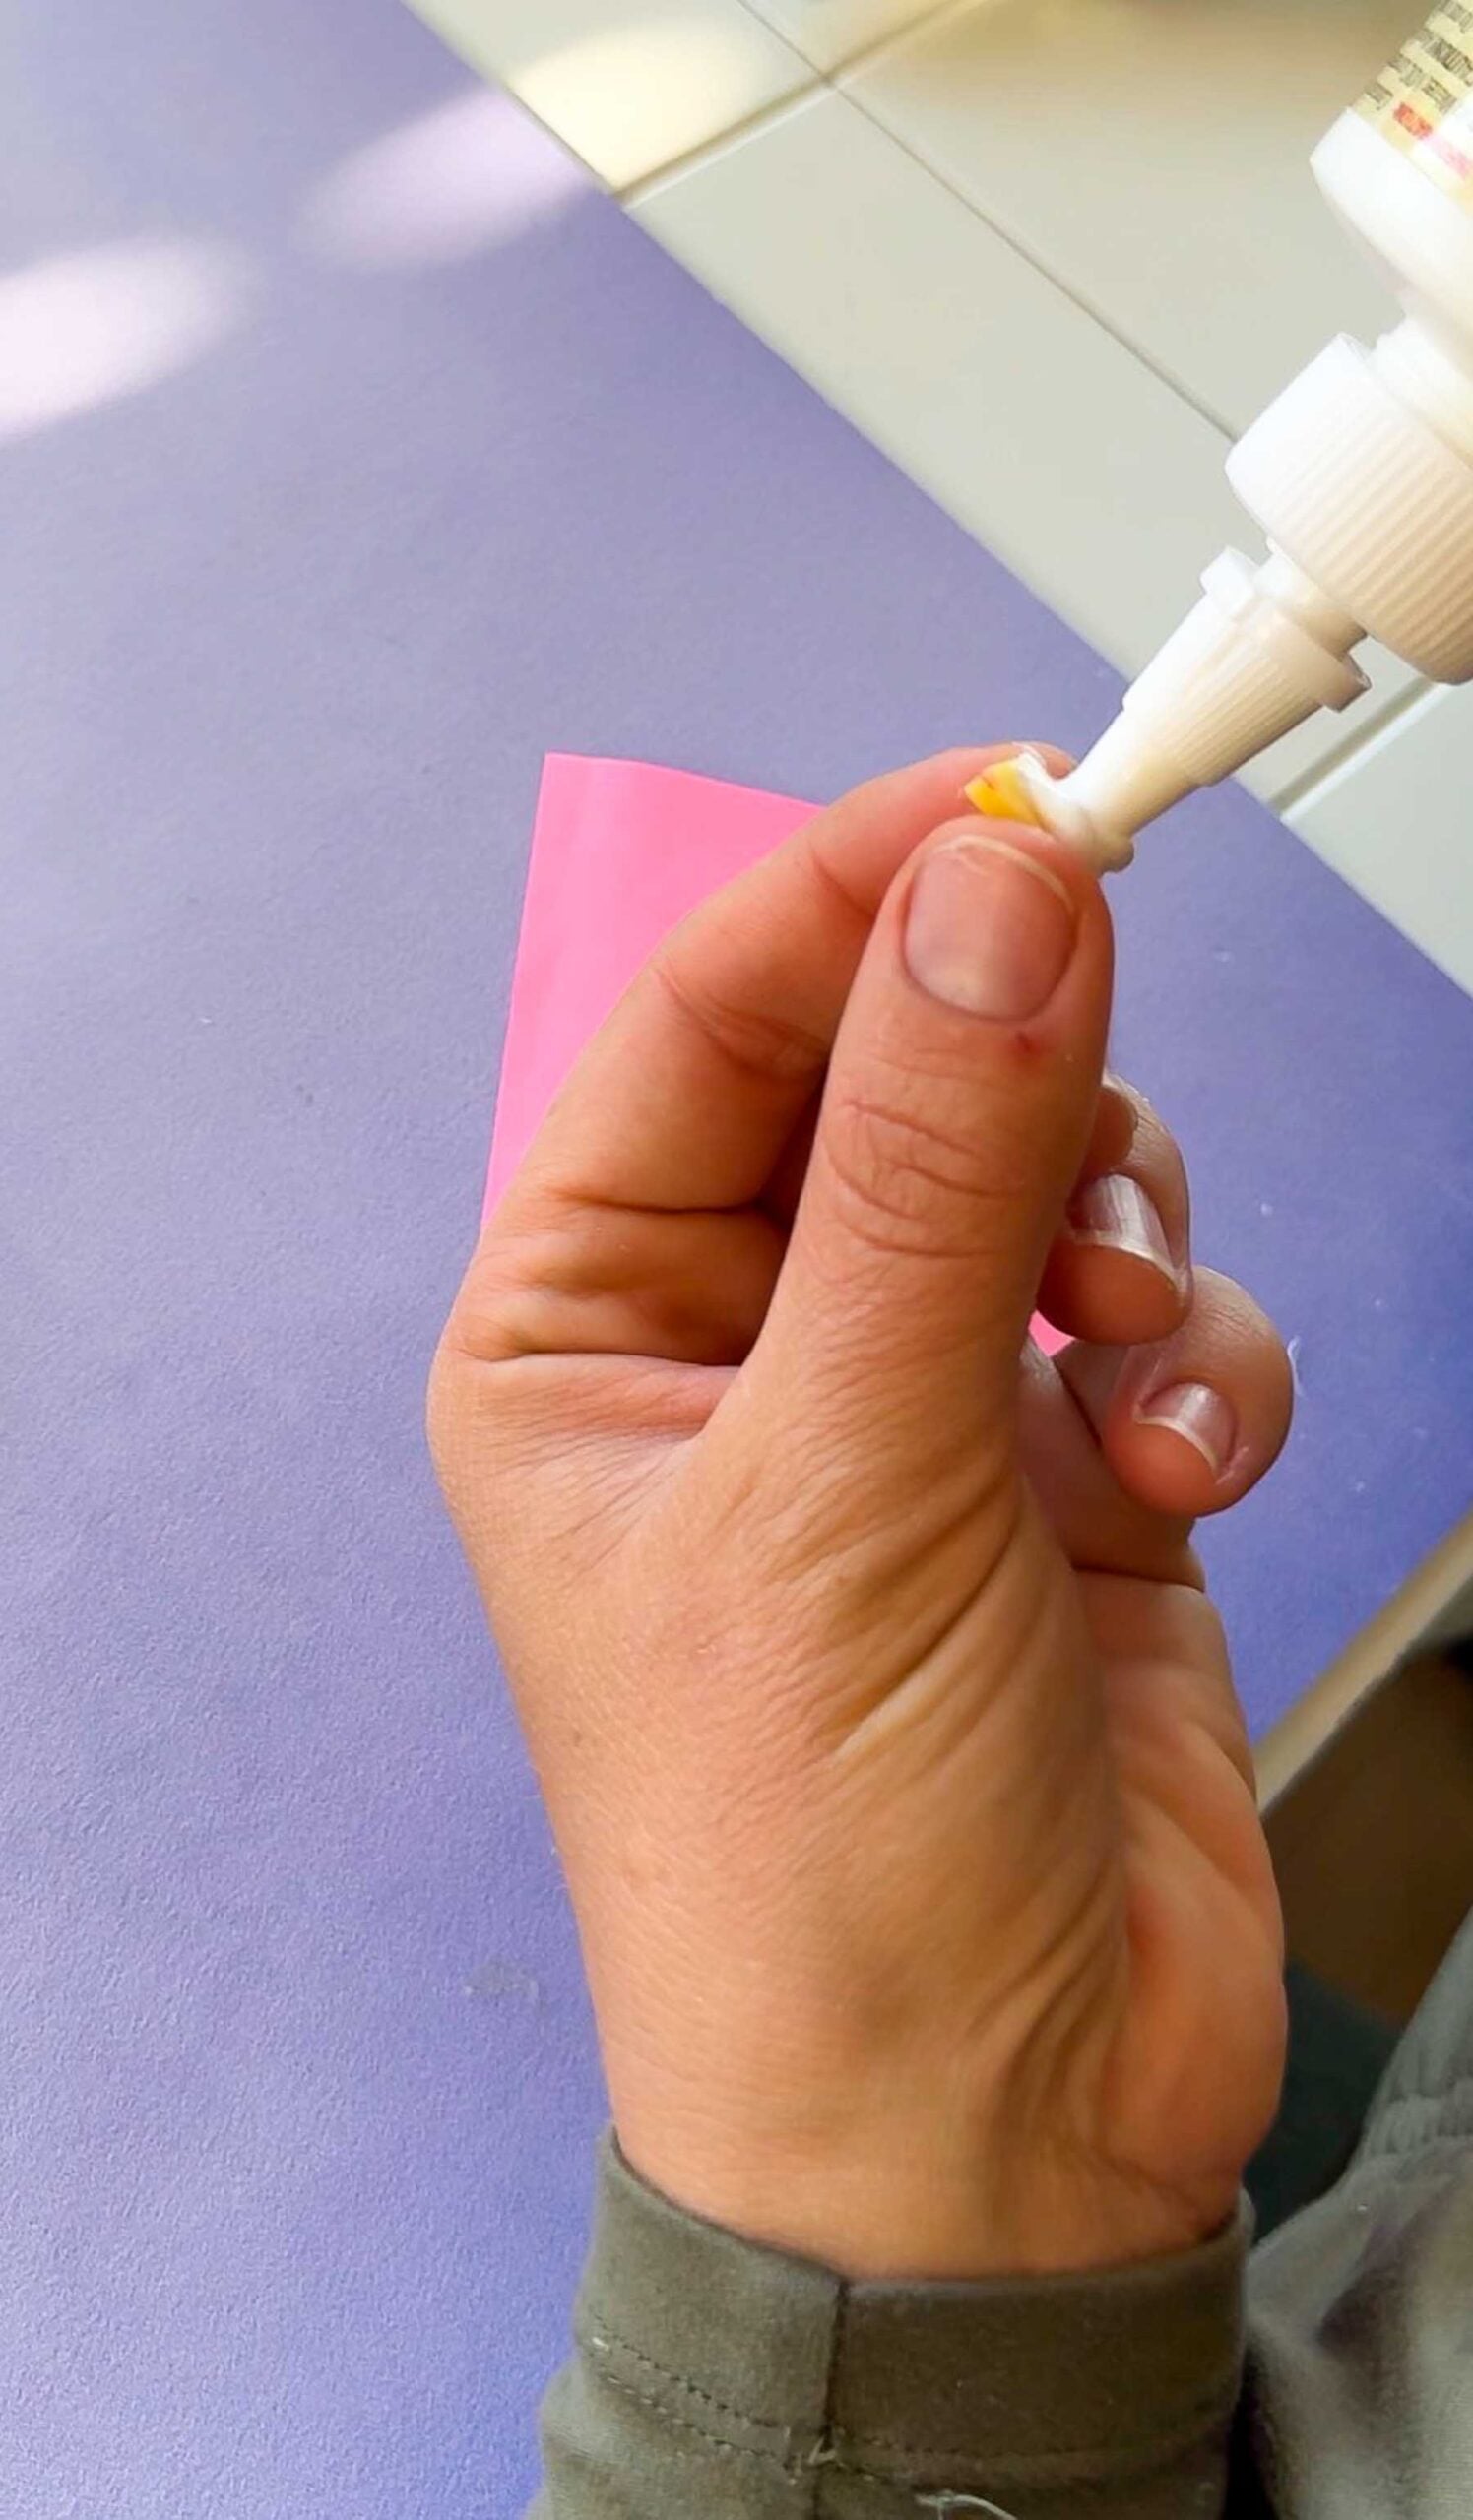
After everything is glued on, give the tiles about ten minutes to dry completely before you move onto grouting the pumpkins!
When you’re ready to add grout, here’s how to do it!
- Mix the powdered grout with water according to the package directions. A little bit goes a pretty long way!
- Place some grout on top of the tiled pumpkin and spread it out using the grout scraper, removing any excess grout as you go. You want to have a thin layer of grout on top of the pumpkin.
- Let the grout dry for a few minutes. You want it to not just completely scrape off but not be totally dry either.
- Wet the sponge and use it to wash away the grout on top of the tiles, leaving the grout in between them. Keep going until all of the grout on top of the tiles is gone.
Tip!
I highly recommend doing this with a bucket of water so you can rinse out the sponge over and over again as it gets filled with grout. Then dump out the water outside instead of down your sink so you don’t fill your drain with grout!
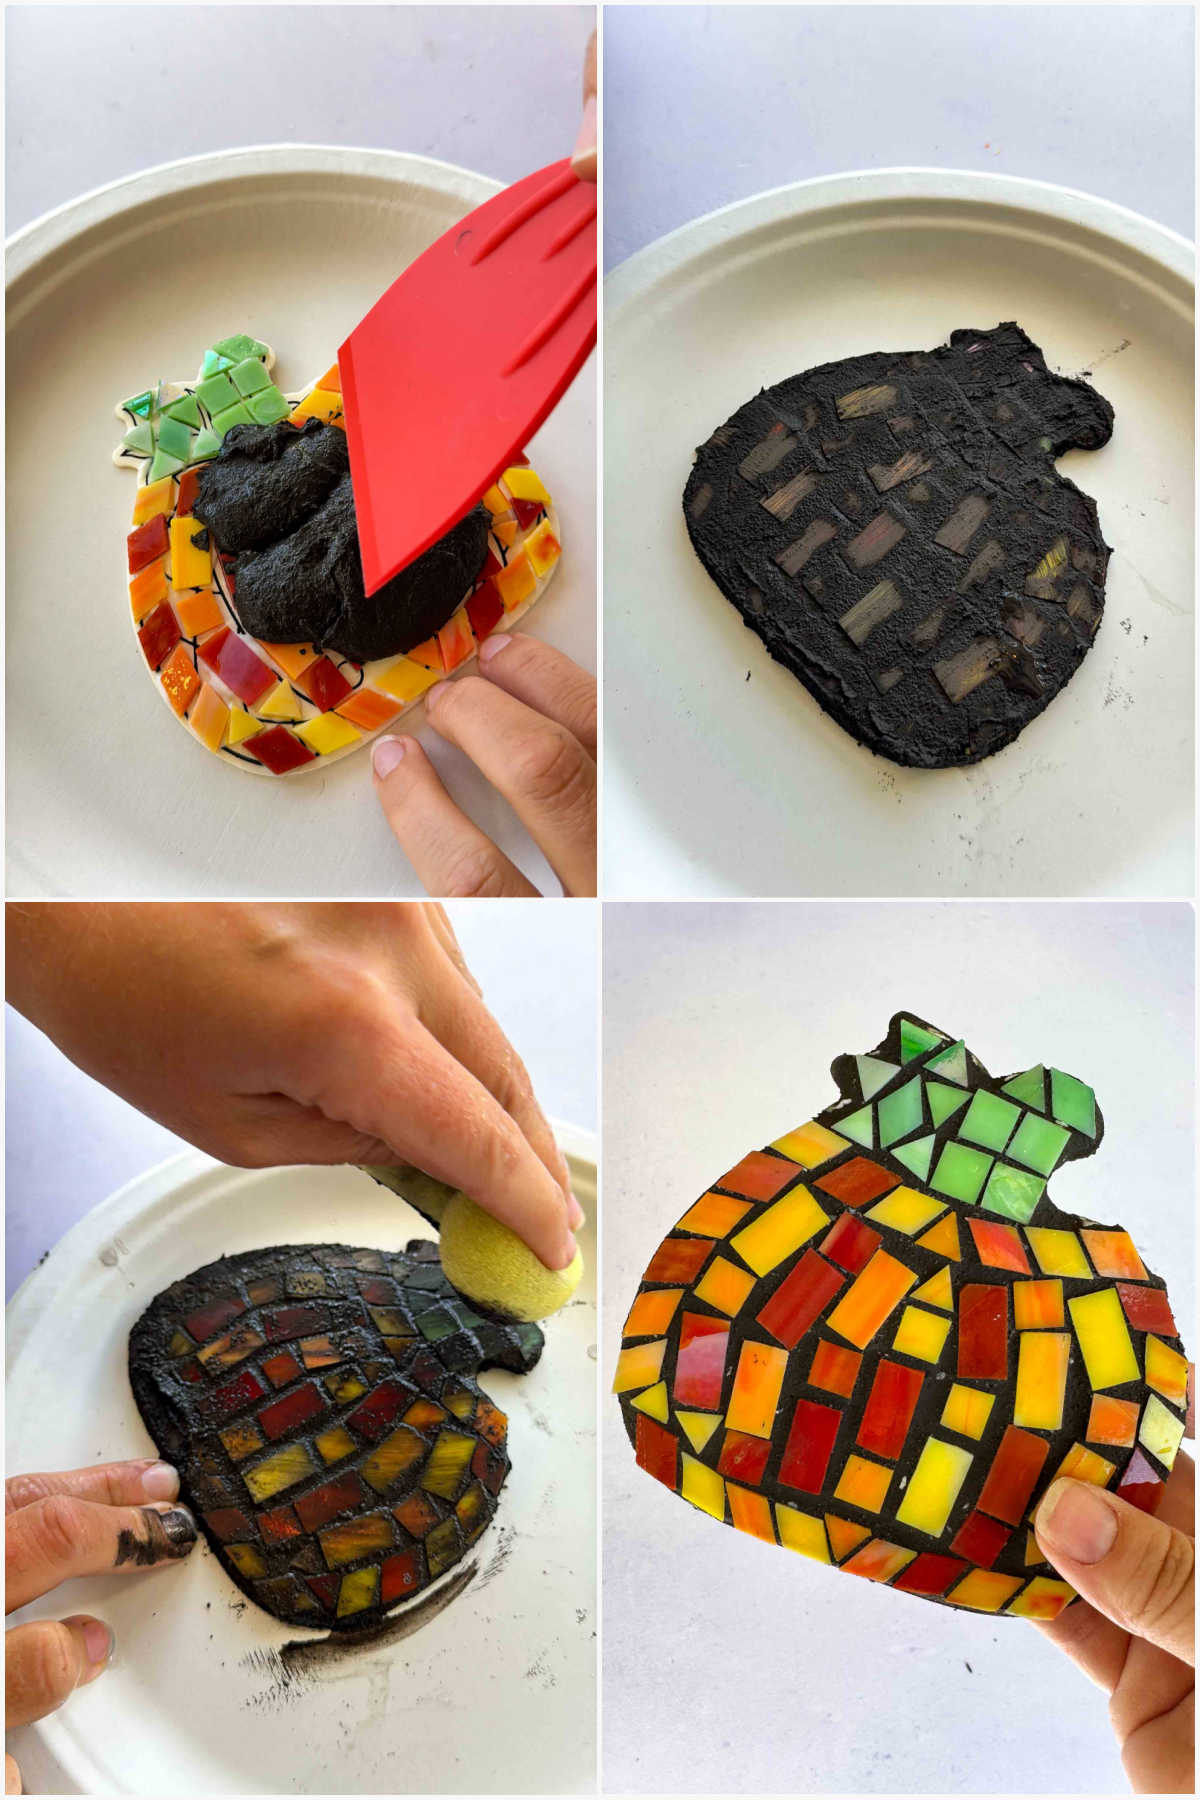
Let the grout dry completely and your pumpkins are ready to display with your other favorite fall decorations!
Helpful Tips
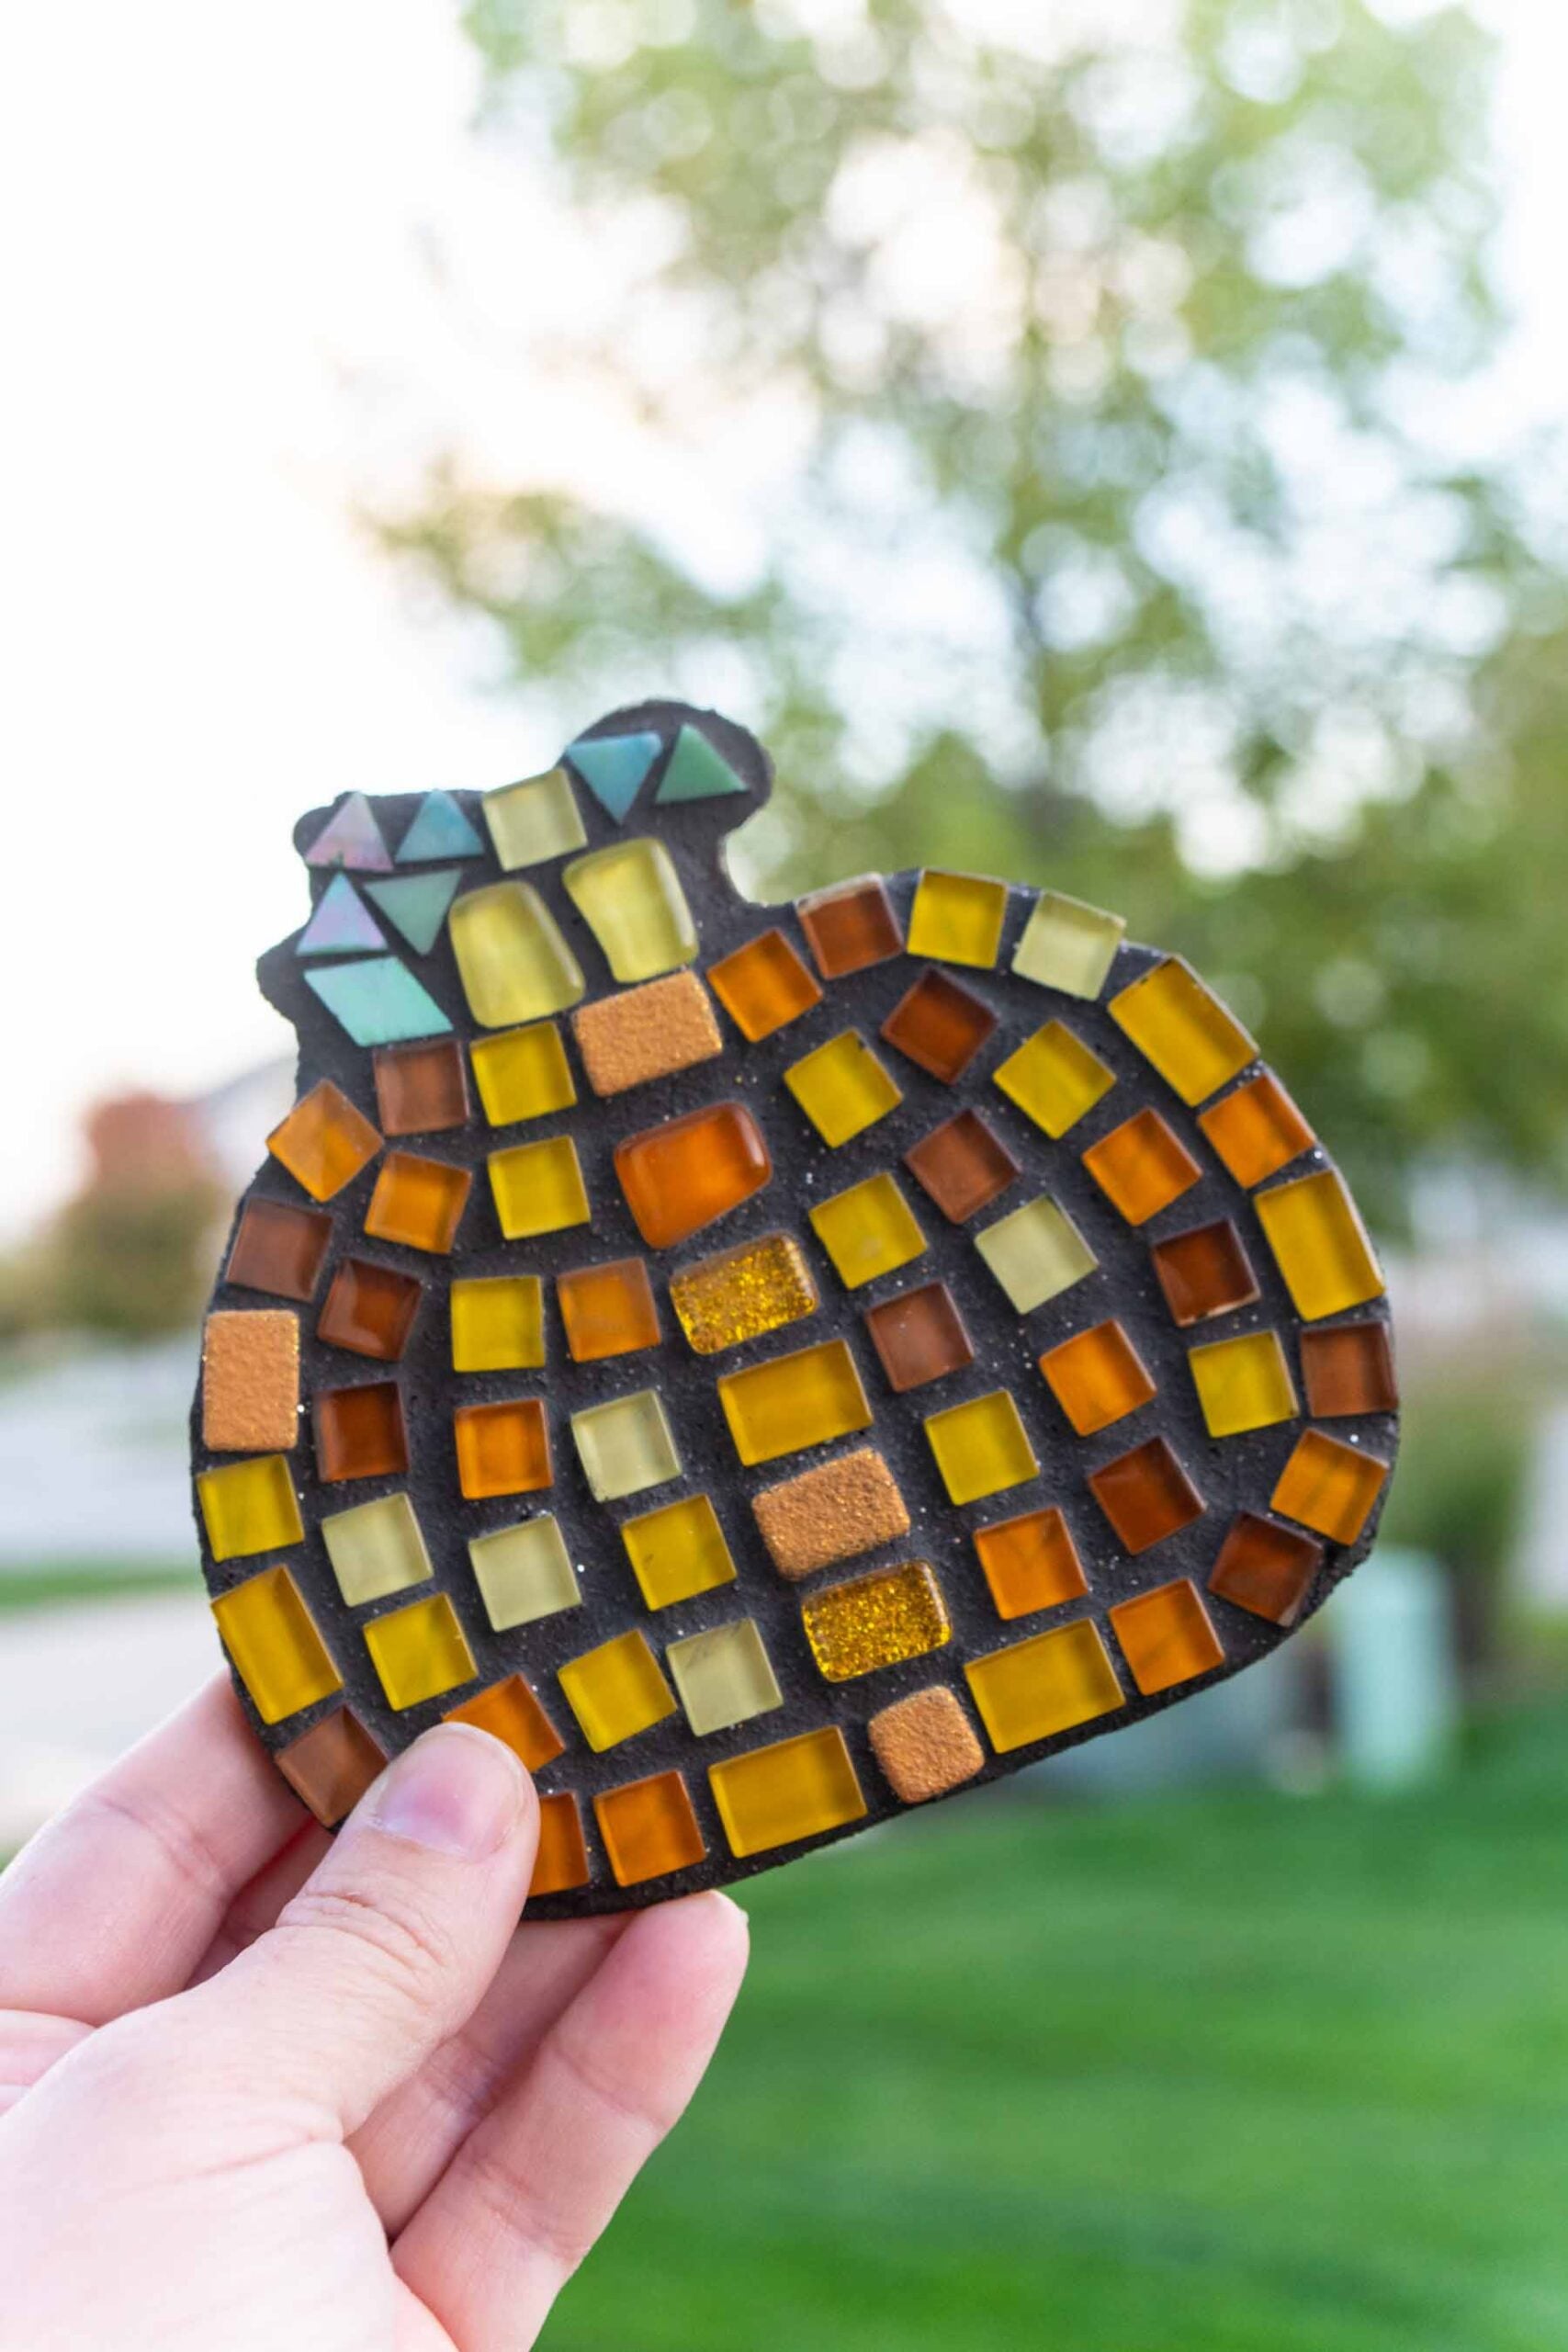
- Get different shapes of mosaic tiles so you can fit them together tighter. The little triangles are great for filling in spaces between larger rectangle and square pieces!
- Choose your grout color based on where you want to display them. I wanted to put them outside so I went with black grout since our porch is so light colored already, but if I was using them inside I would’ve gone with white!

More Fall Girls Night Ideas
If you liked these mosaic pumpkins, try one of these other girls night ideas next! Or just do them on your own, they’re fun that way too!
- Mug Candles – make your own fall mug candles with all sorts of cozy finishes!
- DIY sweatshirts – a simple cozy craft where make your own fall fabric sweatshirts!
- Sweater pumpkin craft – this one goes viral every year for good reason, it’s a super simple and fun way to repurpose old sweaters!
- Beaded spiderwebs – use beads and frames to make the spookiest Halloween decorations!
- Custom mugs – this simple craft takes vinyl for cups and turns it into a custom mug you’ll love using for hot chocolate all fall long!
Mosaic Pumpkins
Instructions
- Start by placing the mosaic tiles you want on top of your wooden pumpkin in whatever design you want.Mosaic tiles, Wooden pumpkins
- Take off one piece at a time, add some glue to the back, and press it firmly down back onto the pumpkin.Mosaic adhesive
- After everything is glued on, give the tiles about ten minutes to dry completely before you move onto grouting the pumpkins!
- Mix the powdered grout with water according to the package directions.Powdered grout
- Place some grout on top of the tiled pumpkin and spread it out using the grout scraper, removing any excess grout as you go. You want to have a thin layer of grout on top of the pumpkin.
- Let the grout dry for a few minutes. You want it to not just completely scrape off but not be totally dry either.
- Wet the sponge and use it to wash away the grout on top of the tiles, leaving the grout in between them. Keep going until all of the grout on top of the tiles is gone.
- Let the grout dry completely and your pumpkins are ready to display with your other favorite fall decorations!
Tips & Notes:
Want More Fun Ideas?
Want more fun ideas like this one? Enter your first name and email address in the form below to join the Play Party Plan community! You’ll receive weekly recipes, party ideas, games, and more directly to your inbox!












Leave a Reply