



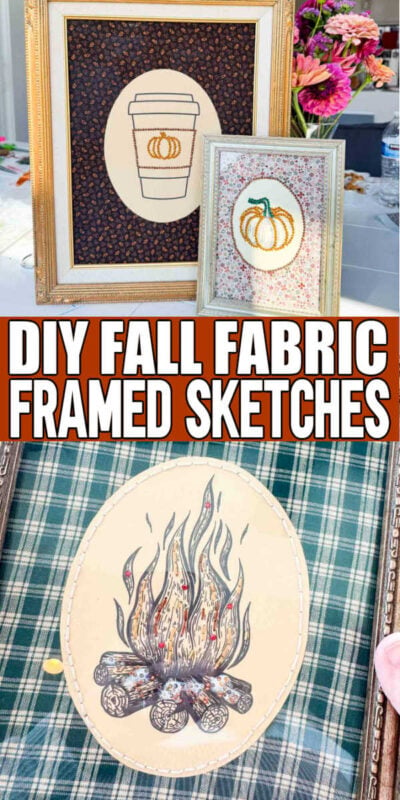
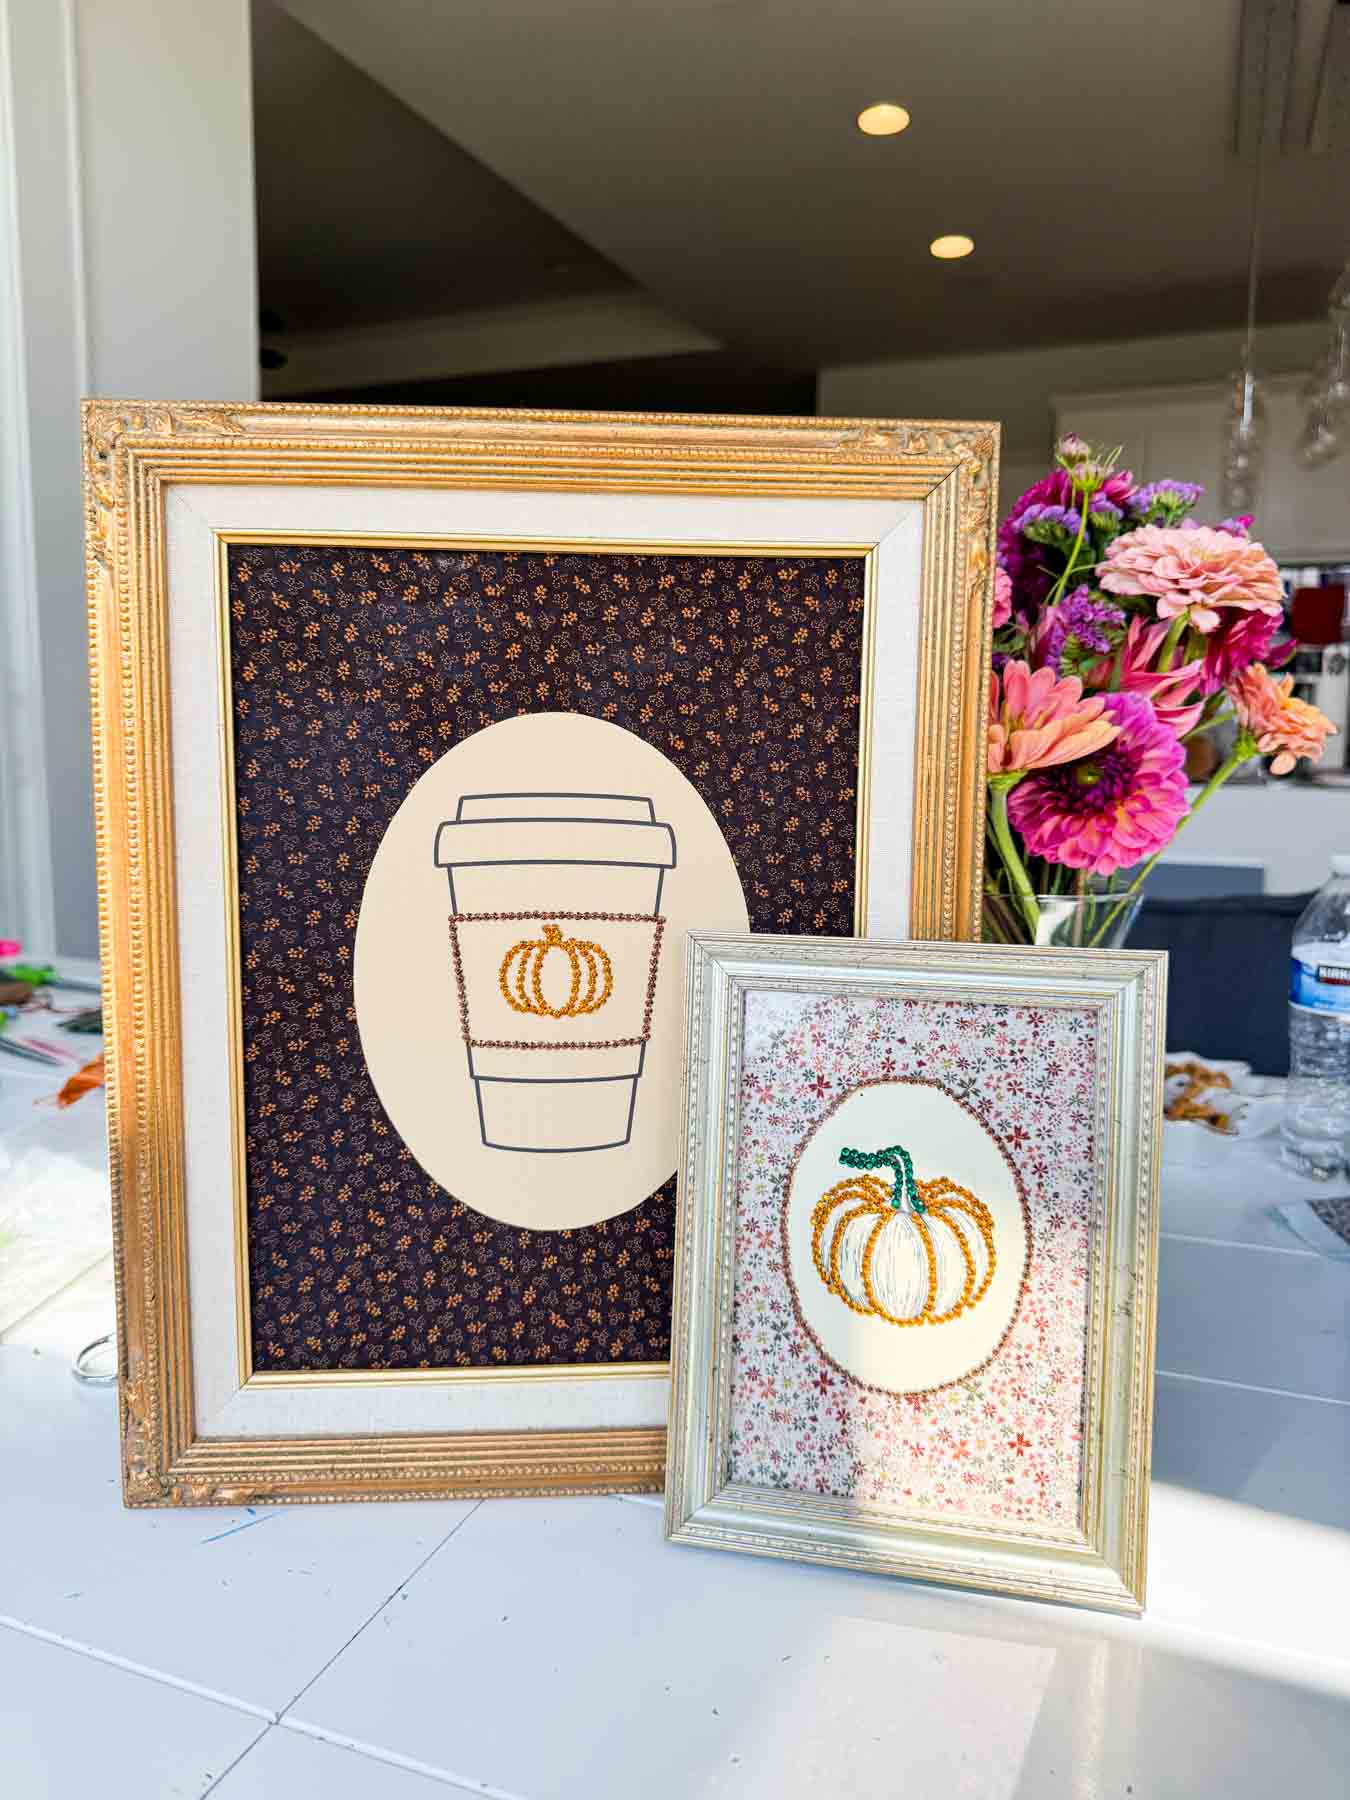
Making fall fabric frames is the perfect idea for a group craft night or something fun just to do on your own! It’s a simple fall craft idea that’s budget-friendly, beginner-friendly, and a fun way to make your own fall home decor!

Want to save this Idea?
Enter your email below and we’ll send this idea straight to your inbox (plus you’ll receive tons of fun weekly ideas from us!)
Fall Framed Sketches
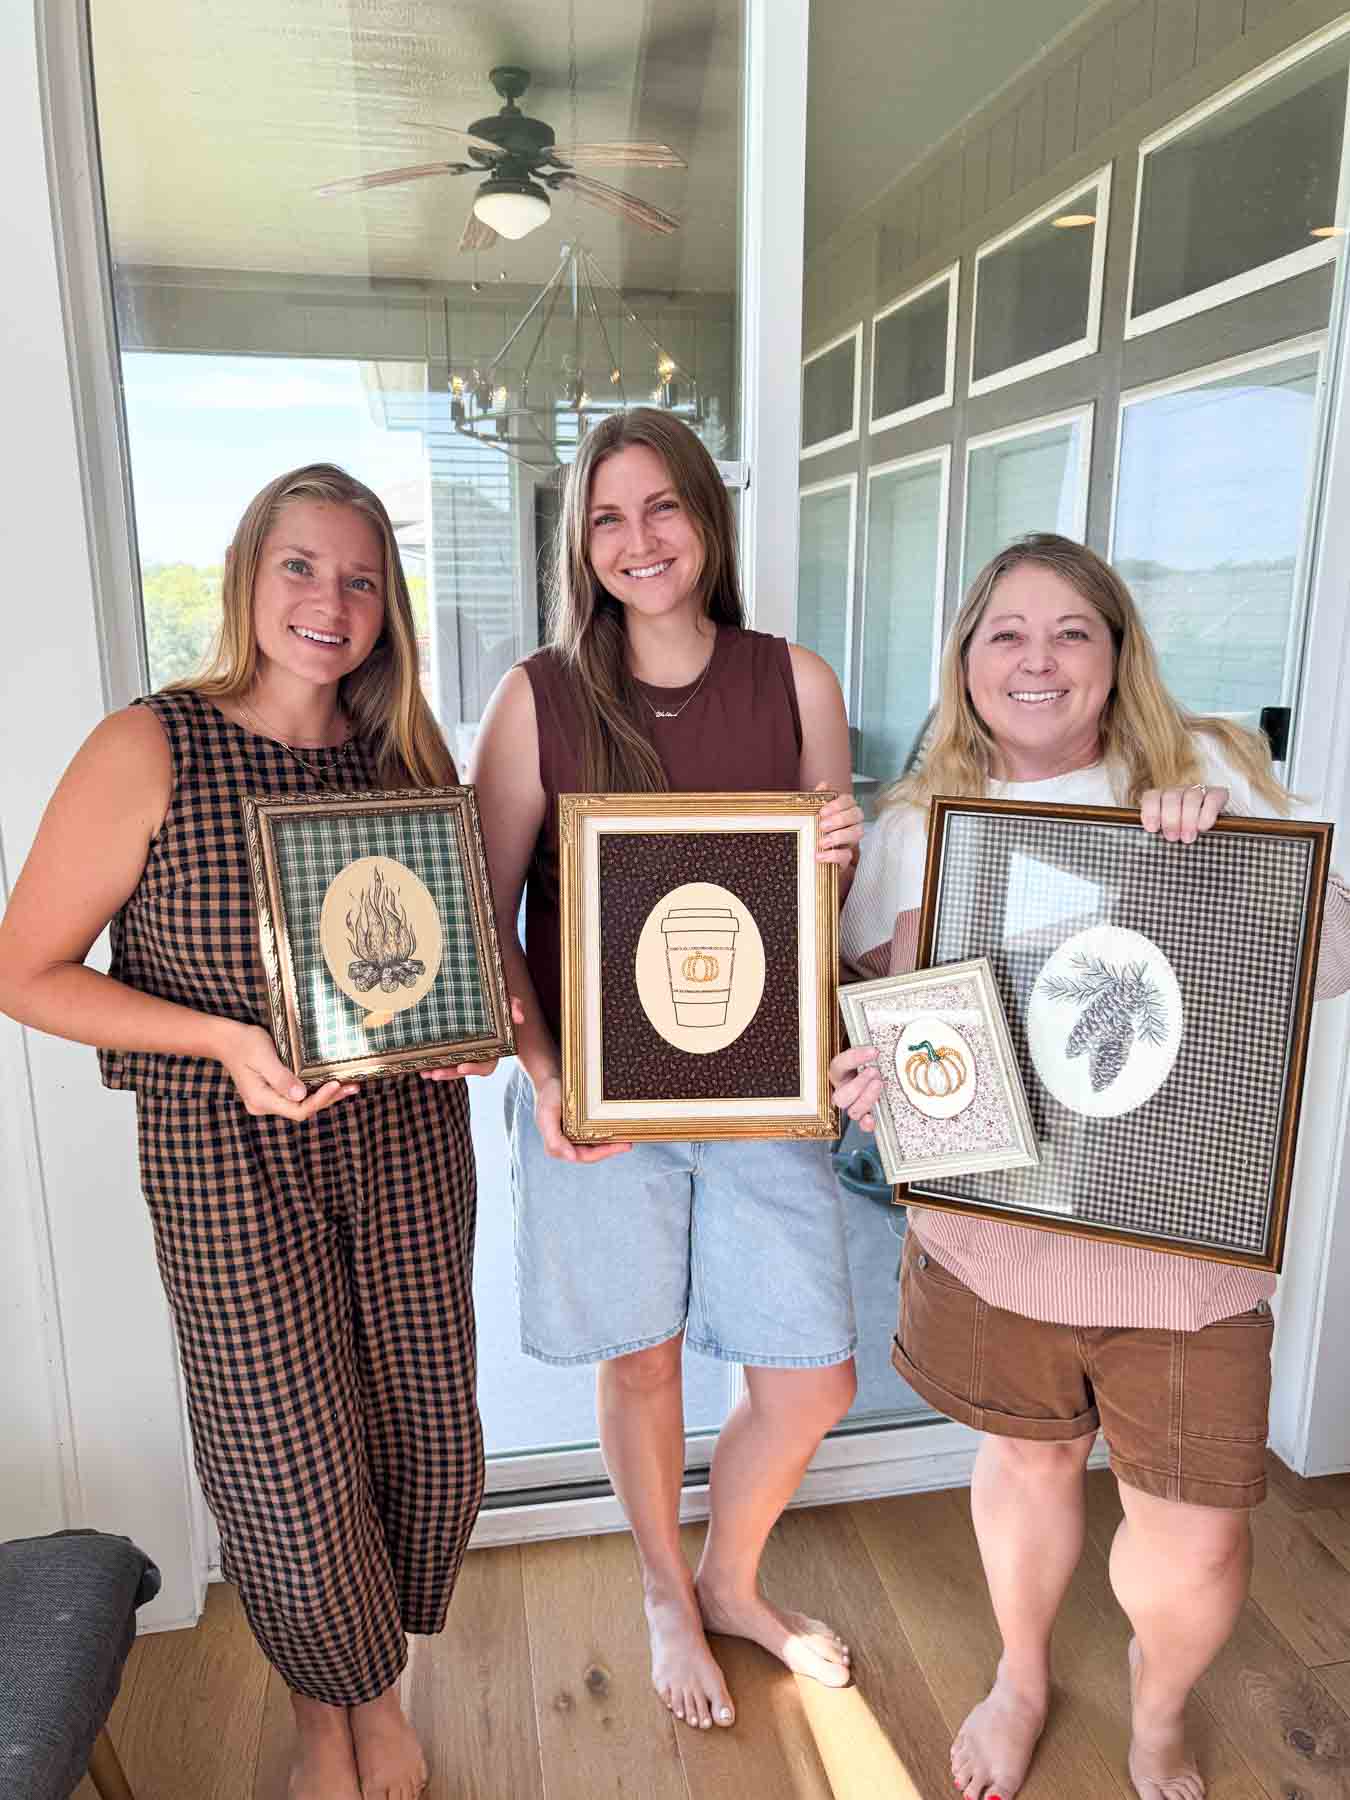
I love doing cozy girls nights during the fall where you can come together, craft, and chat with some cozy snacks and drinks! In the past we’ve done things like making sweater pumpkins, cozy sweatshirts, and even mug candles!
This year I wanted to do a girls night craft that would be easy enough that even my non-crafty friends could do, and these fall frames are so perfect for that! They’re also super budget-friendly, especially if you just have people bring extra craft supplies they have laying around at home!
One of my favorite things about this craft is that they’re super customizable as well so people can choose the fabrics they want, the sketches they want, and how to decorate! So while everyone is going home with a framed fabric sketch, they are all going to look a little different and be perfect for your own home!
Supplies
Supply Notes
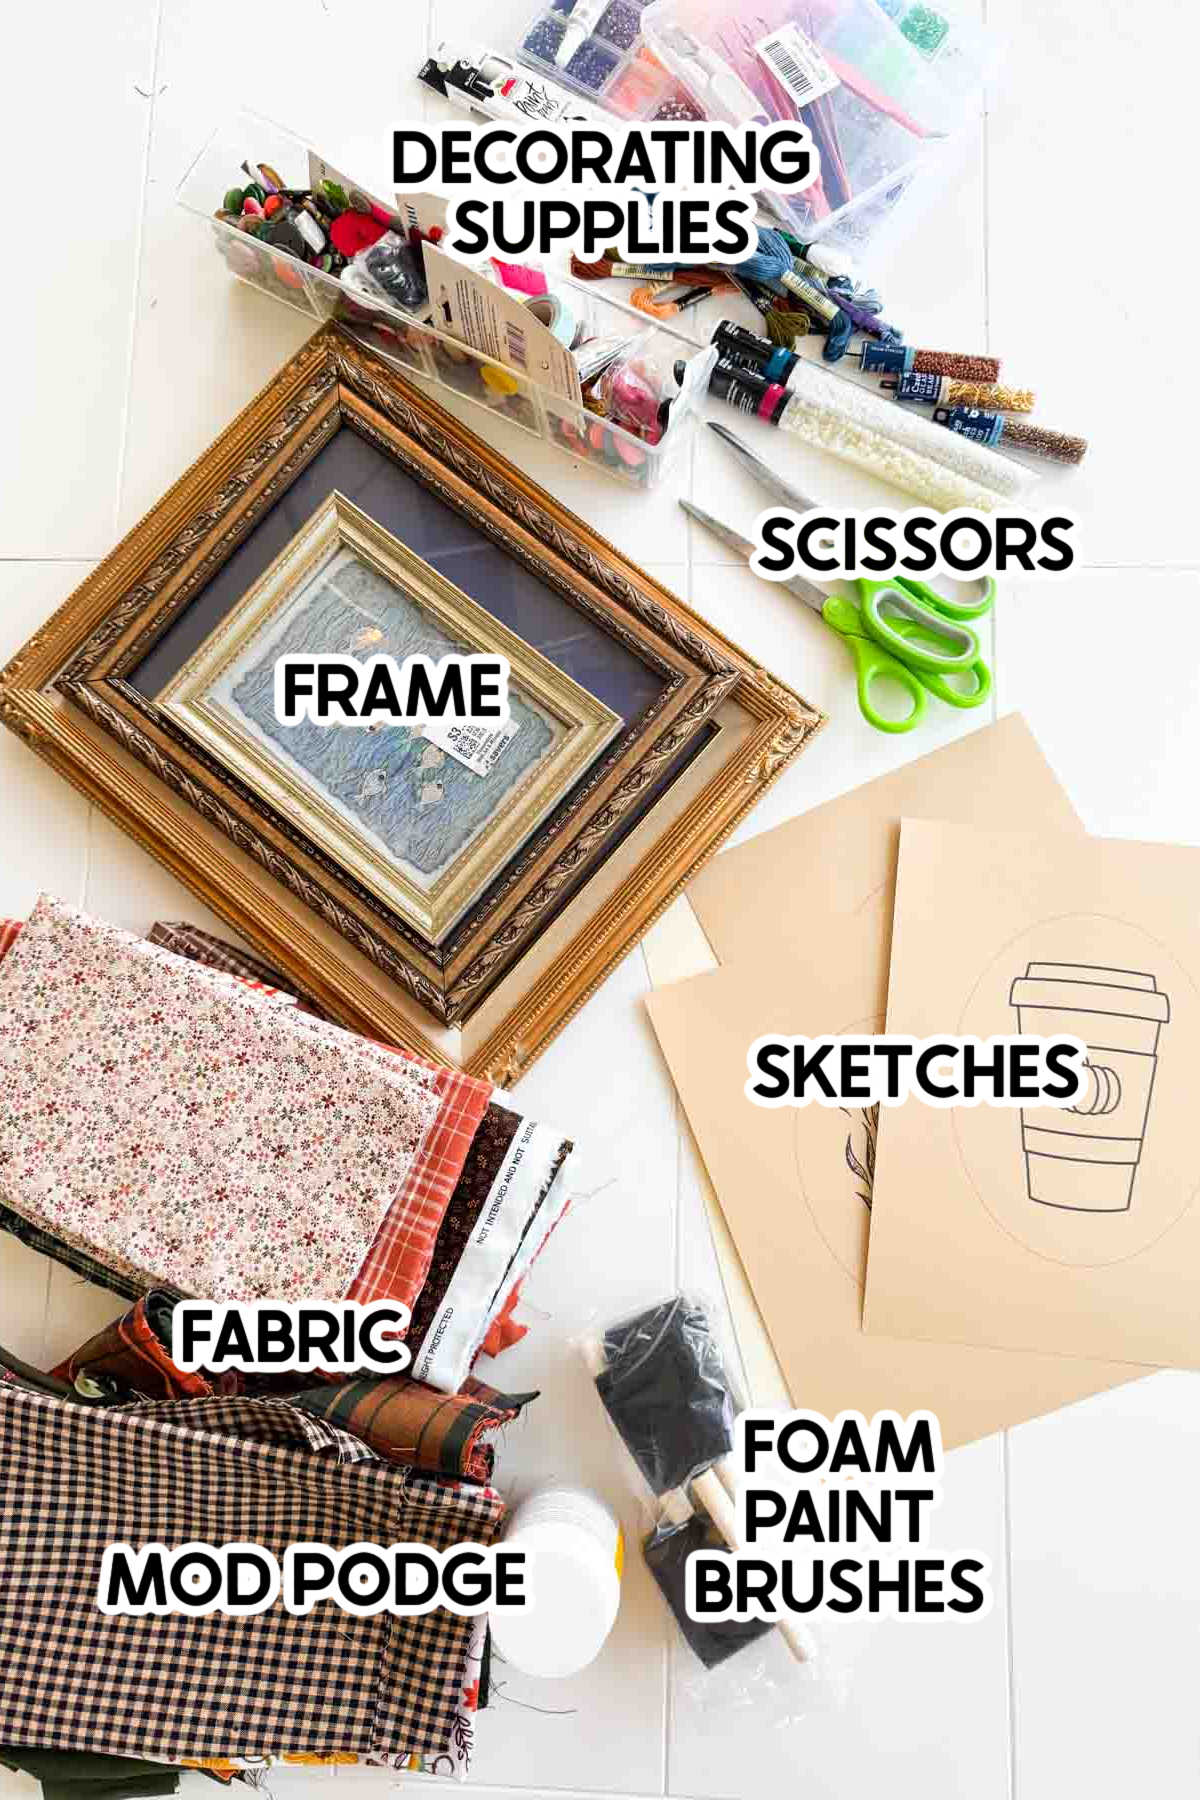
- Fabric Scissors – I love these Ginghers so much. They’re the gold standard in fabric scissors and if you only use them on fabric, they’ll last forever. I just checked and I bought mine in 2013 and they’re still going strong.
- Frames – we grabbed old frames at a thrift store but you can use any frames you want!
- Fabric – choose any fall fabrics that you want. The amount of fabric you’ll need will depend on the size of frame and sketches that you’re using. You’ll want enough to cover the picture in the center and fold over about a 1/2 inch on all sides. So if the frame size is an 8×11 picture, you’ll want fabric that is at least 9×12 (1/2 inch extra on all sides). When you’re choosing fabric, I recommend doing fall designs that have small patterns that are just going to complement and not take away from the sketch itself.
- Card stock paper – I would do something that goes along with your fabric colors. I purchased this pack of fall card stock so people had choices!
- Sketches – I personally used Canva to create the printed out sketches that we wanted to use. You can get the Canva templates we used here, but you’ll likely want to customize those on your own, and I’ve included details on doing that later in this email.
- Bedazzling supplies – this pack of bedazzling supplies is perfect for adding some bling and dazzle to your frames. It comes with a bunch of fall colors. If you’re doing this as a girls night, I recommend grabbing an extra set of these wax pencils and trays too so people don’t have to share!
- Thread – we used embroidery thread that matched the color of the sweaters. You could also just use sewing thread, but I personally think the thicker thread does a better job of pulling in the pumpkin sections and won’t break as easily! You can either have people bring thread that matches their sweater or buy an affordable pack like this with a million colors – they’re likely to find something that matches!
- Needles – if you’re planning to embroider your pictures, you’ll also need some embroidery needles!

Optional Additional Supplies
Depending on the frame that you choose and how you want to decorate your sketch, you may also need to grab some thin cardboard as well. It can be tricky to embroider through the cardboar
- Cardboard or foam board – if you want to embroider your design, you’ll likely want to grab either a piece of cardboard or light foam board to use instead of the standard piece of wood that comes in the picture frame. It’s hard to embroider through the thicker frame backings. If you’re going to bedazzle, no need to grab this.
- Other decorating supplies – I’ve included supplies for embroidery and bedazzling, but you can absolutely use anything else you want too. You could even just have people bring random craft supplies to use to decorate.
How to Make Fall Fabric Frames
Here’s everything you need to know about making these sweater pumpkins. If you get lost, feel free to look at the video example at the bottom of this post or the pictures to help you figure it out. I promise they are really beginner friendly! Let’s get started.
1 – Choose and Create Your Sketches
The first thing you need to do is choose, create, and print your sketches. I’ve created a file full of a bunch of fall sketch templates that I’ve put together in Canva you can start with or you can find and create your own!
I did not create a downloadable PDF template because you’ll want to customize the size of the sketch to your frame. I recommend having at least 1/2 inch to 1 inch (depending on your frame size) between your sketch and the circle outline. And then make sure to keep the circle itself small enough that you have at least 1-2 inches of fabric around the design since the fabric adds the color and texture to the frame.
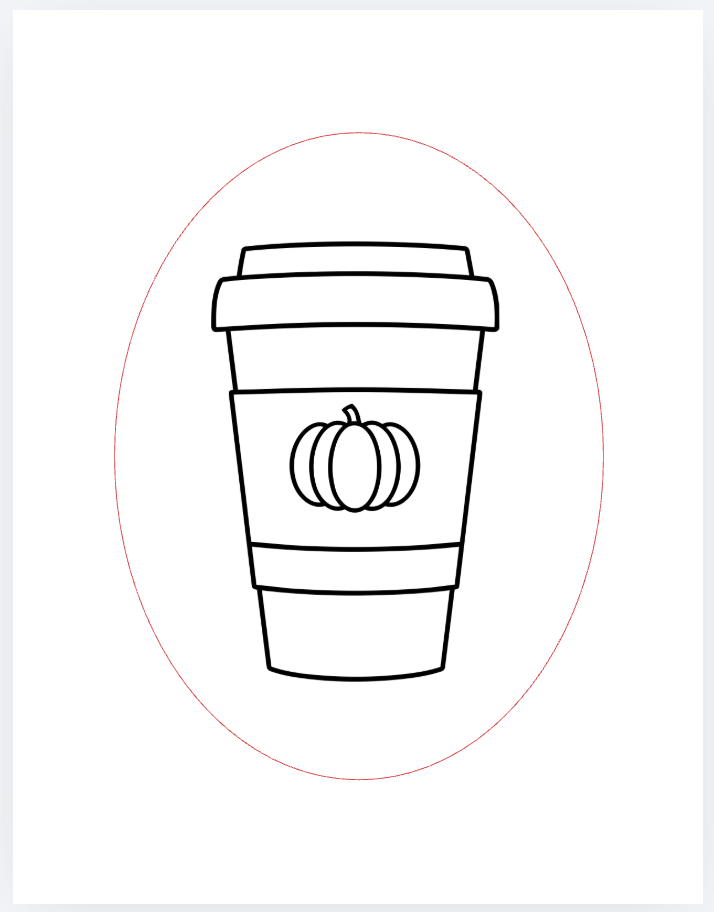
As an example, if you have a standard 8×11 frame, I did a 6″x8″ oval with a 3.5″x5.5″ sketch in the middle of it.
How to Add your own sketches
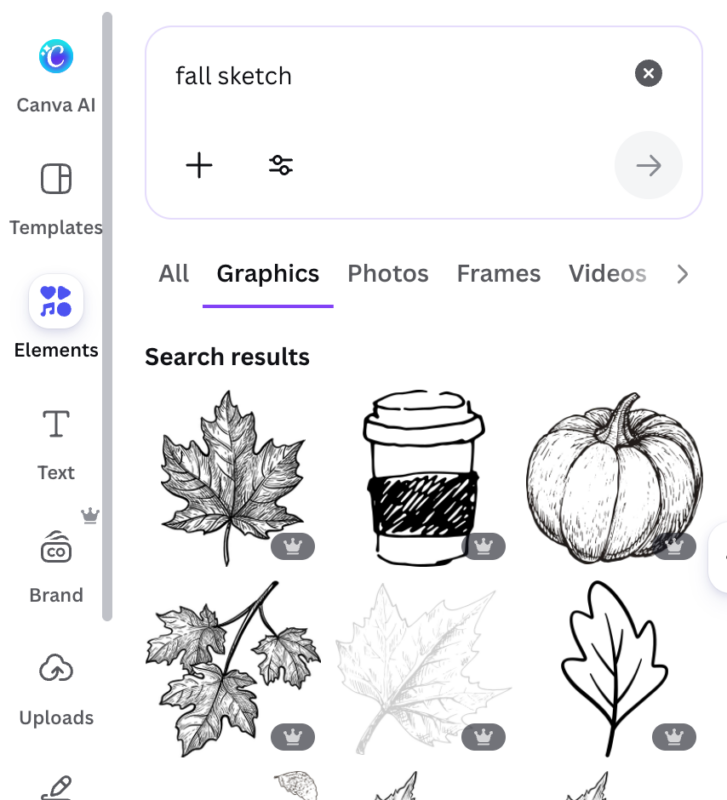
If you don’t want to use our sketches, there is a page at the end of the Canva template that has a blank oval you can use to add your own sketches and resize the ovals.
To find other sketches that work well with these, I recommend searching under elements for fall sketches or something specific like coffee cup sketch or mushroom sketch. Add them, resize the image, and resize the sketch itself.
2 – Add the Fabric
Before you can decorate the sketches, you have to put them in the frames!
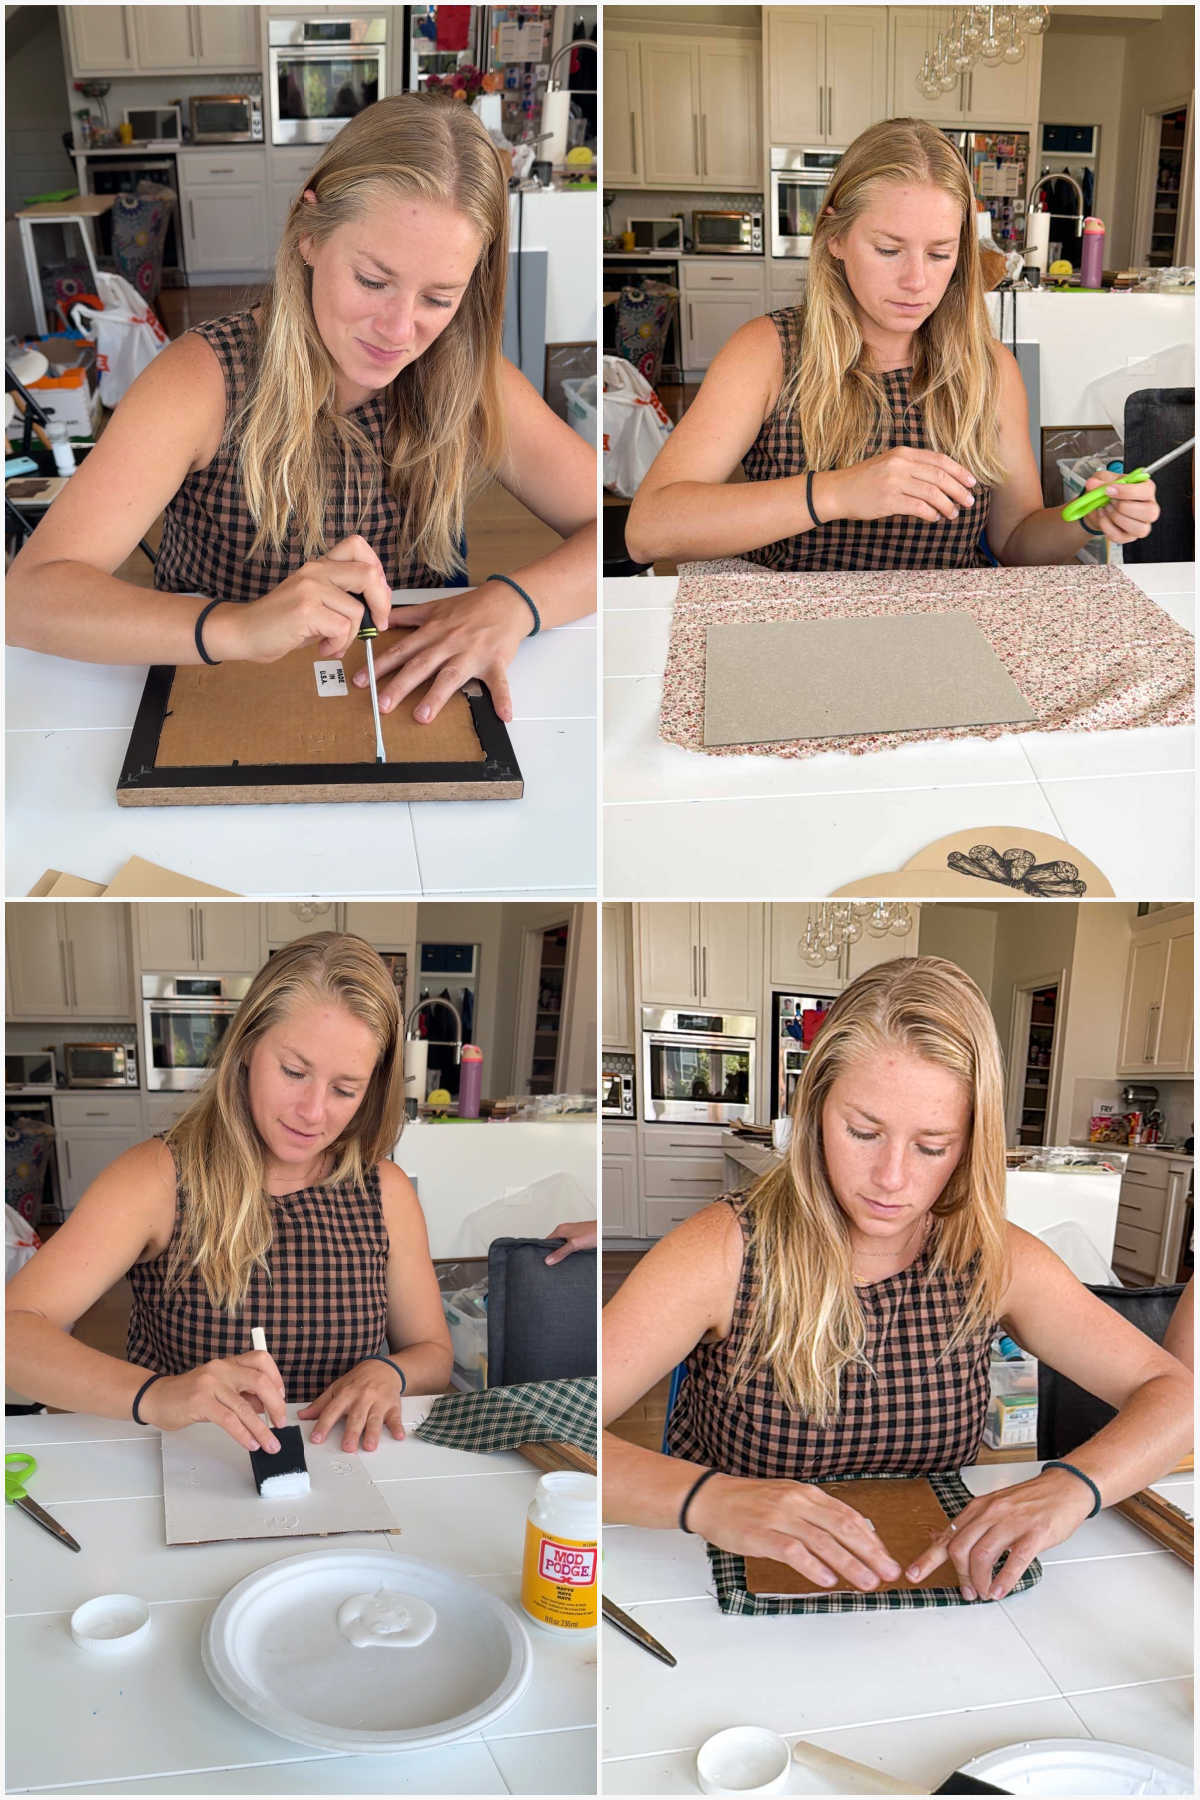
Start by taking off the back carefully using a screw driver. Remove the cardboard part and any extra things in the frame.
Then place the piece of cardboard on top of the back of the fabric and cut around it so there’s about an inch around each edge.
Add mod podge to the back of the cardboard, add the fabric on top of the mod podge, and press it down to smooth out the fabric onto the cardboard. Then flip it over, add a little mod podge around the outside edge of the cardboard, and fold over the remaining fabric and press it down.
Tip!
If you’re planning to use embroidery, I recommend using either a light piece of foam board or cardboard instead of the wood that comes in the picture frame. That wood is often too thick to embroider through without a lot of effort and that makes this way less fun!
3 – Cut and add the sketch
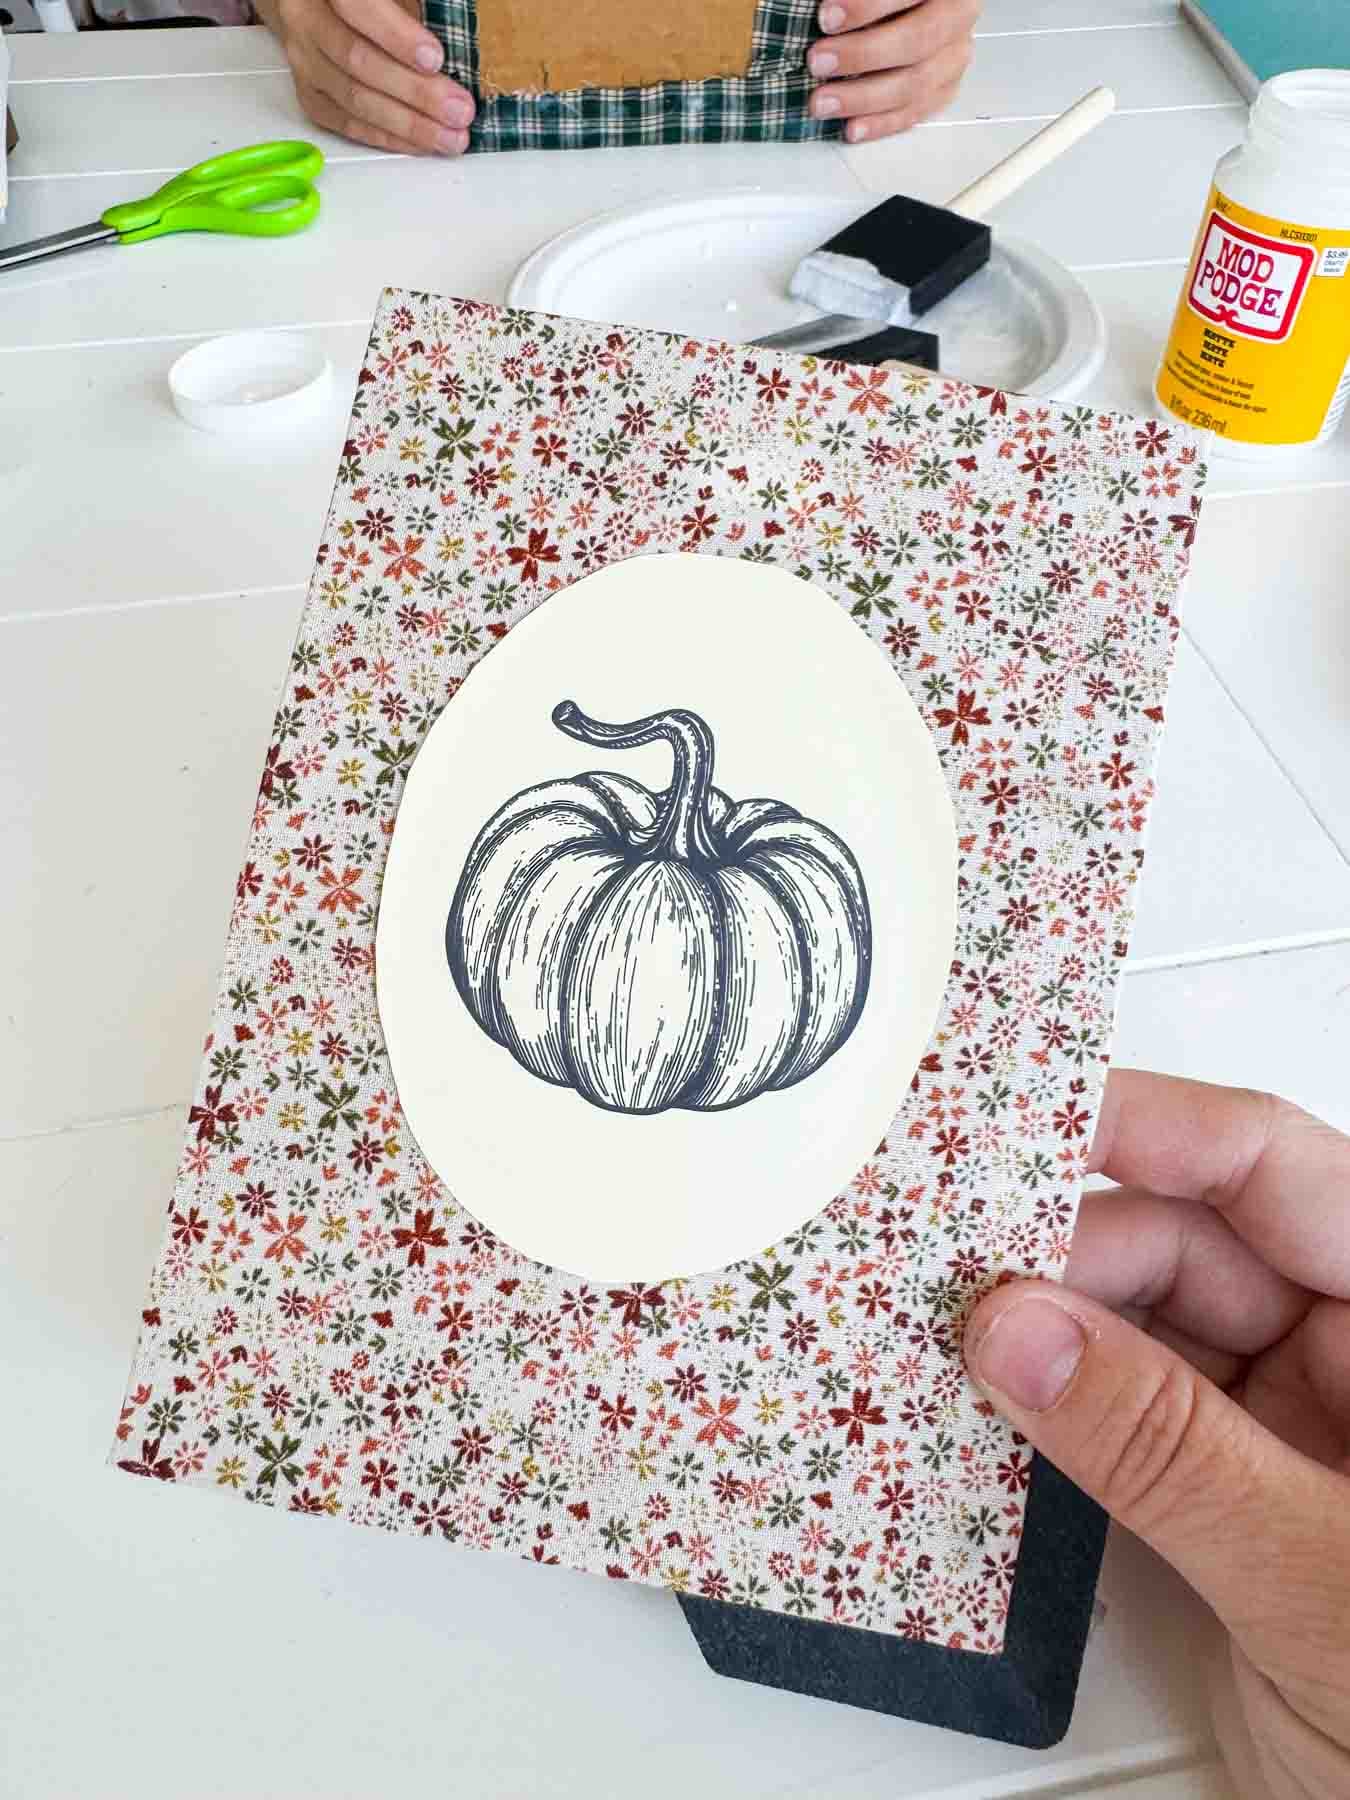
Once you’ve printed out your sketch, cut around the oval. Then use mod podge to attach it to your fabric backed cardboard.
4 – Decorate
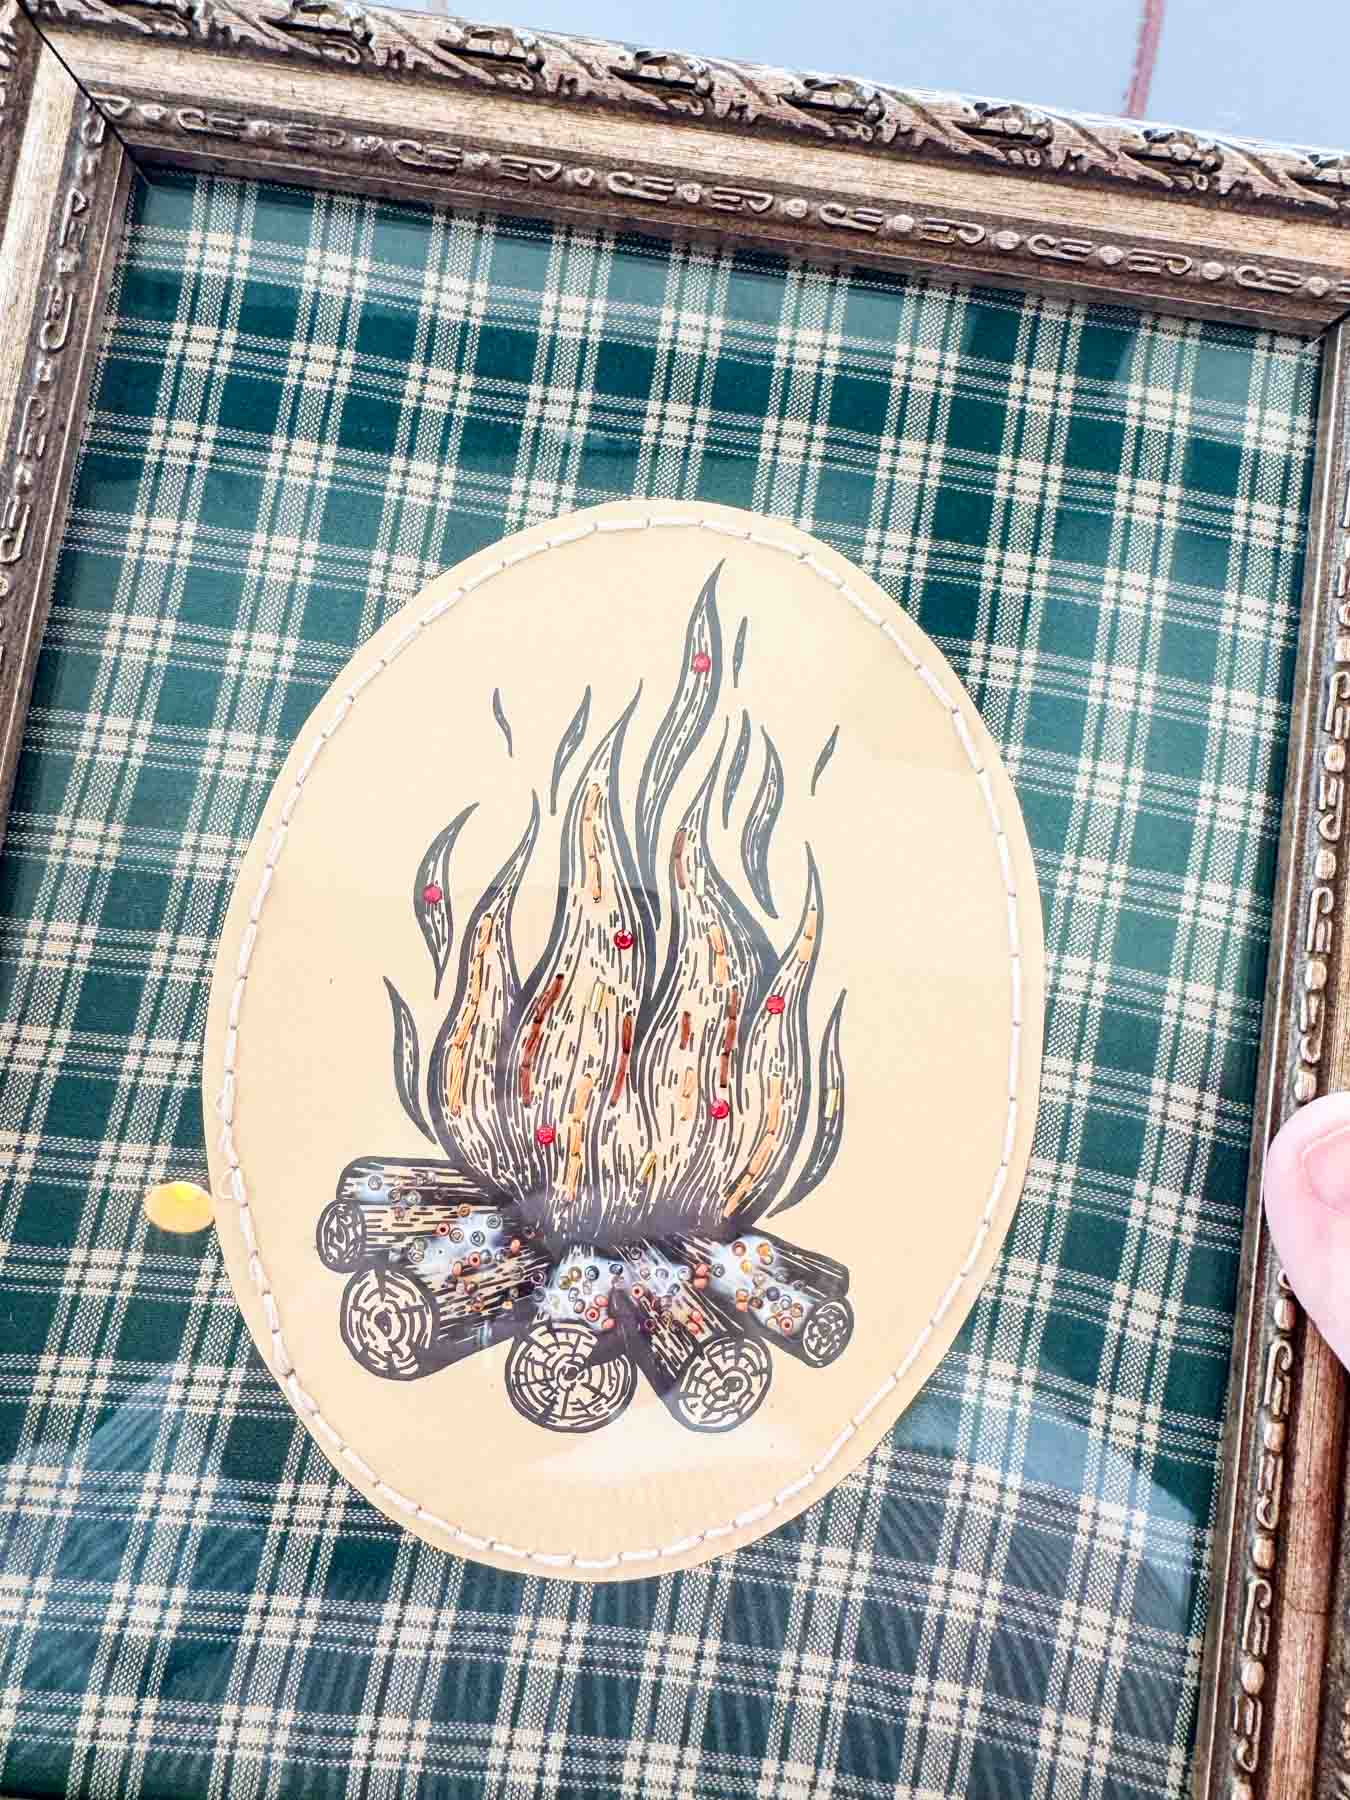
Now’s the fun part! Decide how you want to decorate and spend the rest of your time decorating! You can bedazzle, embroider, or really do anything else you want.
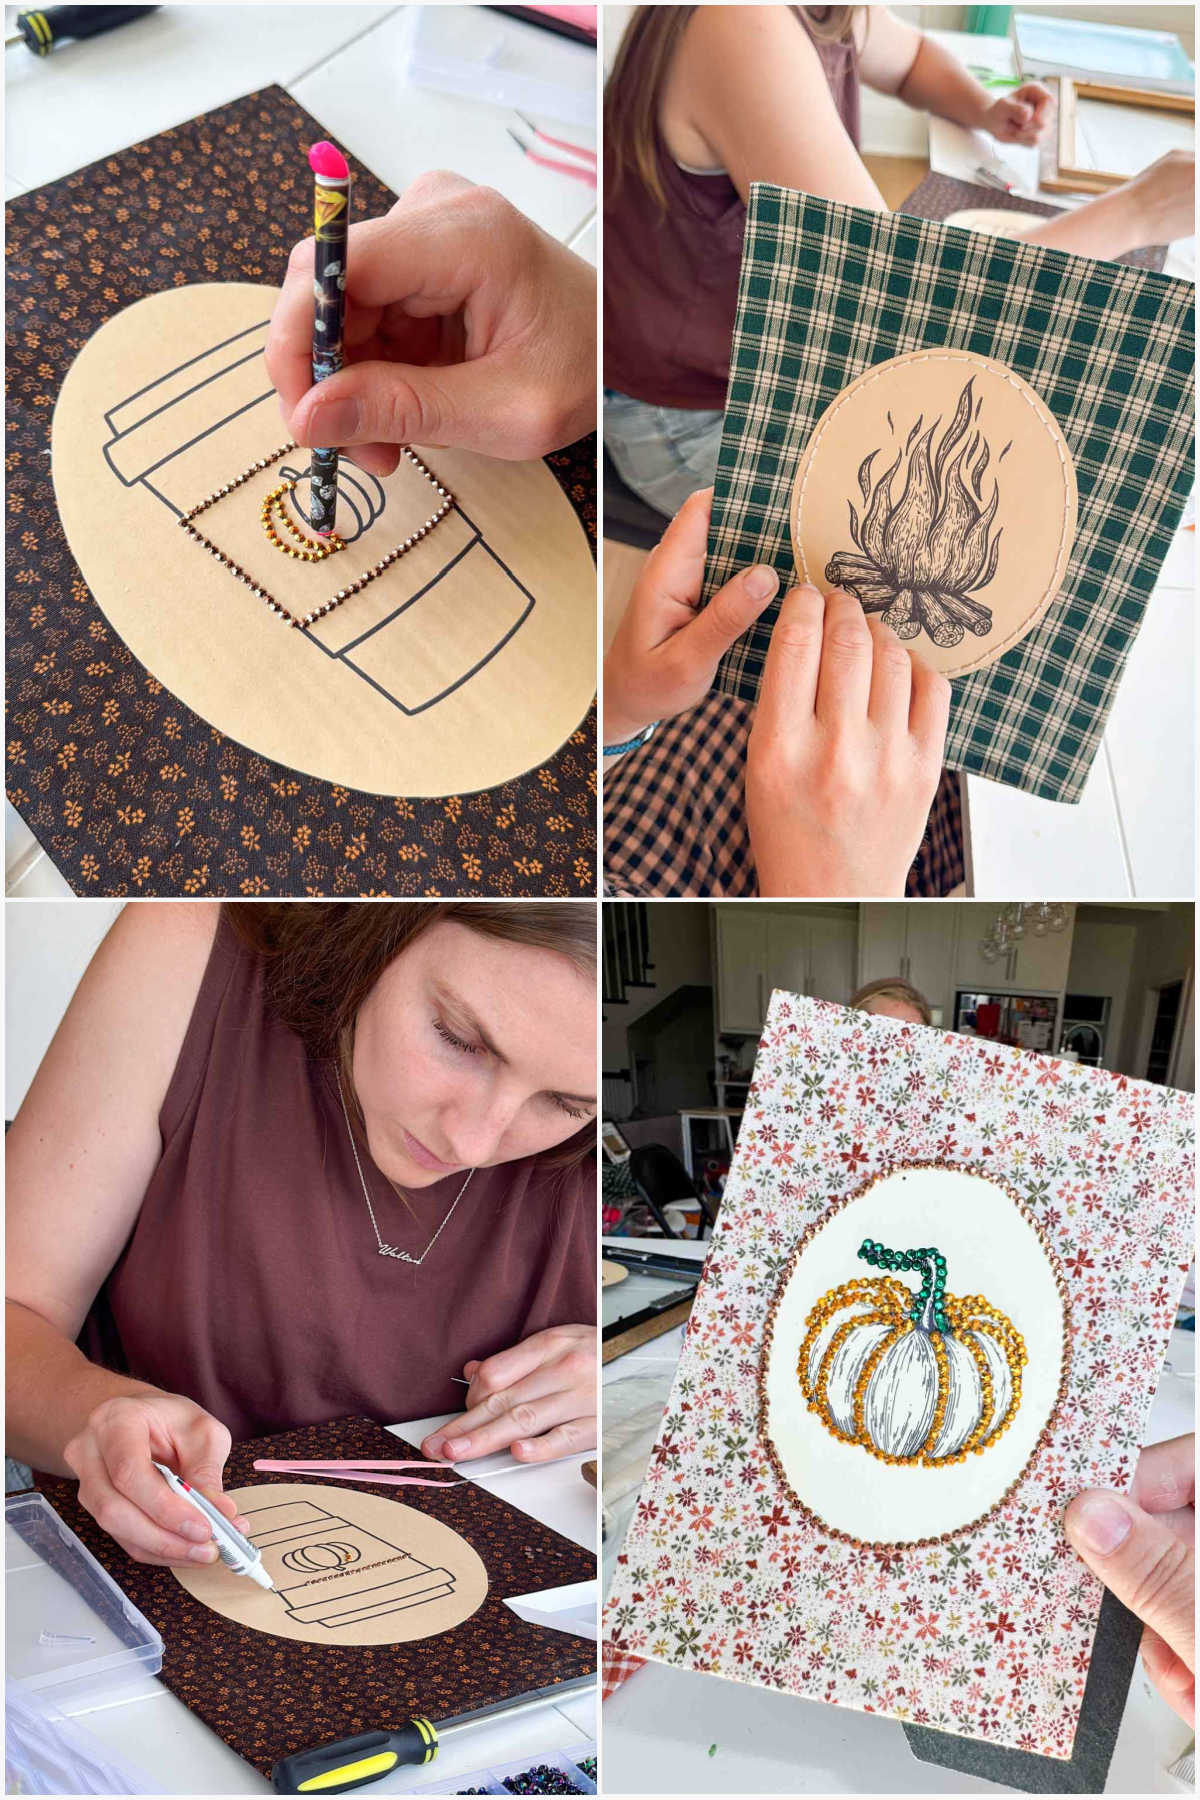
Once it’s completely decorated, put it back into the frame and put the back on and display your pretty frame!
Expert Tips
Make sure to leave enough space around your sketches to show off your fabric. The combination of the fabric and the decorated sketches is what makes these so fun!
Feel free to use a combination of different craft materials to decorate. Some of our favorite designs combined an embroidered border with beaded and bedazzled sketches!
Stick with fabrics that have small patterns so they don’t conflict with the sketches. Small patterns will complement nicely without taking away from the overall design.
More Easy Fall Crafts
If you like fall crafts, you have to try out these fun ideas next!
- Rope pumpkins – cute pumpkins made out of dollar store materials!
- Apple craft – simple apple craft using popsicle sticks and paper!
- Scarecrow craft – another simple craft using popsicle sticks and glue!
- Pumpkin patch craft – a fun one for the entire family!
- Turkey crafts – tons of turkey craft ideas for all ages!
Fall Fabric Sketches
Ingredients
- fall card stock
- sketch
- fall fabric
- bedazzling supplies
- embroidery thread
- frames
- mod podge
Instructions
- Choose, size, and print your sketch from Canva (or elsewhere on colored card stock.fall card stock, sketch
- Take off the back of your frame and remove the back and the cardboard center.frames
- Add mod podge to the back of the cardboard, add the fabric on top of the mod podge, and press it down to smooth out the fabric onto the cardboard.mod podge, fall fabric
- Once you’ve printed out your sketch, cut around the oval. Then use mod podge to attach it to your fabric backed cardboard.
- Decide how you want to decorate and spend the rest of your time decorating! You can bedazzle, embroider, or really do anything else you want.bedazzling supplies, embroidery thread
- Once it’s completely decorated, put it back into the frame and put the back on and display your pretty frame!
Tips & Notes:
Want More Fun Ideas?
Want more fun ideas like this one? Enter your first name and email address in the form below to join the Play Party Plan community! You’ll receive weekly recipes, party ideas, games, and more directly to your inbox!












Leave a Reply