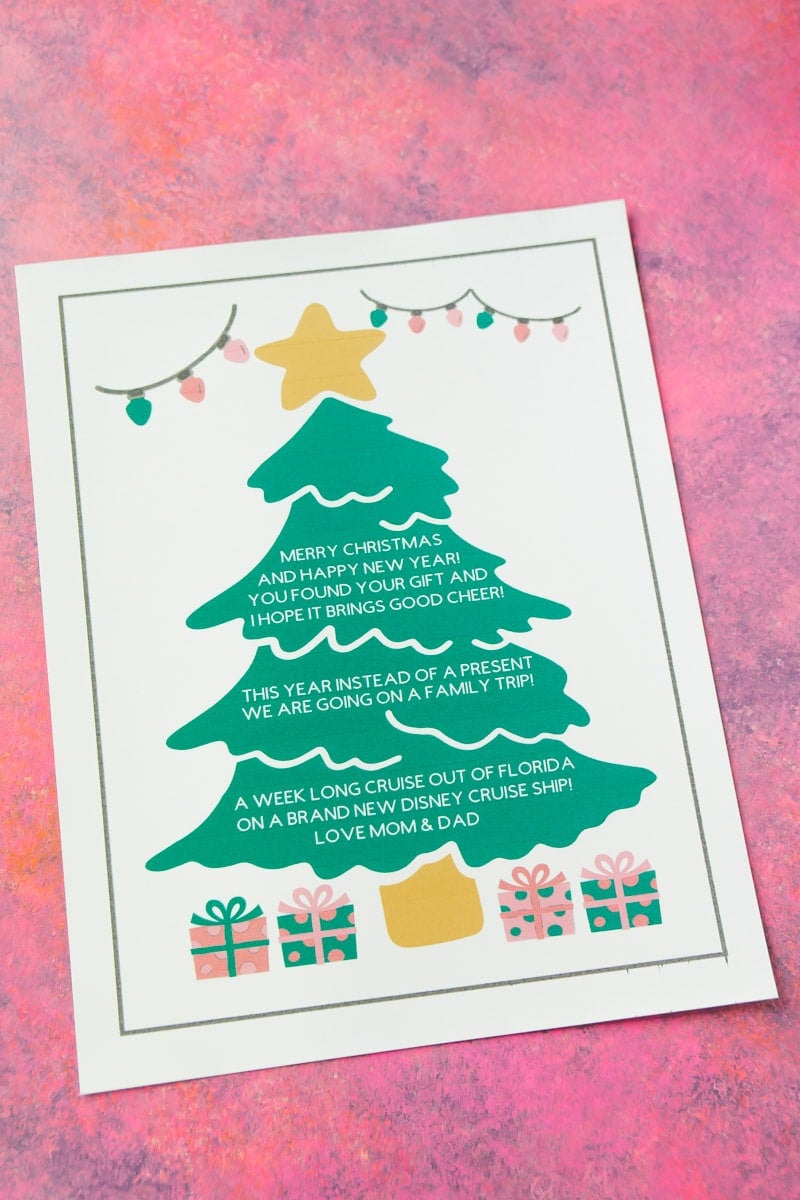
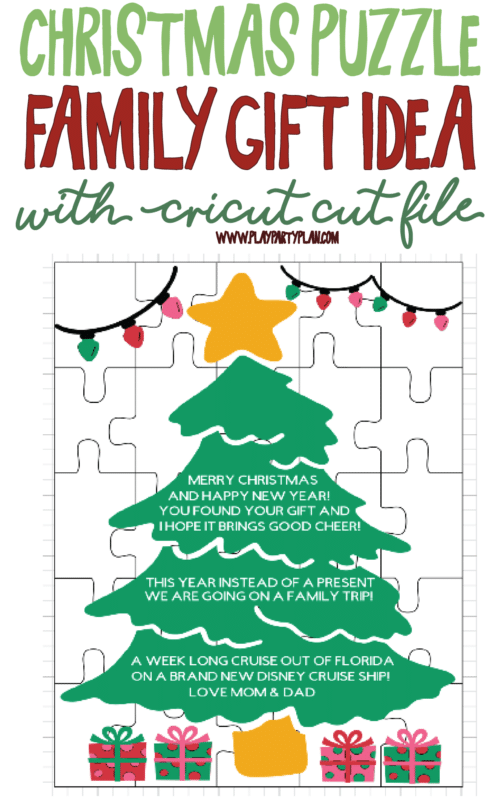
This Christmas puzzle makes one of the best family Christmas gifts because not only does everyone have to solve the puzzle together, the puzzle itself reveals a gift for the entire family!
While this post is sponsored by Cricut, all opinions and ideas are 100% honest and my own. This post also contains affiliate links, if you purchase via these links, I may receive a small commission at no additional cost to you.
Fun Family Christmas Gifts
As my siblings and I were getting older, my parents started giving us joint family Christmas gifts instead of individual gifts. We’d still get a few gifts each but the big gift for the year would be a Christmas gift for the entire family instead. Often times it was a family trip and other times, it was something we could all use together – like a trampoline.
Now that I’m an adult and grown, I’ve actually turned the tables on my parents a number of times and gotten together and bought my parents a family gift with the help of all of my siblings instead. We did a cruise one year and have done a couple of different bigger gifts we knew my parents would love.
There’s just something about opening big family Christmas gifts that’s way more fun than individual ones.
I thought it’d be fun to amp it up a bit with a fun way to gift the best family Christmas gifts – a puzzle that your family has to put together that reveals the gift!
Want to save this Idea?
Enter your email below and we’ll send this idea straight to your inbox (plus you’ll receive tons of fun weekly ideas from us!)
A Christmas Puzzle Family Christmas Gift
I thought it’d be fun to amp it up a bit with a fun way to gift the best family Christmas gifts – a puzzle that your family has to put together that reveals the gift! So instead of just giving someone the big gift to unwrap together, they either get the puzzle and have to put it together or they have to do a hunt to find the puzzle pieces first and then put it together.
And did you know creating a puzzle is super easy with a Cricut Maker, the new knife blade, and a little chipboard? Takes a bit of time to cut, but the final result is a sturdy puzzle you can keep as a reminder of a fun Christmas memory for years to come!
I created a template that you can use – simply replace the final stanza in the poem with your own Christmas gift if yours isn’t a Disney Cruise for the family. That’s not ours either this year (we did a Christmas one last year), but I didn’t want to give it away in case my family reads this blog post!
Christmas Puzzle Supplies:
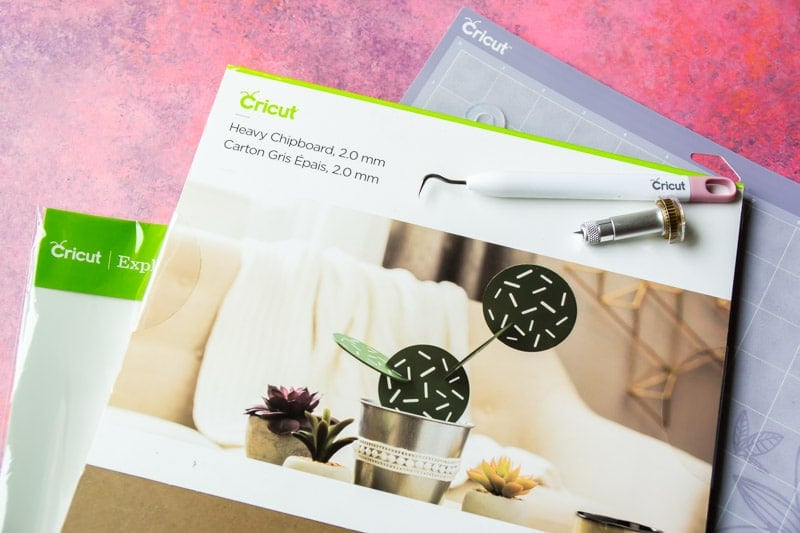
Like I mentioned, it really doesn’t take much at all to create the puzzle with your Cricut Maker. Here’s what you’ll need:
- Cricut Maker (the knife blade only works with the Maker, not any of the other machines)
- Cricut Knife Blade
- Cricut EasyPress 2
- Cricut EasyPress Mat
- Cricut Heavy Chipboard (don’t try another brand – the Cricut Chipboard was designed specifically for the Maker, you don’t want to waste time or money on something else)
- Cricut StrongGrip Mat
- Cricut Printable Iron On Vinyl (or regular Printable Vinyl)
- Making or duct tape
- Scissors
- Printer
- This puzzle gift file (already created for you)*
The puzzle gift file includes images and fonts included with a Cricut Access subscription. If you do not have a Cricut access subscription, you will be asked to purchase the images when you click “Make It” to make the puzzle. You can learn more about the benefits of a Cricut Access subscriptions and different subscription options here.
Why the Cricut Maker?
This project also only works with the Cricut Maker – not any of the other machines. The Cricut Maker is amazing and totally worth buying even if you already have a Cricut Explore! It can cut all sorts of materials from super light tissue paper to the heavy chipboard I used for this project and with the suite of tools available (and more always coming out), the accuracy and smoothness of the cuts is incredible.
I’ve only tried a few of the tools but between using the rotary tool to cut tissue paper for my son’s kindergarten class, the knife blade to cut the chipboard in this project, and the fabric blade for cutting fabric – I’ve been impressed through and through. I honestly can’t wait to see what else they come up with!
And if you’re a sewer, using the Cricut Maker to cut fabric is a no brainer. That’s how I cut out the decals for my DIY superhero costumes for Halloween this year! And if you don’t want to create your own designs, there are 50 ready to make sewing projects available to make even the non-sewing folks like me, feel like they can sew!
How to Make the Christmas Puzzle Gift
Since I’ve already created the file for you, recreating this puzzle should be a cinch using the file provided.
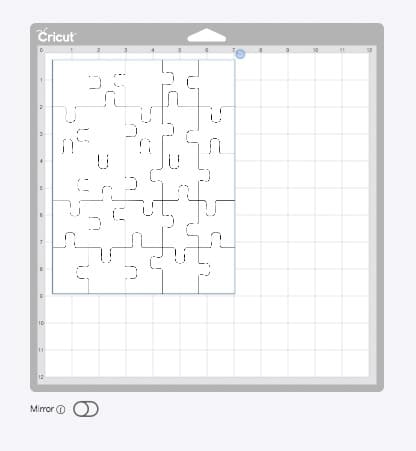
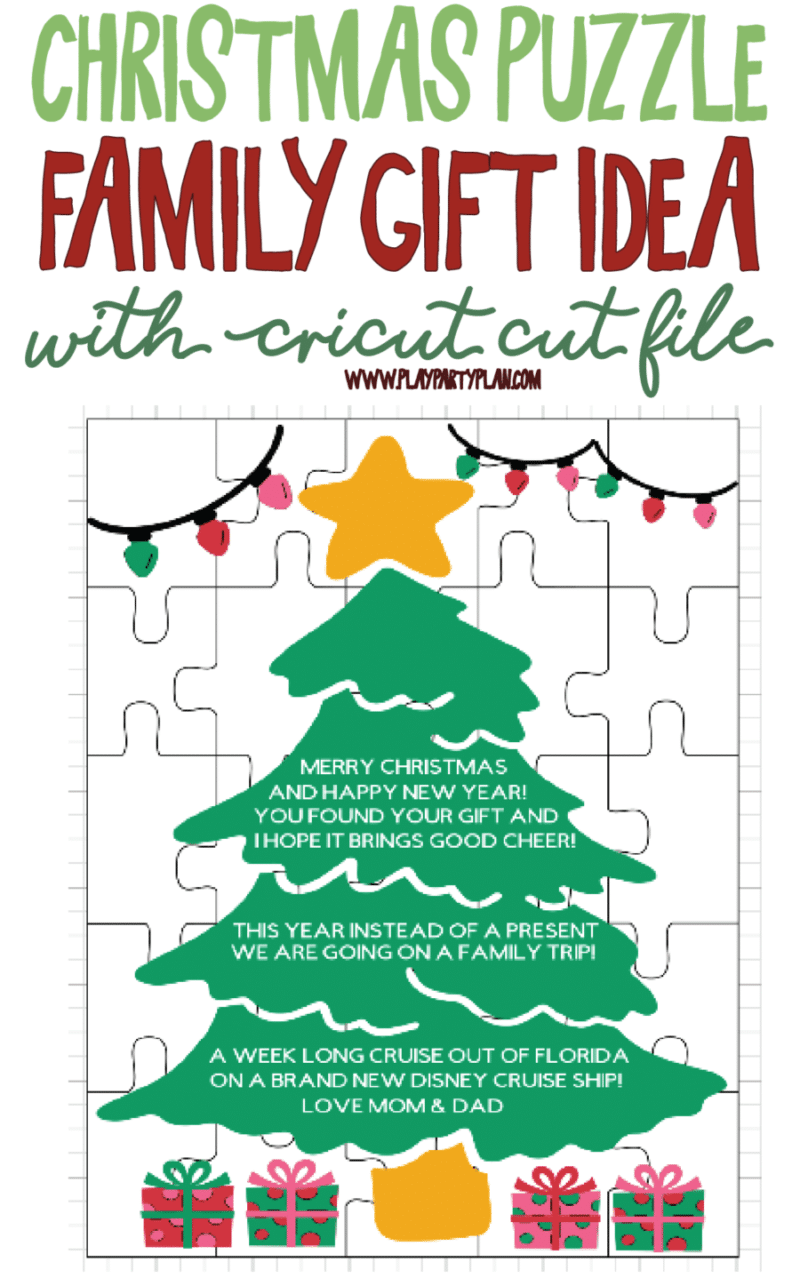
1 – First things first, open the file. The file should look like the image below with the puzzle on one side and the puzzle image on the other.
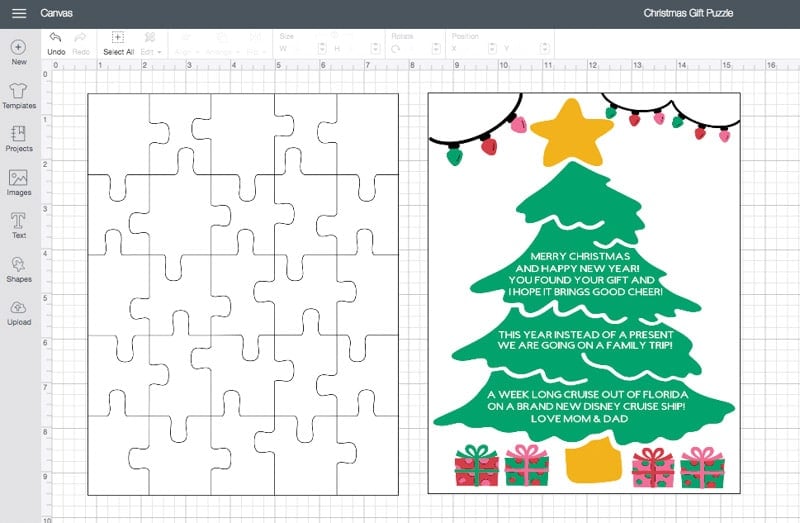
2 – Click on the last two sets of text on the Christmas tree and update with whatever gift you’ll be giving your family. I recommended leaving the font size as is so it’s not too small on your puzzle.
3 – Select all of the puzzle image (leaving the puzzle pieces alone) and right click and select “Group.” This will group all of the image pieces together so when you’re moving them nothing gets left behind. Then click on the image again and select Attach. This will attach all of your puzzle pieces making them print properly (instead of getting all moved around when the page loads the print job).
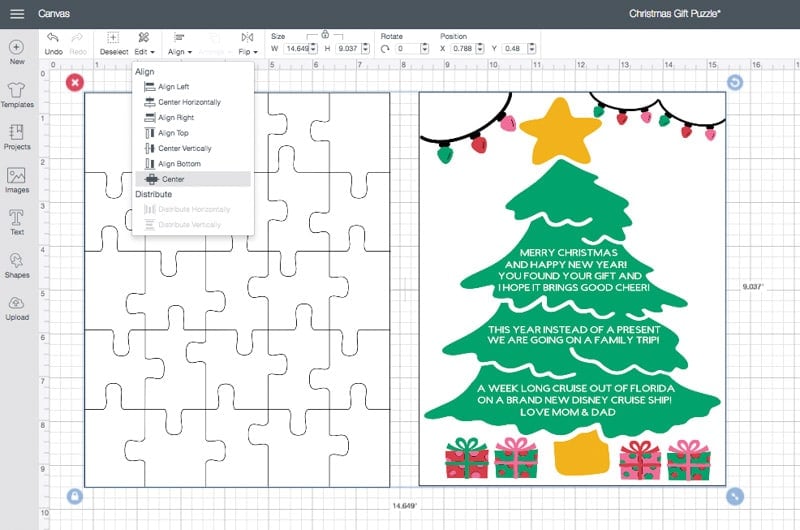
4 – Click on the puzzle pieces image and the actual Christmas tree image and select the Align > Center option to align the two images exactly.
5 – Click Make It and follow the prompts to print the design on Cricut printable iron on. Or if you don’t have an EasyPress 2 and would rather just stick it to the chipboard, you can also try it with regular Cricut printable vinyl. I like the seal you get with the iron on, but for something more short-term, it likely will work with the printable vinyl as well.
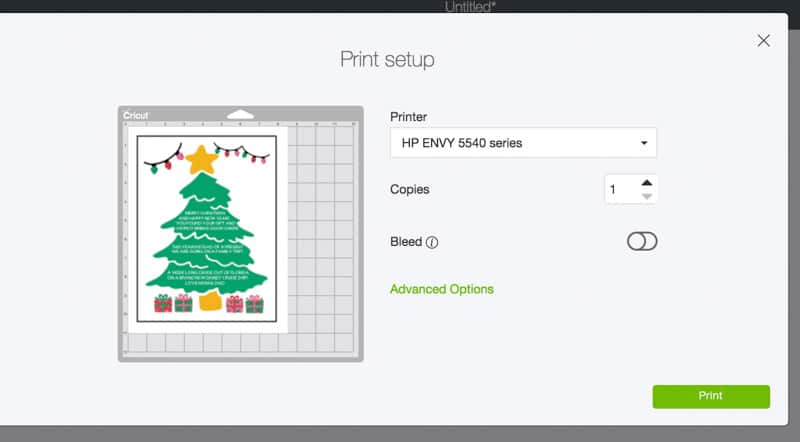
6 – Use scissors to cut around the big black box on the vinyl. You could totally put that into your Cricut and cut it that way, but it’s a rectangle. It’ll take you longer to get it on the mat and setup than it will to cut out the rectangle.
7 – Remove the backing from the printable iron on and place the vinyl, design side up, on the top left corner of the chipboard.
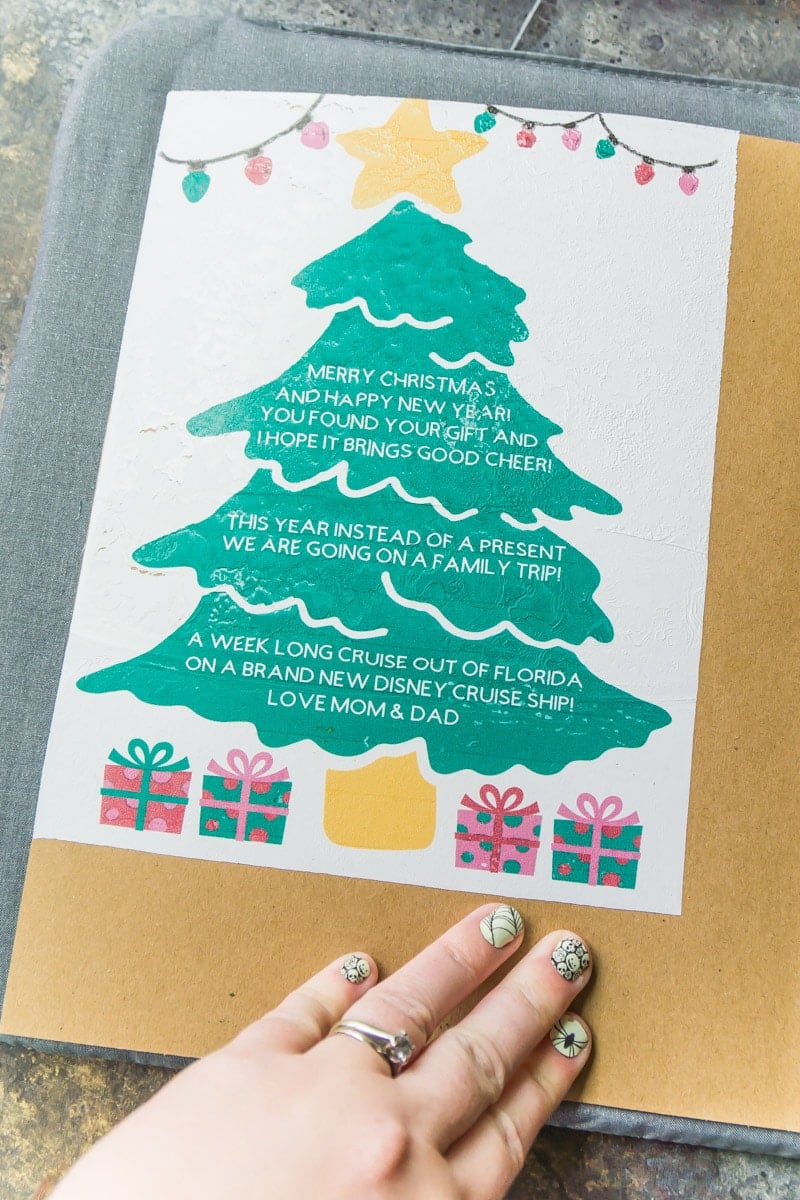
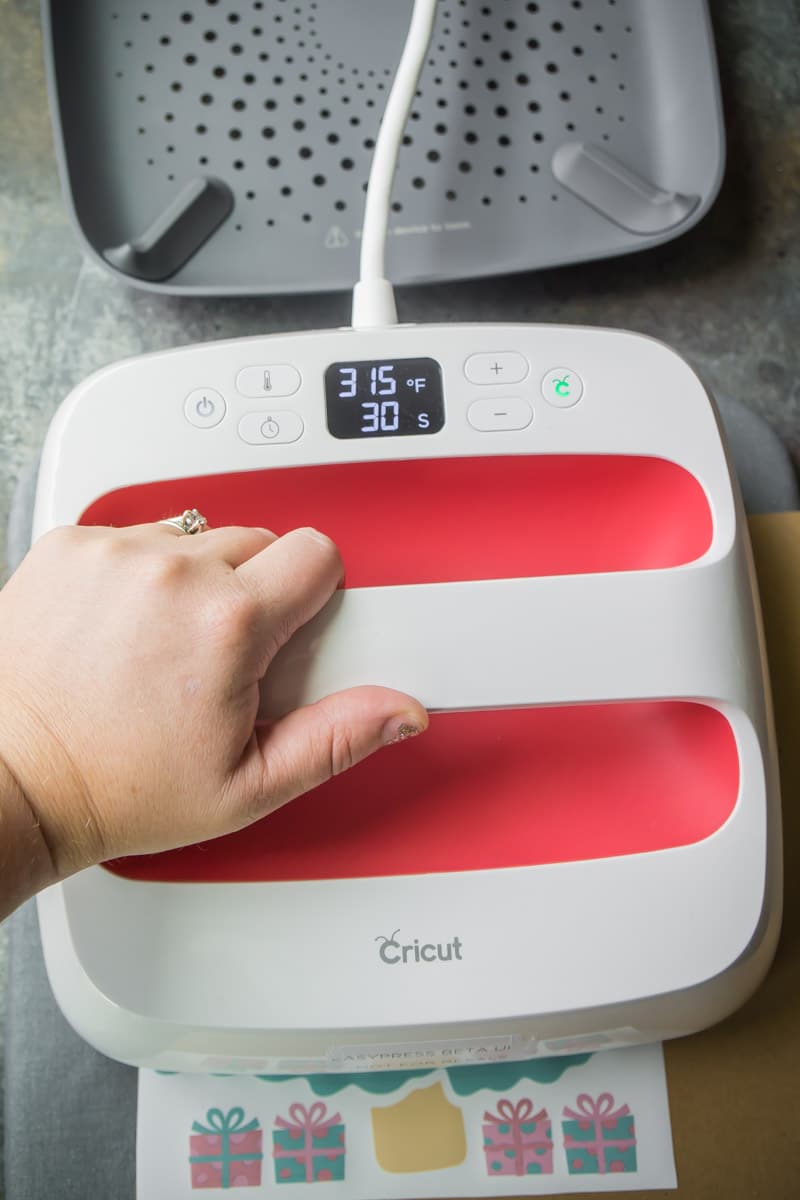
8 – Place the chipboard (with vinyl) on top of the EasyPress Mat then use the EasyPress 2 to press the iron on vinyl onto the chipboard. You can try using this awesome interactive settings guide, but I went with 315 for 30 seconds on each part of the vinyl. Just be careful not to overlap where you’ve already pressed or the vinyl might melt/shift a bit, which is totally fine because it’s a puzzle that’s going to be cut apart anyway but just a warning.
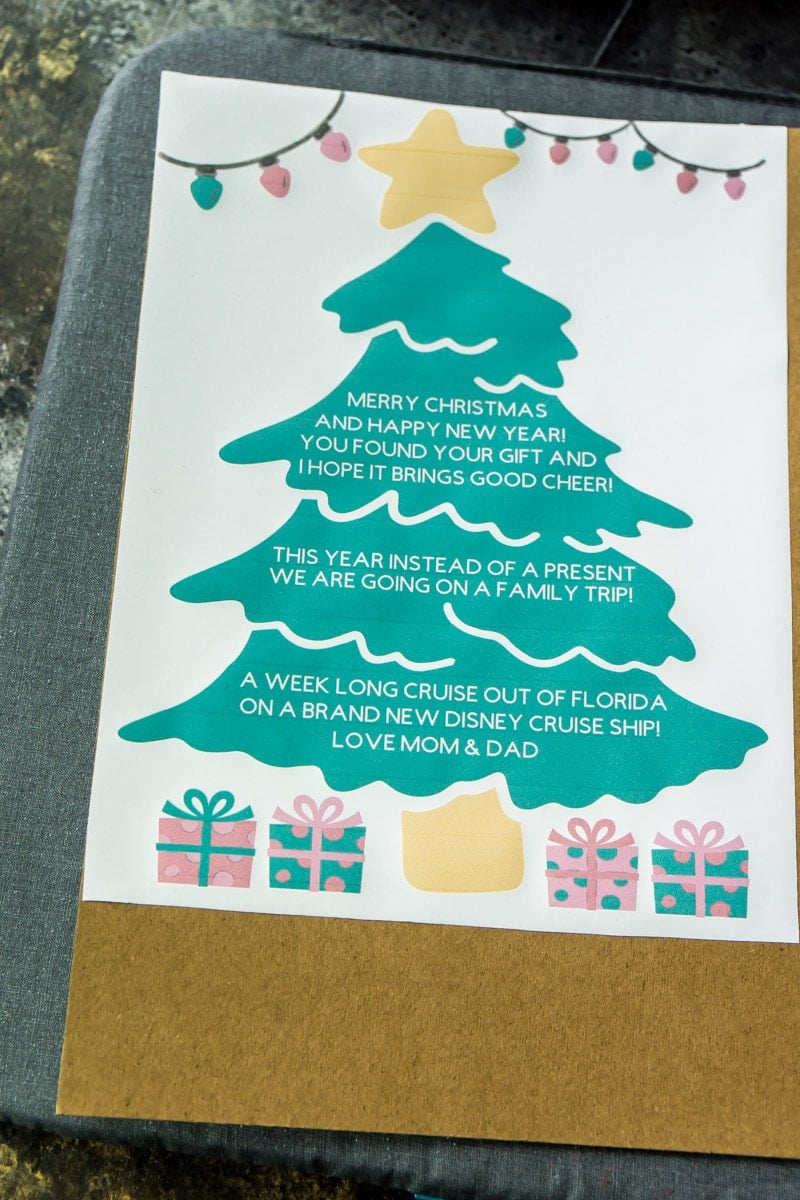

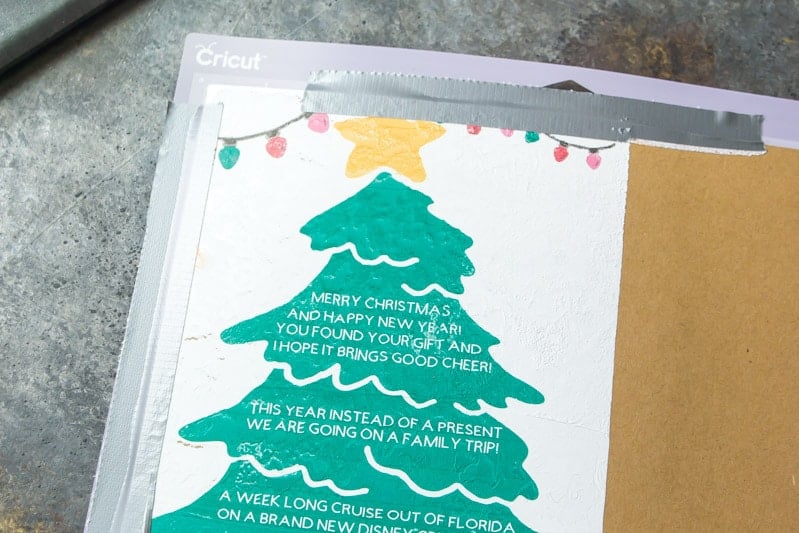
9 – Allow the vinyl to completely cool then place the chipboard onto a Cricut StrongGrip Mat, making sure to line it up just line in the picture on the Make It screen under cut. You’ll want to put the chipboard just a bit off the edges (as seen in the photo below). Tape the chipboard on using masking tape or duct tape, this will keep it secure during the long cutting process.
10 – Select Heavy Chipboard as your material, load your knife blade, then load the mat into the Cricut. Then press the flashing Cricut button and the cutting will begin.
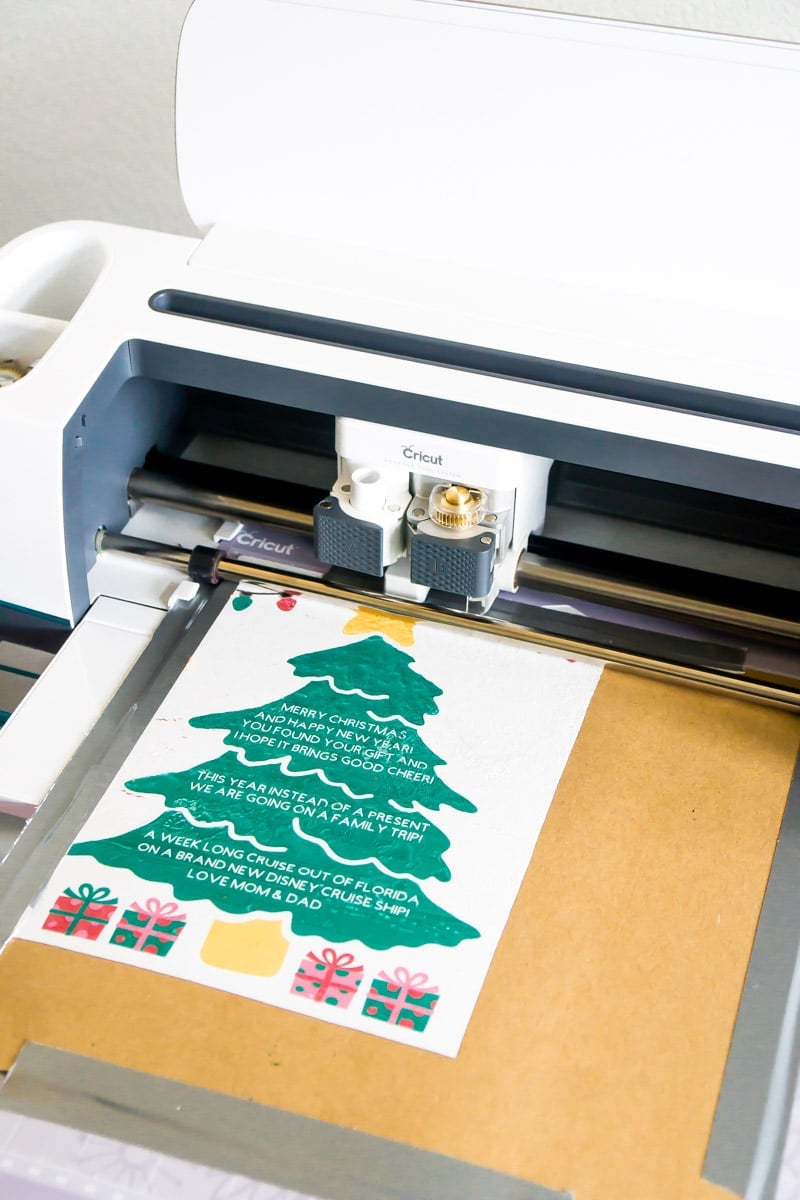
11 – Wait. And wait some more. Cutting with the knife blade is not like cutting regular vinyl or other materials with your Cricut Maker. Instead of doing one, maybe two cuts, it will set it up for 20 cuts and since it’s cutting through chipboard, those cuts are a bit slow.
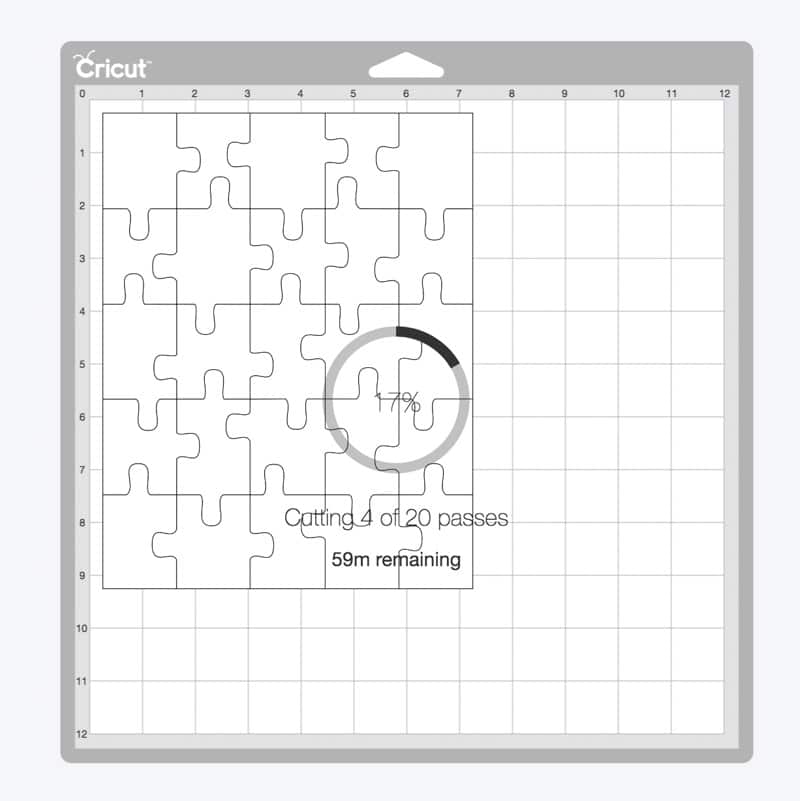
Cutting this puzzle took me about an hour. But at the end of the cutting, the pieces came out perfectly cut and line up great when you put them together as a puzzle. And being able to use the chipboard instead of something cheaper or thinner as I mentioned allows me to keep the puzzle for memories later!
12 – Once the cutting is finished, remove the pieces carefully and you have yourself one of the best family Christmas gifts ever – or at least I’m guessing your family will think so!
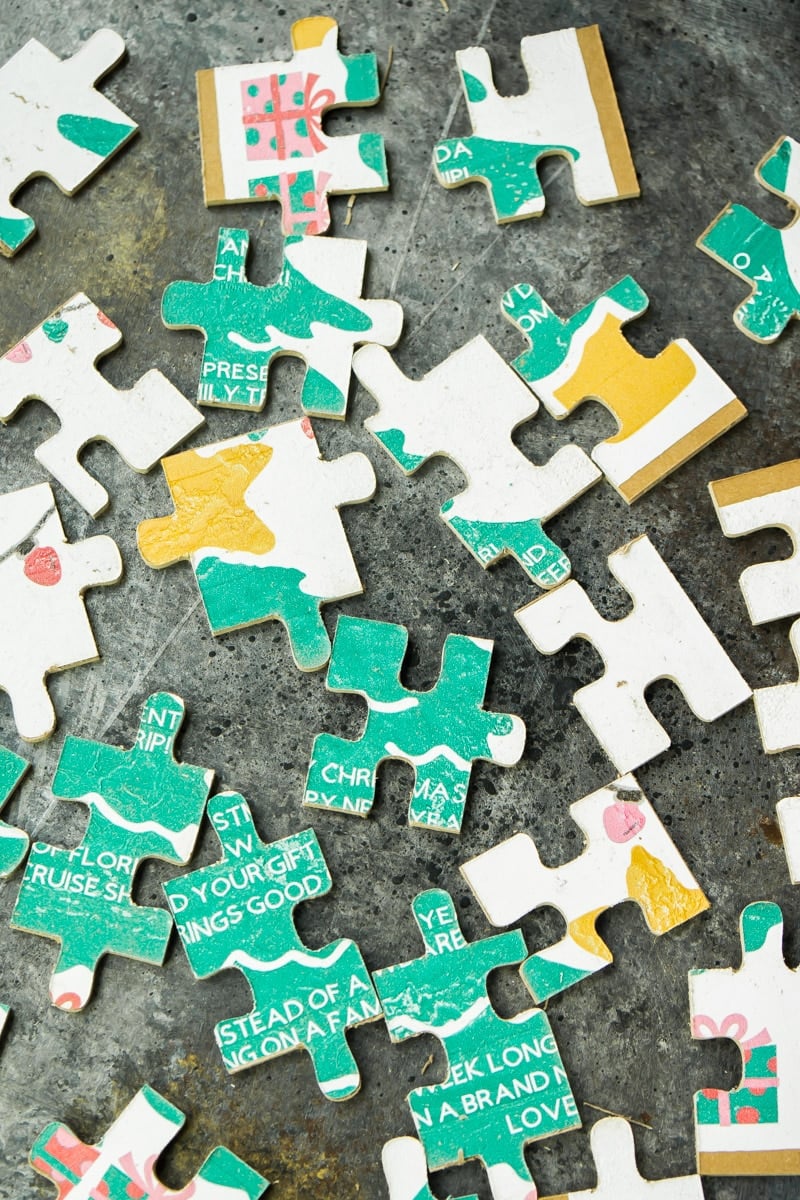
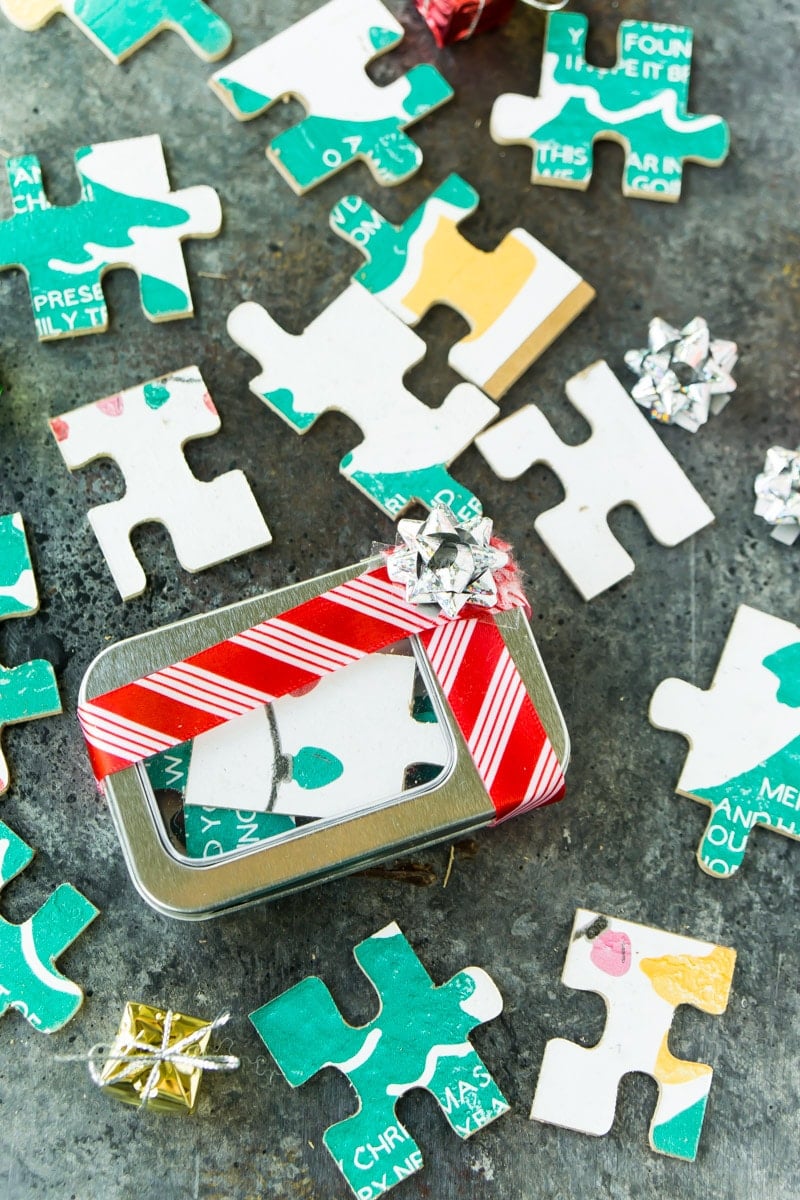
Making the Puzzle One of the Best Family Christmas Gifts
Now that you have your puzzle – it’s time to turn it into one of those family Christmas gifts your family will always remember. Depending on the age of your family members, I like to do one of three things with the puzzle:
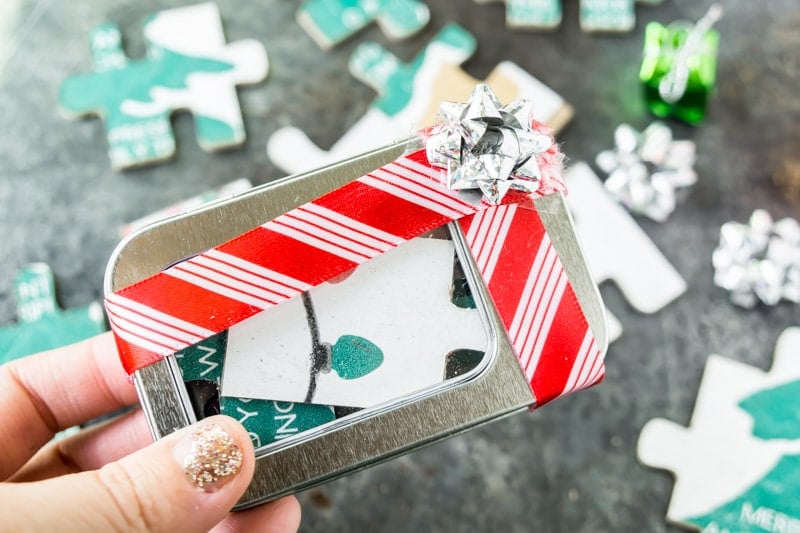
1 – Hide the puzzle pieces all together at the end of a Christmas scavenger hunt.
2 – Do the same Christmas scavenger hunt but put a few puzzle pieces at each location to collection along the way.
3 – Hide all of the puzzle pieces in a clean room and play hot and cold until they find all of the puzzle pieces.
Once all the puzzle pieces are found, work together to put the puzzle together! And for this puzzle – I recommend not having a picture for them to work off of, so you don’t give away the big surprise!
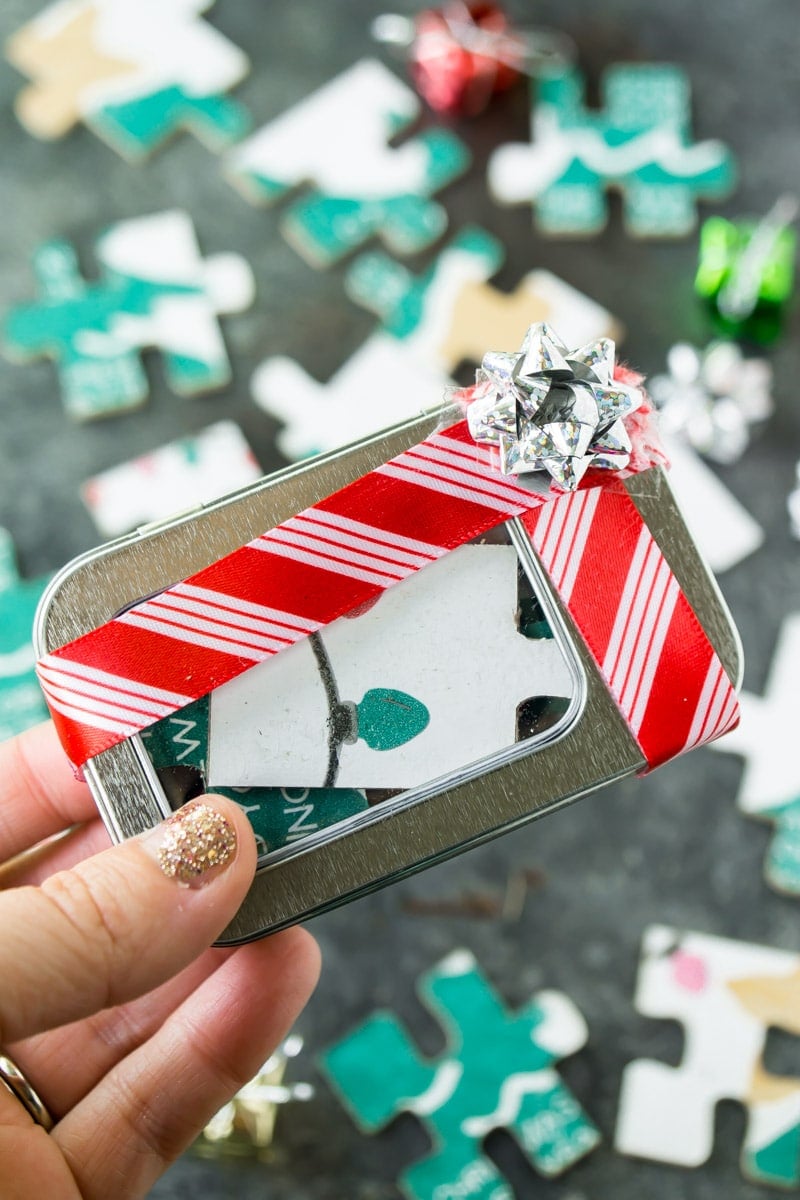
Don’t forget to pin these fun family Christmas gifts for later!
This is a sponsored conversation written by me on behalf of Cricut. The opinions and text are all mine.
Want More Fun Ideas?
Want more fun ideas like this one? Enter your first name and email address in the form below to join the Play Party Plan community! You’ll receive weekly recipes, party ideas, games, and more directly to your inbox!




Leave a Reply