These fun Christmas tree cookies take Christmas sugar cookies to the next level with a super simple frosting technique. They’re light, fluffy, and absolutely delicious! Take them to your next holiday party, add them to a holiday treat plate, or just make them for yourself to eat!
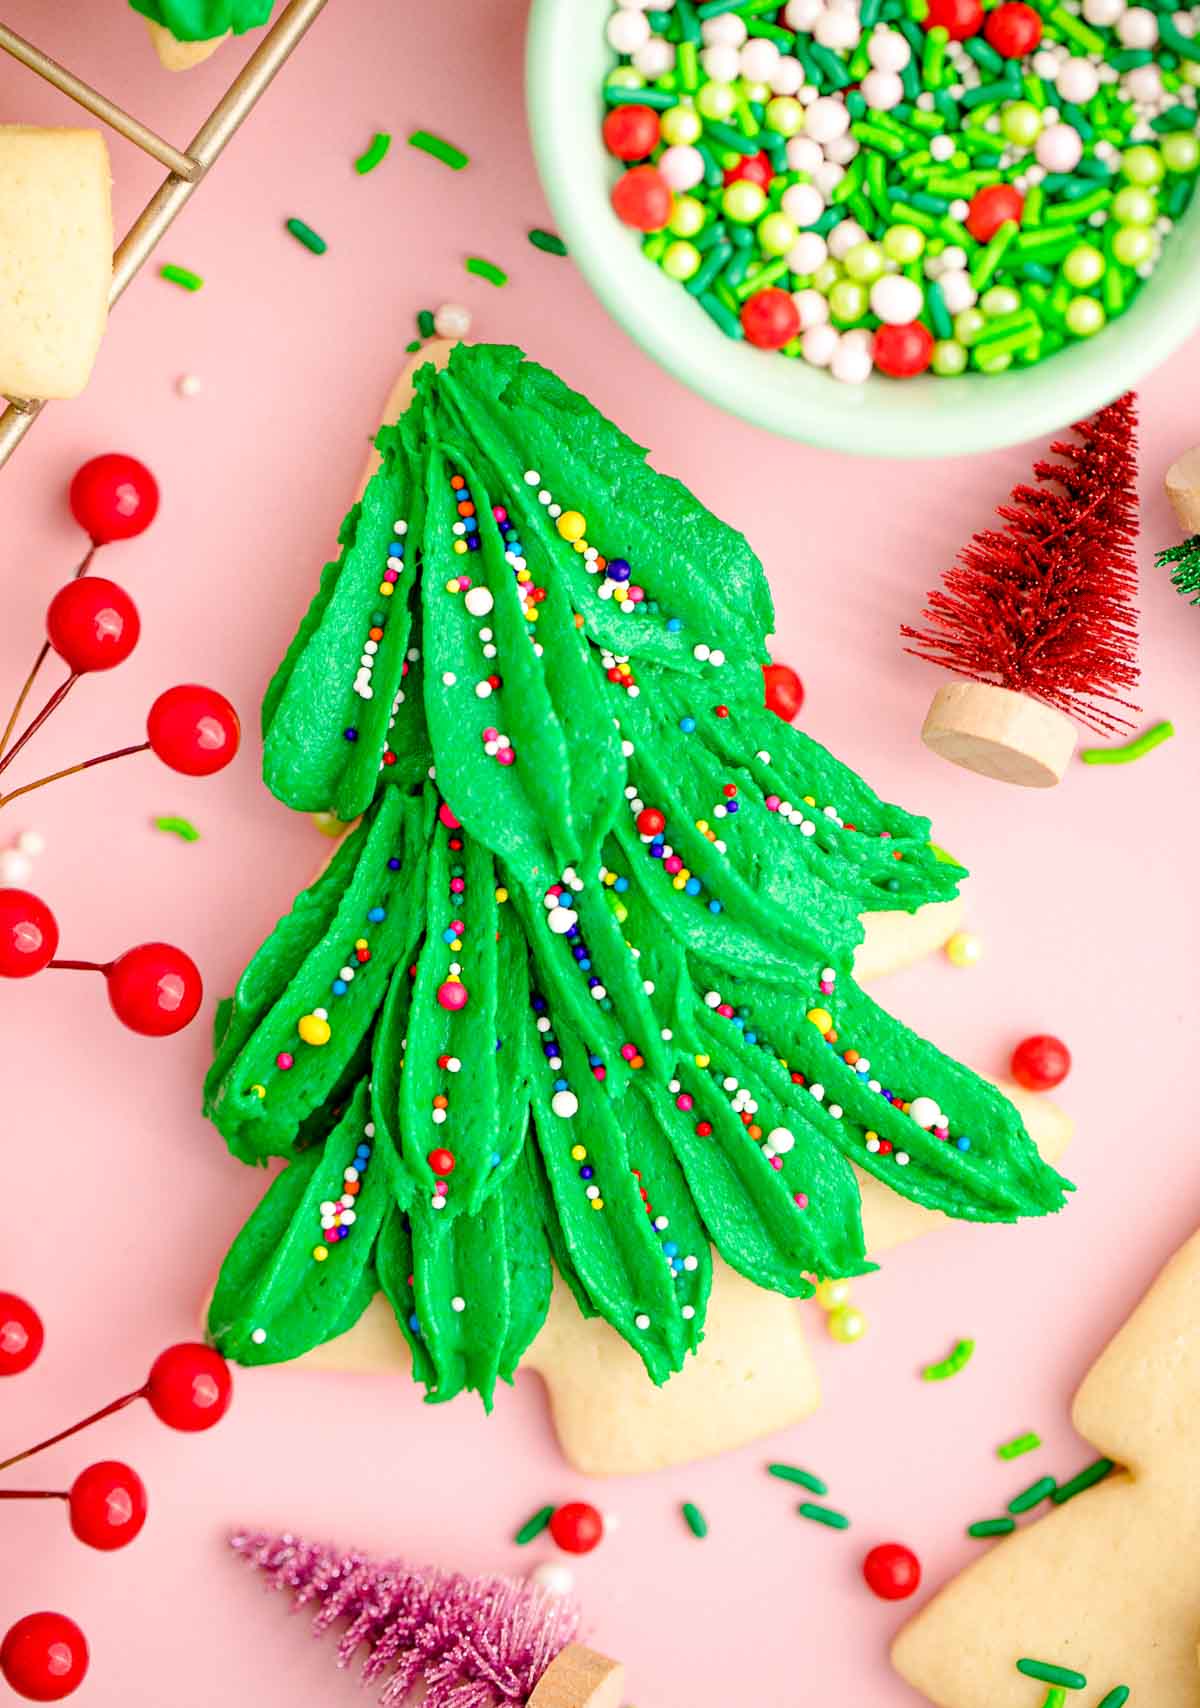
One of my favorite holiday traditions is putting together a holiday treat plate. Or at least making Christmas cookies with my family to eat together.
Pretty sure it’s a tradition of most families whether it’s making holiday cookie plates or even just making cookies for Santa.
And I like to keep my Christmas cookies as simple as can be. Like my 4-ingredient Andes Mint cookies and these homemade chocolate cherry cookies.
But one type of cookie that always gets made in my house is Christmas sugar cookies. Whether it be cut out sugar cookies or cream cheese sugar cookies, we’re always making something you can decorate.
This year we’re making these Christmas tree cookies. Not only are they super cute, they’ll super yummy as well.
And kids love to decorate them about as much as they love to decorate actual Christmas trees.
So let’s get to it and start making and decorating our own Christmas treats! Then serve them up after a round of Christmas bingo or these Christmas games!
Why You’ll Love This Recipe
- Easy piping – while the final result looks impressive, as long as you have the right piping tip, these cookies really aren’t hard to frost at all. Add some fun Christmas decorations and you’ll look like a cookie decorating professional!
- Simple dough – there’s nothing to making this cookie dough, just ingredients you probably already have at home!
- Not overly sweet – unlike some sugar cookies, the cookies themselves are not overly sweet, the frosting gives it a nice sweetness. If you want a cookie itself that’s pretty sweet without the frosting, I recommend these orange sugar cookies instead.
Ingredients
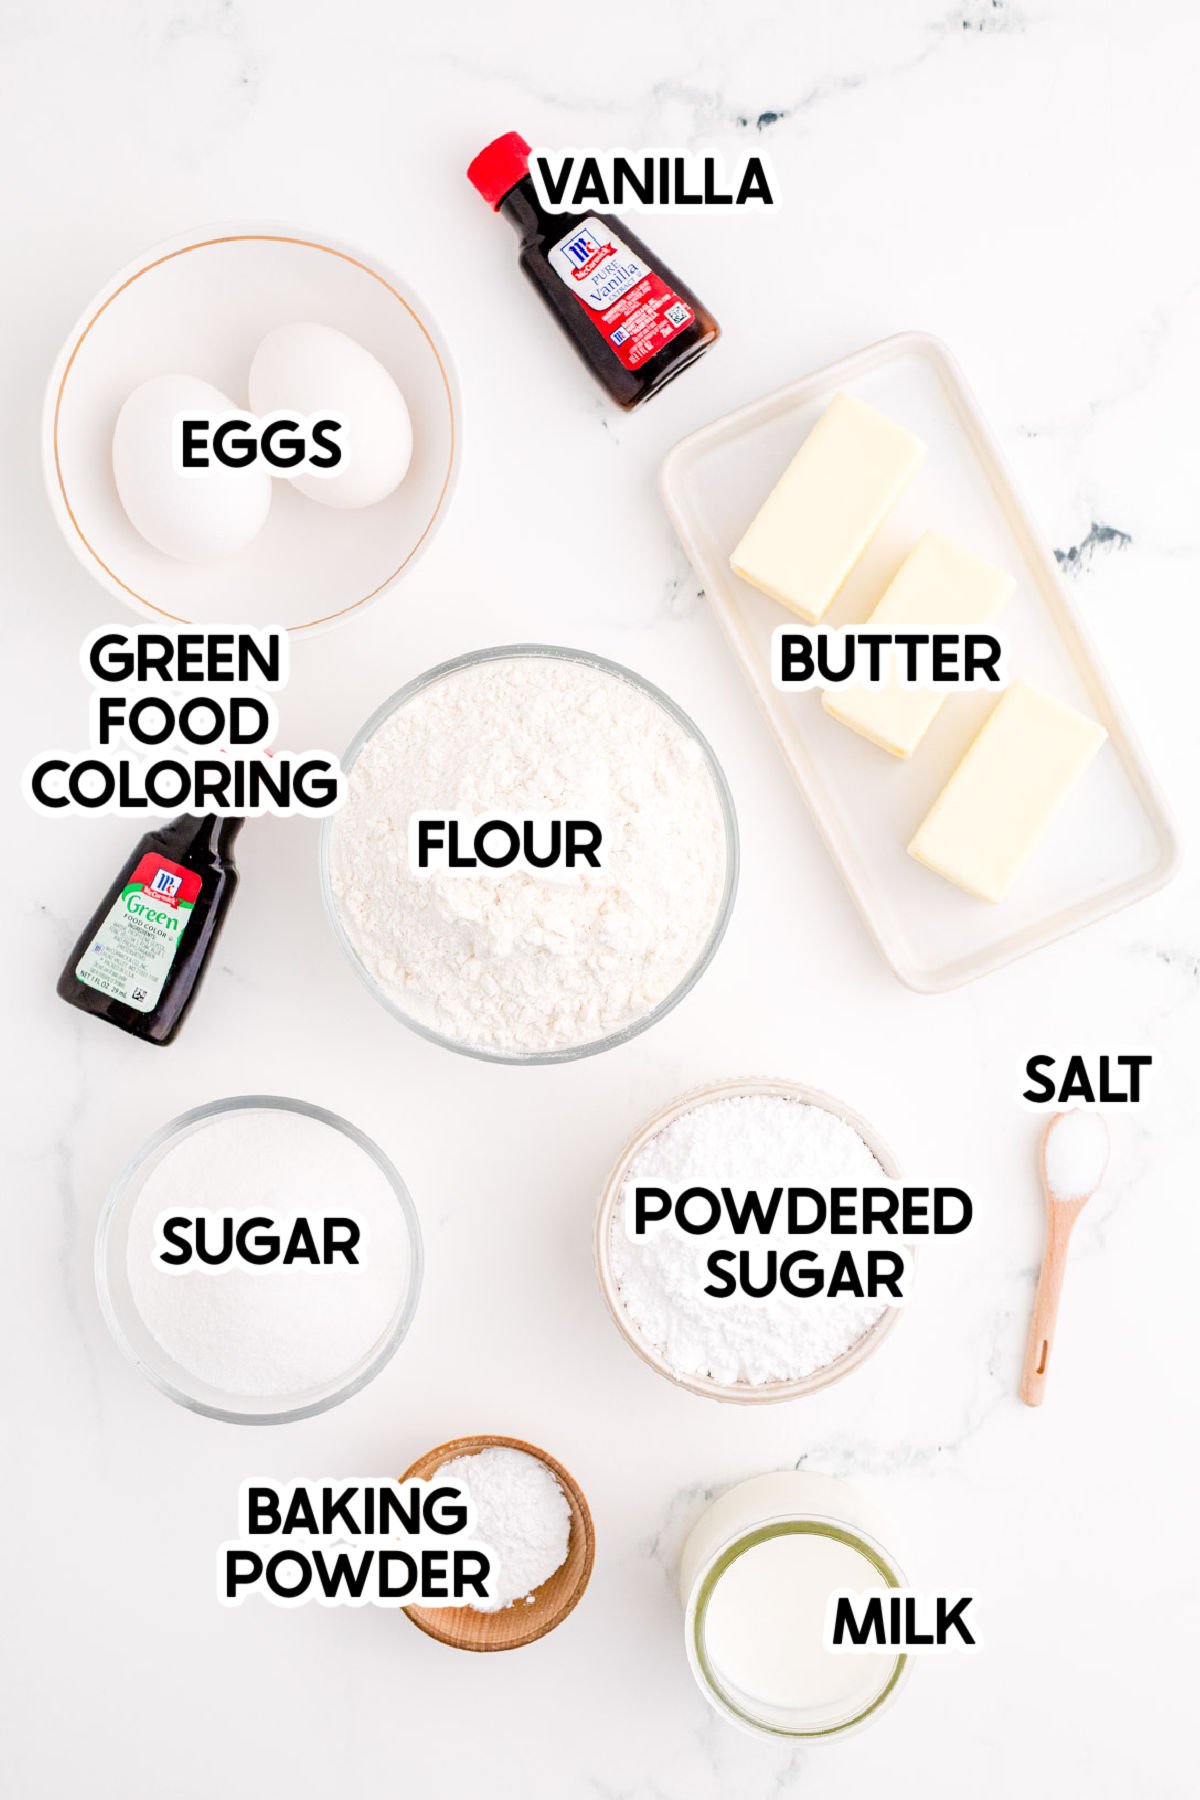
Ingredient Notes
- Food coloring – any green food coloring will work – gel or liquid.
- Butter – make sure it’s salted butter and make sure it’s nice and soft before you cream it with the sugar!
And while it’s not an actual ingredient, you’ll also need a piping bag and a #98 piping tip (or another star shaped piping tip) and obviously a Christmas tree cookie cutter to get the finished Christmas tree look!
How to Make Christmas Tree Cookies
You’ll make these cookies in three simple steps – making the cookies, making the frosting, and then decorating the cookies to look like Christmas trees. None of them are hard, but I do recommend paying attention to each step because there are some tips you’ll need to know to get them looking like you want!
1 – Make the Cookies
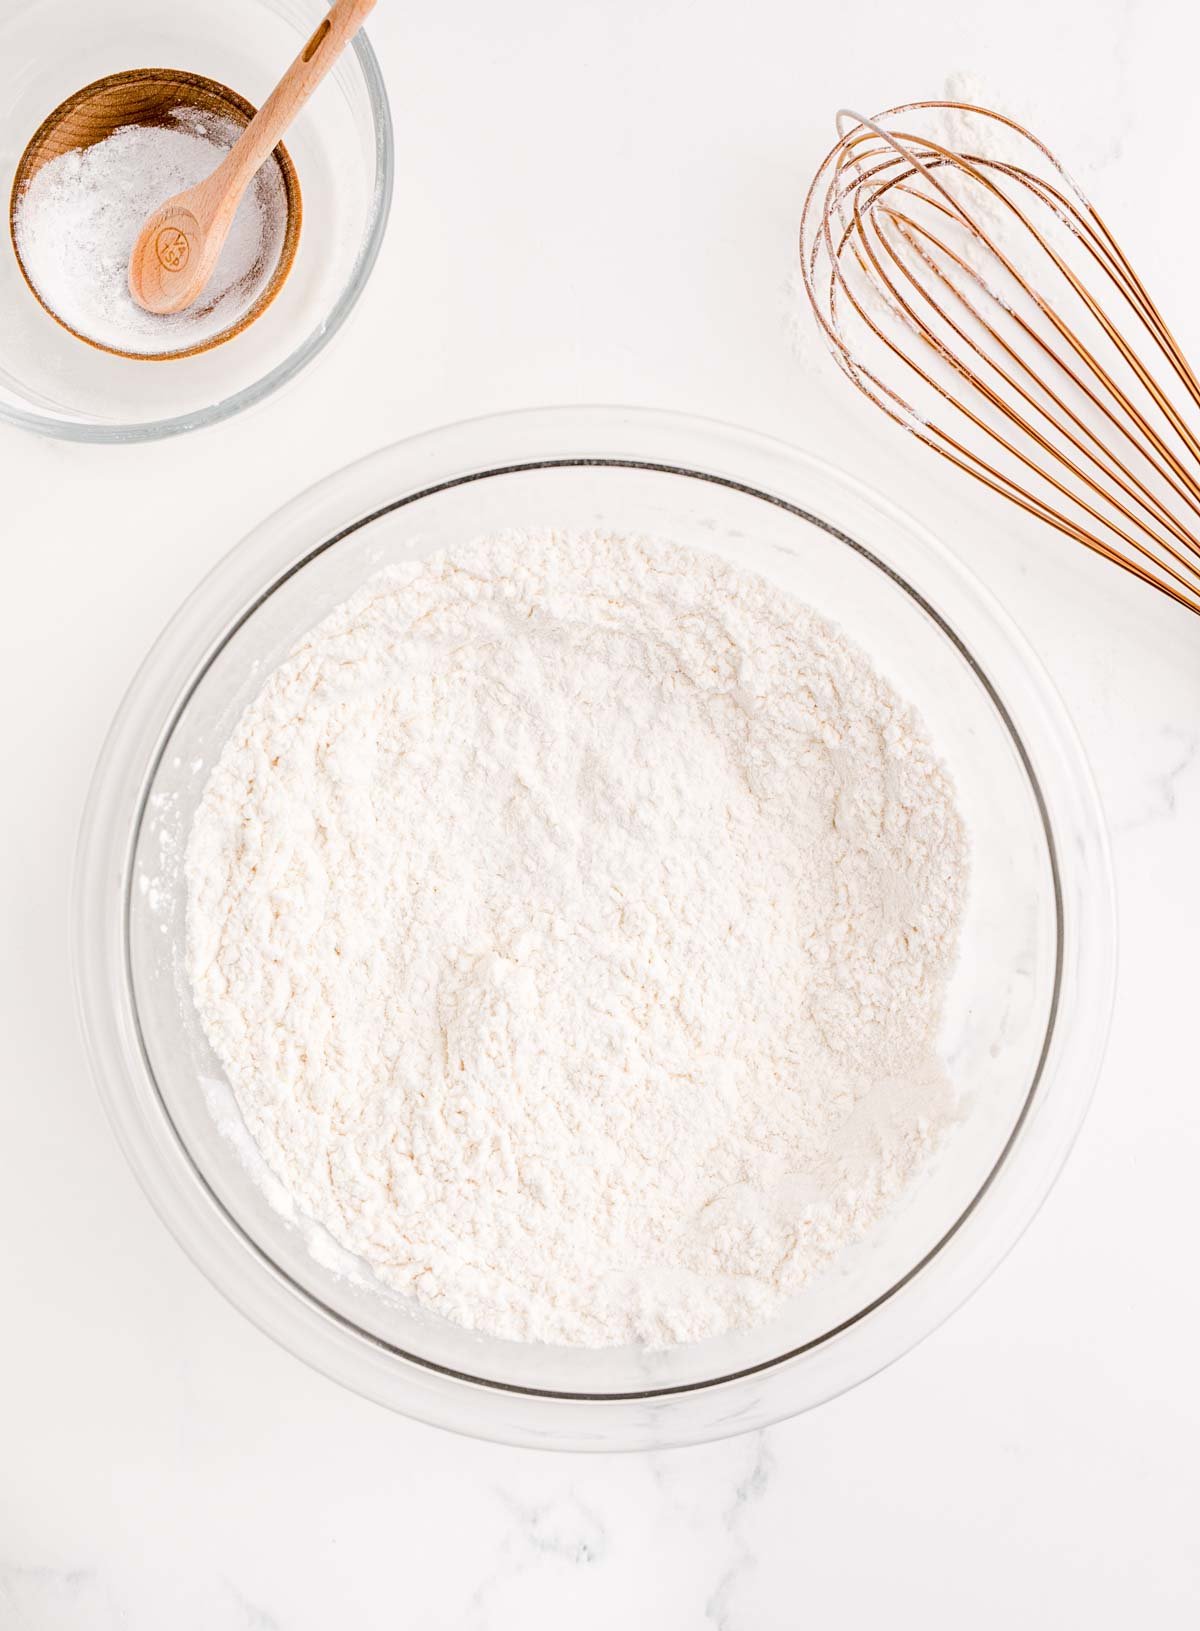
Starting with a medium mixing bowl, whisk together flour, salt, and baking powder.
In a separate bowl, use an electric mixer to cream together the butter and sugar.
Once that’s nicely creamed, add one egg at a time and mix well between each egg.
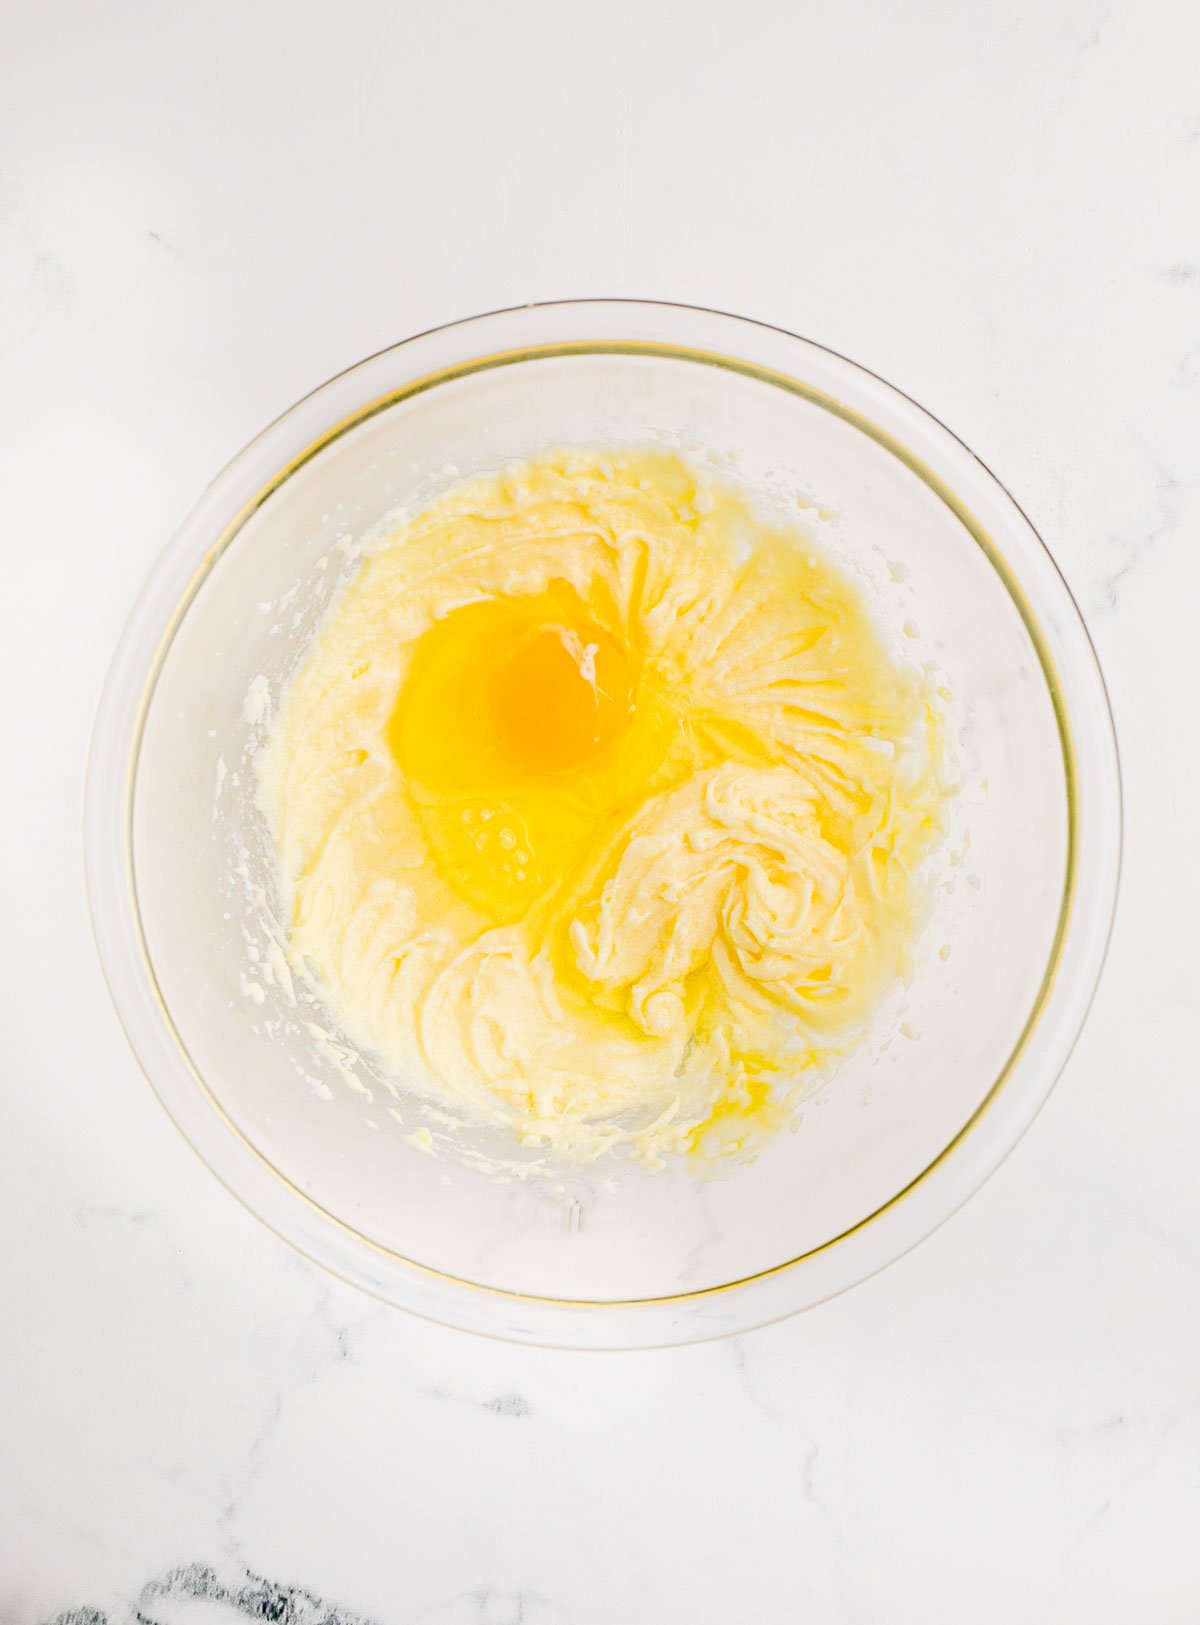
Add vanilla, beat, and make sure all ingredients are well incorporated before onto the next step.
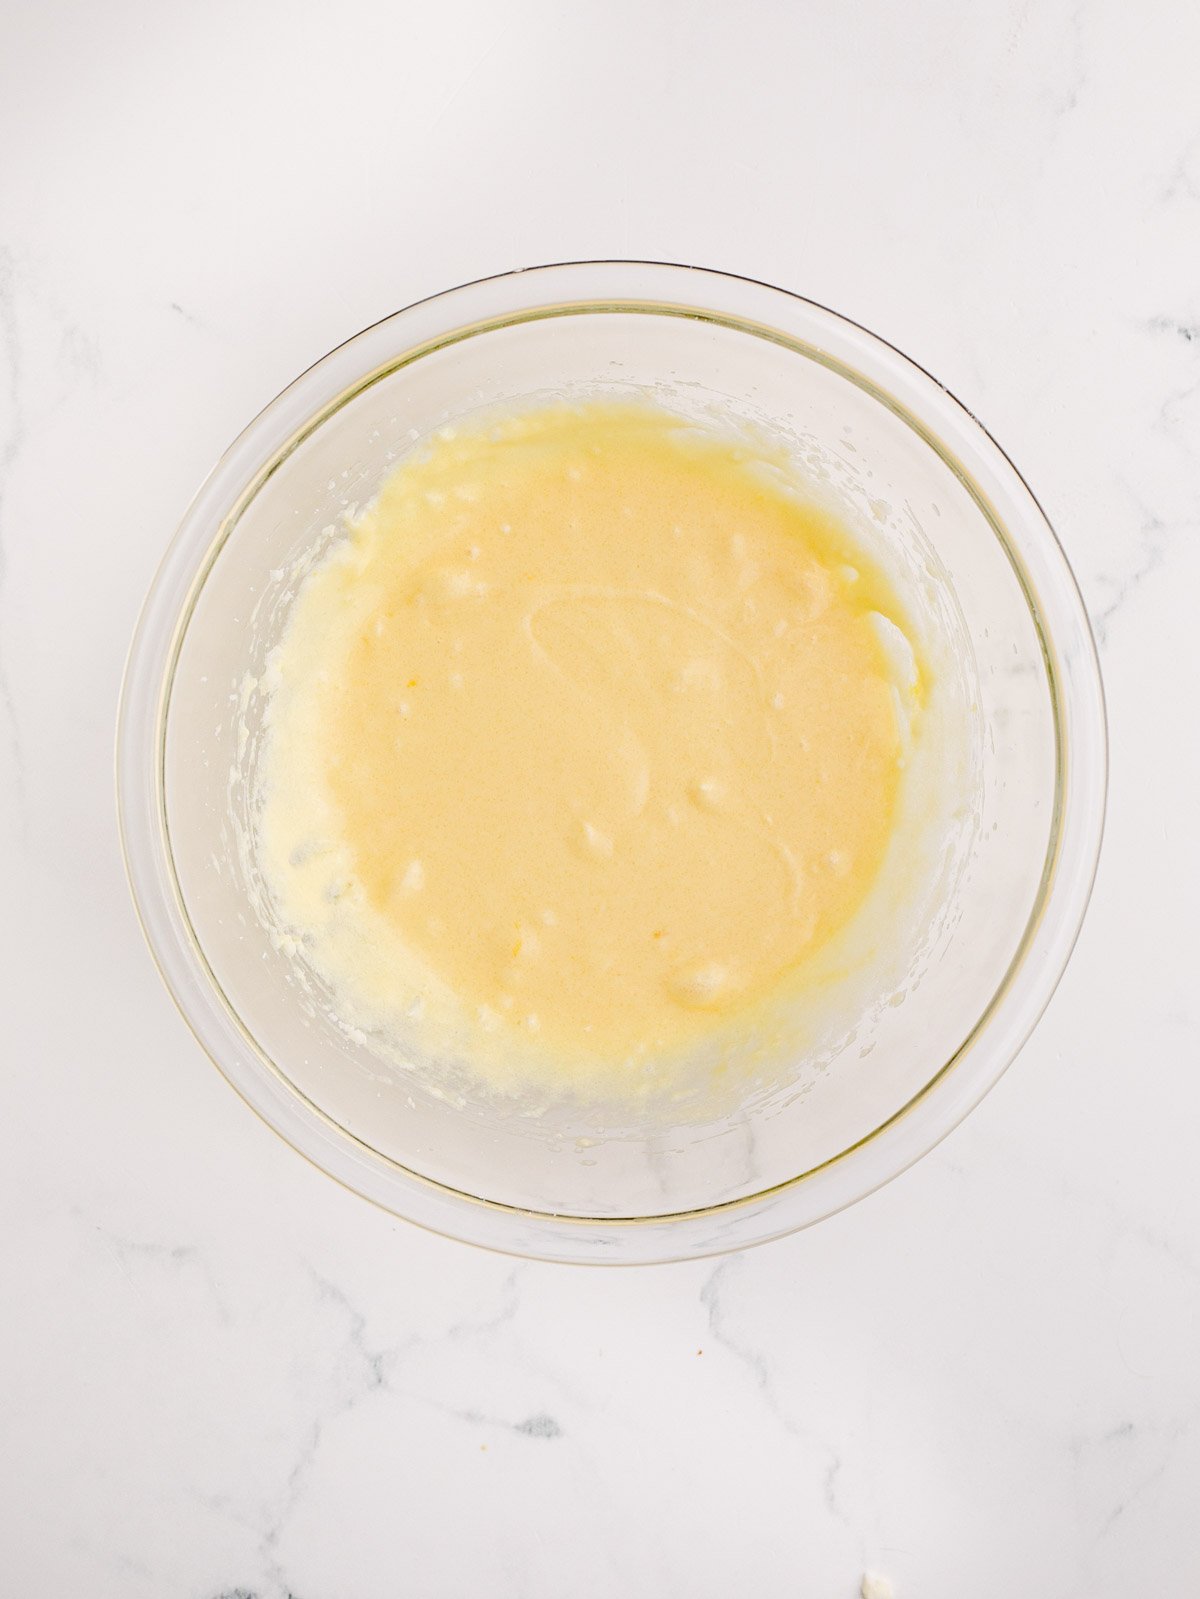
Now combine the dry ingredients with the cream mixture and beat until all ingredients are well combined. It should come together in a nice cookie dough.
Shape the dough into a ball, wrap in plastic wrap, and refrigerate for at least an hour. You can refrigerate it longer (I sometimes will do overnight) but at least an hour.
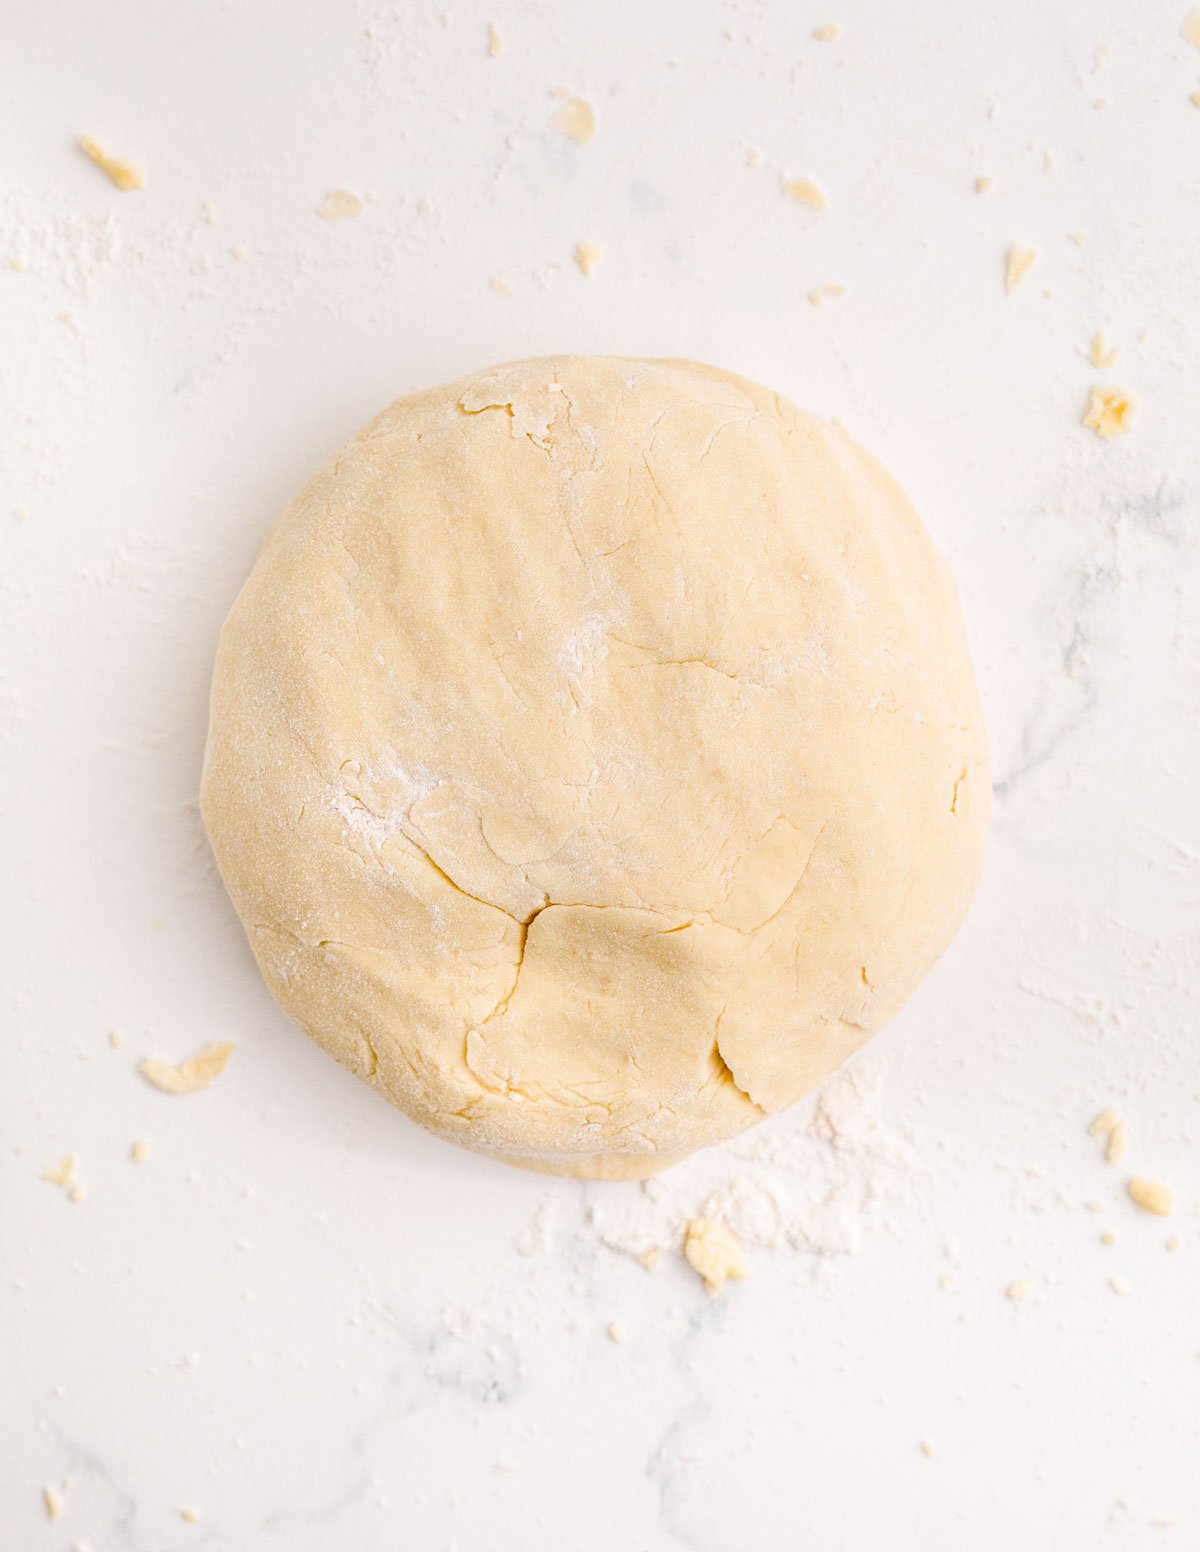
After the dough has chilled, preheat your oven to 350°F and line a baking sheet with parchment paper or a silicone mat.
Flour your working surface and roll out the dough until a rolling pin until it is about 1/4″ thick.
Dip a Christmas tree shaped cookie cutter in some flour to help it cut better, then cut the dough. Repeat until all the dough is cut into tree shapes.
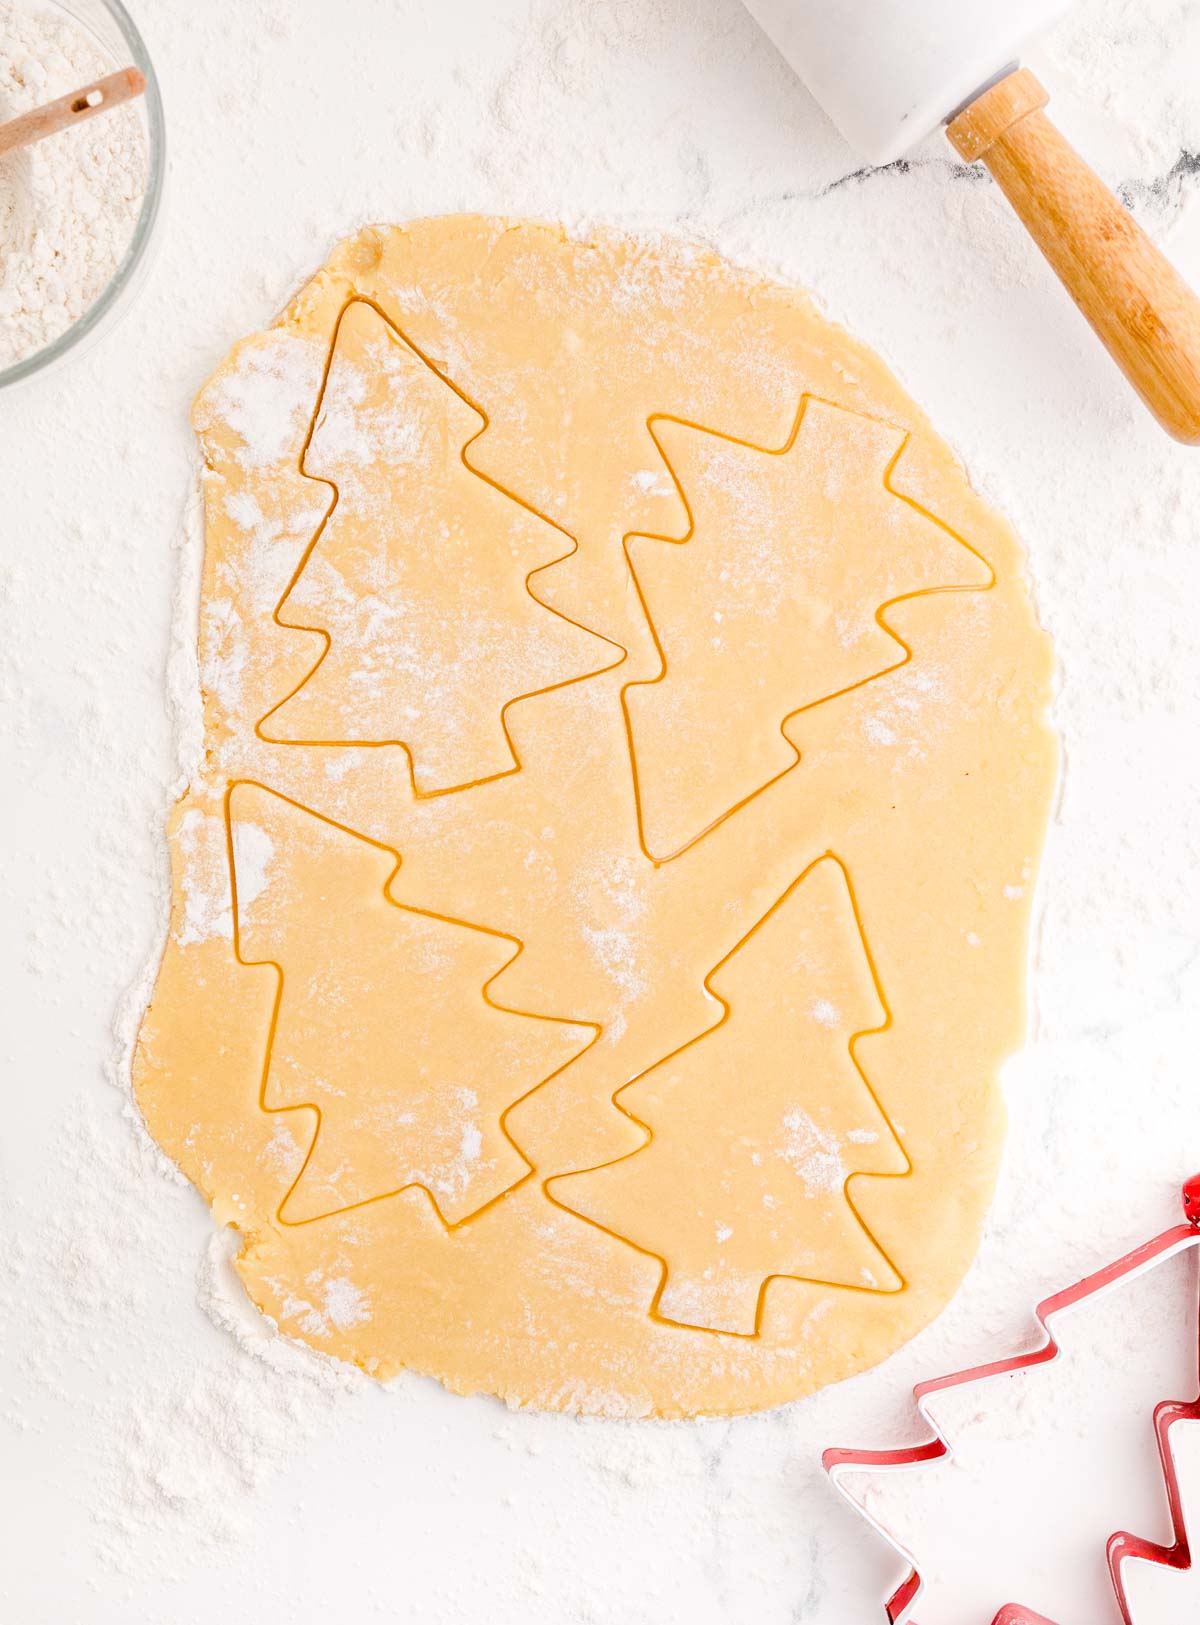
Place cut dough on baking sheets about 1 1/2″ apart and bake for 7 – 10 minutes, or until small cracks appear on the surface of the cookies.
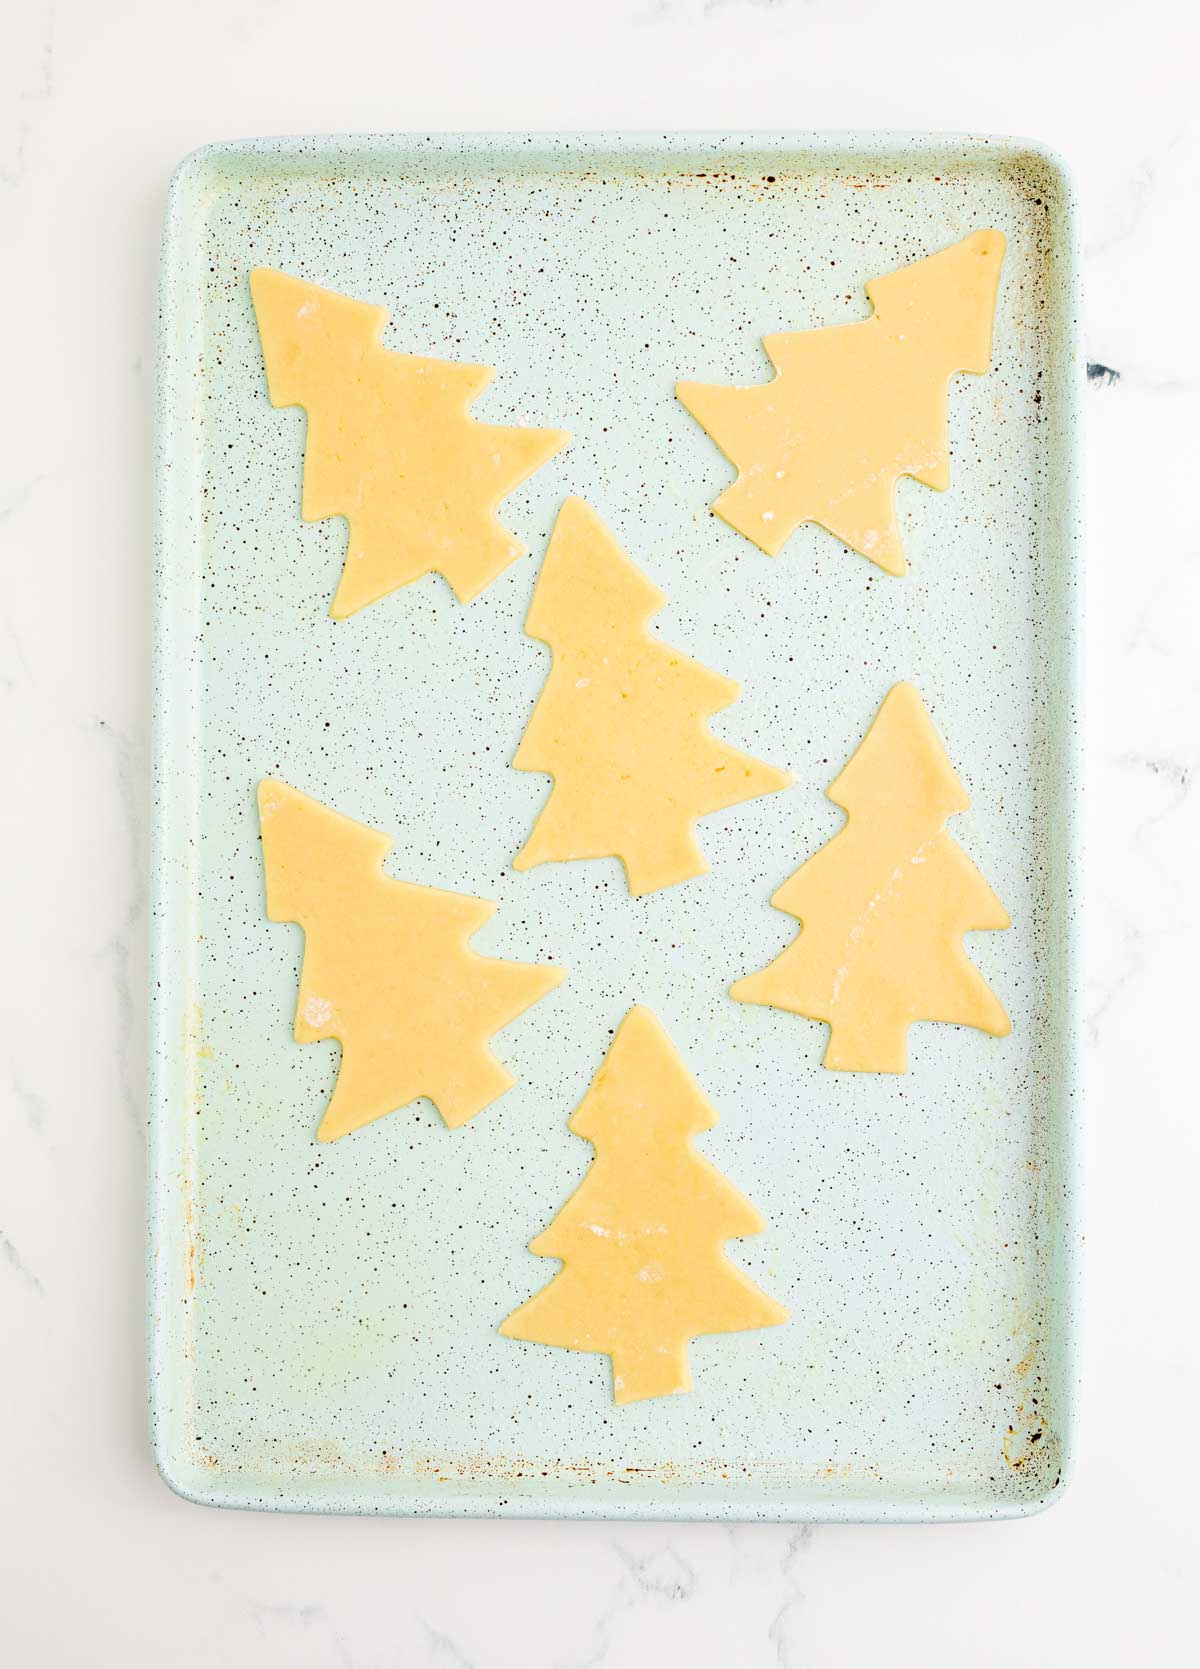
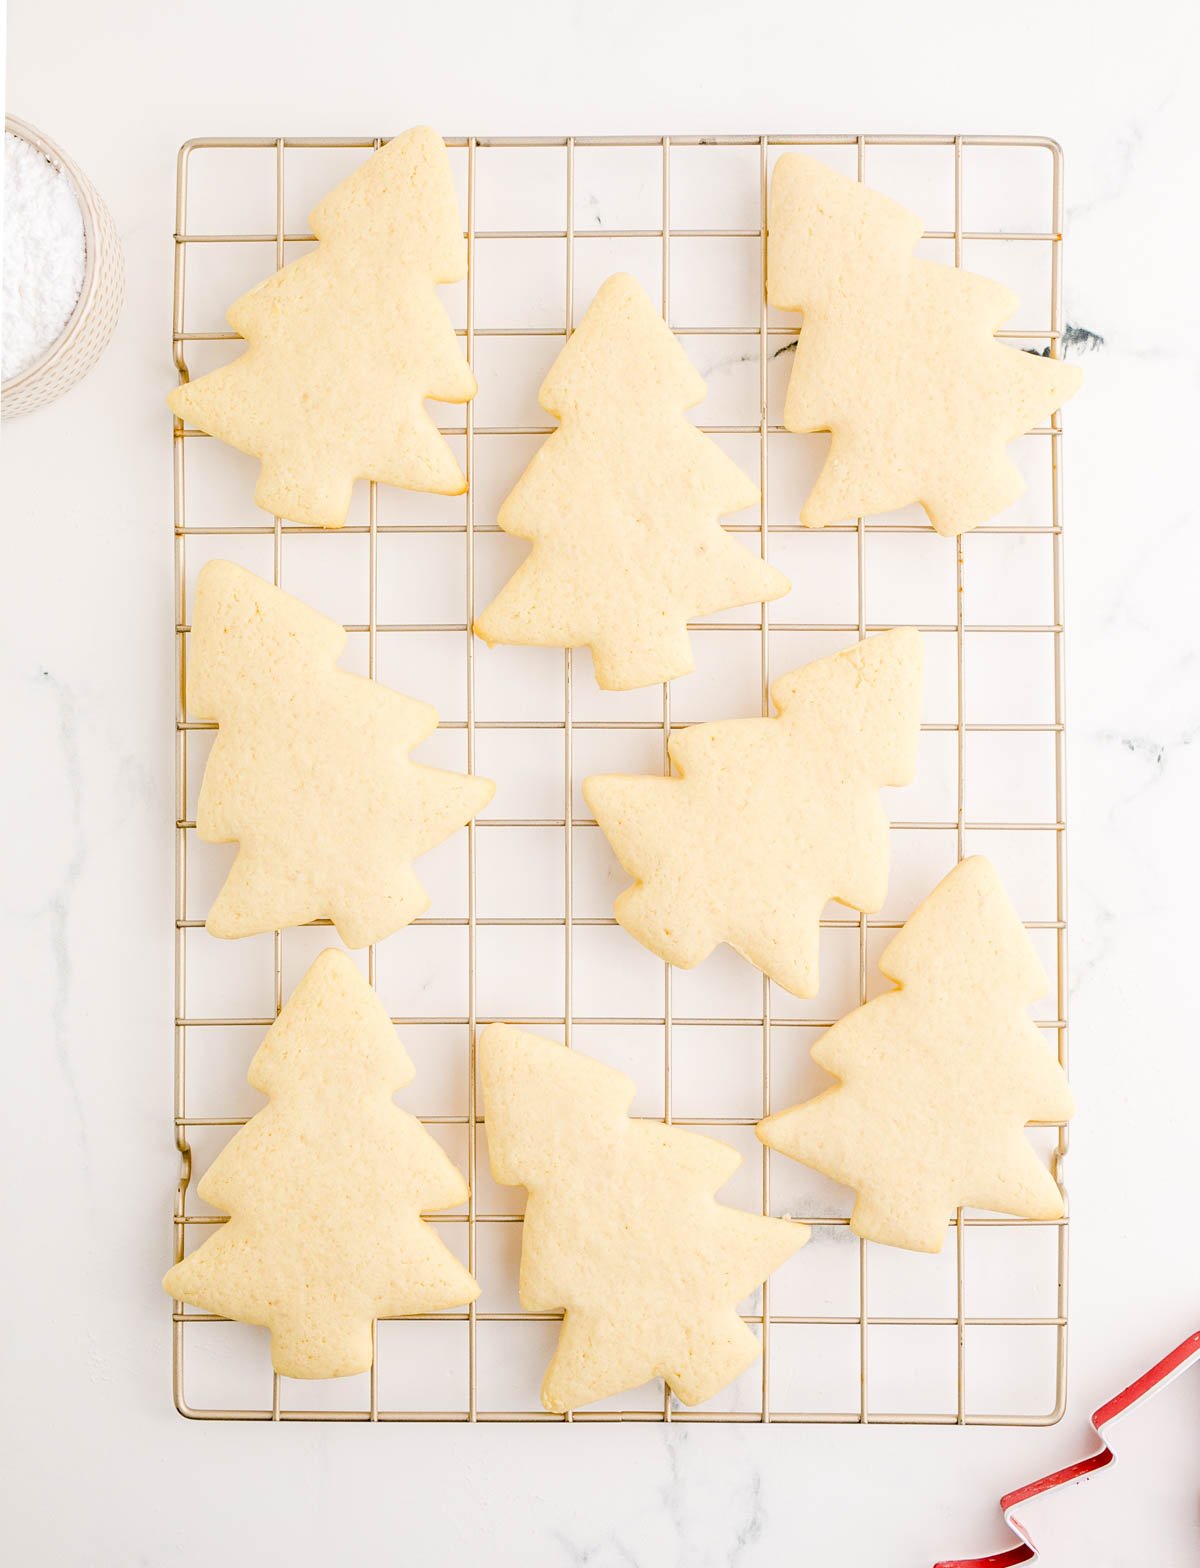
Remove from the oven and allow cookies to cool on baking sheet for 5 minutes, then transfer to wire cooling rack to finish cooling completely.
2 – Make the Frosting
I recommend making the frosting while the cookies are baking so it’s ready to go once the cookies are cooled. Or you can also make the frosting at any point while cookie dough is chilling, while cookies are baking, or even after cooled. The frosting should last fine so whenever is convenient for you.
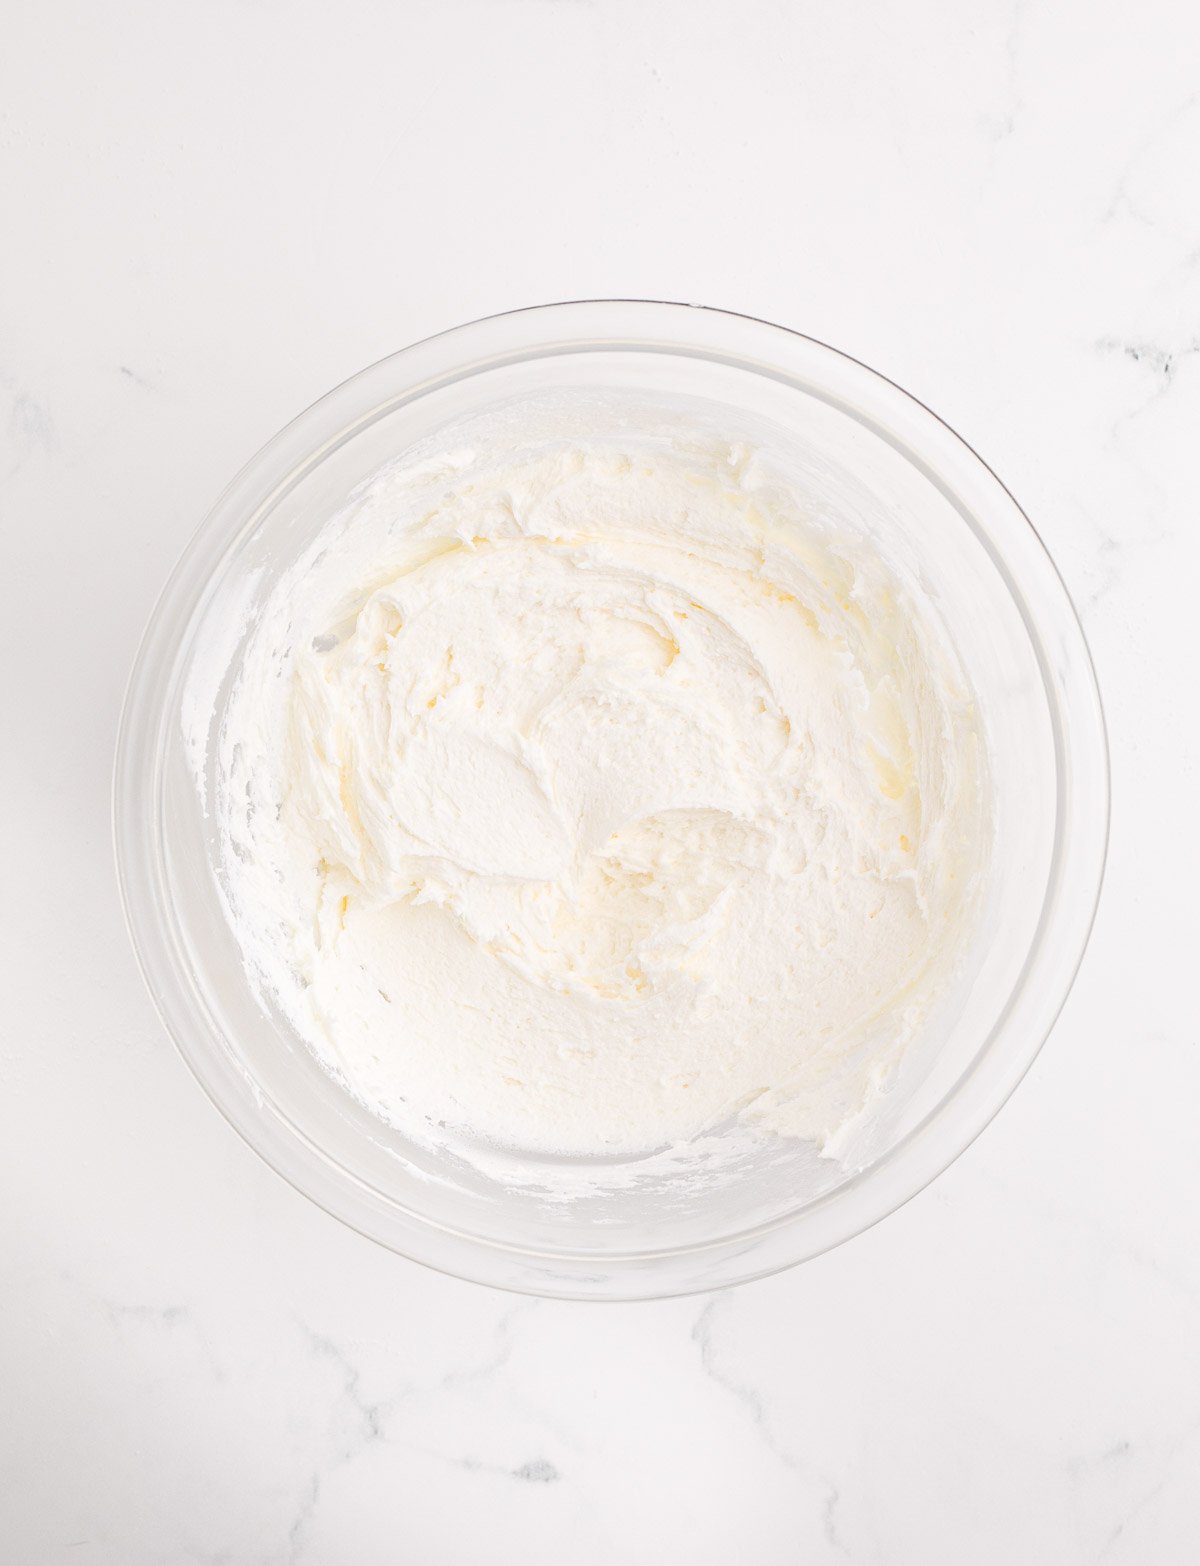
To make the frosting, cream the butter until it’s pale and fluffy.
Then add your powdered sugar a little at a time, mixing well in between adding the powdered sugar.
Next add the vanilla, mix, then add just enough milk to get the consistency you want. I typically start with one teaspoon of milk then go from there.
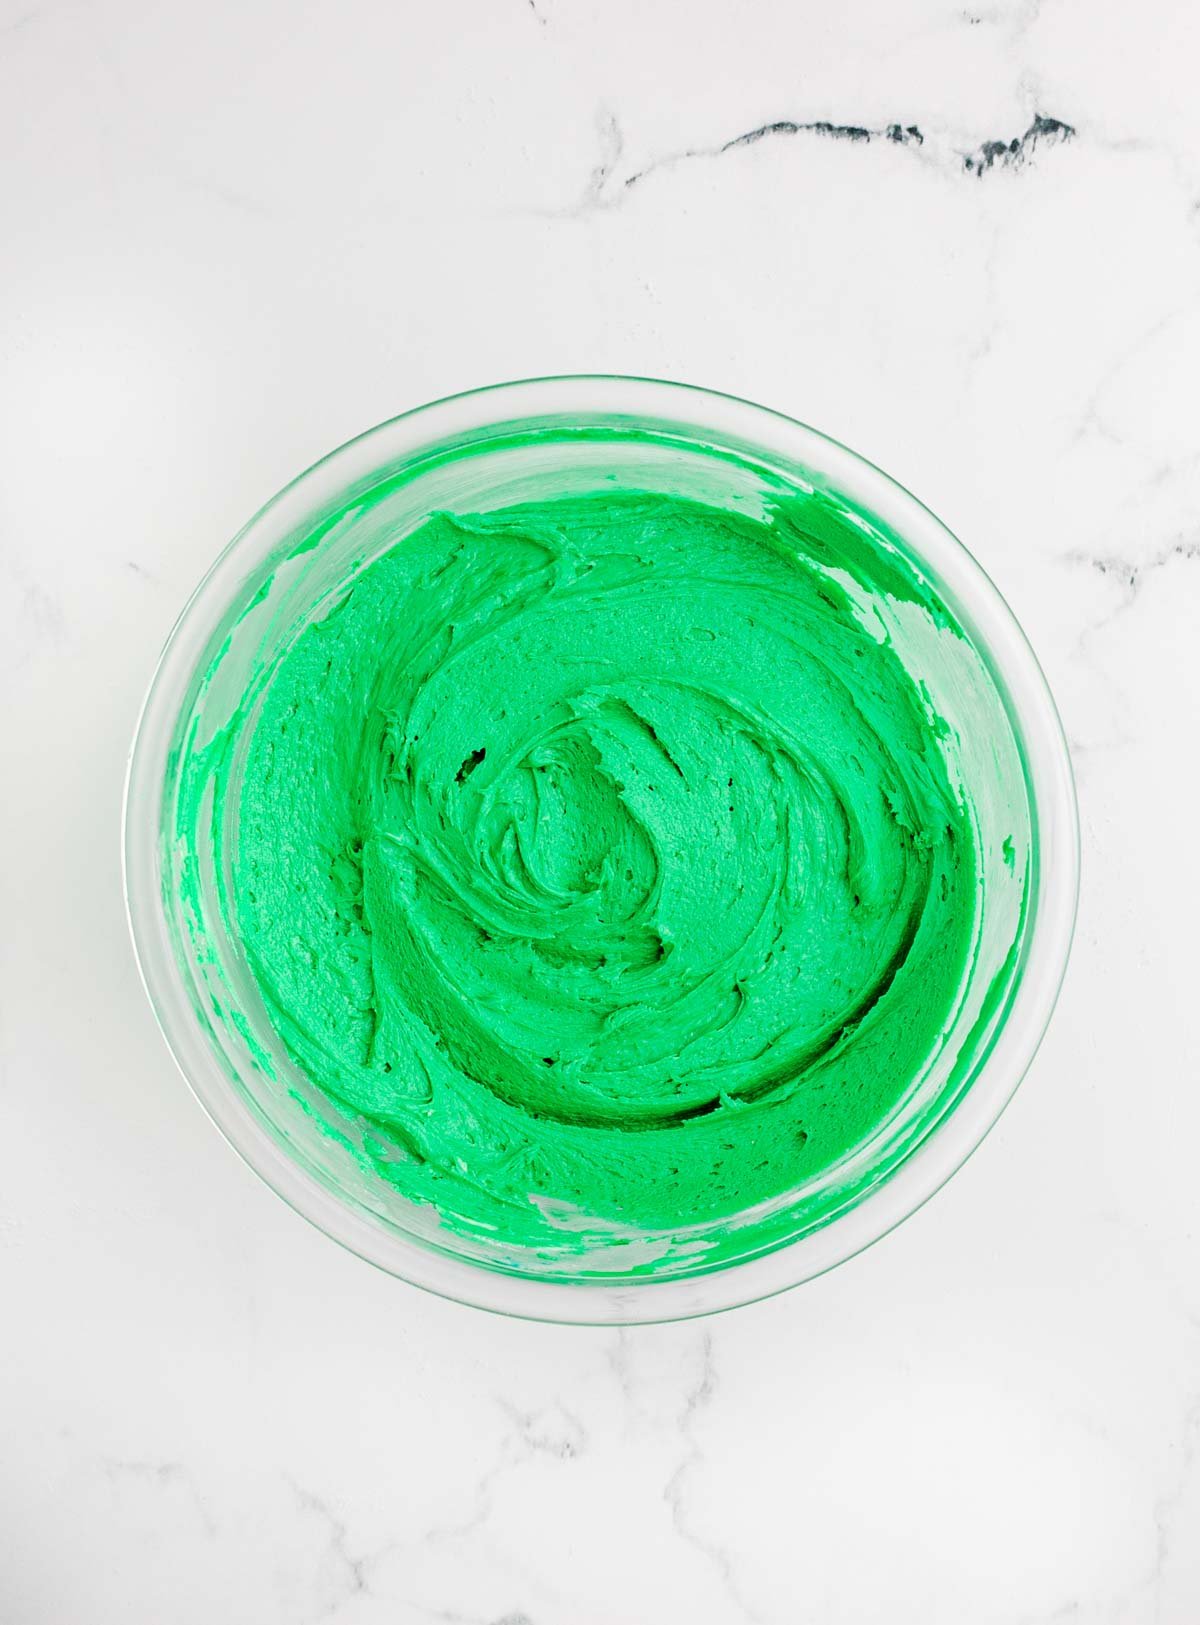
Finally, mix in food coloring until you get the color you’re looking for. I like mine to be a deep green color, just actual Christmas trees! Set the frosting aside until you’re ready to use it.
3 – Frost and Decorate the Cookies
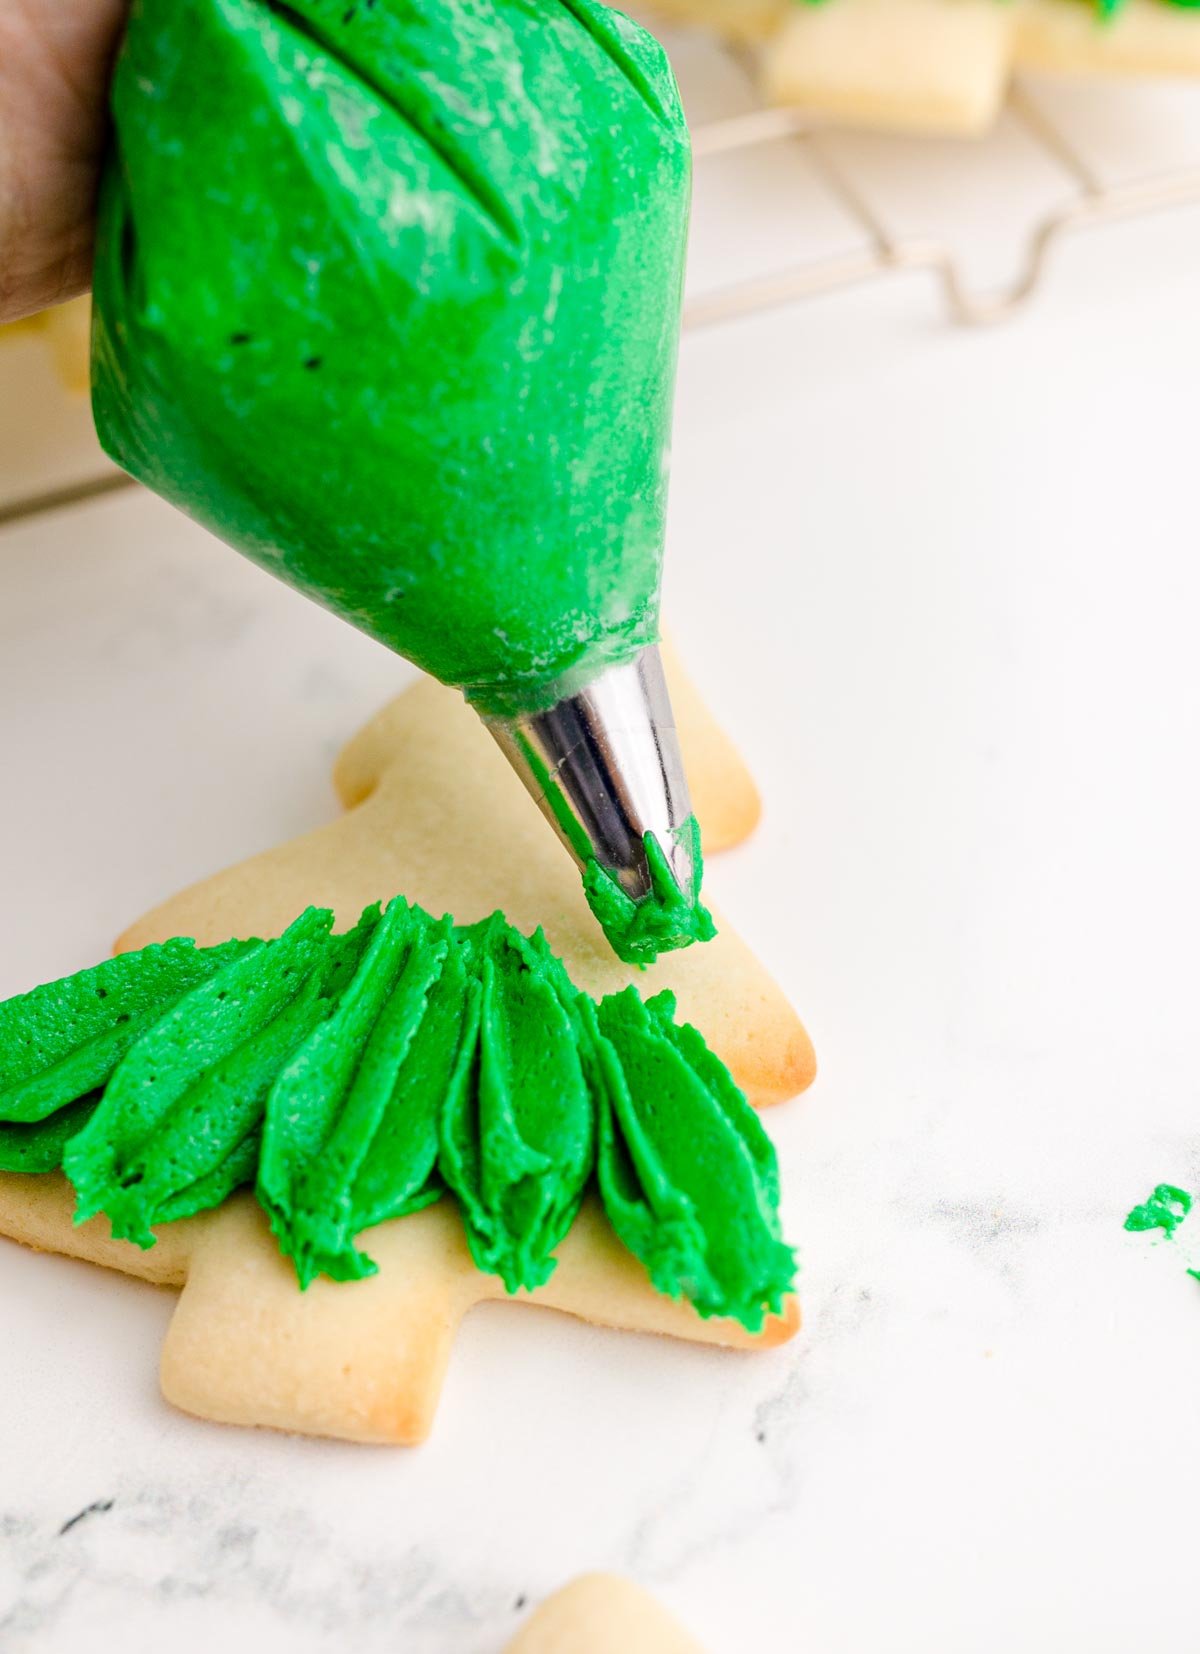
Once cooled, put frosting in a piping bag that’s fitted with a #98 star piping tip. Use this viral TikTok tip of mine to get the frosting in the piping bag cleanly!
Carefully pipe the frosting onto the trees, starting at the base and making sure to overlap to get the textured tree branch appearance.
Once the trees are frosted, add large ball sprinkles, edible glitter, and any other decorations you want to turn them into little Christmas trees! This part is really fun to let the kids help with and the best part is – it doesn’t matter what it looks like or if it matches, it’ll still be cute@

Add to your Christmas treat plate, enjoy the cookies right away, or serve them up at your next Christmas party! Christmas tree cookies are so universal, they’d work for any of these creative Christmas party themes!
Expert Tips
Store the cookies at room temperature in an airtight container for up to one week.
Place wax paper between layers so they don’t stick together but beware, the frosting will likely not look exactly the same as when you put it in the container!
Store for longer by placing the cookies in the refrigerator (for up to 2 weeks) or by freezing them (for up to six months).
Use firm pressure when you’re piping the frosting so that you end up with nice thick lines that are continual and not broken lines. Firm pressure is best!
Recipe FAQs
If the cookies got crispy for some reason, try adding a slice of bread or a piece of apple to the airtight container. The cookies should absorb the moisture and soften up!
Freeze these cookies in an airtight container for up to six months. I recommend wrapping them individually if they’re frosting, but you could also just put them all into an airtight bag and directly into the freezer. Thaw before eating.

More Easy Christmas Cookies
If you like these Christmas tree cookies, you’ll love these other fun and festive treats!
- Melted snowman cookies – A soft sugar cookie that’s topped with icing and a melted marshmallow snowman!
- Grinch sugar cookies – another Christmas tree cookie recipe inspired by the Grinch Who Stole Christmas!
- White chocolate cranberry cookies – a holiday twist on the popular white chocolate macadamia nut cookies, these are divine!
- Chocolate chip pudding cookies – these triple chocolate cookies are a chocolate lovers’ dream!
- Cherry cheesecake cookies – a sugar cookie base gets topped with cherry cheesecake for one amazing cookie!
- Christmas pinwheel cookies – fun and festive red and green pinwheel cookies that are perfect for cookie trays!
Christmas Tree Cookies

Ingredients
Cookies:
- 2 cups flour
- ¼ tsp salt
- 2 tsp baking powder
- ⅔ cup sugar
- ⅔ cup salted butter (softened)
- 2 large eggs
- 1 tsp vanilla extract
Frosting:
- ⅔ cup salted butter (softened)
- 4 cups powdered sugar
- 1 TBS vanilla
- 3 tsp milk (only use as much as needed)
- 20 drops green food coloring (as needed for desired color)
- Christmas sprinkles for decorating
Instructions
Cookies
- In a medium mixing bowl, whisk together flour, salt, and baking powder.2 cups flour, 1/4 tsp salt, 2 tsp baking powder
- In a separate bowl, use an electric mixer to cream together the butter and sugar until pale and fluffy.2/3 cup salted butter, 2/3 cup sugar
- Add one egg at a time and mix well between each egg.2 large eggs
- Add the vanilla and beat until all ingredients are well incorporated.1 tsp vanilla extract
- Combine the dry ingredients with the cream mixture and beat until all ingredients are well combined.
- Shape the dough into a ball, wrap in plastic wrap, and refrigerate for at least an hour.
- After the dough has chilled, preheat your oven to 350°F and line a baking sheet with parchment paper or a silicone mat.
- Flour your working surface and roll out the dough until a rolling pin until it is about 1/4″ thick. Dip a Christmas tree shaped cookie cutter in some flour to help it cut better, then cut the dough. Repeat until all the dough is cut into tree shapes.
- Place cut dough on baking sheets about 1 1/2″ apart and bake for 7 – 10 minutes, or until small cracks appear on the surface of the cookies.
- Remove from the oven and allow cookies to cool on baking sheet for 5 minutes, then transfer to wire cooling rack to finish cooling completely.
Frosting
- Cream the butter until light and fluffy.2/3 cup salted butter
- Add powdered sugar a little at a time, mixing well between.4 cups powdered sugar
- Next add the vanilla and mix. Then add just enough milk to get a good consistency.1 TBS vanilla, 3 tsp milk
- Mix food coloring to achieve desired color. Set aside to use after cookies cool.20 drops green food coloring
- Add frosting to a piping bag fitted with a #98 piping tip (or other star shaped tip).
- Once cookies are completely cooled, pipe frosting onto the trees, starting at the base and making sure to overlap to get the textured tree branch appearance.
- Add Christmas sprinkles, candies, and other things to decorate the trees.Christmas sprinkles





Leave a Comment