These DIY Avengers Shirts are easy to make and the perfect way to show off your favorite Marvel superhero! Make them for a trip to Disney World, to see the latest Marvel film in theaters, or just to wear around the house.
Want to save this Idea?
Enter your email below and we’ll send this idea straight to your inbox (plus you’ll receive tons of fun weekly ideas from us!)
With Avengers being such a huge part of the Disney Wonder, I knew one day had to be Avengers shirts. My husband and son both already have tons of Avengers shirts, so I just made ones for me and my sister, but I love how they turned out! Oh and one from last year’s DisneySMMC too, back when I was #TeamCap!
Supplies for these DIY Avengers Shirts
- Heat transfer vinyl – this is my favorite place to buy it
- Vinyl craft weeder (to get out all those itty bitty parts!)
- T-Shirts – I know everyone has their own favorites, but I love the Target Mossimo ones for me
- Vinyl cutting machine – I use a Cricut Explore Air 2 (so worth the cost!!)
- EasyPress – you can also use an iron with a cotton heat setting but the EasyPress is fantastic
- Linen napkin or piece of scrap fabric (I prefer to use white so you can see the design underneath)
- Cutting Mat
How to Make These DIY Avengers Shirts
All of these shirts are made in the exact same way that I made these DIY Beauty and the Beast shirts. I’m including basic instructions here but head over to that post for detailed instructions on my cutting machine, blade settings, length of time to iron, and more! I’m also not writing this specifically for any machine because the files should work for any machine that cuts SVG files.
- Download the free cut files below for the shirt of your choosing and open in your cutting software.
- Load the vinyl onto your cutting mat, shiny side down. This is SO important. If it’s not shiny side down, the backing will cut instead of the vinyl and that doesn’t do you any good.
- Load the cutting mat into your machine.
- Make sure the file is the right size for the shirt of your choosing. Here’s a great guide on what size vinyl to cut for different sizes of shirts.
- Select the file and mirror it so that it cuts backwards OR if you’re using the Cricut design space, just check the box to mirror when you’re sending to cut. You just need to make sure that it cuts mirrored (e.g., backwards) or else the final design you’re ironing on will be backwards on the shirt. You’ll see that it makes sense once you cut it.
- Cut the file then carefully weed around any tiny pieces so you don’t rip the design.
- Remove the backing from the vinyl so you’re left with only your design, still on top of the plastic covering. If you cut all the way through the plastic covering, cut it again and try to aim for a kiss cut where it only cuts through the vinyl, not the plastic. It’ll make it SO much easier!
- Flip the vinyl over and place, vinyl side down, where you want it on your shirt.
- Place the napkin or piece of fabric over your design and iron the design on, through the piece of fabric. I typically like to press the iron down firmly on one piece of the design then move on to the next, concentrating the most time on the edges of letters and objects since that will most likely come up.
- Remove the fabric and carefully peel away the plastic part, checking to see if the vinyl is completely transferred to the fabric. If it’s not, replace the plastic, fabric, and iron again, focusing on those spots that weren’t ironed on all the way in the first place.
- Remove the plastic and let cool. Then enjoy your awesome Avengers shirts!
Free DIY Avengers Shirt Cut Files
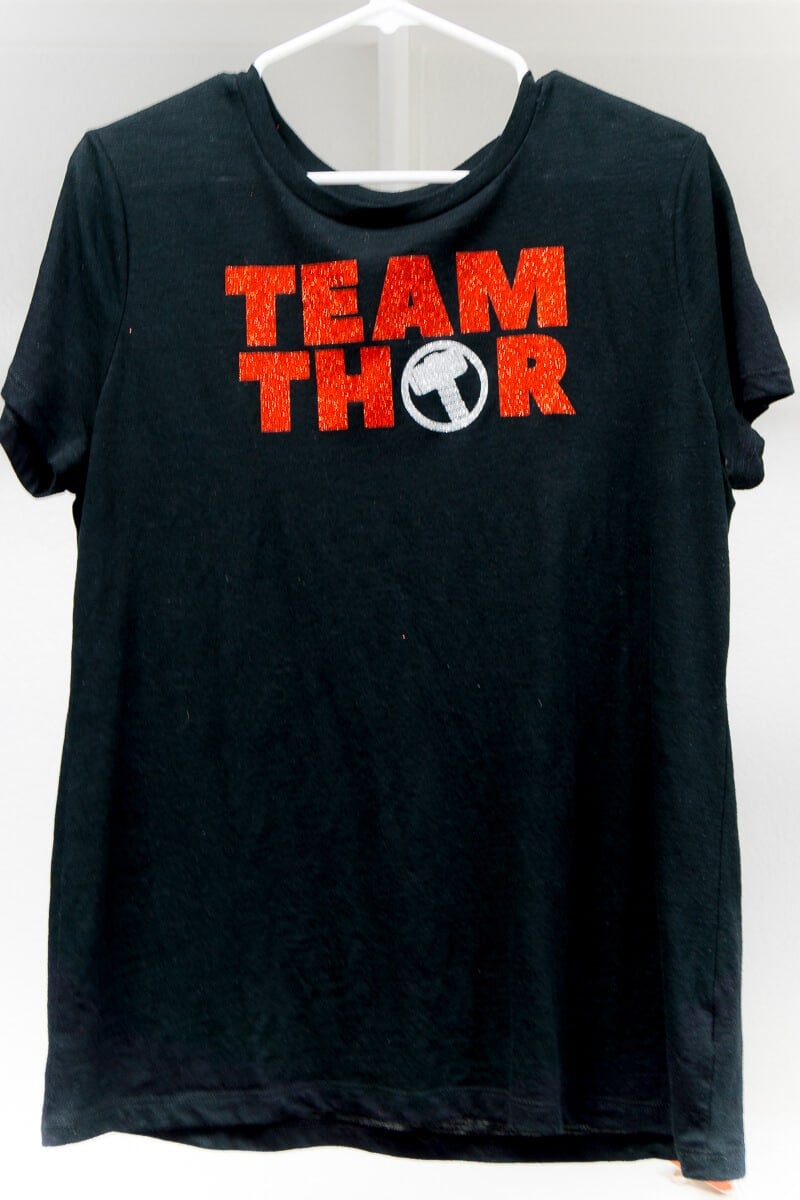
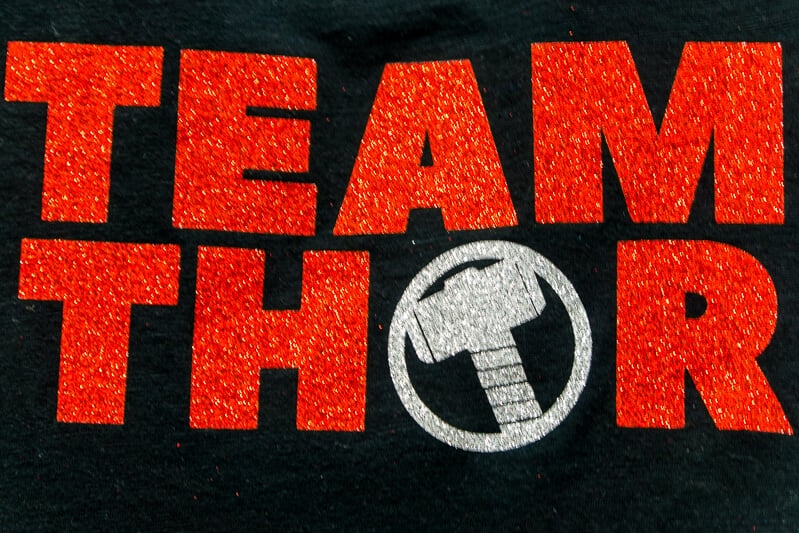
DIY Team Thor Shirts
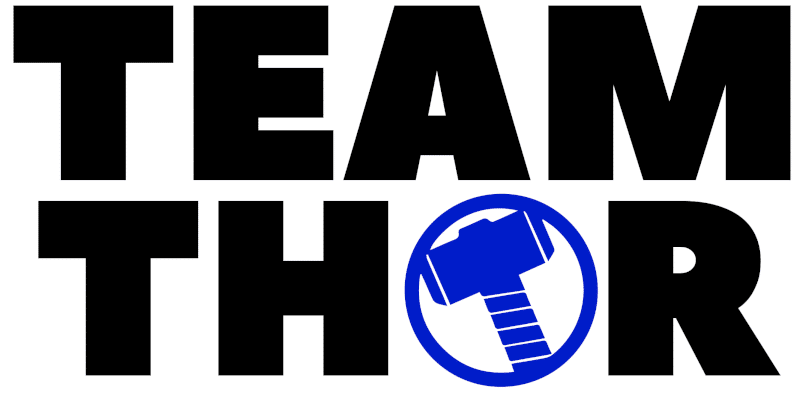
So I got lazy with this shirt and actually ended up buying this hammer cut file off Etsy because for $2, buying it rather than spending the time making my own was a much better use of my time. And it comes with three different hammer designs, so buy this file then just pick the hammer you want. I’m a simple kind of girl an went with the simpler of the three. I made two different versions – one with just the words, and one with the words with a space for you to add in the hammer.
<< Click here to buy the hammer SVG file (and two others) >>
<< Click here to download the Free Team Thor SVG File >>
<< Click here to download the Free Team Thor (Blank Space for Hammer) SVG File >>
DIY Tony Stark Shirts
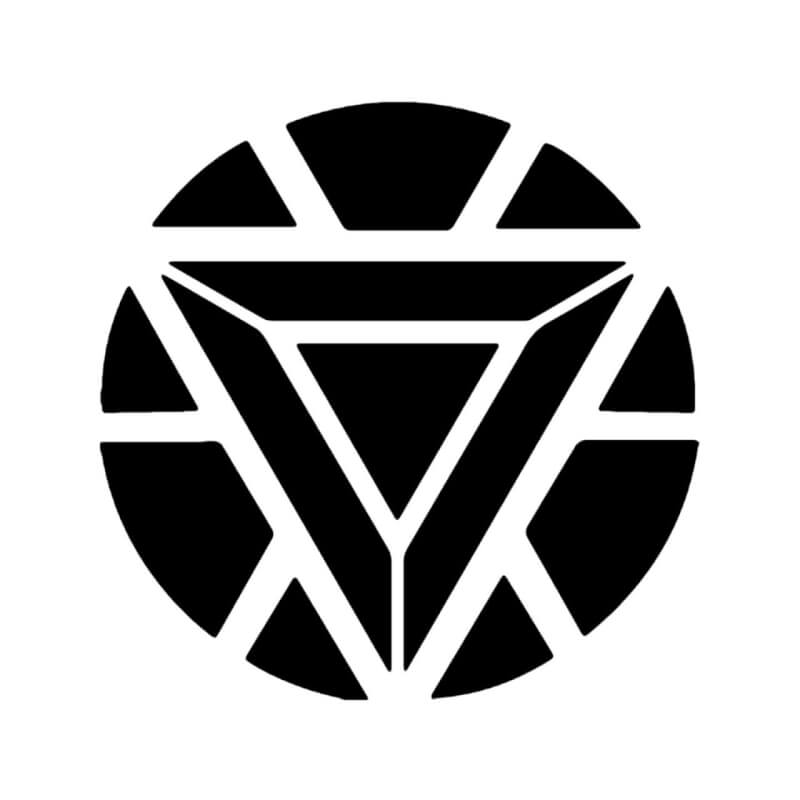
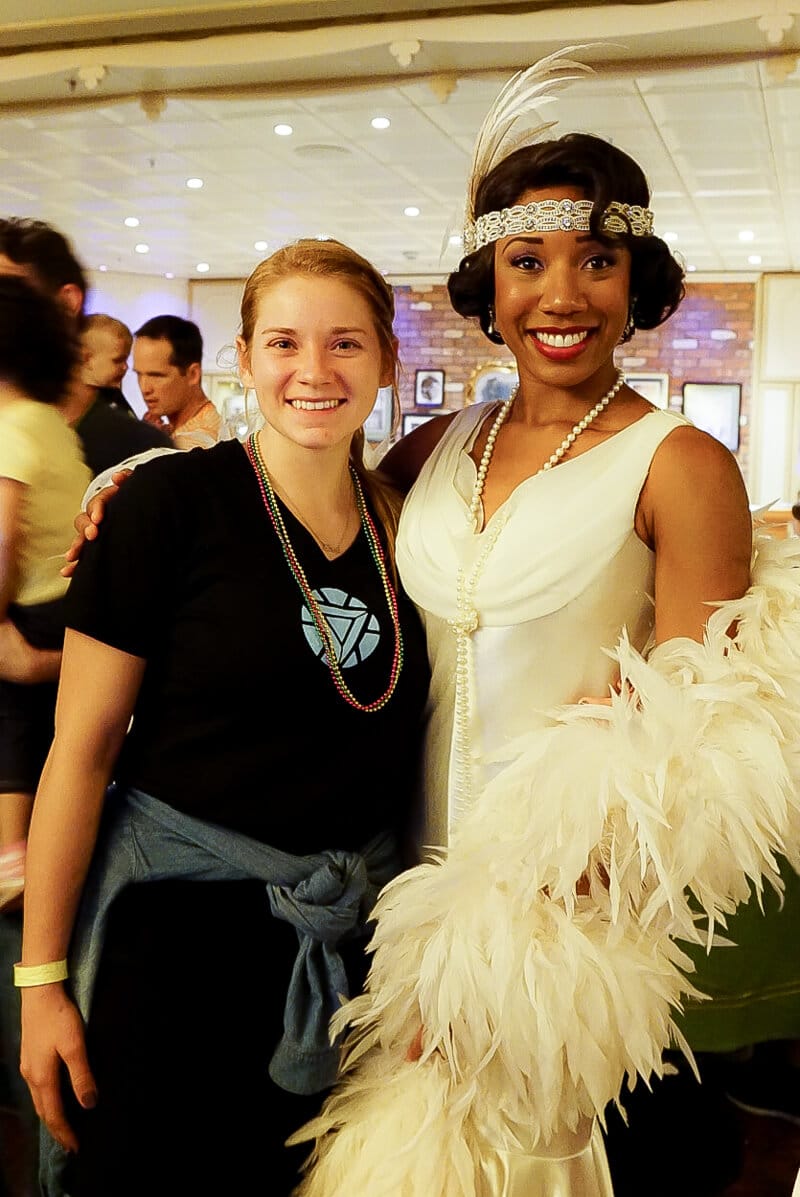
This one is as simple as they come. Just cut out the file in a light blue or glitter (for women) blue and iron on to a black shirt! I only got a picture of the shirt with Mardi Gras beads on top from our Disney Cruise, but you get the idea.
<< Click here to download the Free Tony Stark SVG File >>
Want More Fun Ideas?
Want more fun ideas like this one? Enter your first name and email address in the form below to join the Play Party Plan community! You’ll receive weekly recipes, party ideas, games, and more directly to your inbox!







Leave a Reply