
Wondering how to make hot chocolate bombs that you’ve seen all over the place? This is the ultimate guide to making the perfect hot chocolate bombs including tons of tips, tricks, and expert insight for getting them right! Plus, lots of different variations of hot chocolate bombs to try for mastering these fun treats!

Want to save this recipe?
Enter your email below and we’ll send this idea straight to your inbox (plus you’ll receive fun weekly ideas from us too!)
Oh hot chocolate bombs. I have no idea where they started, but they’re a super fun trend that I hope keeps going for a long time if only because it gives me an excuse to drink more hot chocolate!
Whether you call them hot chocolate bombs, hot cocoa bombs, or just melting chocolate balls – they’re the same thing. Balls of chocolate with hot chocolate mix and sometimes other fun goodies inside. When you pour hot milk over them, they dissolve or “explode” like a bomb, leaving you with all of the fun fixings.
They’re super fun, kids love them, and if you get the recipe right, they also leave you with a super yummy cup of hot chocolate!
They’re also a bit tricky to make so hopefully this guide on how to make hot chocolate bombs will help make them less tricky and leave you with just the fun part!
Hot Chocolate Bomb Supplies
You can’t just make hot chocolate bombs on a whim unfortunately. You’re going to need some supplies. If you click on the items below, they’ll take you directly to what I used to make mine.
To make the best hot chocolate bombs, here’s what I recommend:
- Hot chocolate bomb silicone mold – they’re finally available again after being sold out everywhere for a while, I recommend getting two molds to make a set of six hot chocolate bombs
- Instant read kitchen thermometer – this is for tempering the chocolate
- Food prep gloves – you’ll want these to keep from ruining the chocolate
- Food scale – you don’t need anything specific here, just something to measure the weight of your ingredients
- Food paintbrush – you can also just use a clean spoon but the paintbrush is more fun!
- Rubber spatula
- Medium bowl
- Small baking sheet
- Cupcake liners – this is optional but makes it easier to hold the hot chocolate bombs once they’re done so they’re not rolling all over the place!

Hot Chocolate Bomb Ingredients
In addition to the supplies listed above, you’ll also need actual ingredients of course. There are a TON of different variations of hot chocolate bombs out there now, but I’m going to include just the basic hot chocolate bombs in this post.
If you want more ideas, you can skip to the bottom of this post to see all sorts of fun recipe options!
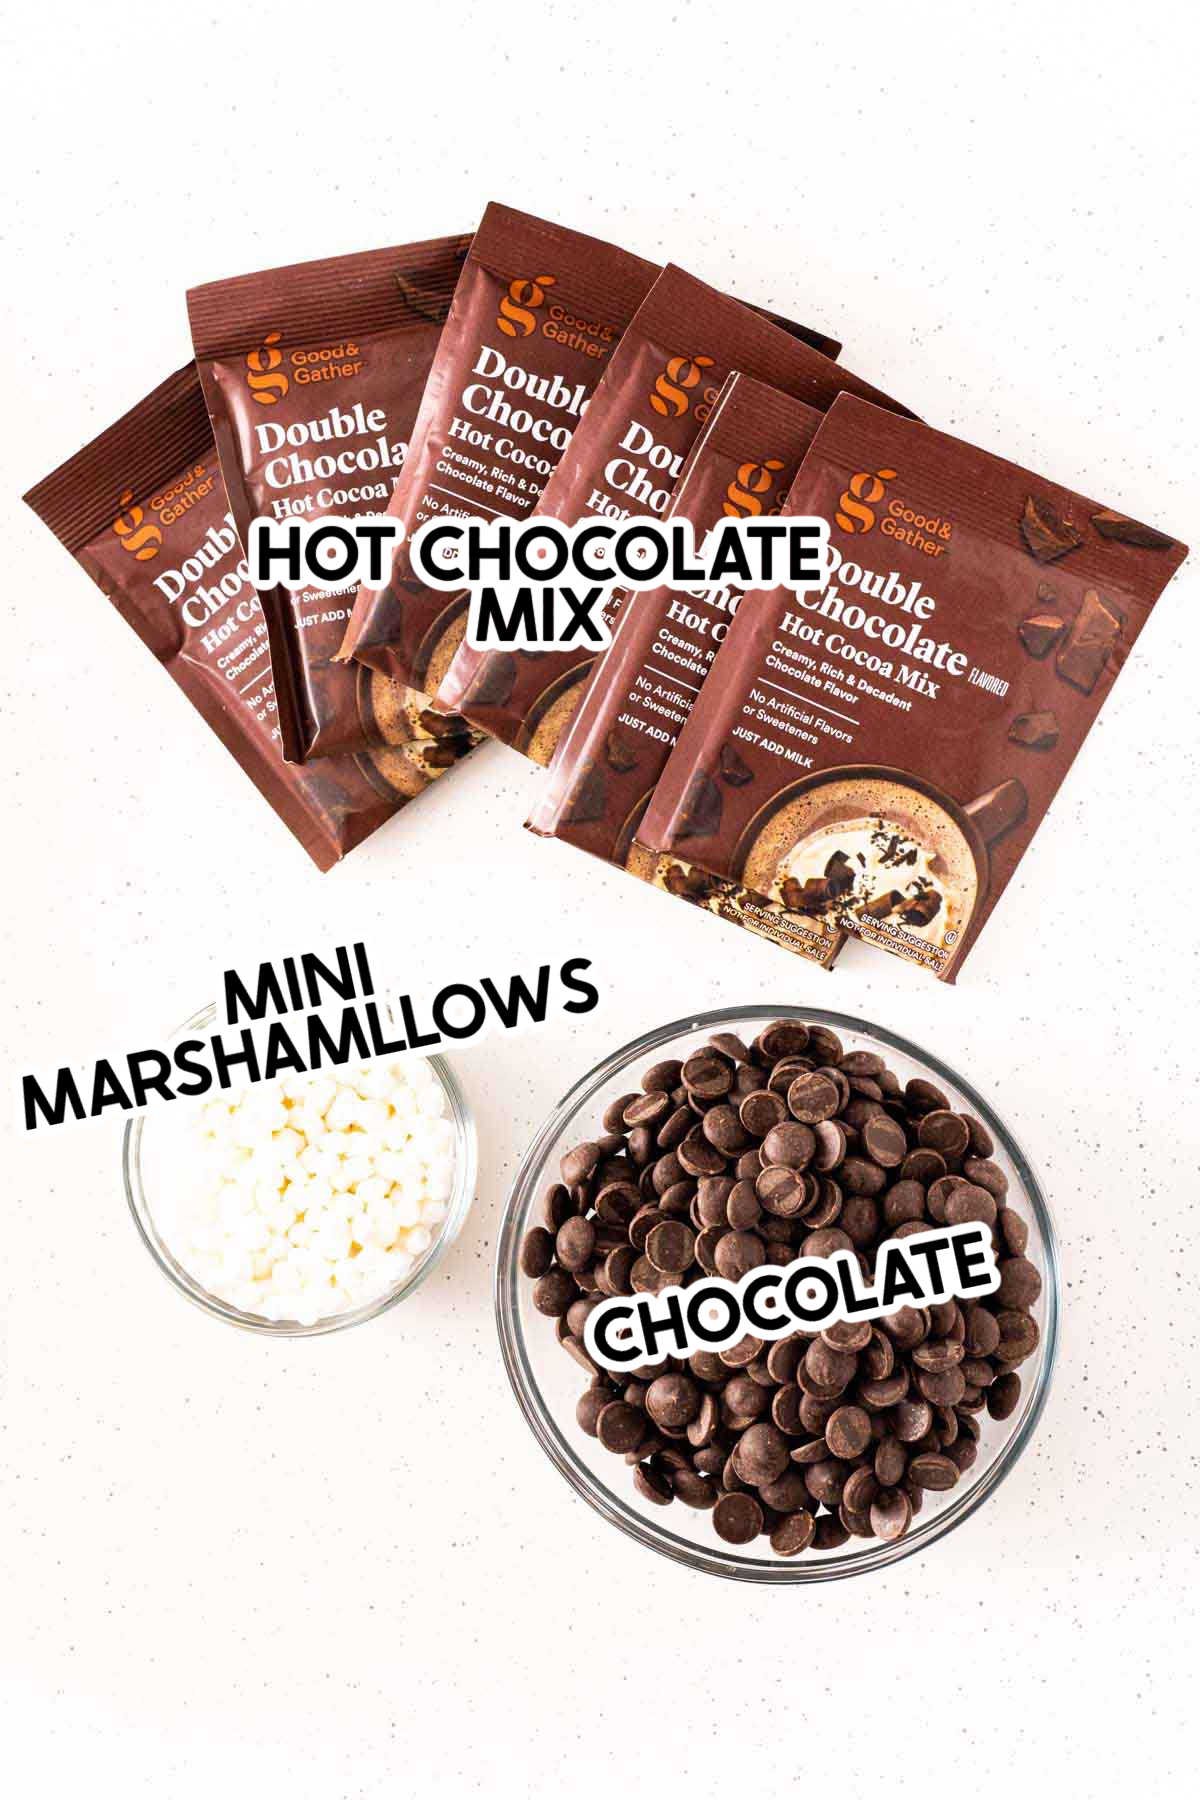
All chocolate bombs need three things:
- Chocolate – the BEST chocolate for hot chocolate bombs is either a bar of high quality baking chocolate like Ghirardelli or couverture chocolate morsels. Not sure what those are? You can get them in bulk here. Many recipes use melting wafers or chocolate chips, but they have additions that make them not melt and harden as well as you want for hot chocolate bombs. If you do use something other than I recommended, make sure the chocolate is at least 55-80% cocoa and has cocoa butter as one of the first ingredients listed.
- Hot chocolate/drink mix – this is where hot chocolate bombs get creative! For this base recipe, I recommend one hot cocoa mix packet for each bomb that measures between .85 oz and 1.25 oz in size. This will give your final hot chocolate a nice rich flavor. If you’re using homemade hot cocoa mix, I recommend using 3 TBS of mix per bomb.
- Mini marshmallows – you can either use regular mini marshmallows or get dehydrated mini marshmallows (just like they use in hot cocoa + marshmallow packets). You can get them in bulk online here or often find them by the hot cocoa packets in stores like Walmart.
How to Make Hot Chocolate Bombs
Okay now that you’ve gathered everything you need, it’s time to actually make these!
They’re not that difficult, but it is important to know what you’re doing, so I recommend reading through this entire post PLUS all of my tips and tricks to make it as seamless as possible.
Otherwise you may end up just hating the process so much you won’t even be able to enjoy the hot chocolate in the end!
Temper the Chocolate
The first thing you need to do is temper your chocolate. If you skip this step, your chocolate can turn out chalky and discolored instead of the shiny look you’re going for.
Microwave five ounces of chocolate in a microwave safe bowl for thirty seconds. If you’re using chocolate bars, make sure they are finely chopped so they melt evenly.
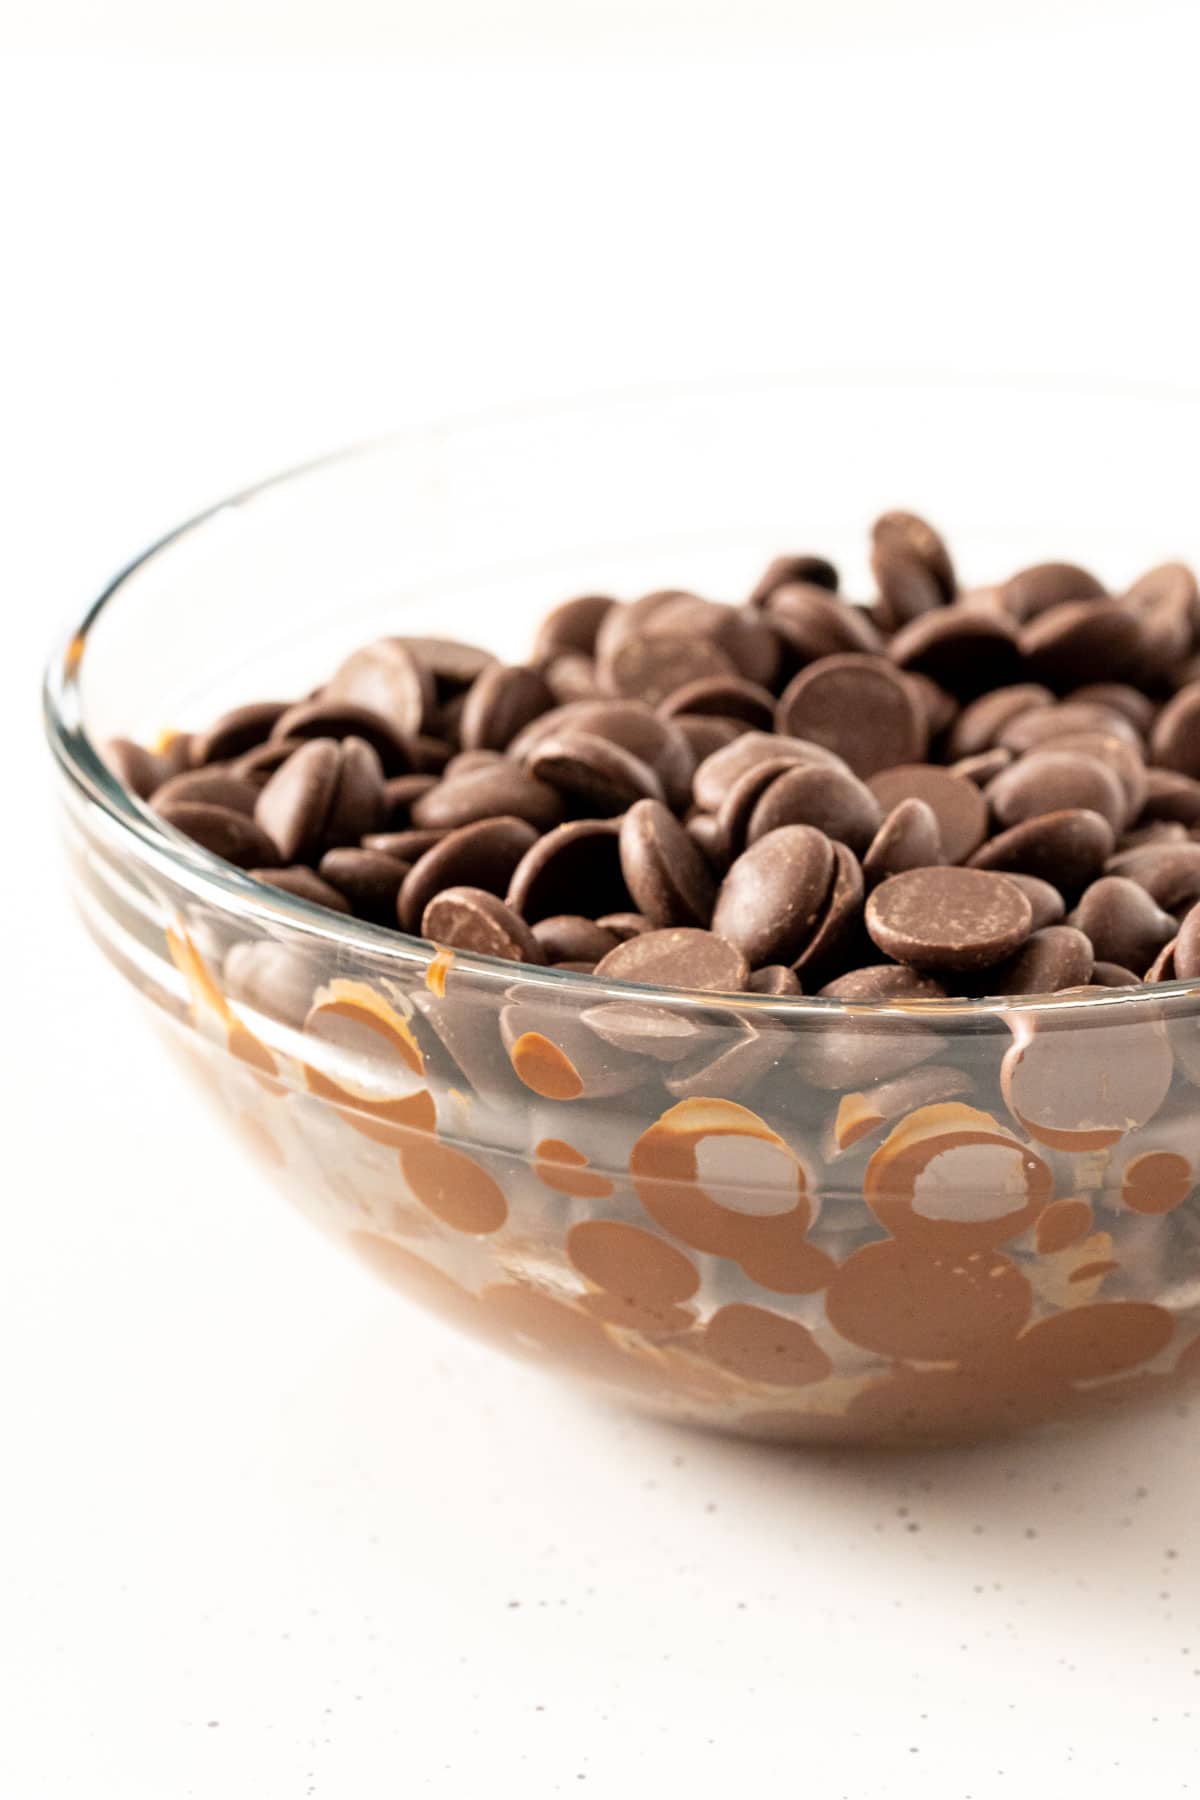
After the thirty seconds, remove and stir then continue to microwave again for additional 15 second increments until almost completely melted.
Note!
If you have two hot chocolate molds, you can microwave 10 ounces of chocolate at a time. You just don’t want all the extra chocolate to sit if you only have one mold that only holds the first five ounces of chocolate.
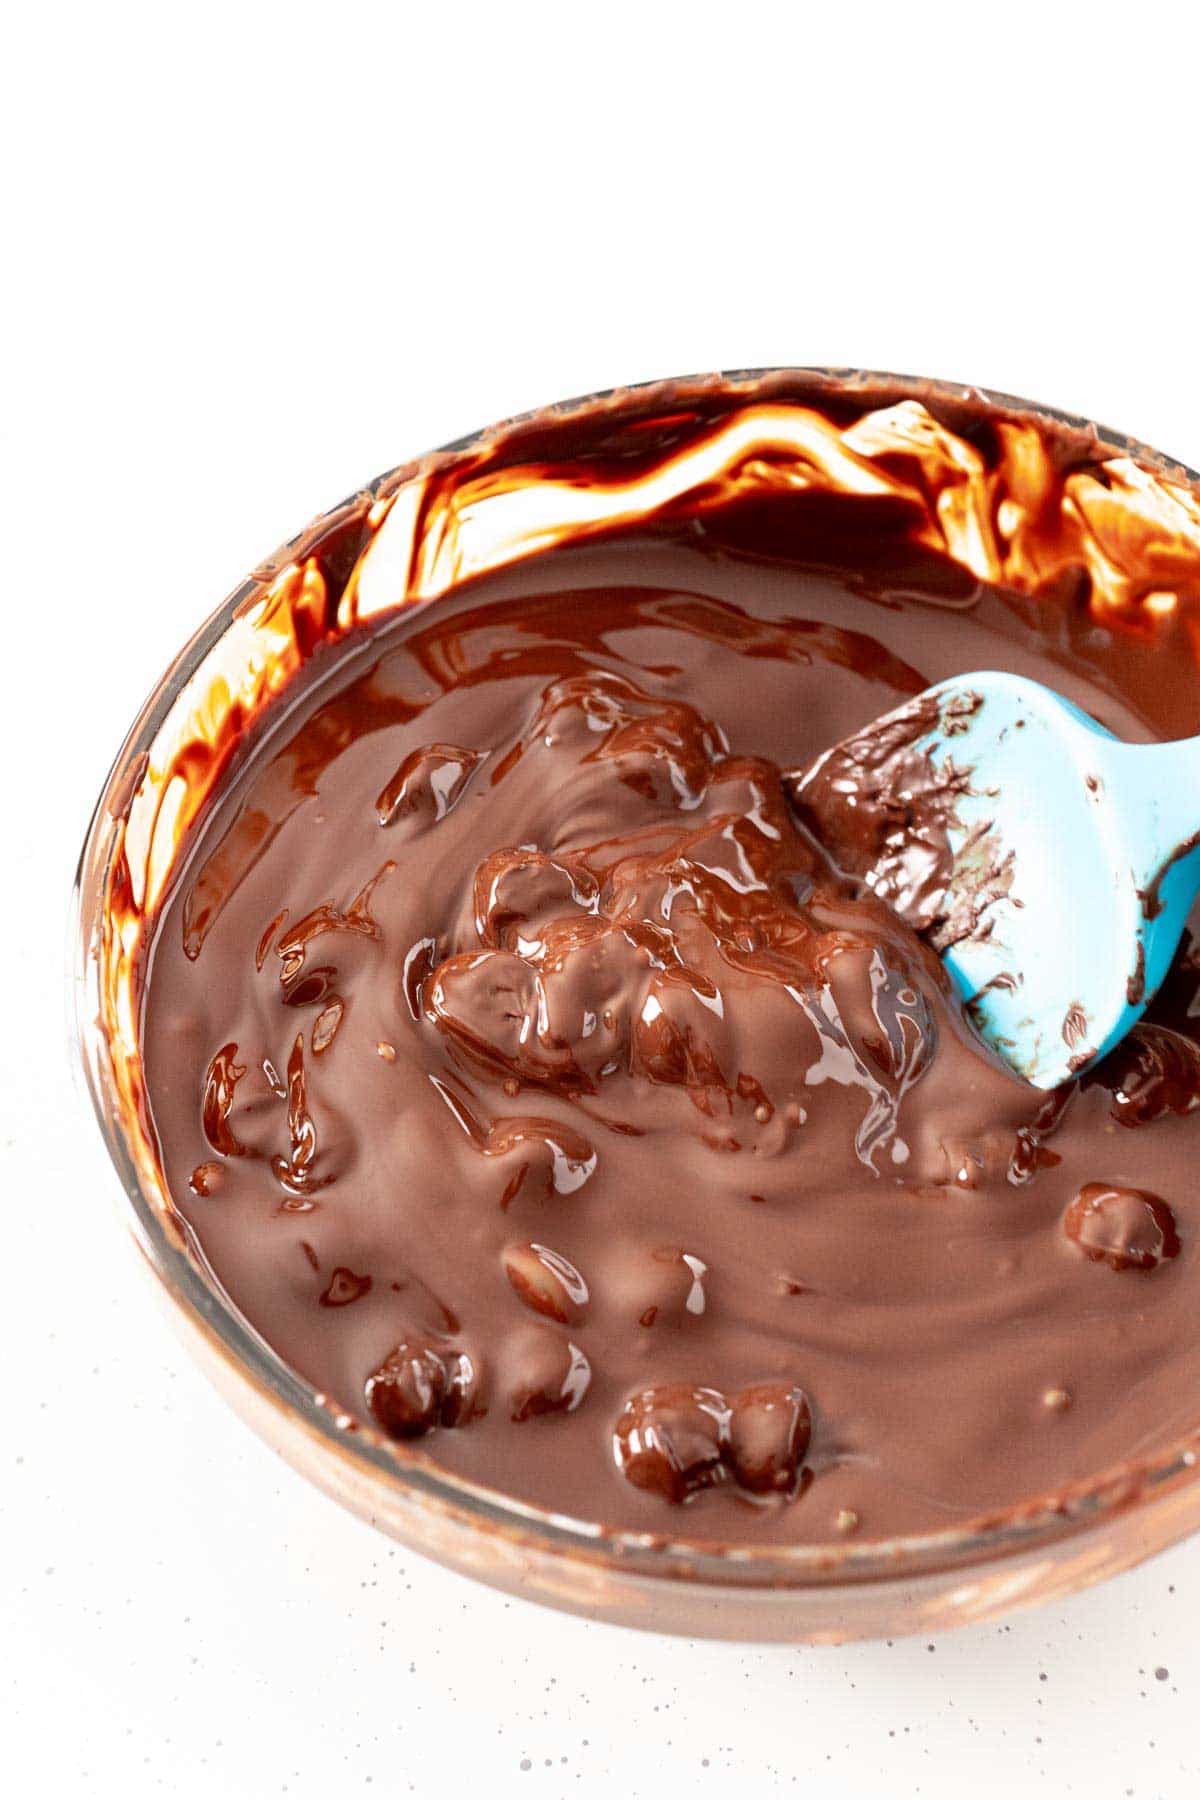
Make sure to stir and scrape the sides of the bowl with the rubber spatula between each of the increments.
Continue to stir until all of the chocolate is melted.
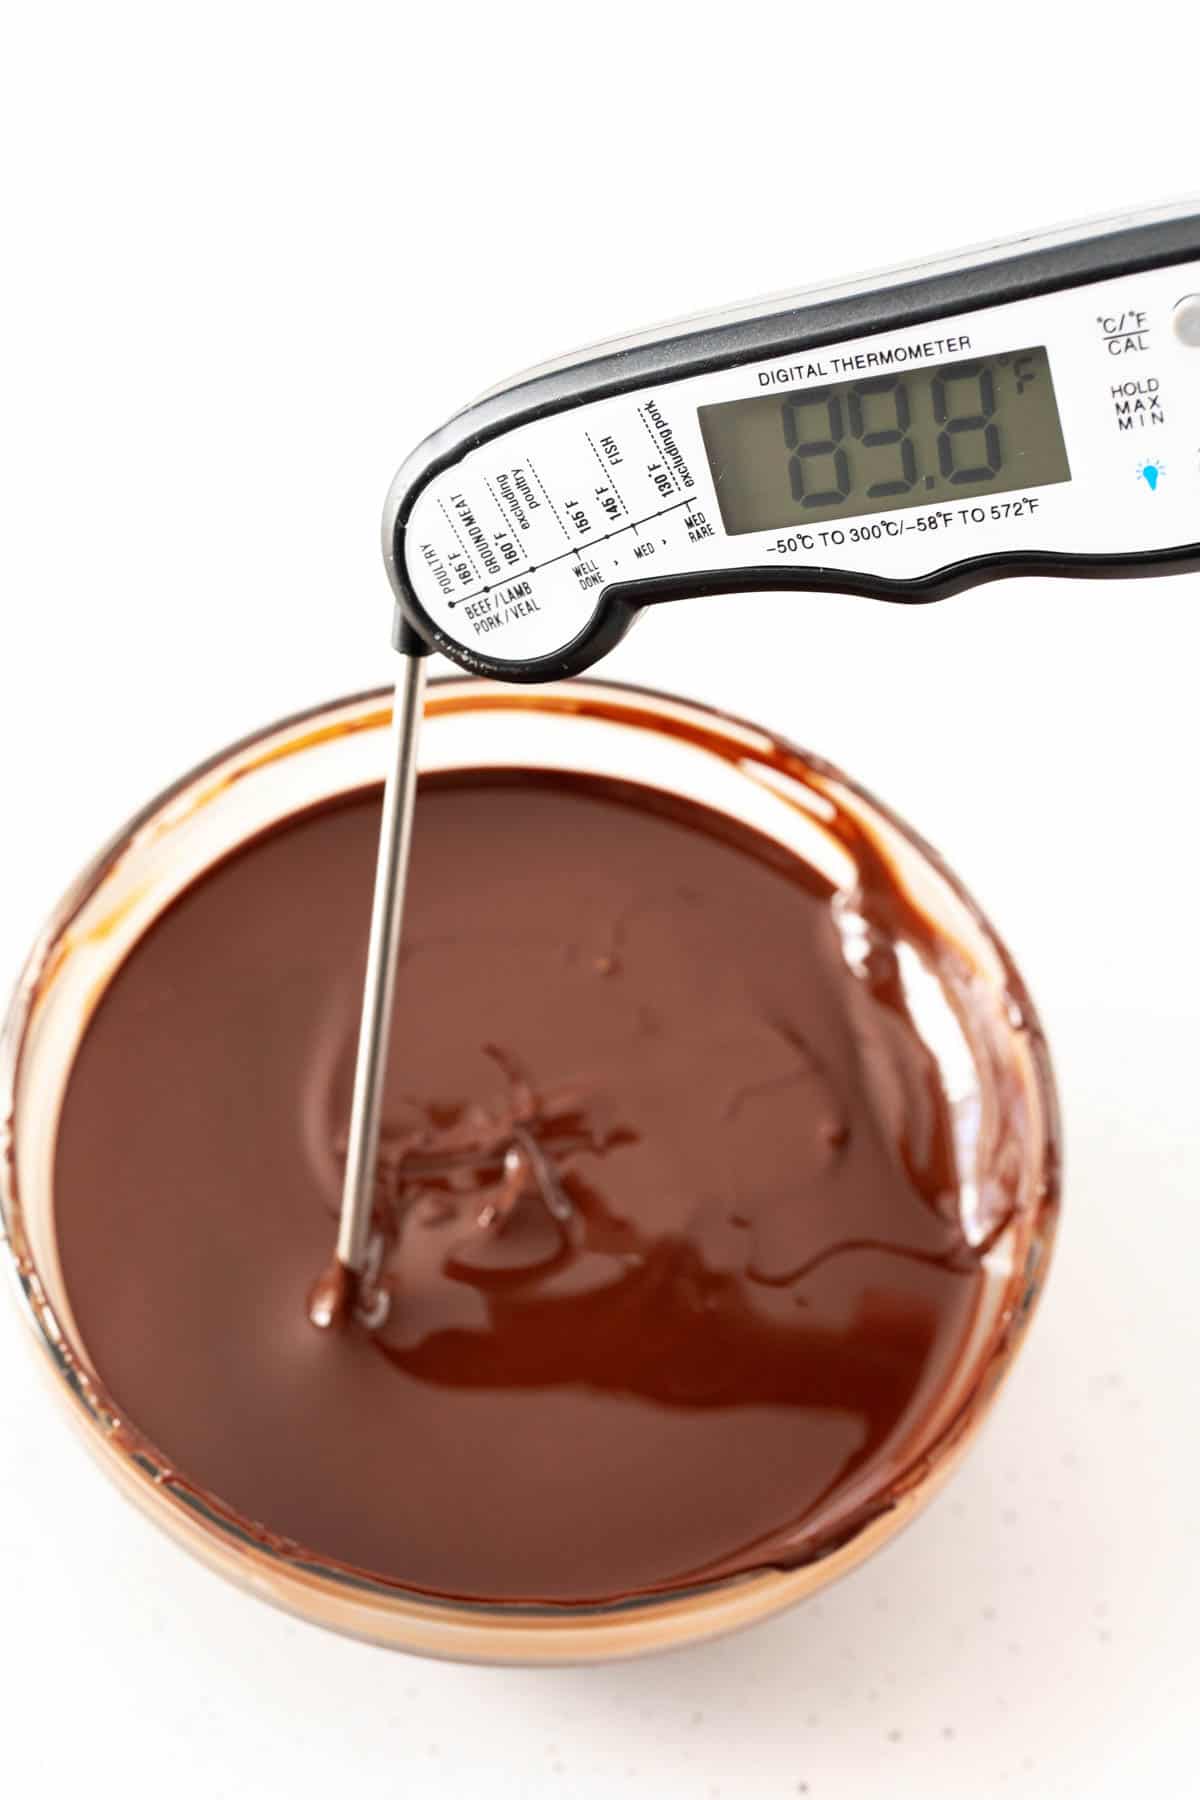
Check the temperature and make sure it is the correct temperature according to the type of chocolate you’re using. If it’s over, add an additional ounce of chocolate to bring the temp back down.
- Dark chocolate – 88 to 90 degrees F
- Milk chocolate – 86 to 88 degrees F
- White chocolate – 82 to 84 degrees F
If you need to add the extra ounce of chocolate and it won’t melt in, microwave for an additional five seconds to get the final ounce to melt in.
Tip!
Want to know if your chocolate is tempered? Swear a bit of the chocolate on a piece of parchment paper and place it in the fridge for a few minutes. If it is shiny and snaps in half after refrigeration, it’s tempered. If it bends, it’s not.
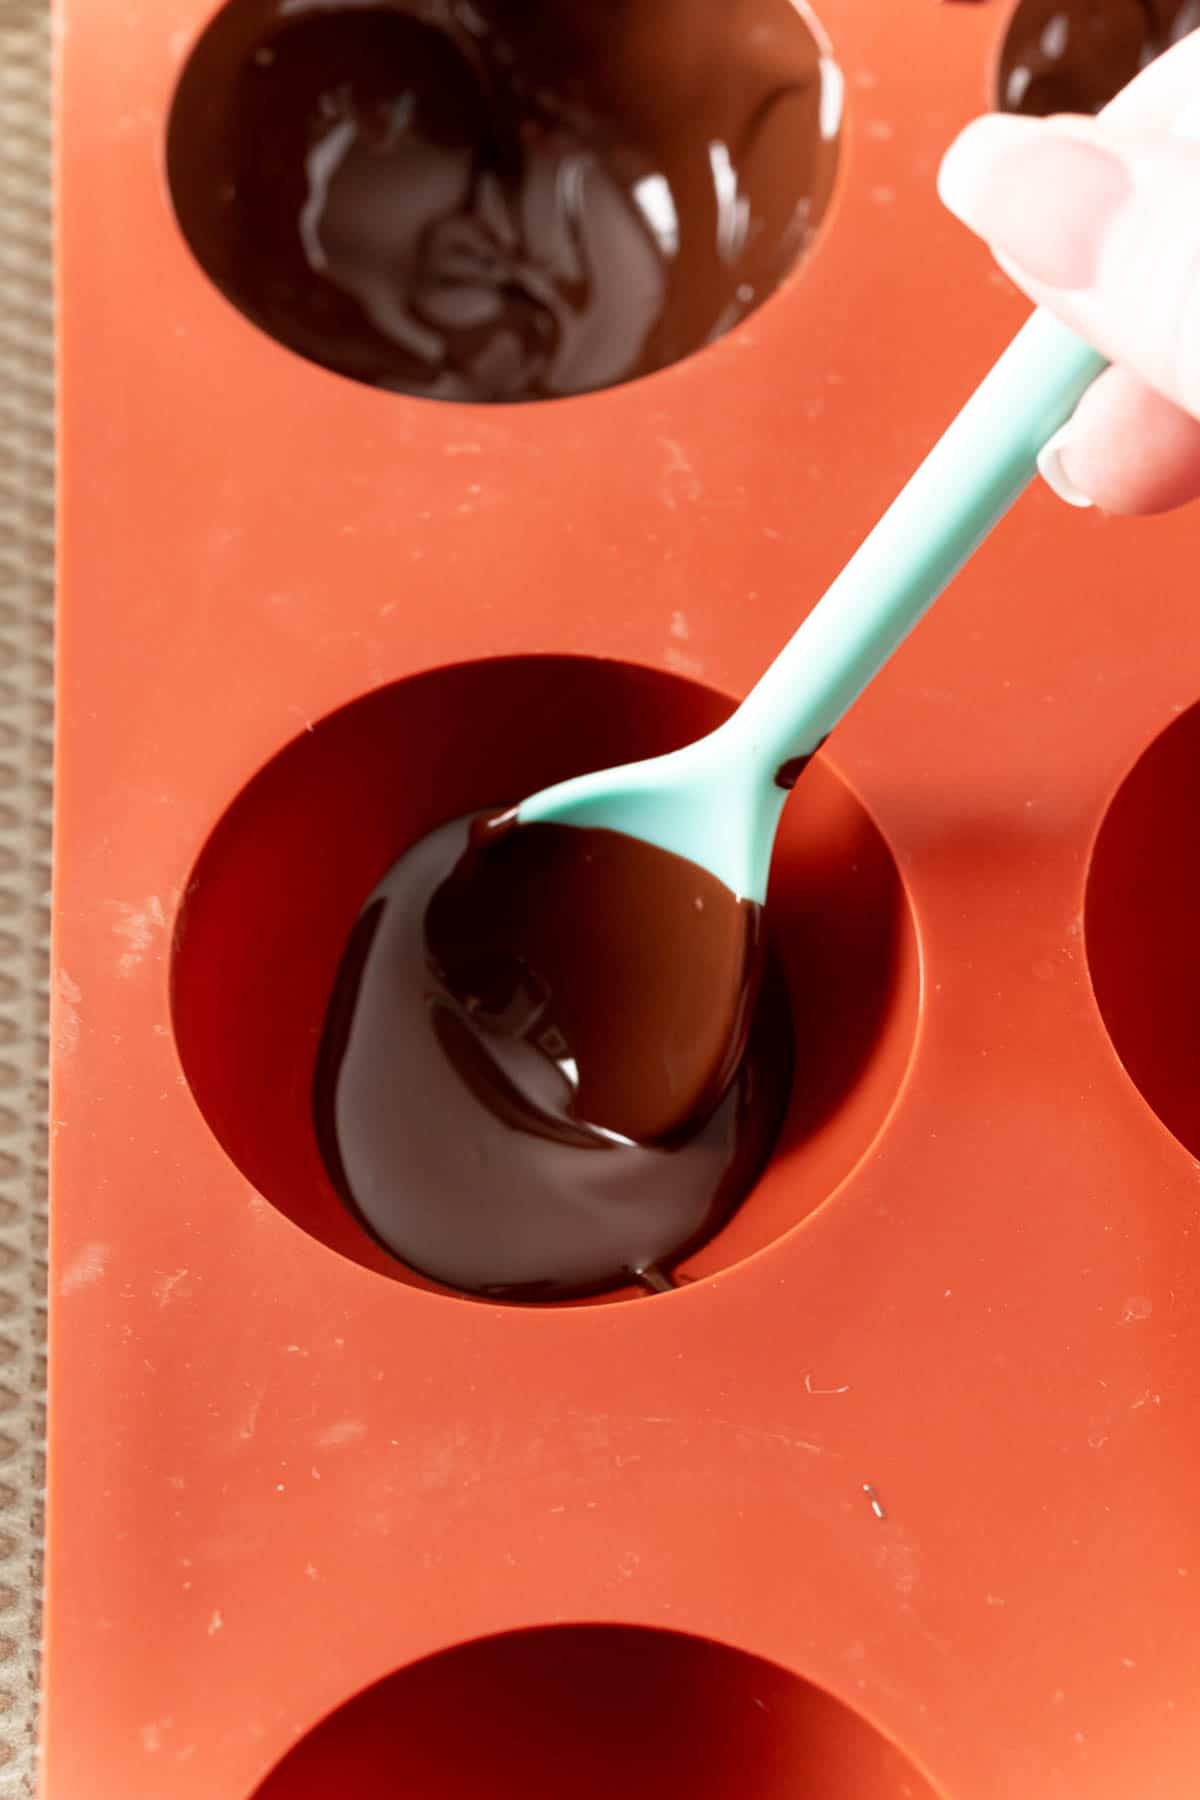
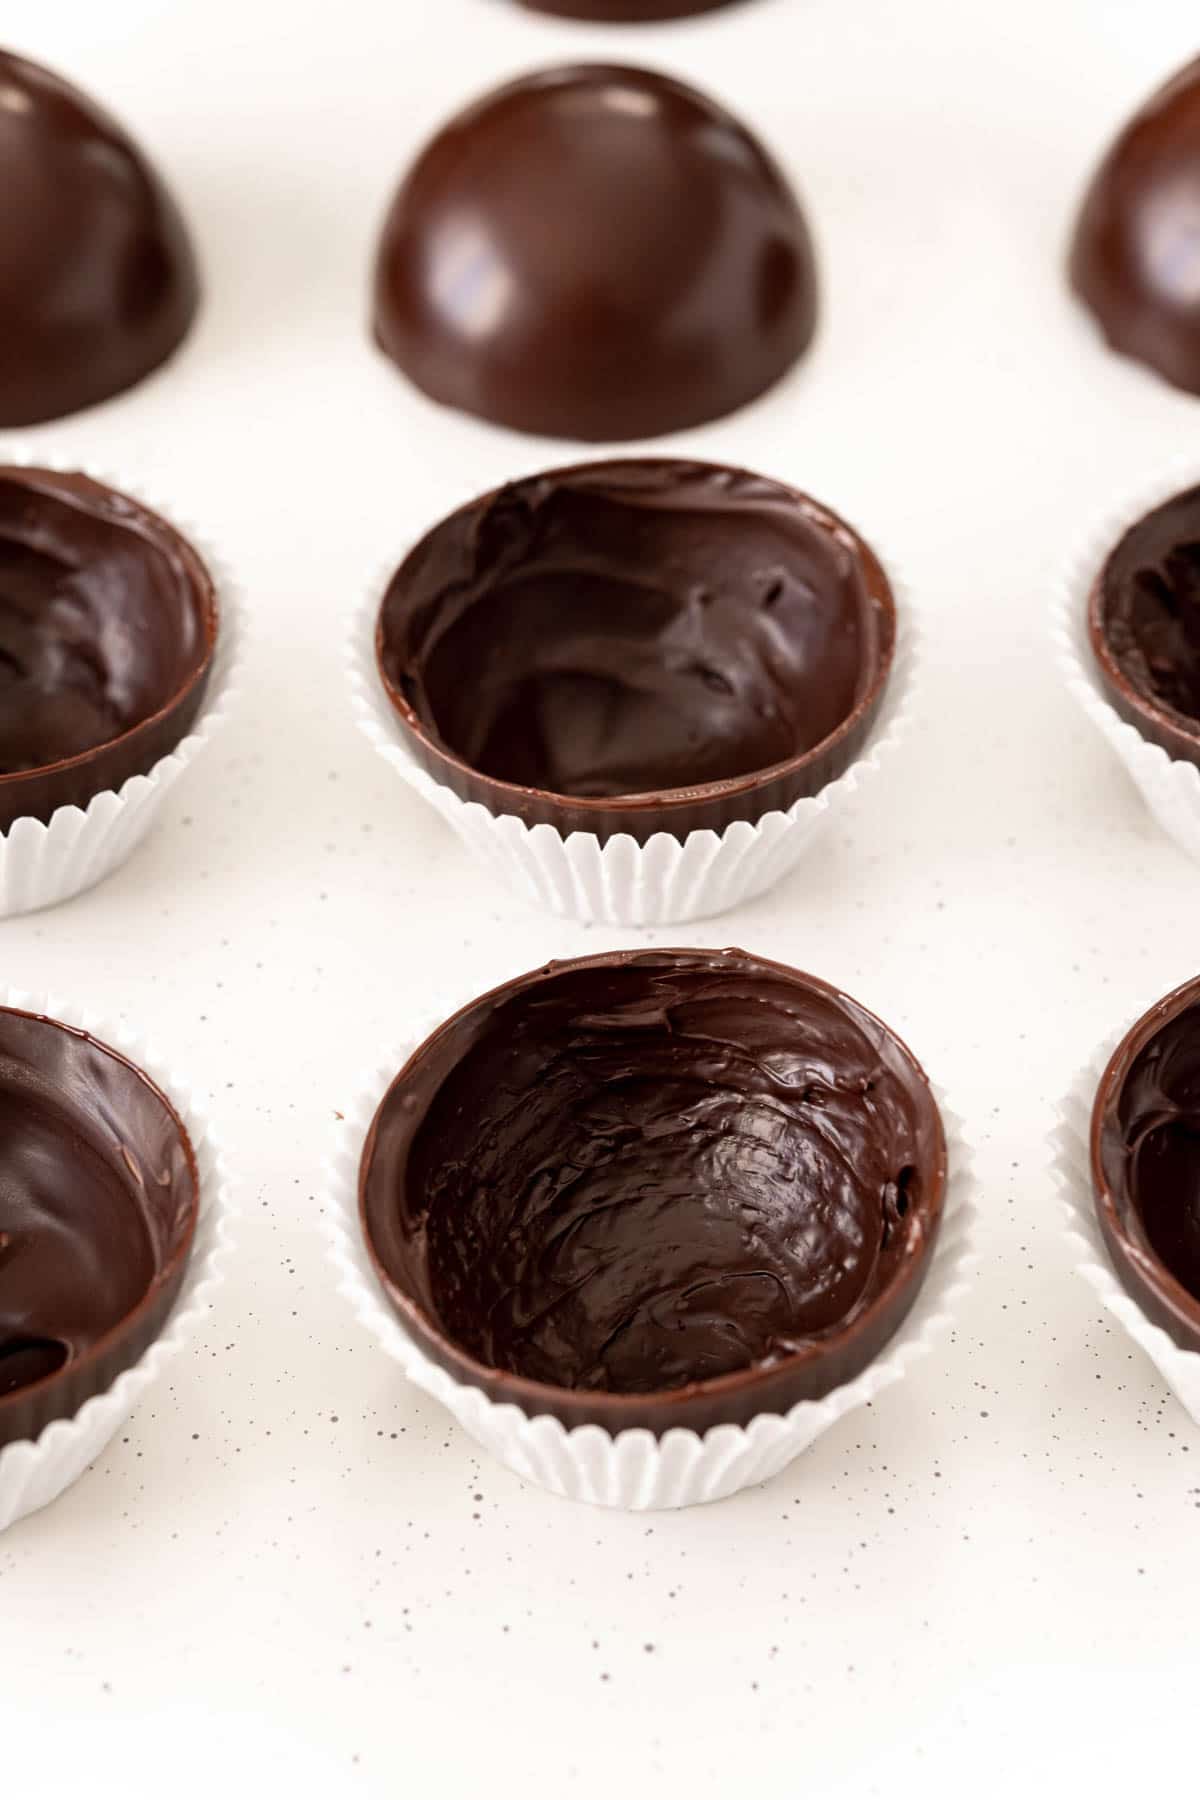
Mold the Chocolate
Use a spoon to add about one tablespoon of the melted chocolate to each of the molds. Use the back to spread the chocolate around, making sure to cover the entire mold all the way to the top.
If you leave exposed areas, you’ll end up with holes or cracks in your bombs, not what you’re going for.
Place the finished mold on the baking sheet and refrigerate for five minutes.
Add a Second Layer
After refrigerating, bring the molds back out and add another heaping tablespoon of chocolate into the molds, this time one at a time, so the chocolate doesn’t harden before you can spread it.
Use the back of the spoon to spread the second layer of chocolate around – this will help make it so the bombs don’t crack! Once you’ve finished one mold, move onto the next. Repeat until each of your molds have two layers of chocolate.
If you’re using a paintbrush and the layers seem thin, refrigerate for another five minutes and do one more layer before freezing.
Freeze for 10 minutes.
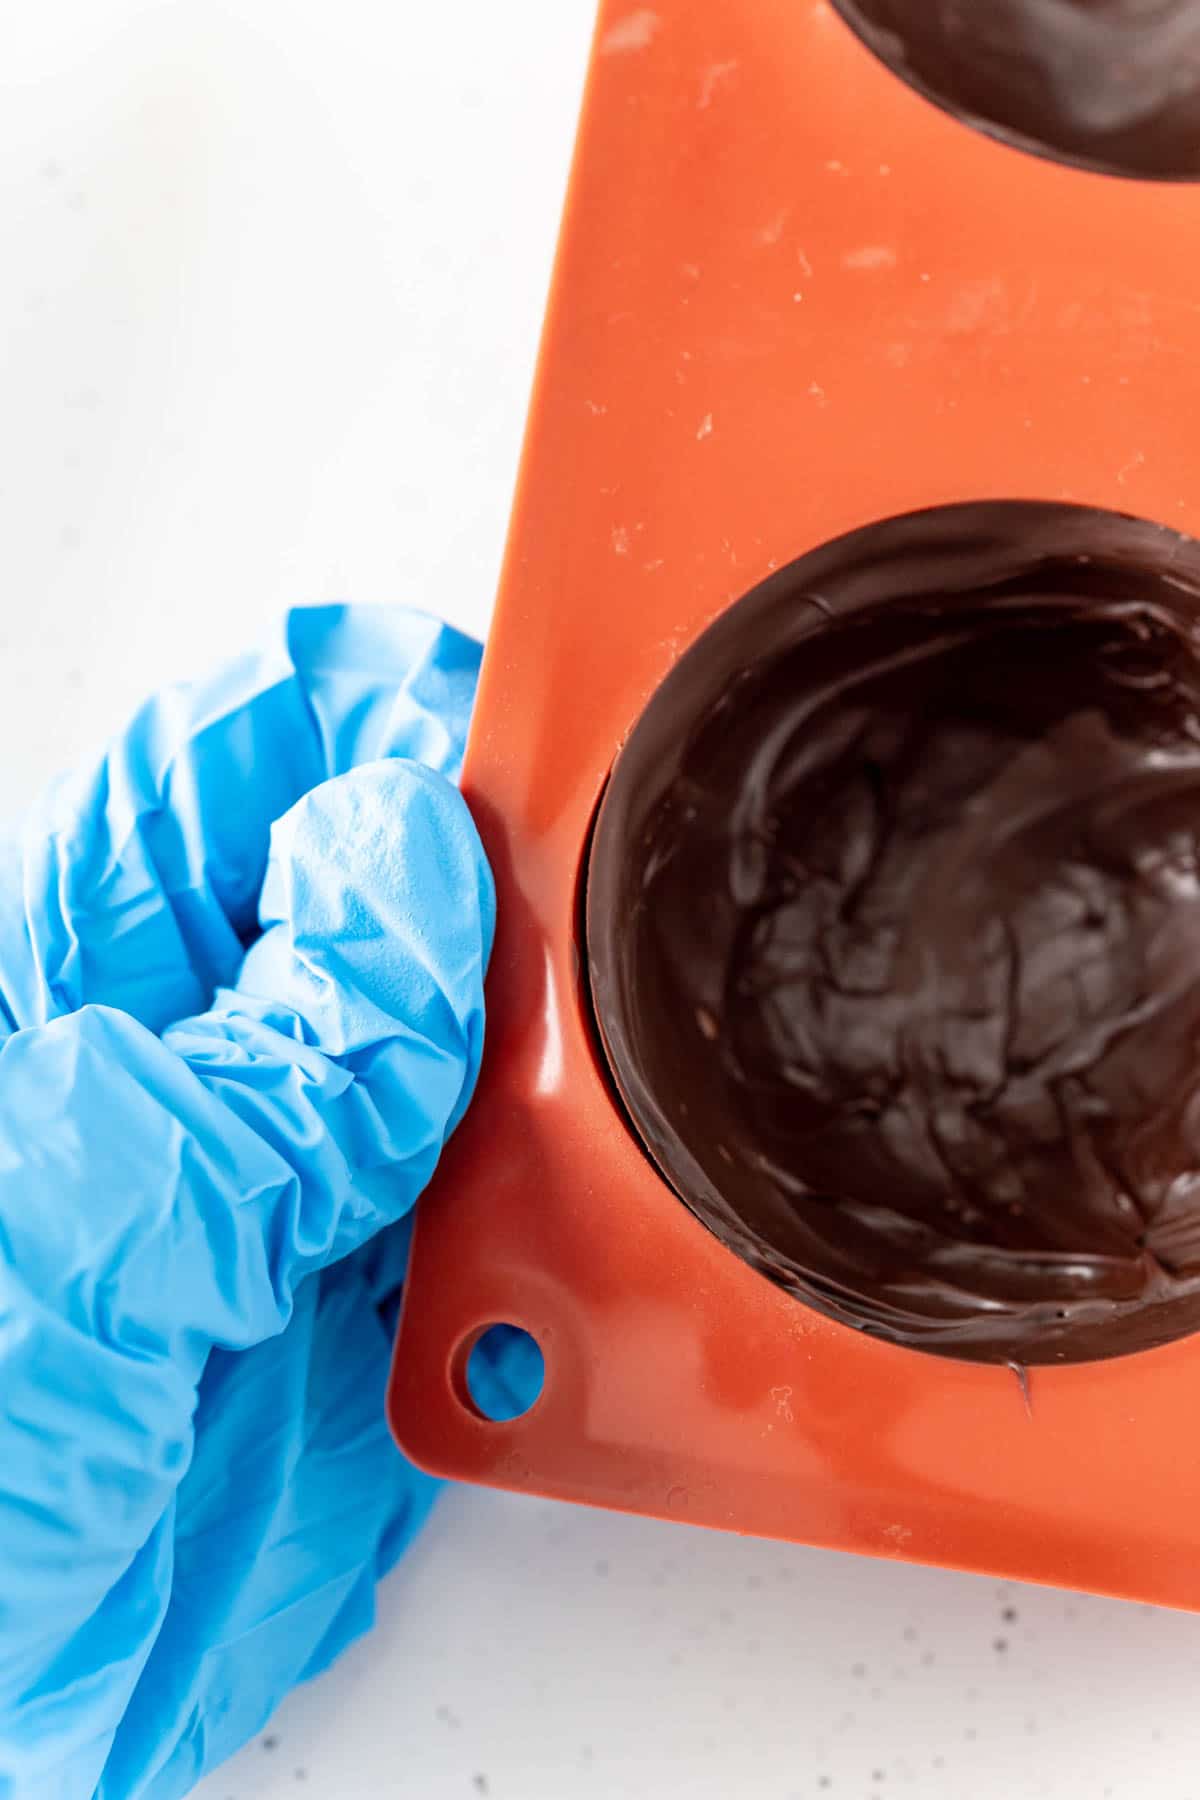
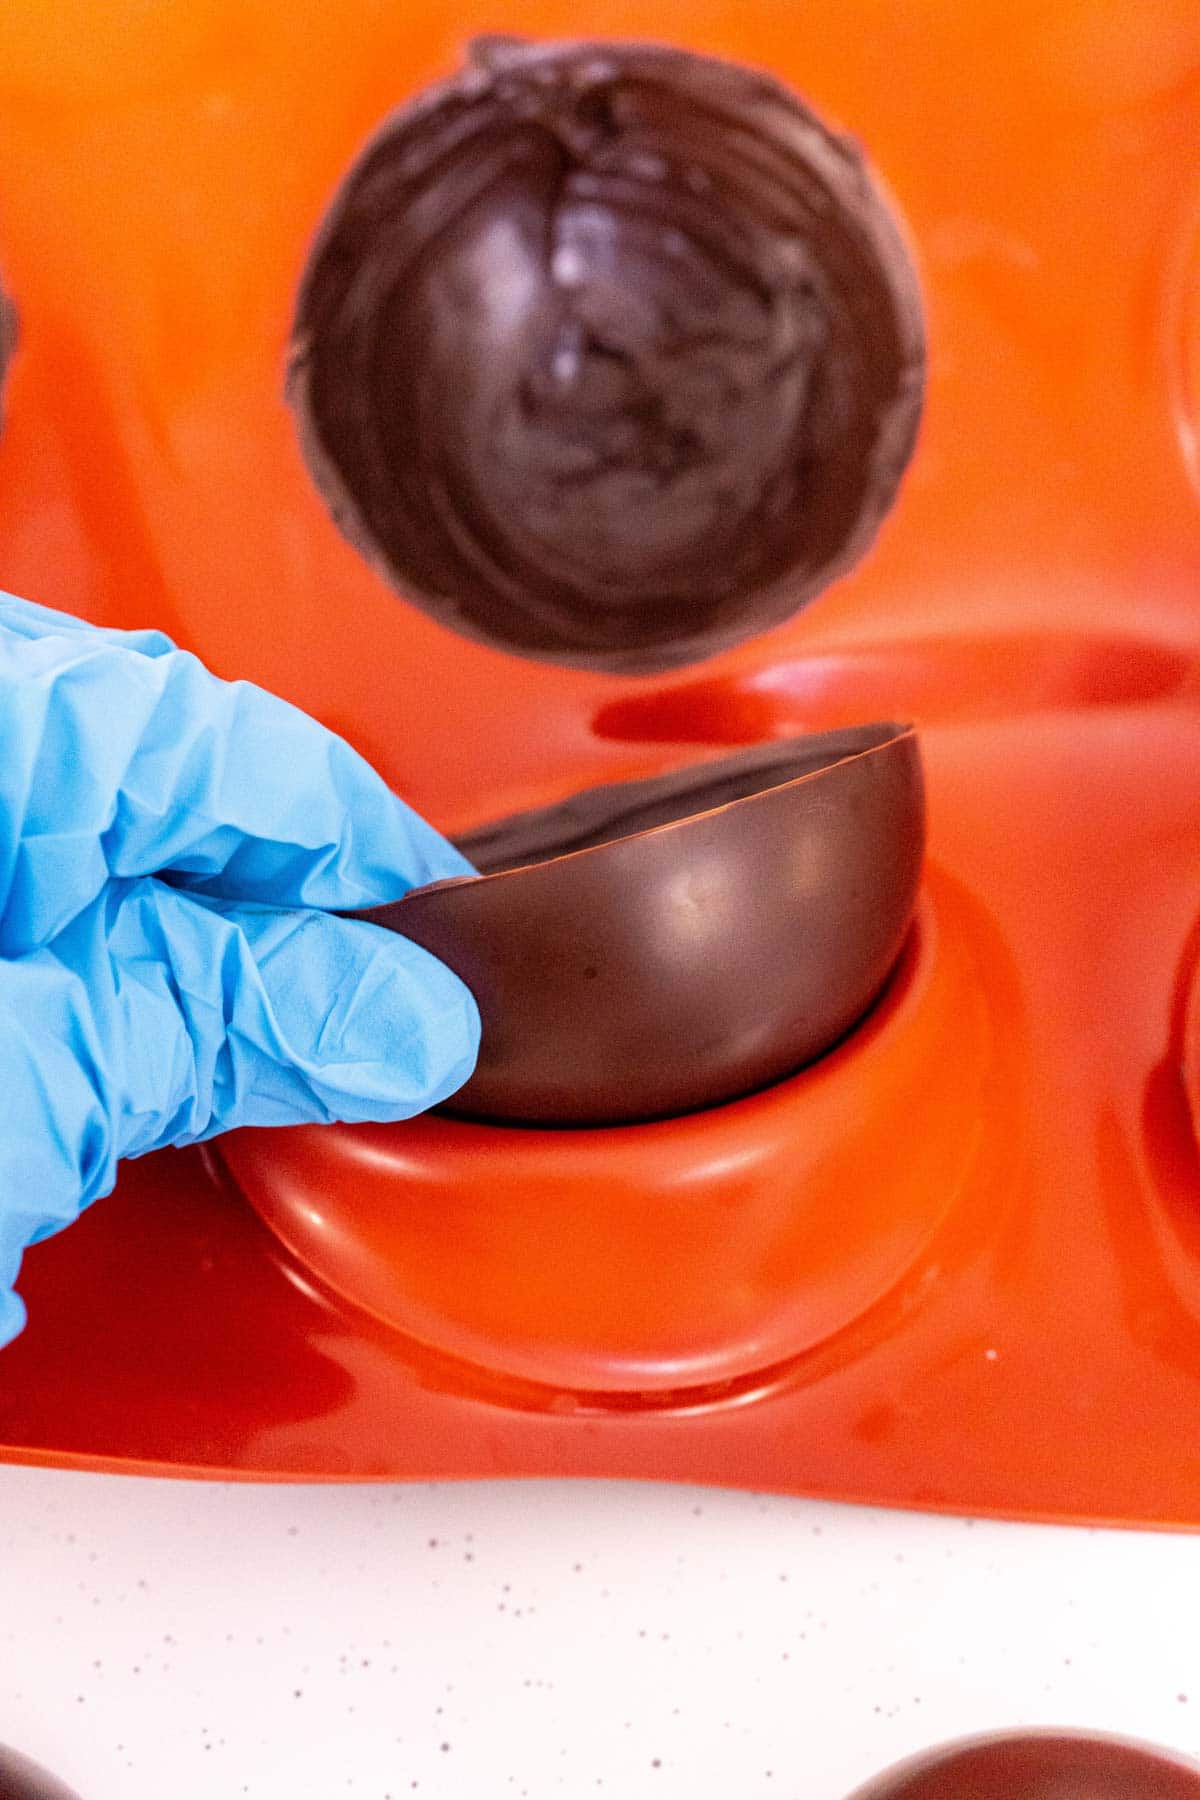
Remove
Once the bombs are frozen, it’s time to put on those gloves. Carefully use your gloved hands to remove the bombs from the molds.
If you only have one six bomb mold and want to make sure more than three bombs, repeat the entire process (molding the chocolate, adding the layer, and removing) to get your full set of bombs made.
Flatten
Microwave a microwave safe flat plate for two minutes. You’ll use the plate to even out the top edges of the bombs and to connect the bombs together!
Once the plate is heated, place six of the twelve halves on the hot plate – one at a time – using your gloved hand. Spin them gently to smooth the edges.
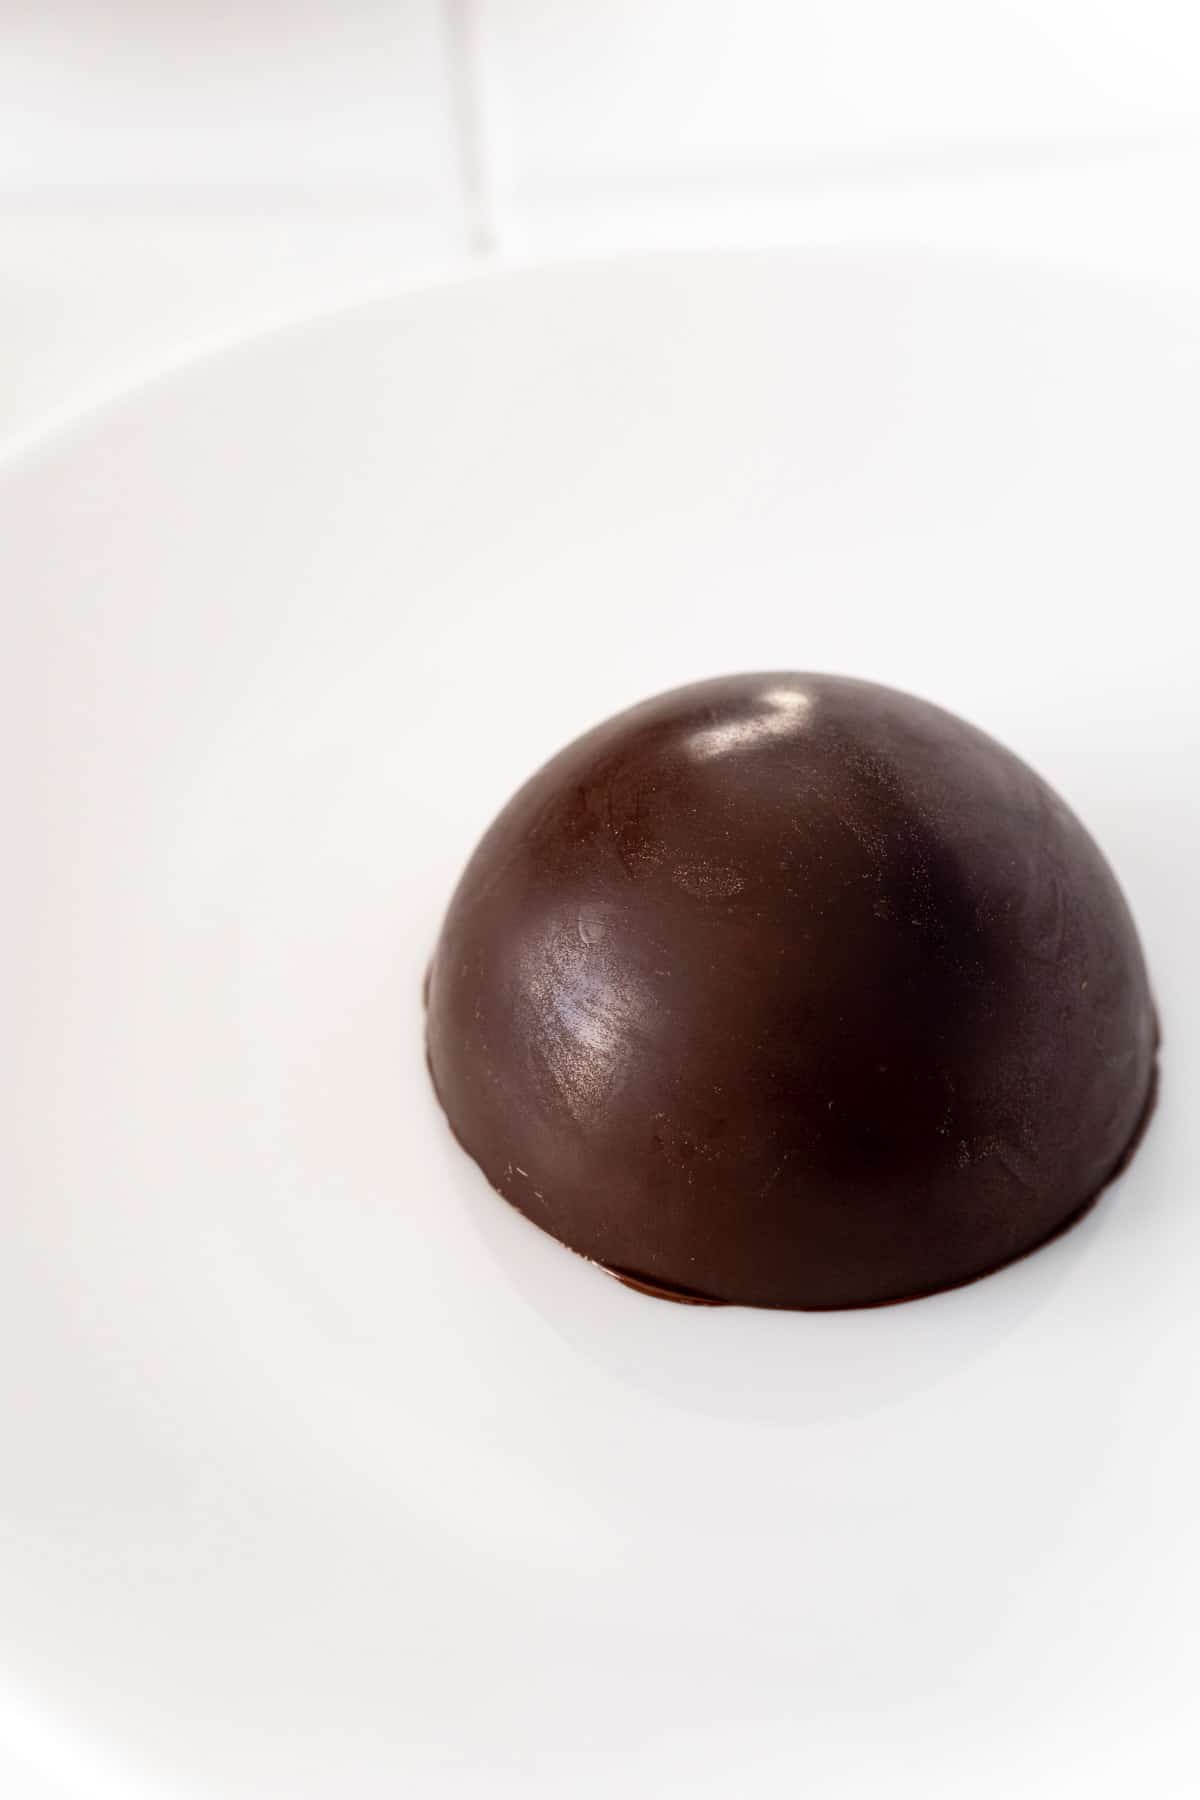
Once the edges are smooth, place finished half in a cupcake liner. Repeat with all of the halves.
Fill & Finish
Fill each of your chocolate bombs with a packet of the hot cocoa mix and a spoon full of marshmallows. Or replace this with whatever mix and toppings you’re using – this is the place to get creative!
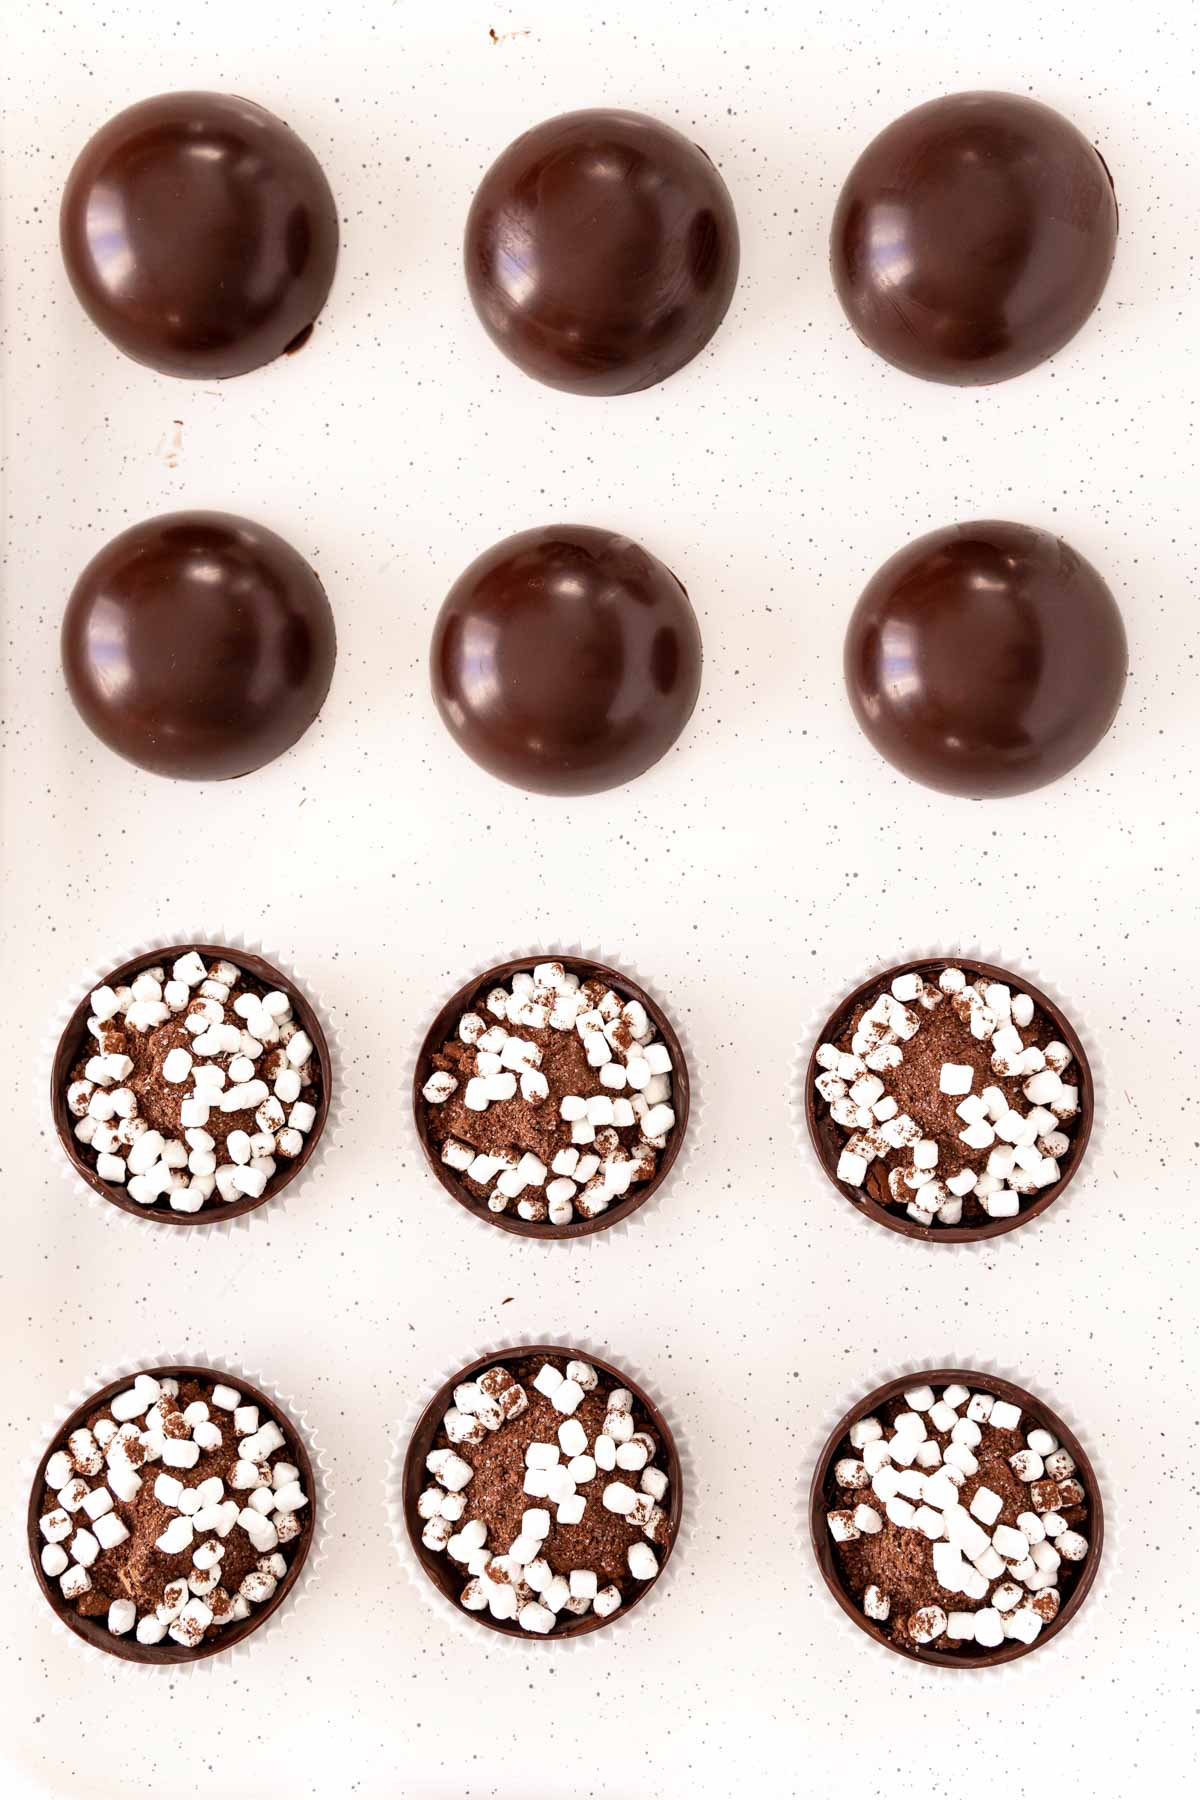
Reheat the same plate for two minutes and do the same thing you did earlier with the remaining six halves.
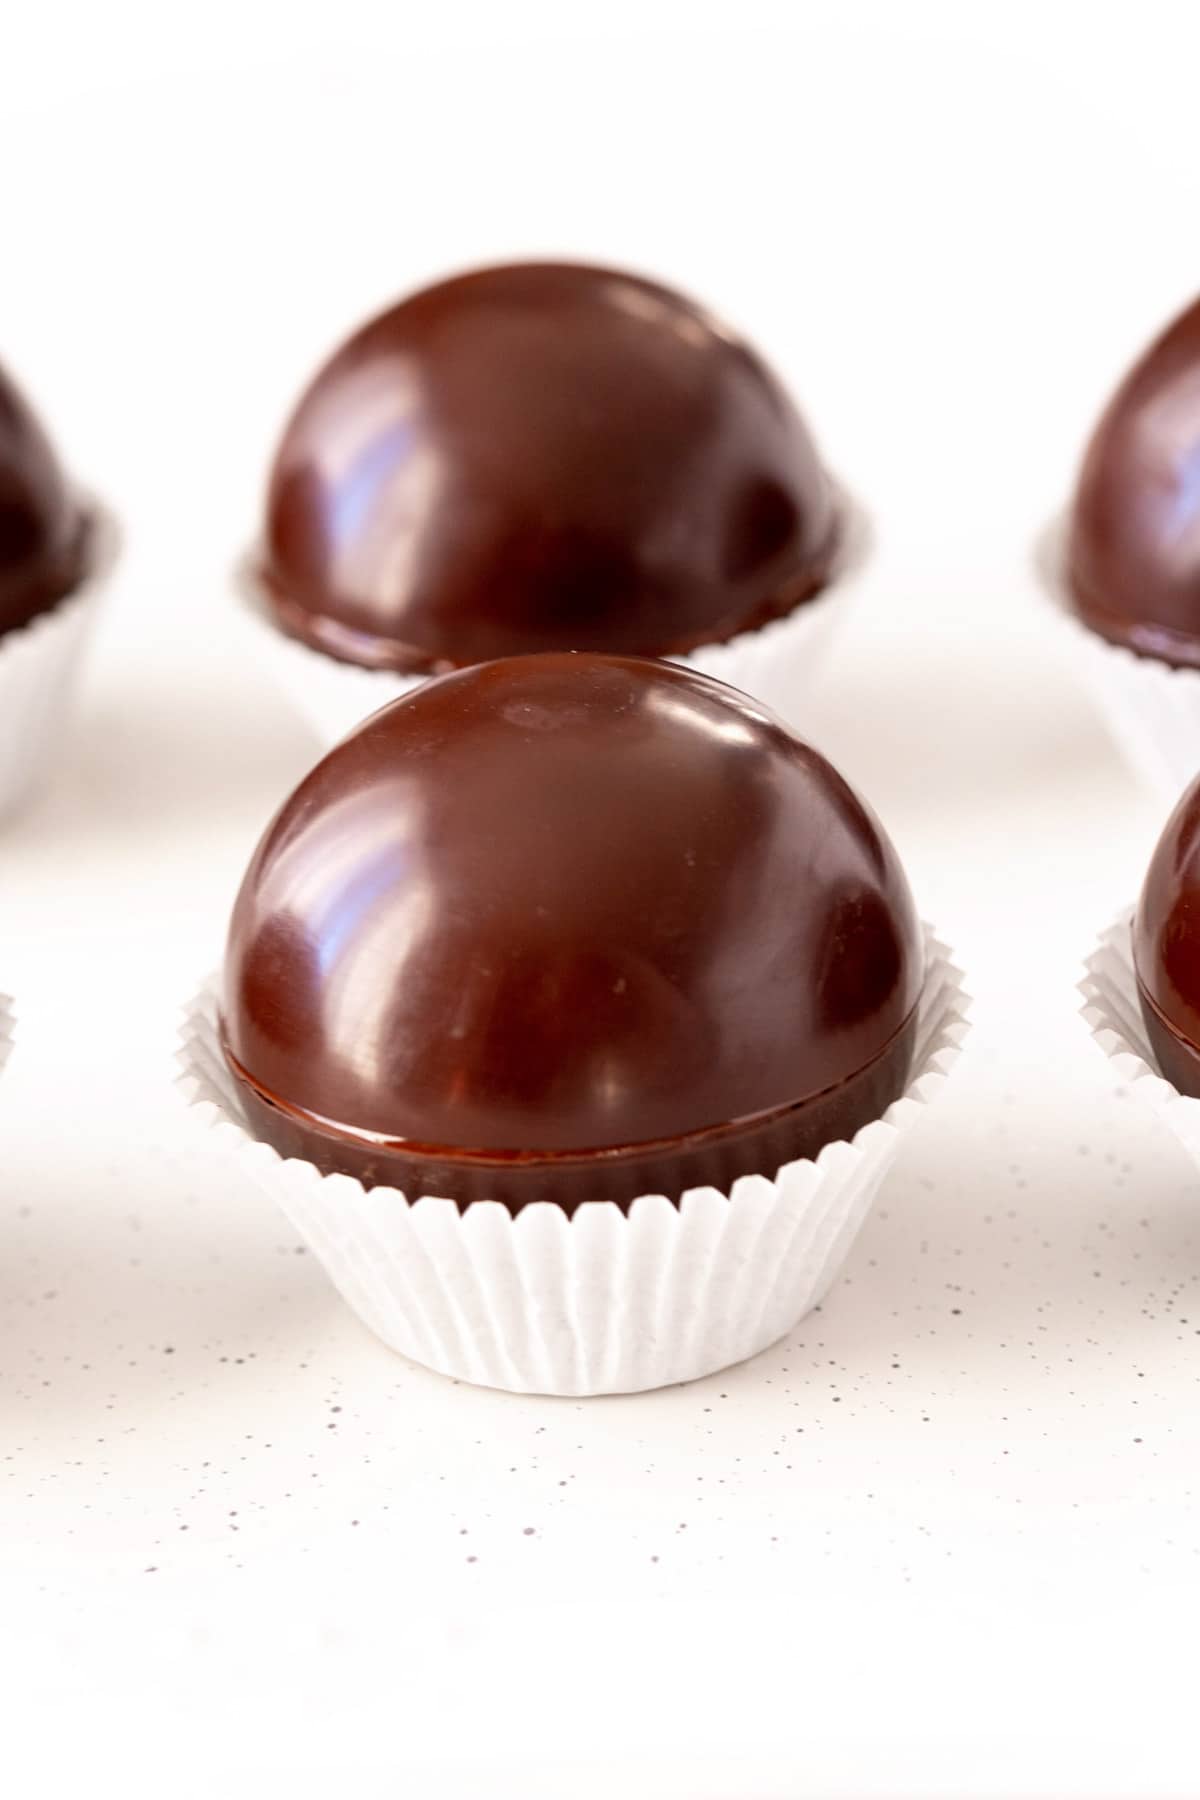
As soon as a half is heated, place the half on top of one of the halves already in the liner and press lightly to seal the two halves together, making your final hot chocolate bomb.
Repeat with all of your halves to finish off your set.
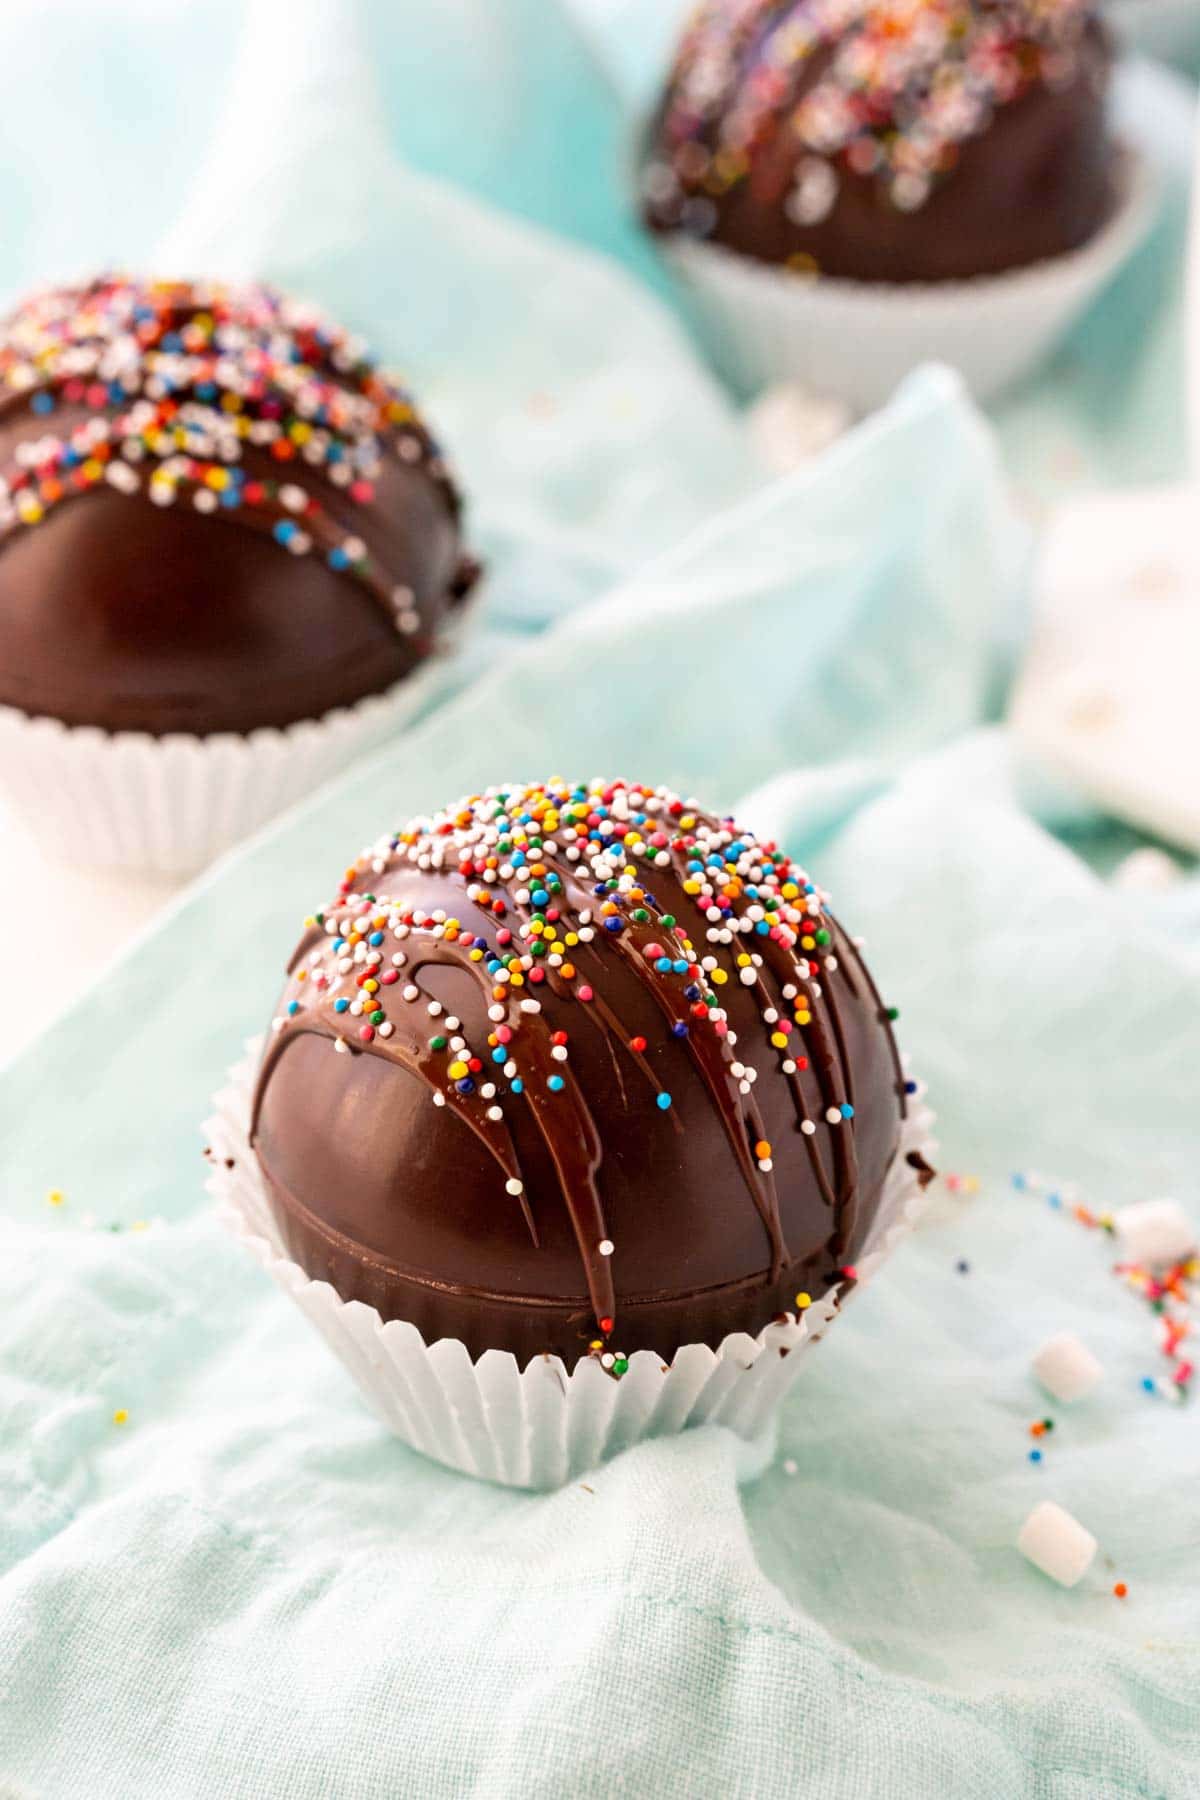
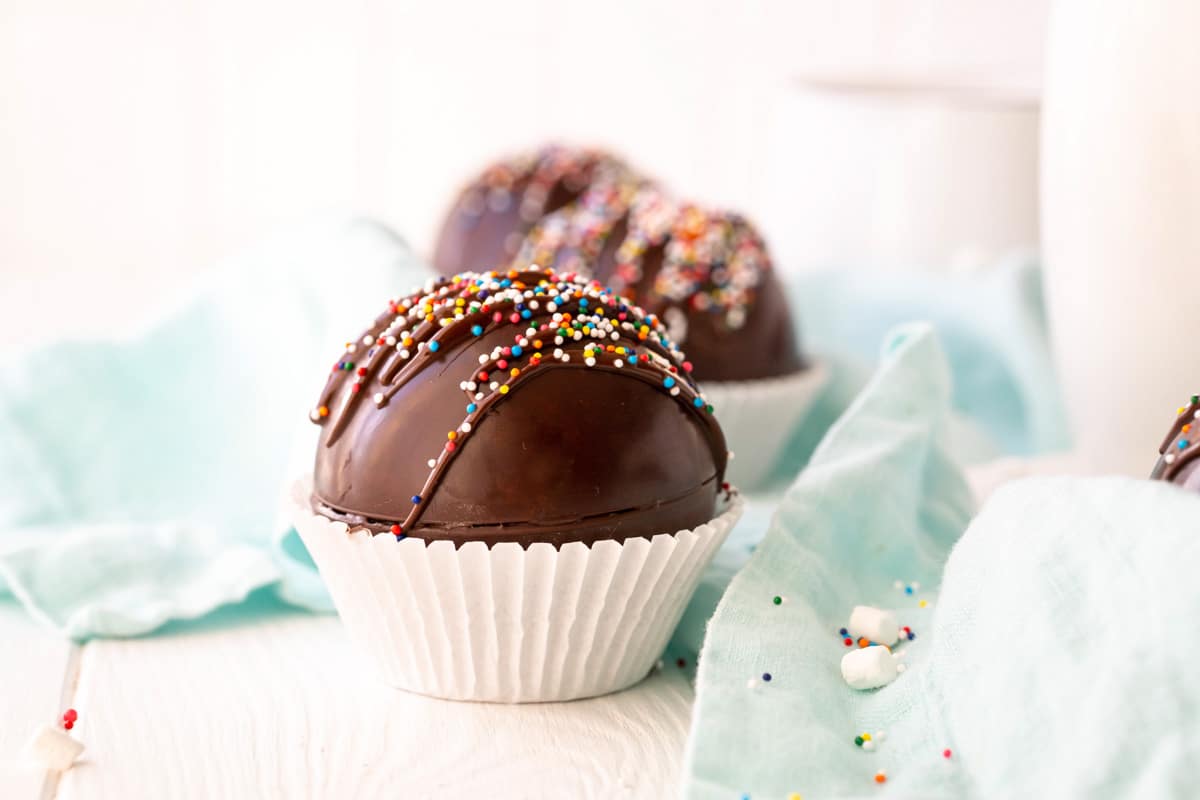
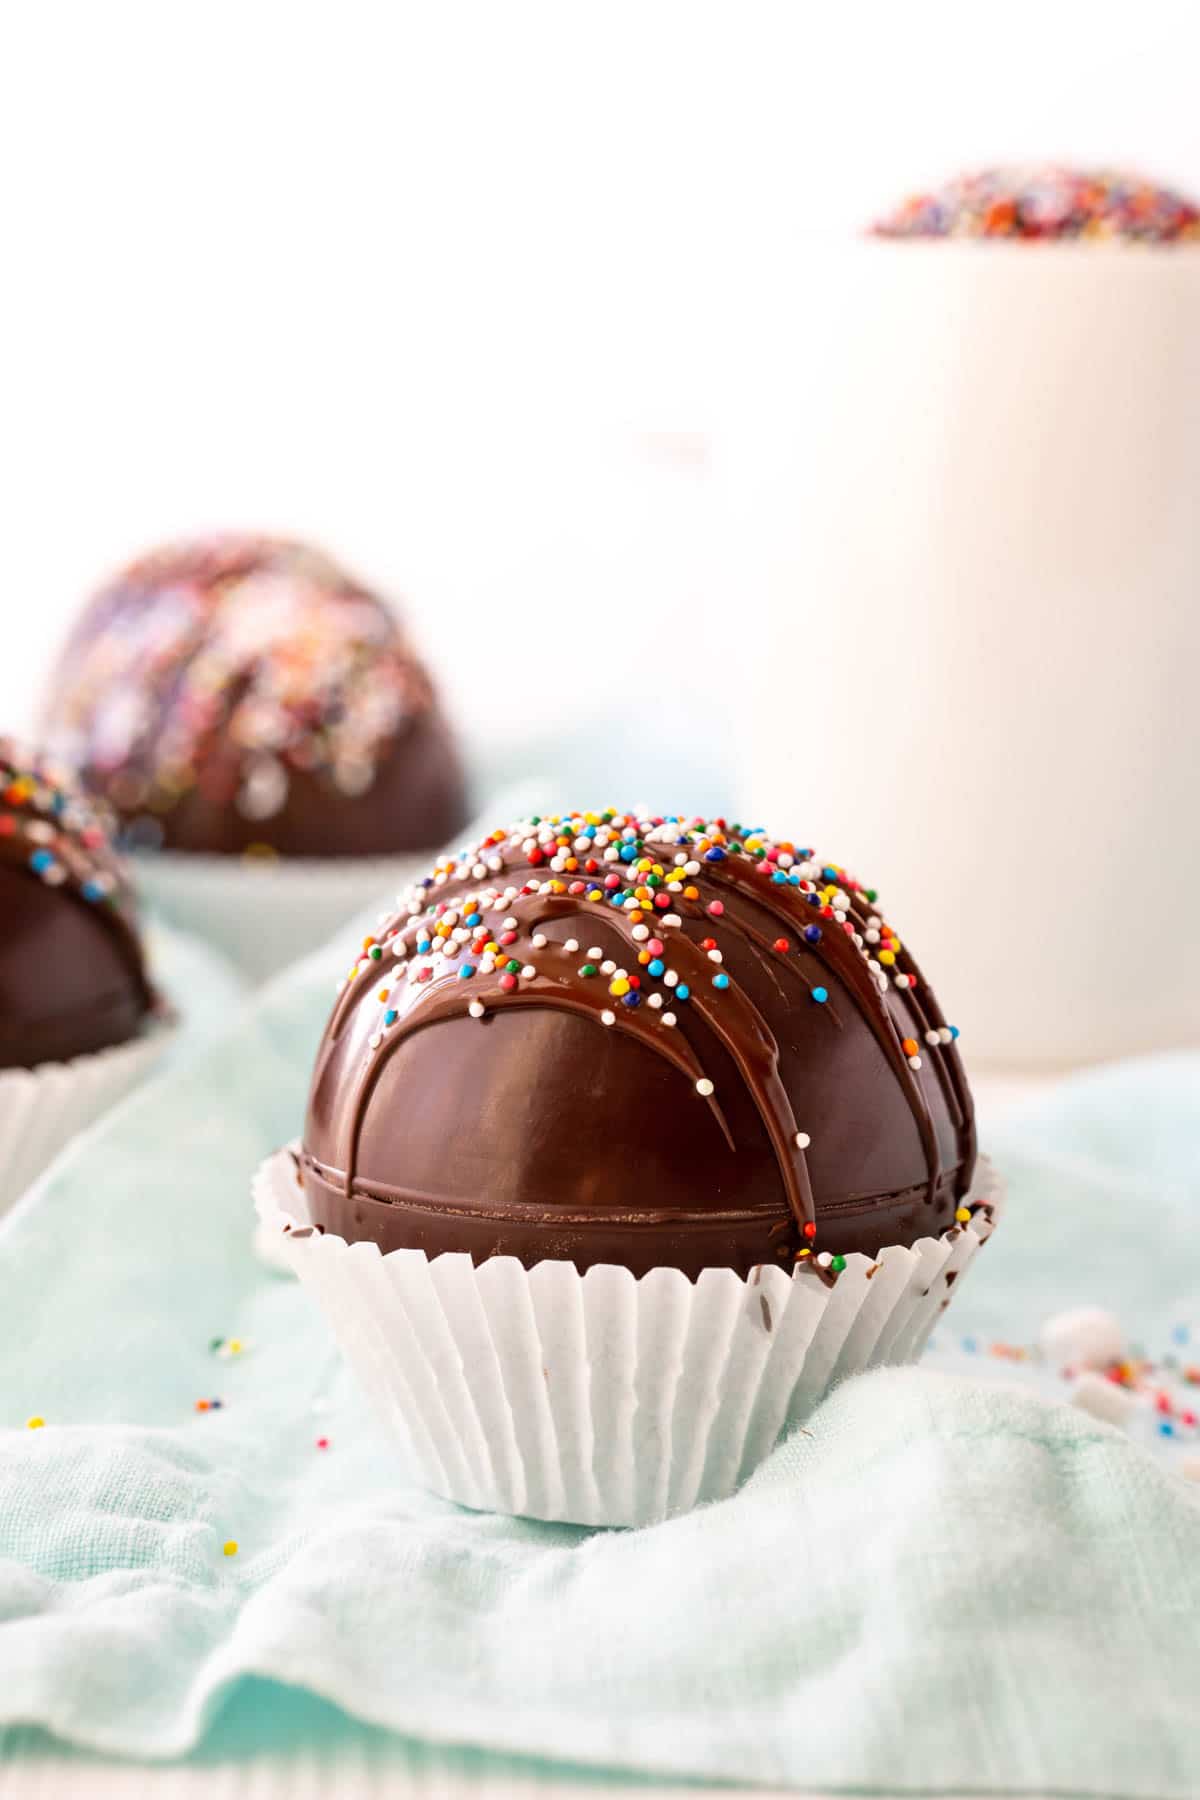
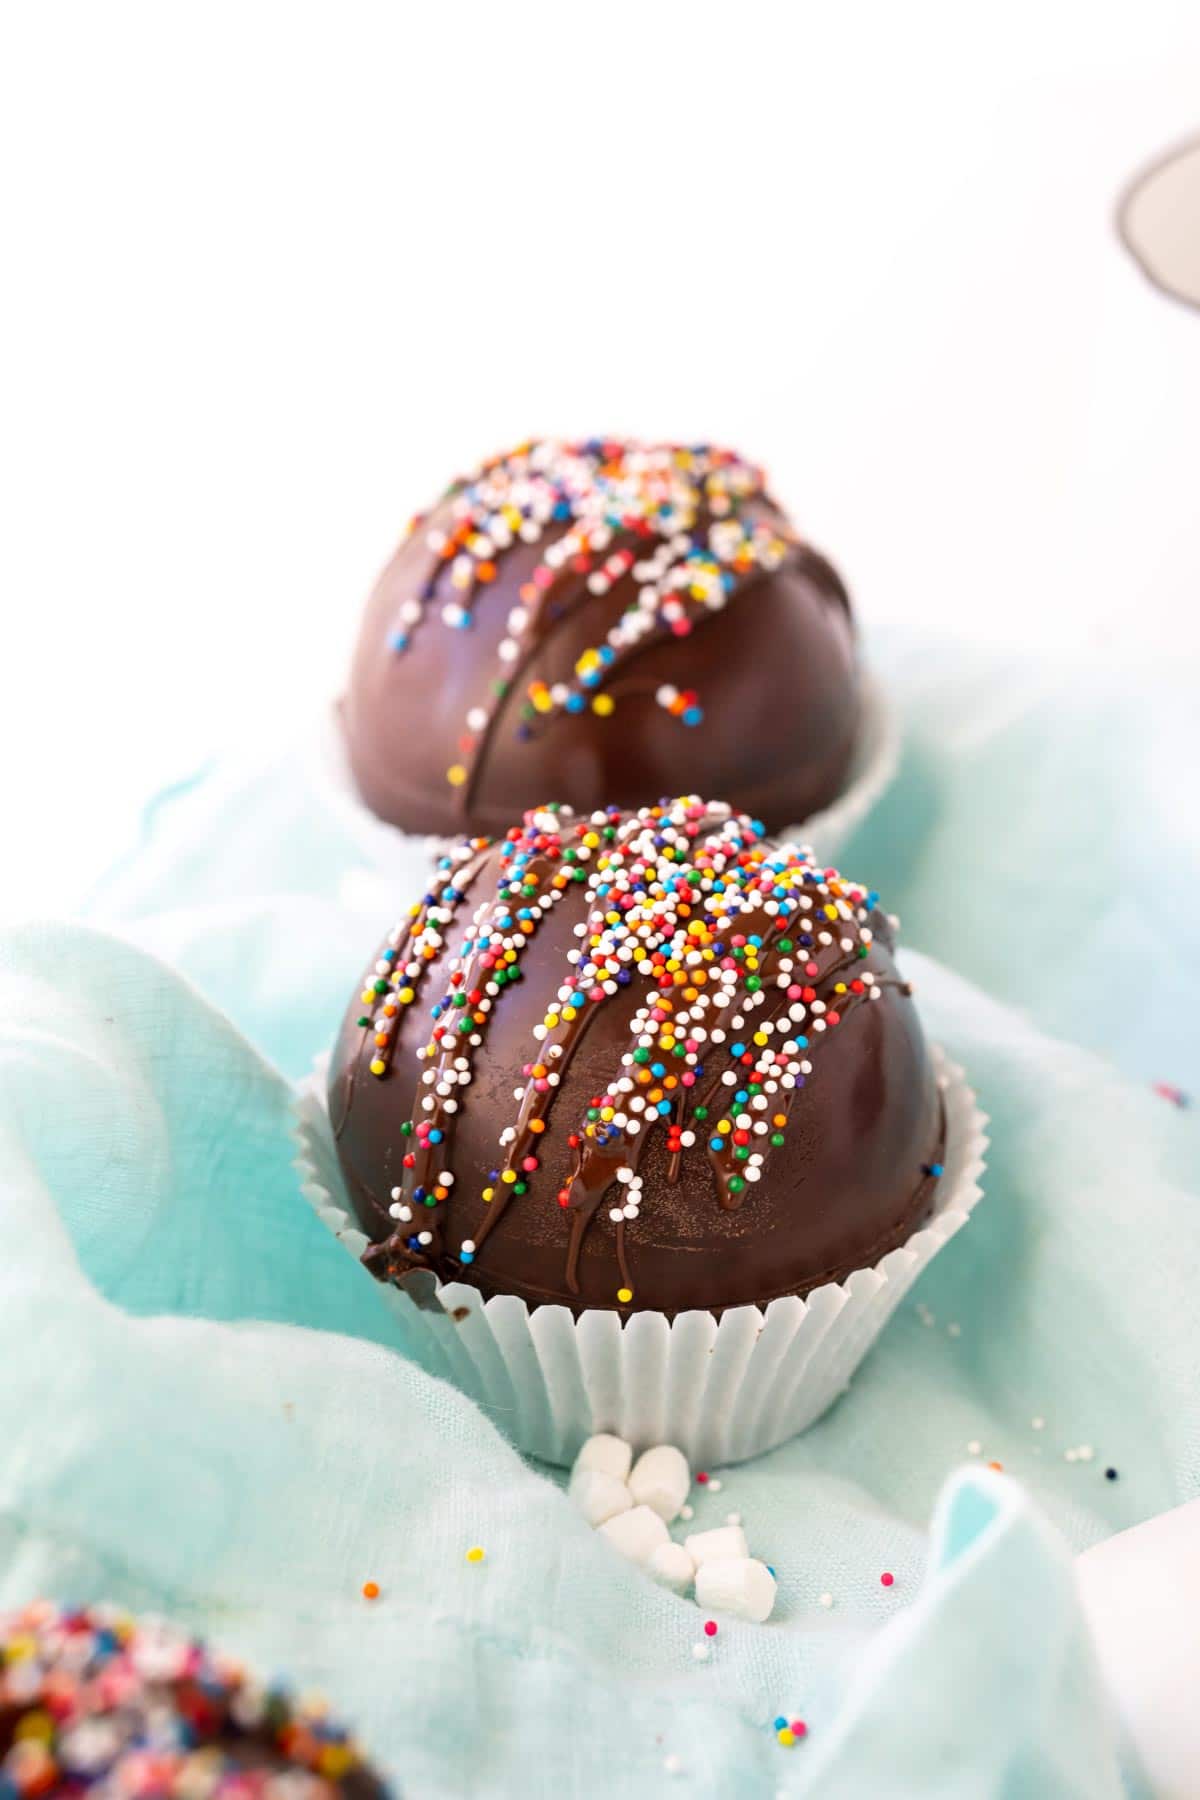
Decorate
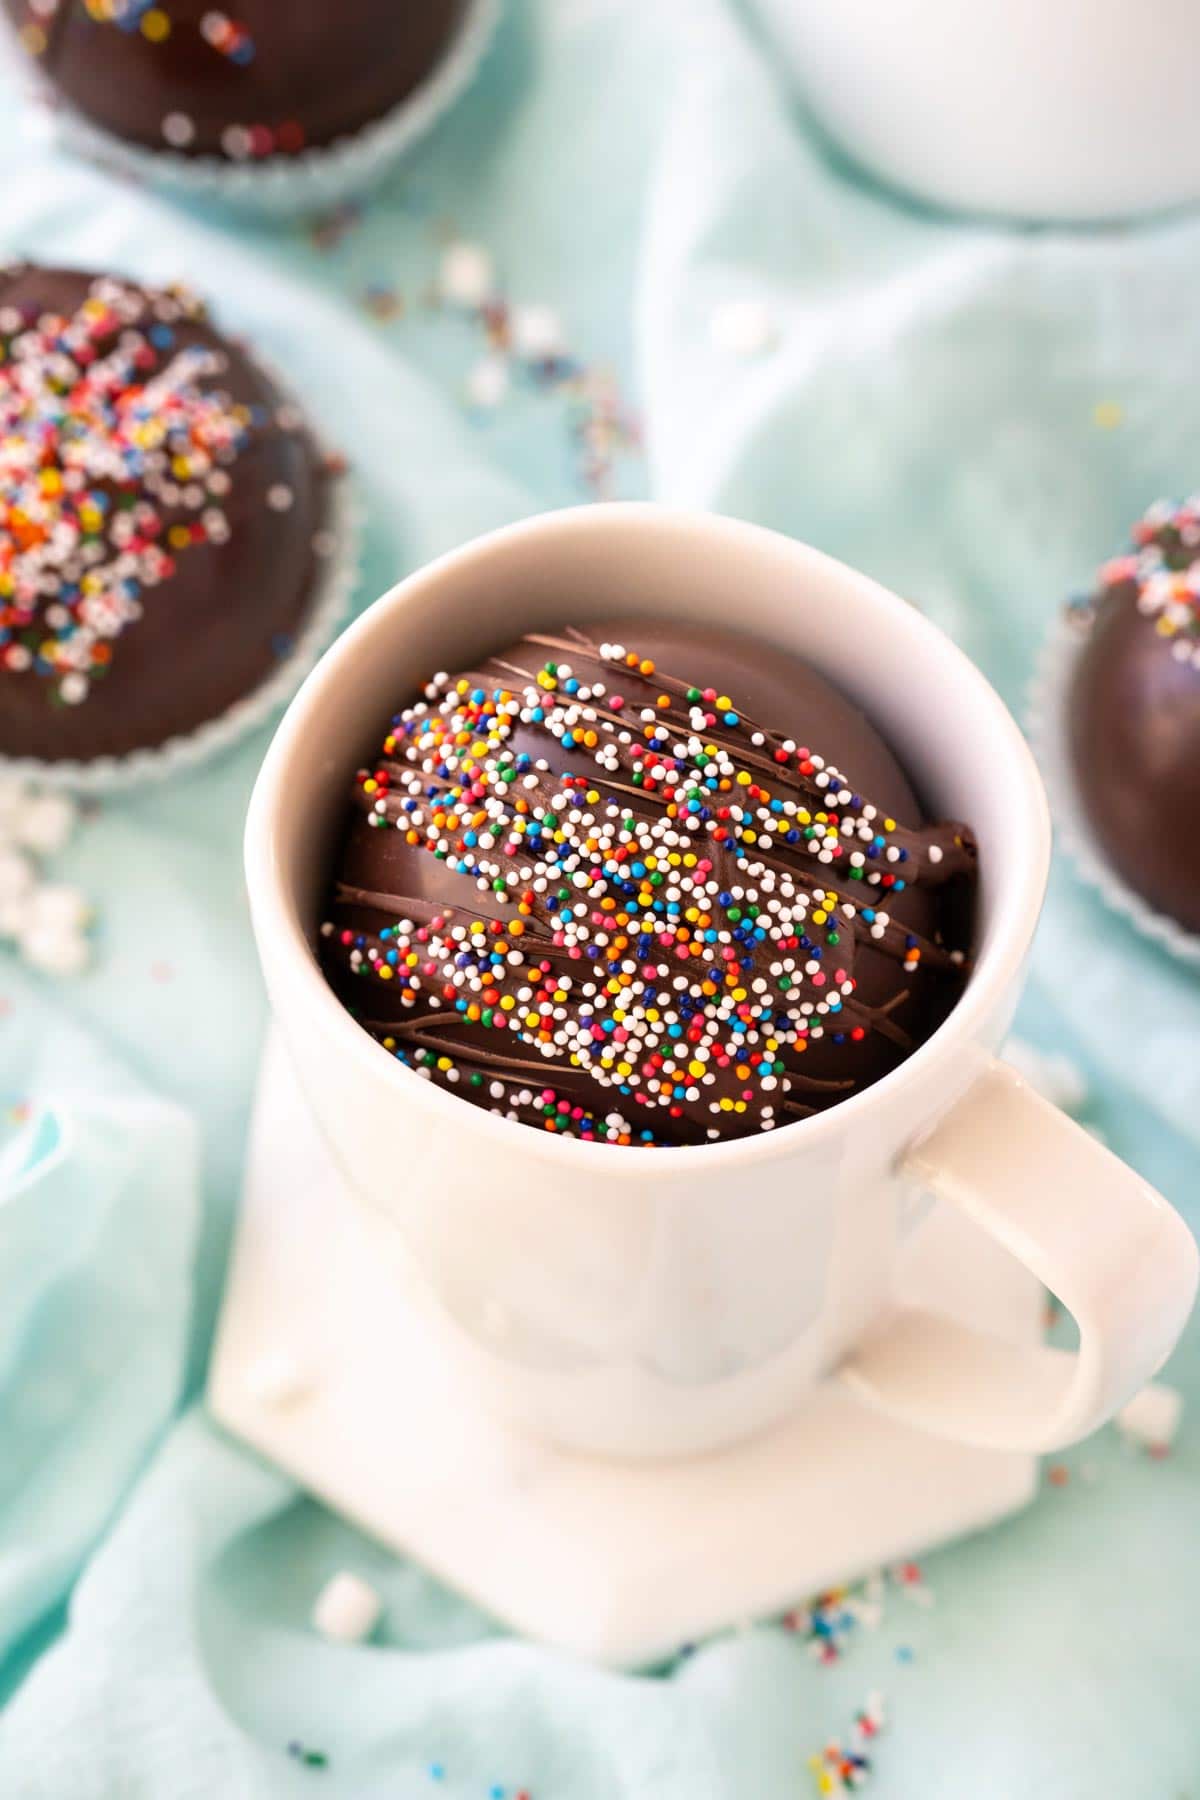
Drizzle with melted chocolate, add sprinkles, candies, or really whatever you want to make your hot chocolate bombs pretty! I wanted to make these ones very universal, so I just went with some melted chocolate and colorful sprinkles.
How to Use Hot Chocolate Bombs
Okay, now that your hot chocolate bombs are done, it’s time to actually enjoy them! Place a hot chocolate bomb in a mug large enough to hold it.
Heat milk over the stove on medium heat until the edges begin to bubble (not boil). Remove from the heat and pour 8 ounces of milk over one hot chocolate bomb in a large mug.
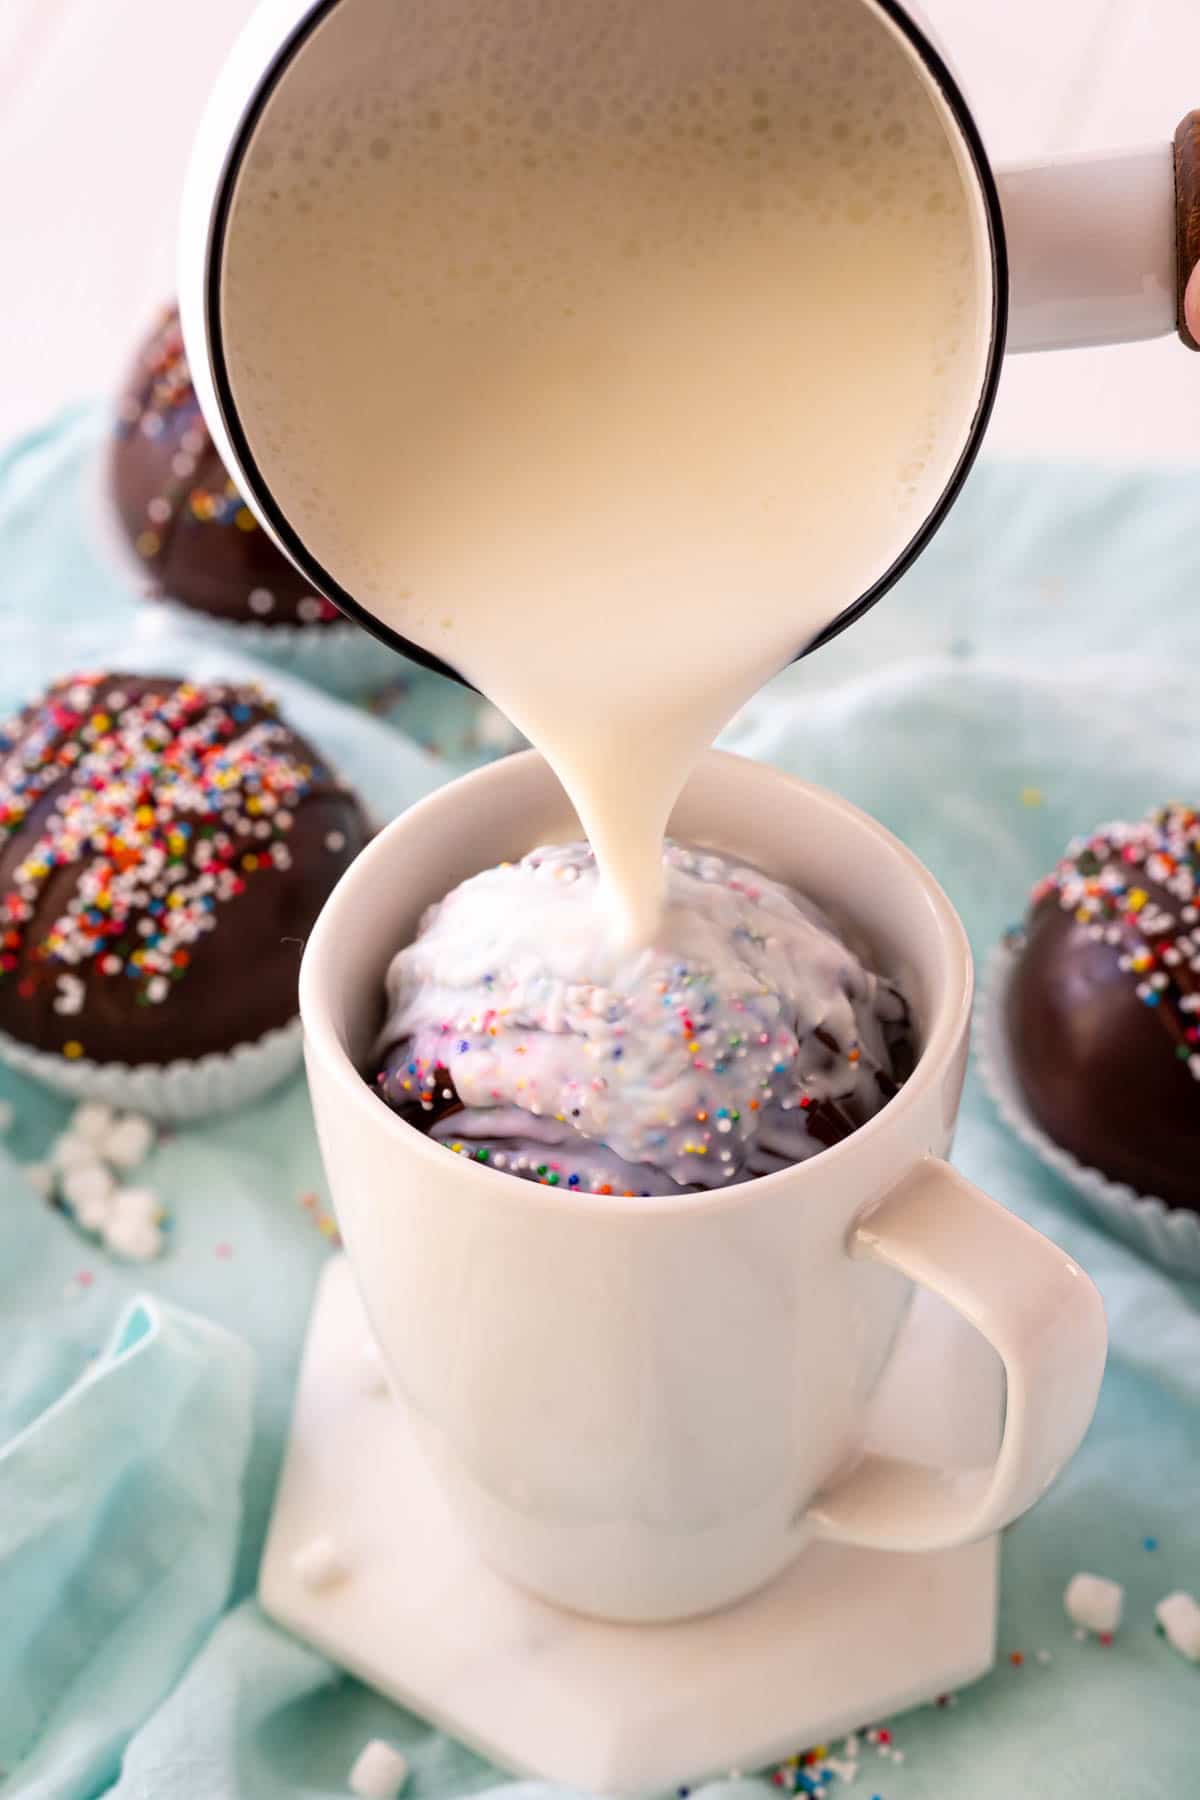
The milk should melt the bomb leaving a mug full of melted chocolate, hot cocoa milk, and marshmallows.
This is why these are so much fun, especially if people don’t know what’s inside! These would be great as a little activity/treat for kids – I mean what kid doesn’t love a good surprise?
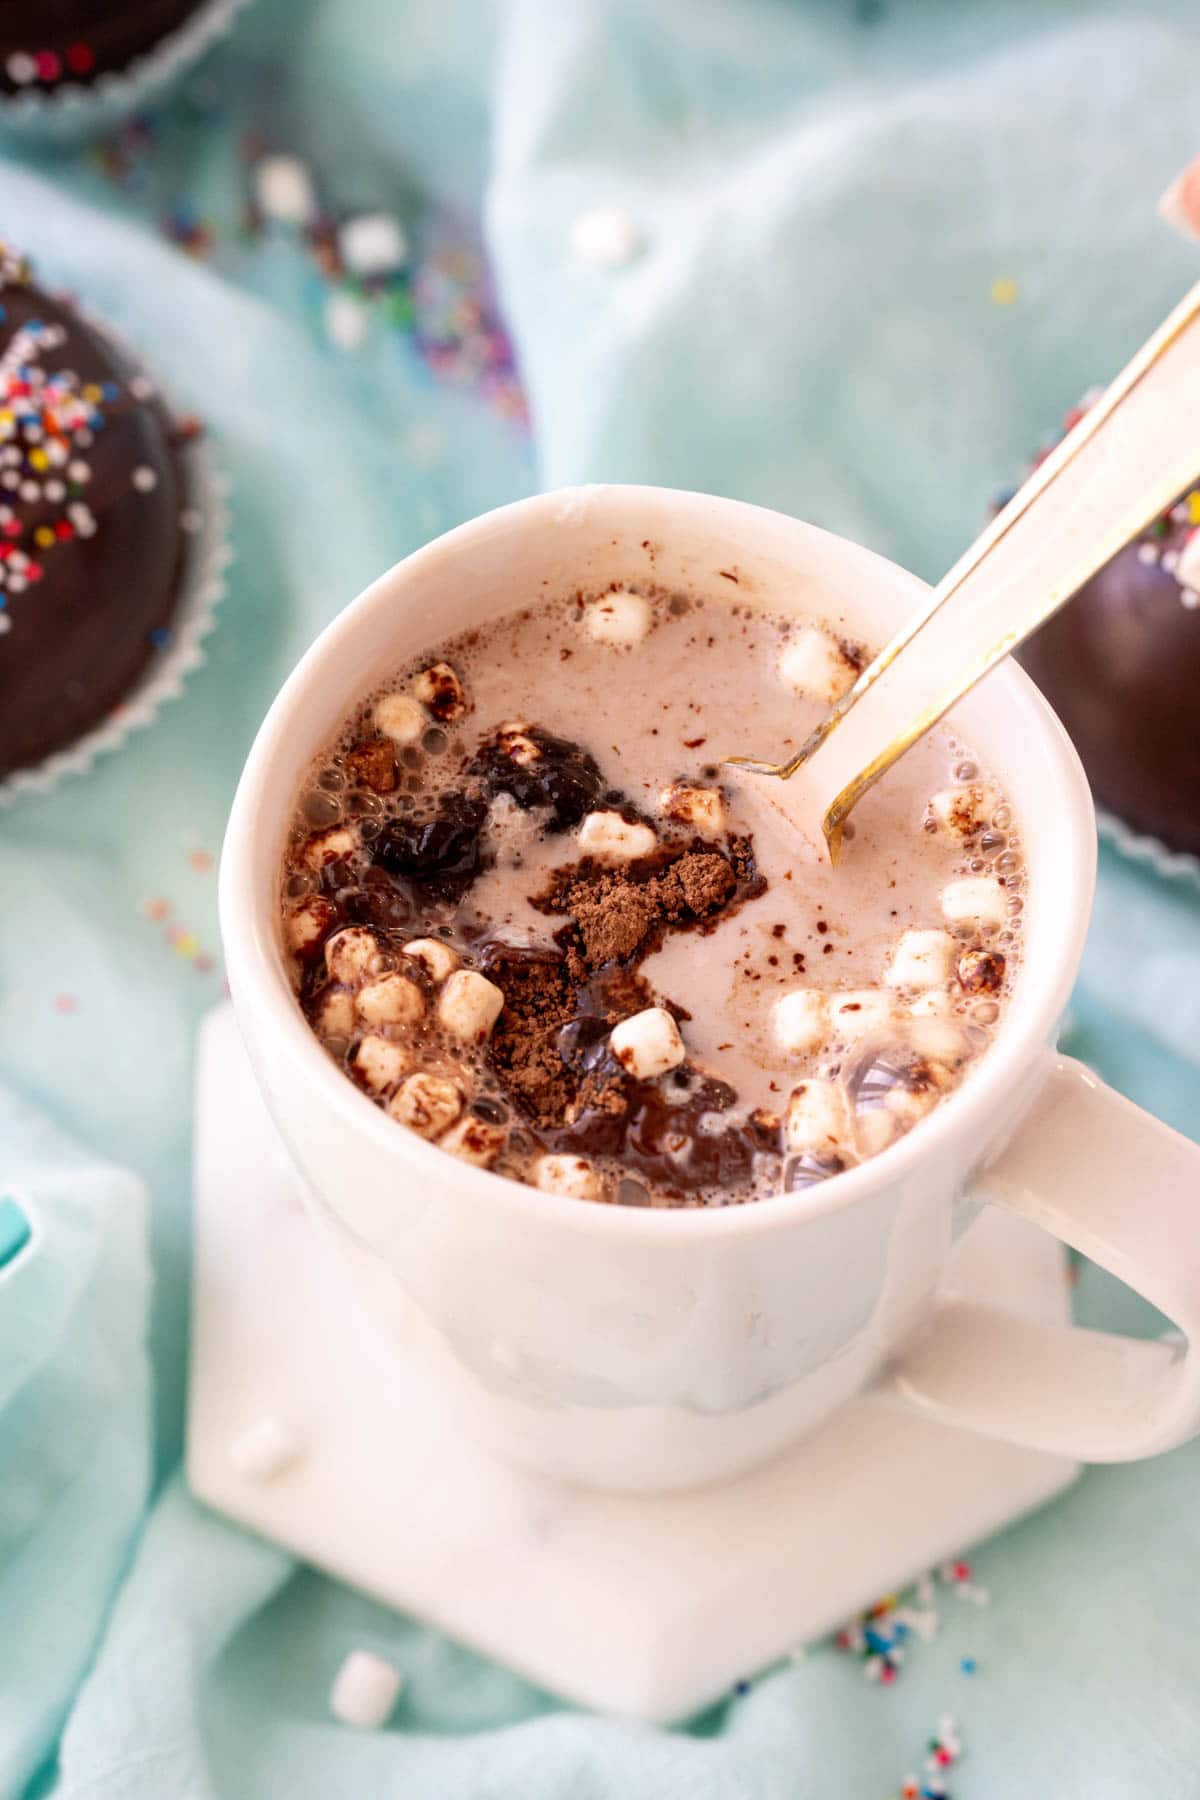
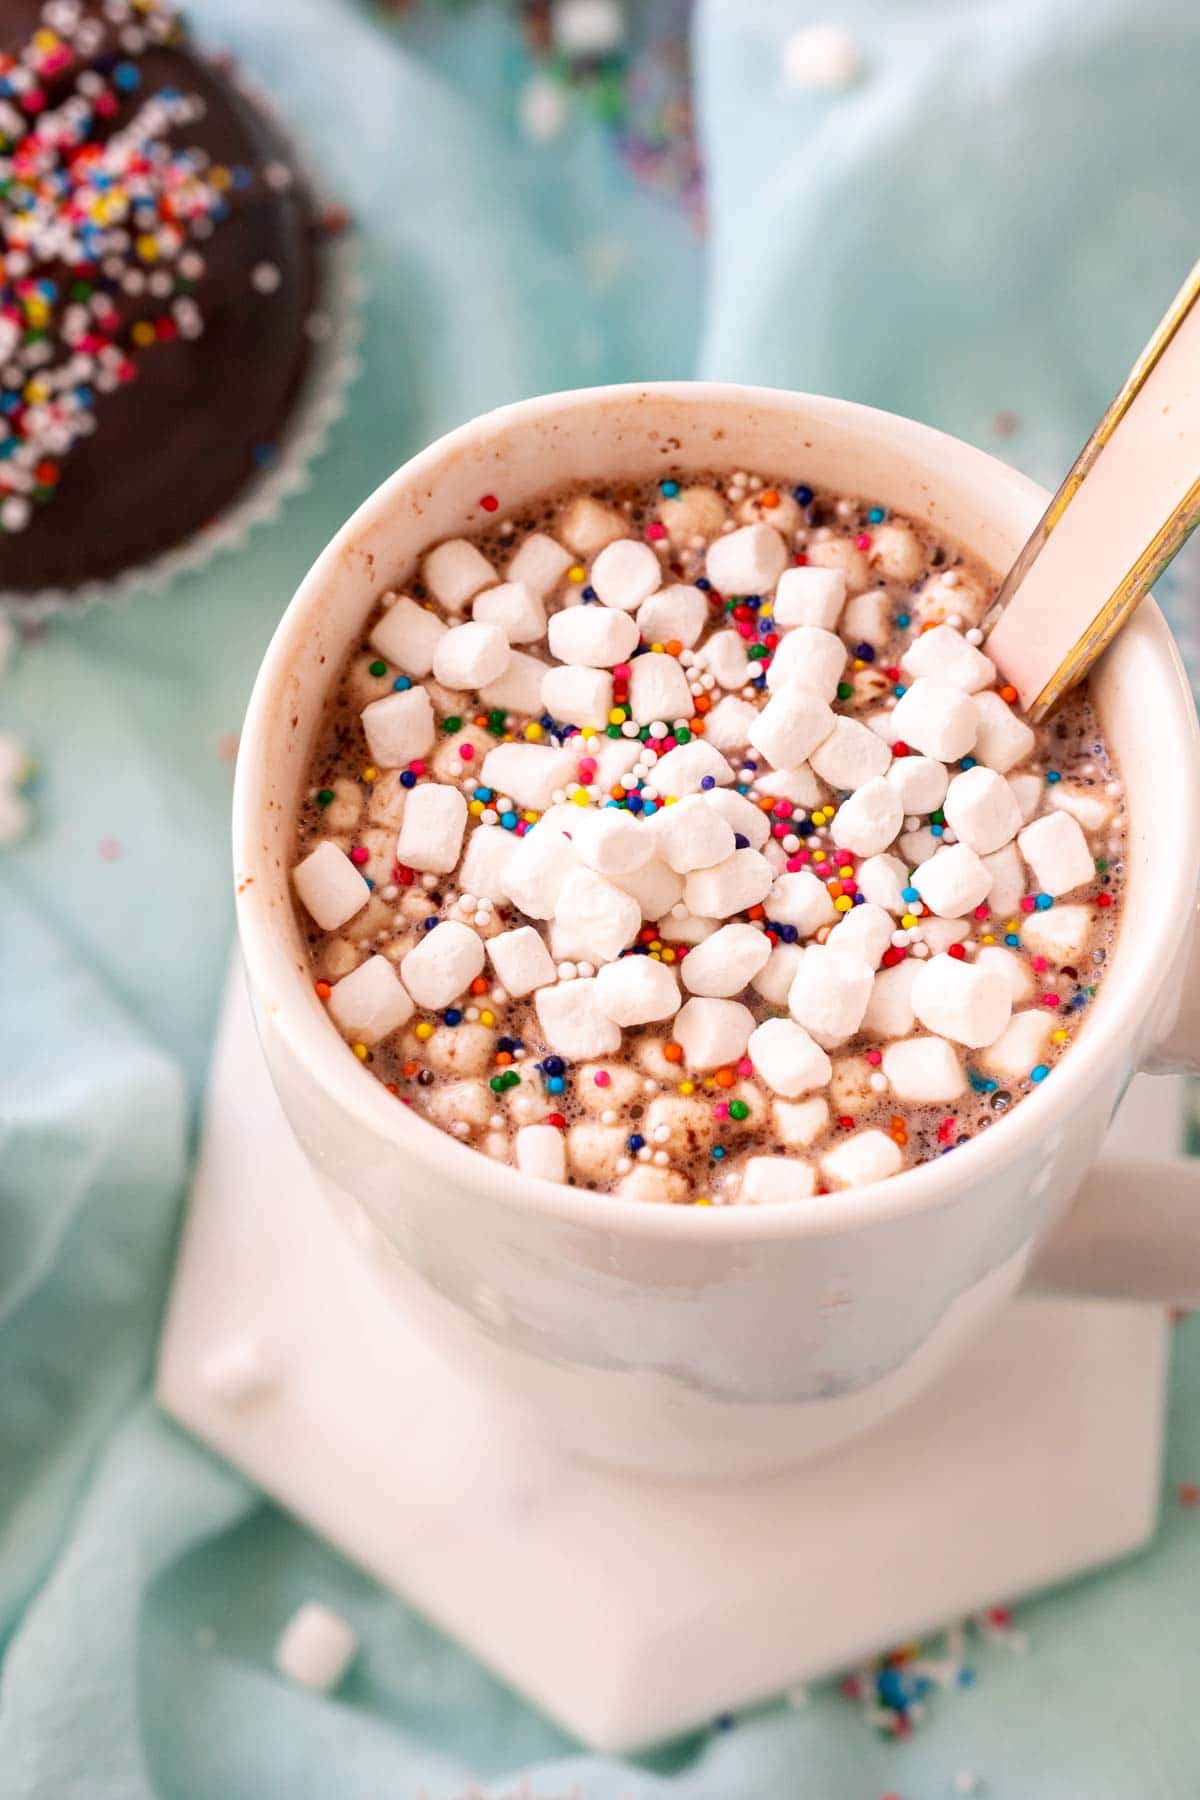
Stir to melt the chocolate fully and mix the hot cocoa mix into the milk. I like to load mine up with fixings but if you want more, you can always add in some additional marshmallows and sprinkles now!
Expert Tips
Just a few random tips based on our experience trying to make hot chocolate bombs!
Enjoy right after making or at least within 24 hours. They don’t stay as nice for longer than that.
Avoid drying the silicone molds with a dishcloth because they tend to attract lint. Let them air dry or pat dry with a paper towel if you’re in a hurry to use them again.
You’ll need six ounces of chocolate for every three hot chocolate bombs you want to make, this recipe is written for six hot chocolate bombs.
Make sure to move quickly, especially once you’ve melted the chocolate as you don’t want it to harden before you can finish the bombs.
This recipe is written for the mold linked in the supply list above, it’s a 2.75 inch mold. The recipe should work fine for any mold that is between 2.5 to 3 inches.
More Chocolate Desserts
If you like these chocolate treats, you’ll love these other chocolate desserts!
- Mint hot chocolate bombs – filled with Andes mints and Lucky Charms marshmallows, these are great for St. Patrick’s Day!
- Chocolate cake shake – a milkshake and chocolate cake mixed together for one decadent drink!
- Chocolate delight – whether you call this striped delight or chocolate delight, it’s absolutely delightful!
- Chocolate dipped rice krispie treats – rice krispy treats get an upgrade when dipped in chocolate! Lots of tips for delicious treats!
- Snickers poke cake – chocolate cake combined with all the flavors you’d final in a Snickers bar, so good!
- Chocolate brownie cake – chocolate brownies but in cake form! Add chocolate icing for one delicious treat.
- Mint hot chocolate bombs – filled with Andes mints and Lucky Charms marshmallows, these are great for St. Patrick’s Day!

Hot Chocolate Bombs
Ingredients
- 12 ounces couverture chocolate morsels or Ghirardelli baking chocolate bar
- 6 hot chocolate mix packets .85 to 1.25 oz each
- mini marshmallows or dehydrated marshmallows
- sprinkles optional
- 8 oz whole milk for each hot chocolate bomb
Instructions
- Microwave five ounces of chocolate in a microwave safe bowl for thirty seconds. If you’re using chocolate bars, make sure they are finely chopped so they melt evenly. After the thirty seconds, remove and stir then continue to microwave again for additional 15 second increments until almost completely melted. Make sure to stir and scrape the sides of the bowl with the rubber spatula between each of the increments. Check the temperature and make sure it is the correct temperature according to the type of chocolate you’re using. If it’s over, add an additional ounce of chocolate to bring the temp back down. (see notes section for temperatures). If you need to add the extra ounce of chocolate and it won’t melt in, microwave for an additional five seconds to get the final ounce to melt in.12 ounces couverture chocolate morsels
- Use a spoon to add about one tablespoon of the melted chocolate to each of the molds. Use the back to spread the chocolate around, making sure to cover the entire mold all the way to the top. Place the finished mold on the baking sheet and refrigerate for five minutes.
- After refrigerating, bring the molds back out and add another heaping tablespoon of chocolate into the molds, this time one at a time, so the chocolate doesn’t harden before you can spread it. Use the back of the spoon to spread the second layer of chocolate around. Repeat for all molds.
- Freeze for 10 minutes.
- Once the bombs are frozen, it’s time to put on those gloves. Carefully use your gloved hands to remove the bombs from the molds.
- If you only have one mold, repeat steps from temper chocolate to remove bombs for the second set.
- Microwave a microwave safe flat plate for two minutes. Once the plate is heated, place six of the twelve halves on the hot plate – one at a time – using your gloved hand. Spin them gently to smooth the edges. Once the edges are smooth, place finished half in a cupcake liner. Repeat with all of the halves.
- Fill each of your chocolate bombs with a packet of the hot cocoa mix and a spoon full of marshmallows.6 hot chocolate mix packets, mini marshmallows
- Reheat the same plate for two minutes and do the same thing you did earlier with the remaining six halves. As soon as a half is heated, place the half on top of one of the halves already in the liner and press lightly to seal the two halves together, making your final hot chocolate bomb.
- Drizzle with melted chocolate, add sprinkles, candies, or really whatever you want to make your hot chocolate bombs pretty!sprinkles
- Heat milk over the stove on medium heat until the edges begin to bubble (not boil). Remove from the heat and pour 8 ounces of milk over one hot chocolate bomb in a large mug.8 oz whole milk
- Stir to melt the chocolate fully and mix the hot cocoa mix into the milk. Top with additional marshmallows or other toppings if desired.


Leave a Reply