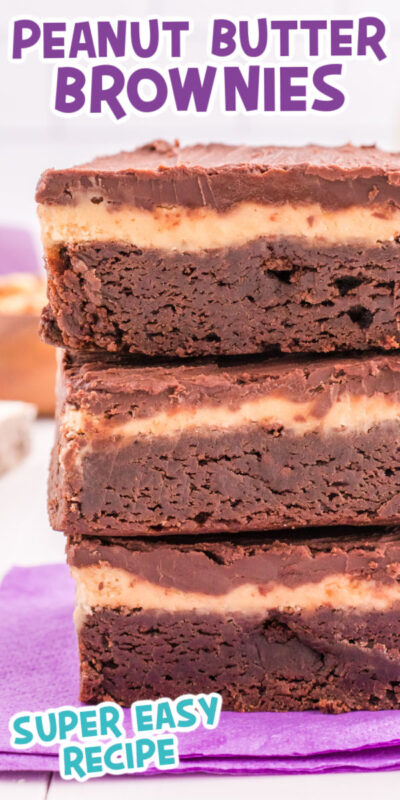
These delicious homemade peanut butter brownies combine a chocolate brownie layer with a peanut butter layer, all topped with a chocolate ganache on top! They’re a rich and decadent dessert that every chocolate and peanut butter fan will love!
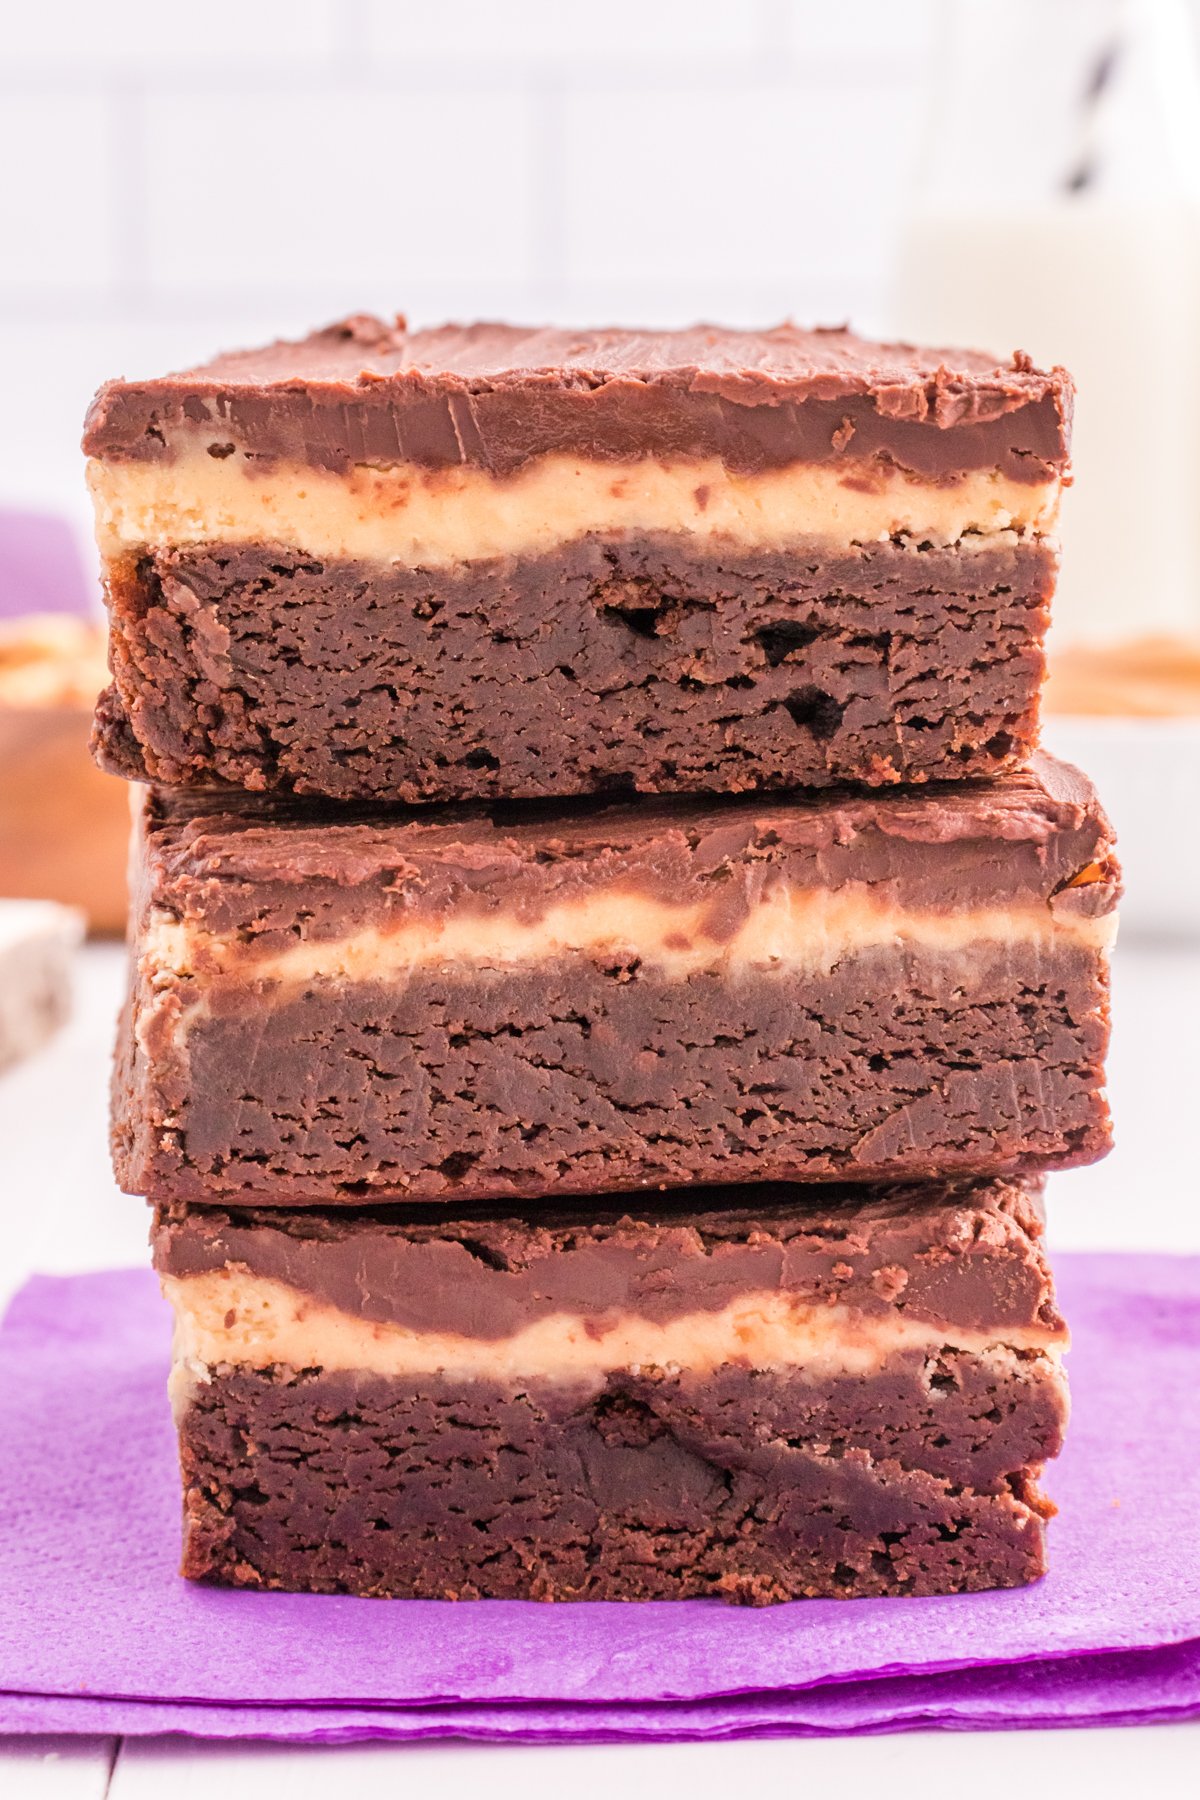
Is there anything better than a soft and chewy brownie? There’s just something about brownies that they always sound good to me.
My current obsession however is these chocolate peanut butter brownies because hello, peanut butter and chocolate is one of the best combinations ever. It’s easily my favorite brownie recipe right now!
If the chocolate peanut butter combo is not your thing, you may want to check out this easy brownie recipe or these cookie Oreo brownie bars instead. Or even this brownie dip or these brownie balls – no peanut butter anywhere in sight!
But if you’re in the chocolate peanut butter lovers club like me, then you have to try this recipe. These triple layer brownies taste kind of like a buckeye in brownie form with all the chocolate and peanut butter you could ever need in each bite.
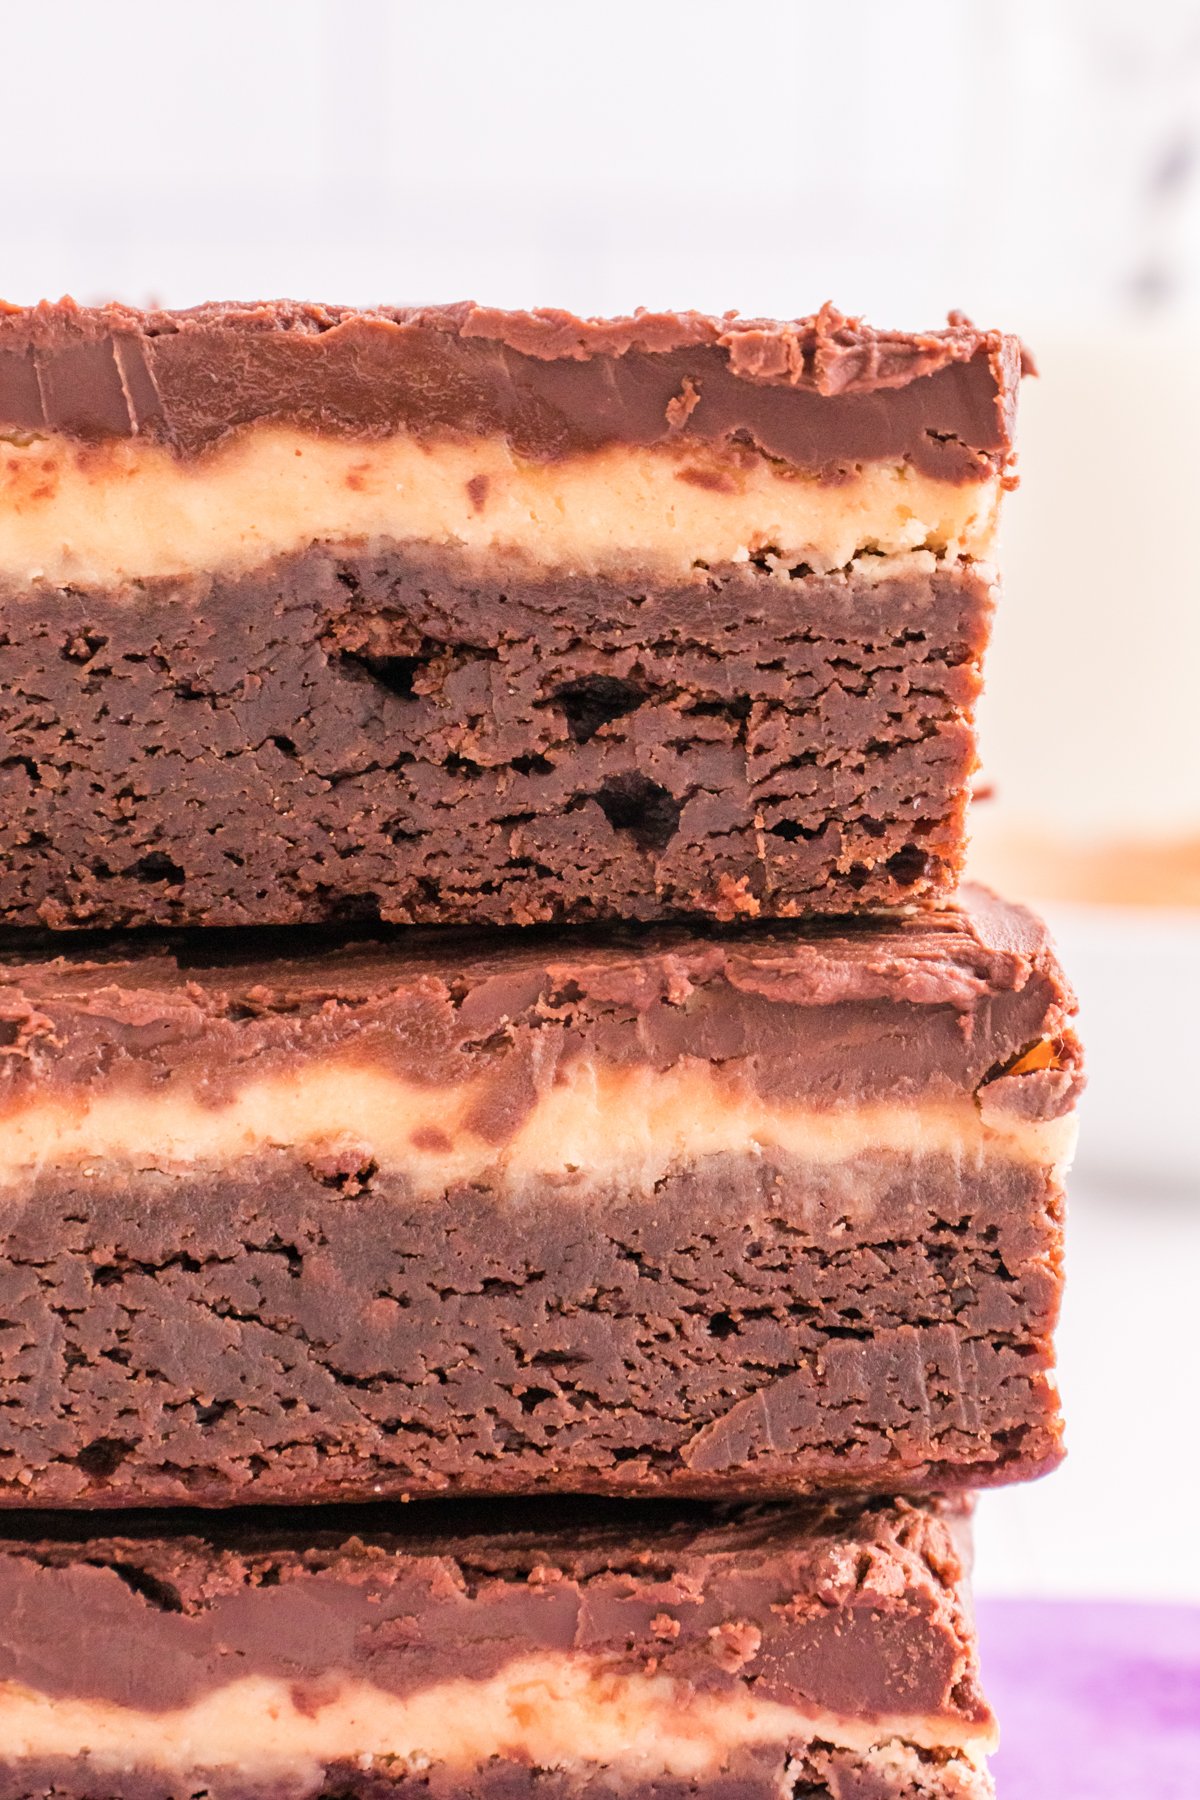
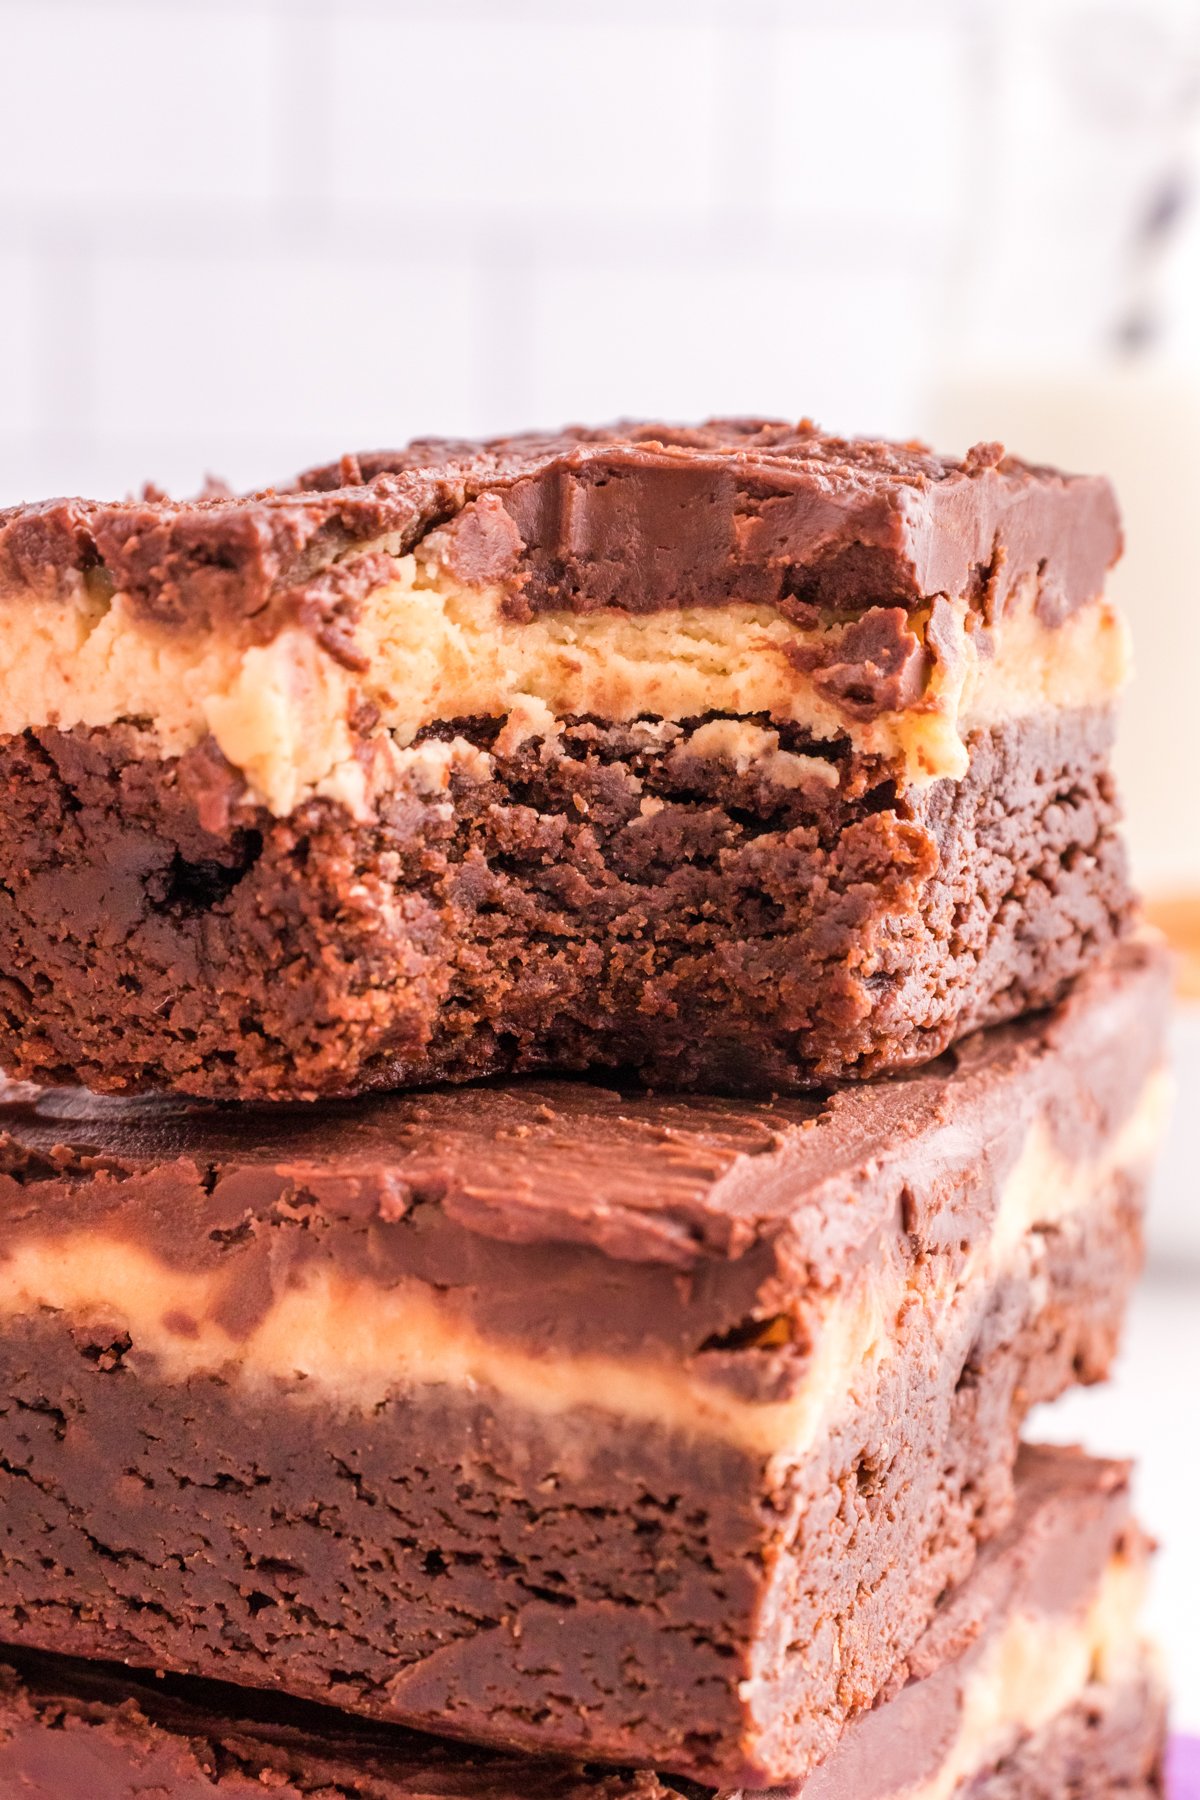
There’s a layer of brownie, a layer of peanut butter frosting, and a layer of chocolate ganache to finish it all off.
I could eat these all day (although that’s not recommended, you should probably share them with others).
Why You’ll Love This Recipe
- Easy – this is almost as easy as making a brownie box mix, almost. There are a few more steps than that but they’re all super simple steps!
- Soft and chewy – even with the combination of the peanut butter filling and chocolate ganache topping, these are still super soft and chewy, just like brownies should be. If you like a chewy brownie, you’ll love these.
- Creamy peanut butter frosting – that peanut butter layer in the center tastes kind of like the best peanut butter frosting but squished between two decadent chocolate layers.
Ingredients
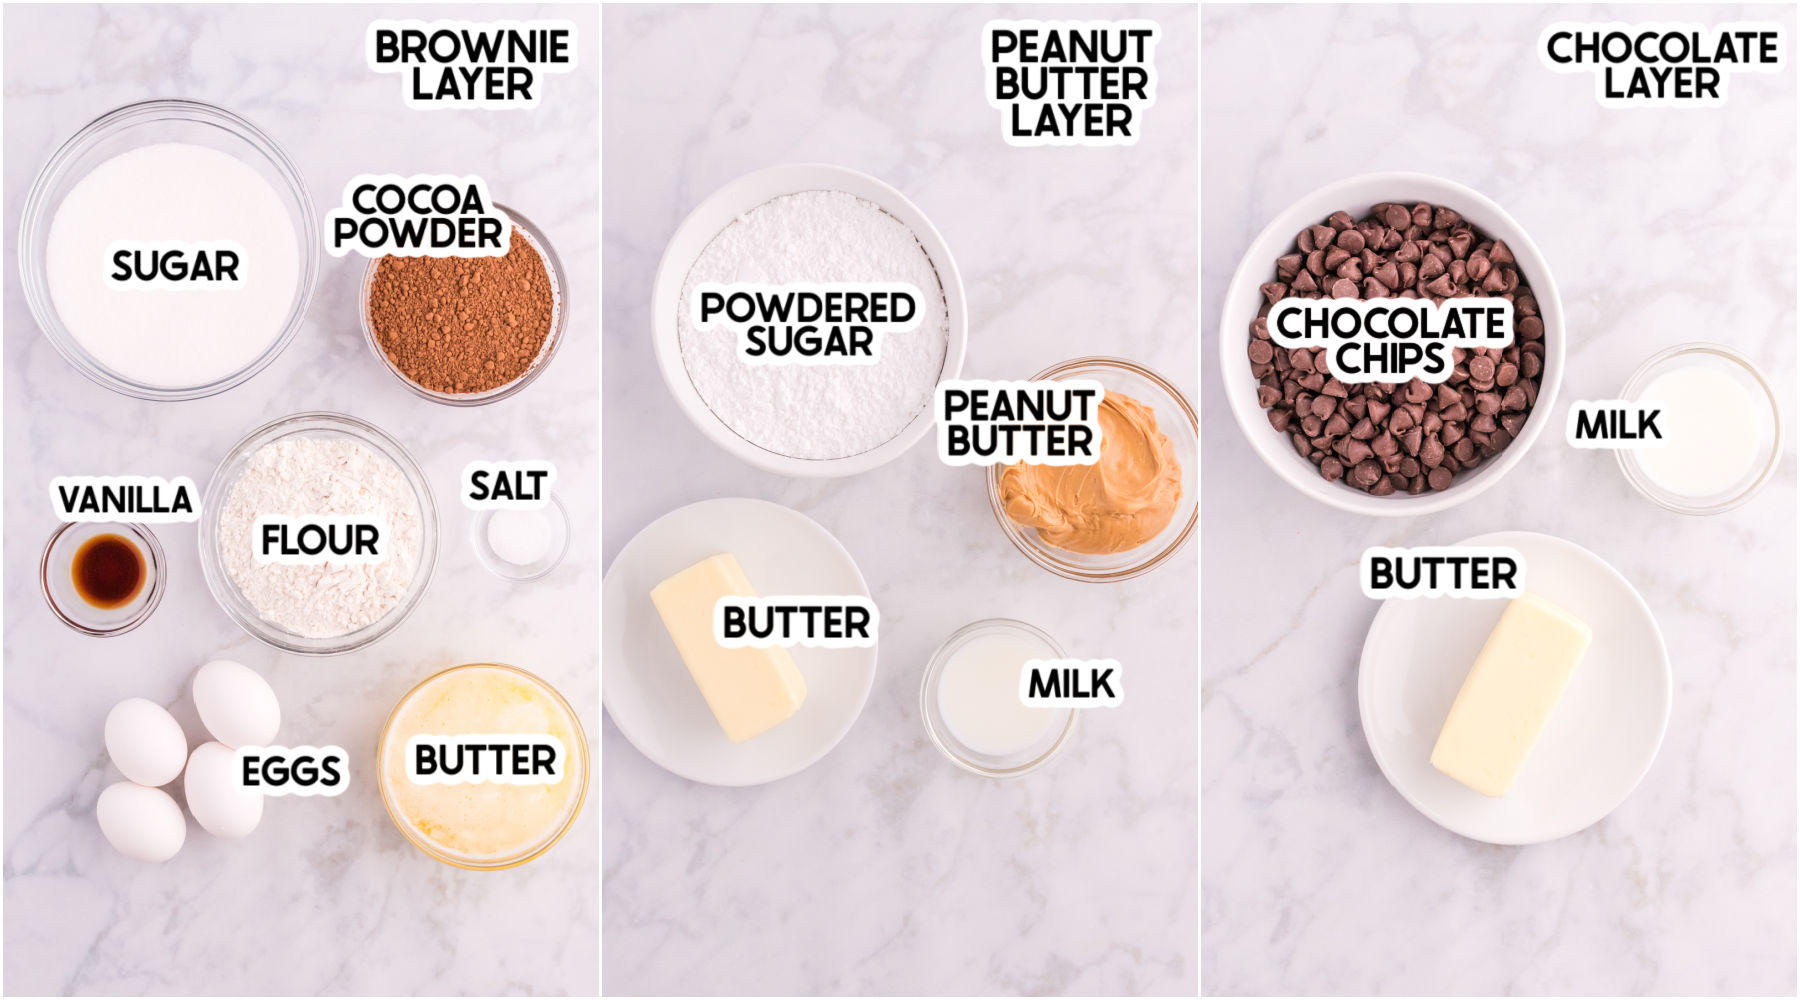
Ingredient Notes
- Peanut butter – I recommend using creamy peanut butter and avoiding natural peanut butter where the oil mixture tends to separate from the rest of the peanut butter. Chunky peanut butter will not create the nice smooth layers you want with these brownies.
- Butter – make sure that you’re using unsalted butter for all three layers of this peanut butter brownie recipe. You’ll want it melted for the brownie layer and softened to room temperature for the peanut butter and chocolate layers.
- Flour – all purpose flour is best for these brownies!
- Chocolate chips – I always recommend using a good quality chocolate like Ghirardelli or Hersey but whatever you have works. I’ve written the recipe to use semi-sweet chocolate so they’re not overly sweet but you could use whatever you have.
- Milk – I recommend using either whole milk or if you don’t have whole milk, heavy whipping cream would work as well. You just want something that is thicker and has a higher fat content to keep the peanut butter and chocolate layers rich and creamy.
How to make peanut butter brownies
I mentioned it already but these are super easy to make if you’ve ever baked anything before. There’s no special equipment needed – just a large bowl and a baking pan to bake them in – and it’s just mixing and pouring a couple of different layers together!
1 – Make the Brownies
Preheat your oven to 350°F and spray a 9″ x 13″ baking pan with non-stick cooking spray or with a piece of parchment paper for easy removal.
We’re going to start by mixing up the base of this recipe, which will end up being like fudgy homemade brownies, made even better with that peanut butter topping!
To make the brownie layer, combine sugar, one cup melted butter, cocoa powder, vanilla extract, and eggs in a large mixing bowl and mix well.
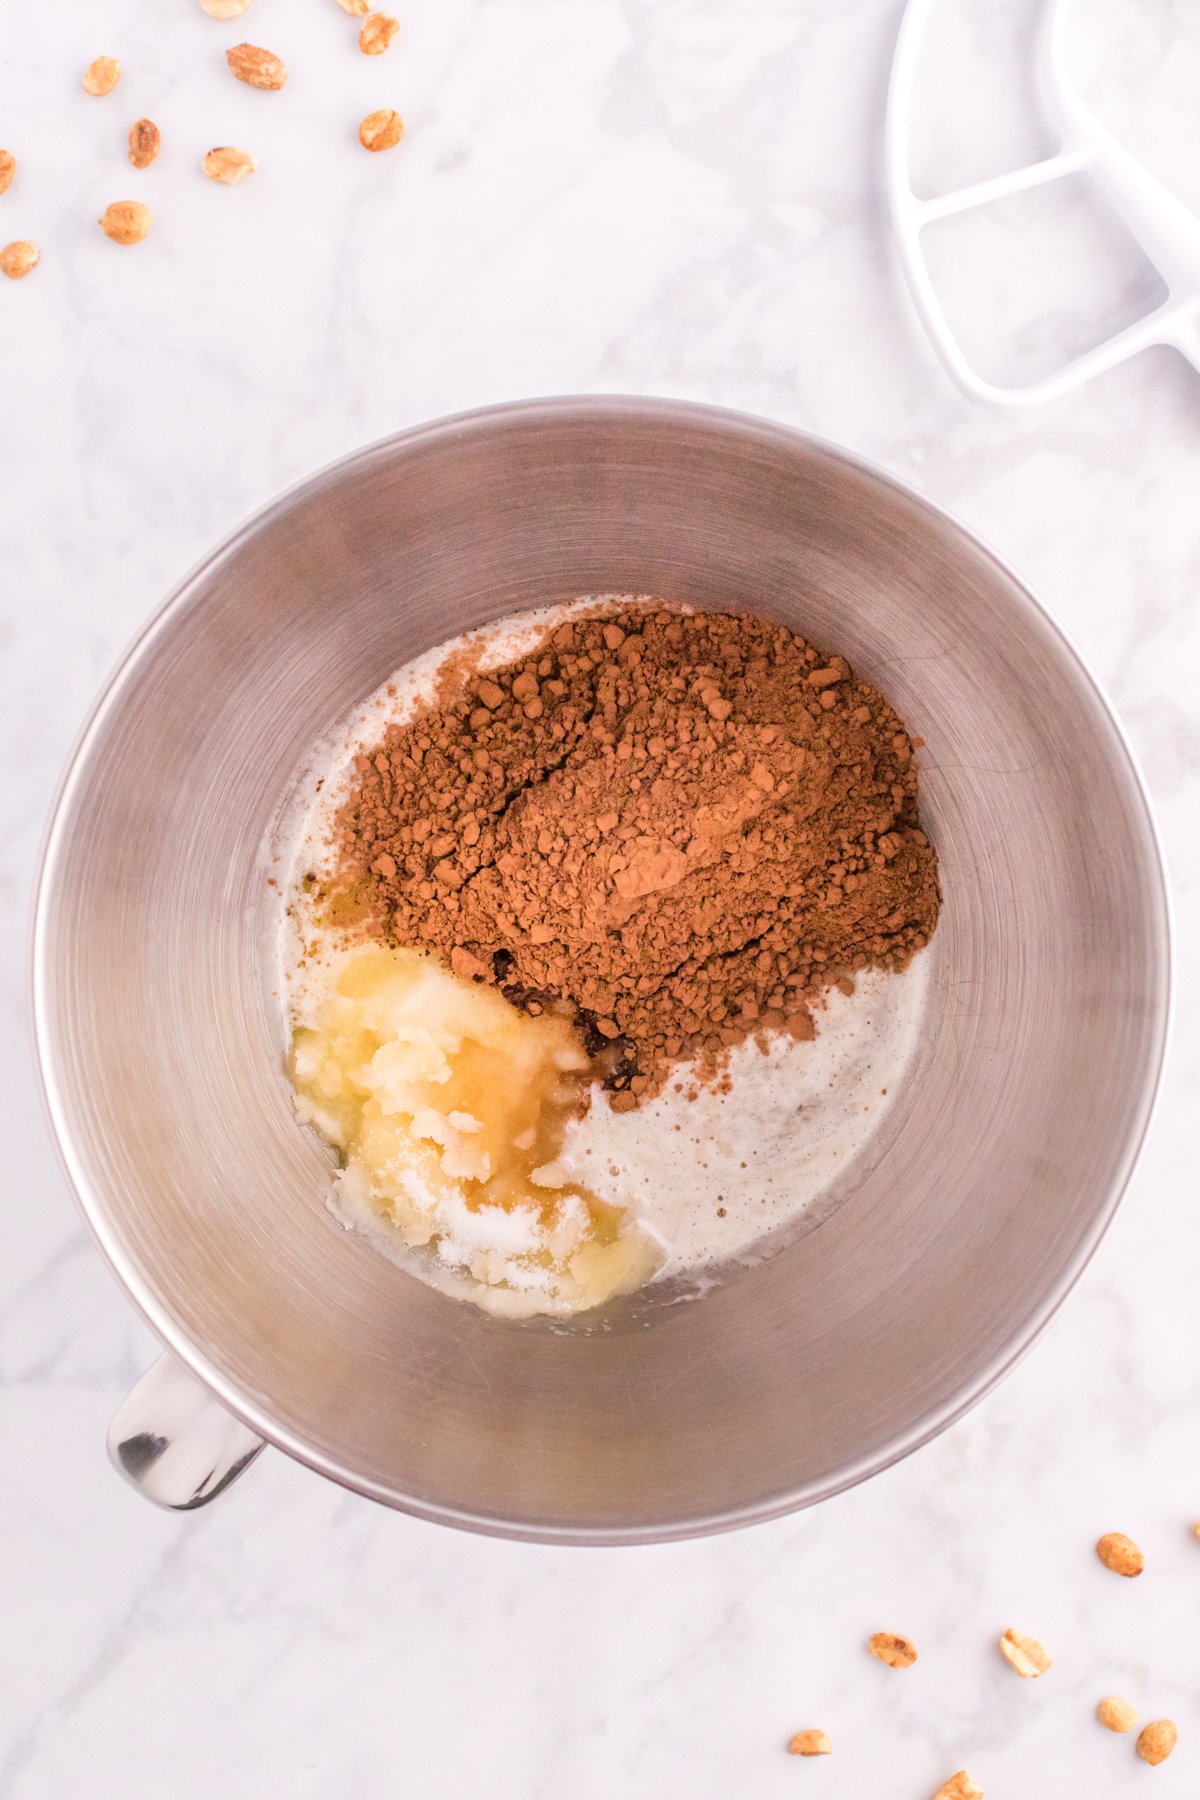
You can either do this by hand with wooden spoon or with an electric mixer – I prefer the latter to get things super smooth but by hand is well, it’s up to your personal preference. Just make sure you get it nice and smooth.
Next, add in the remaining dry ingredients – the flour and half tsp salt – and mix until just combined.
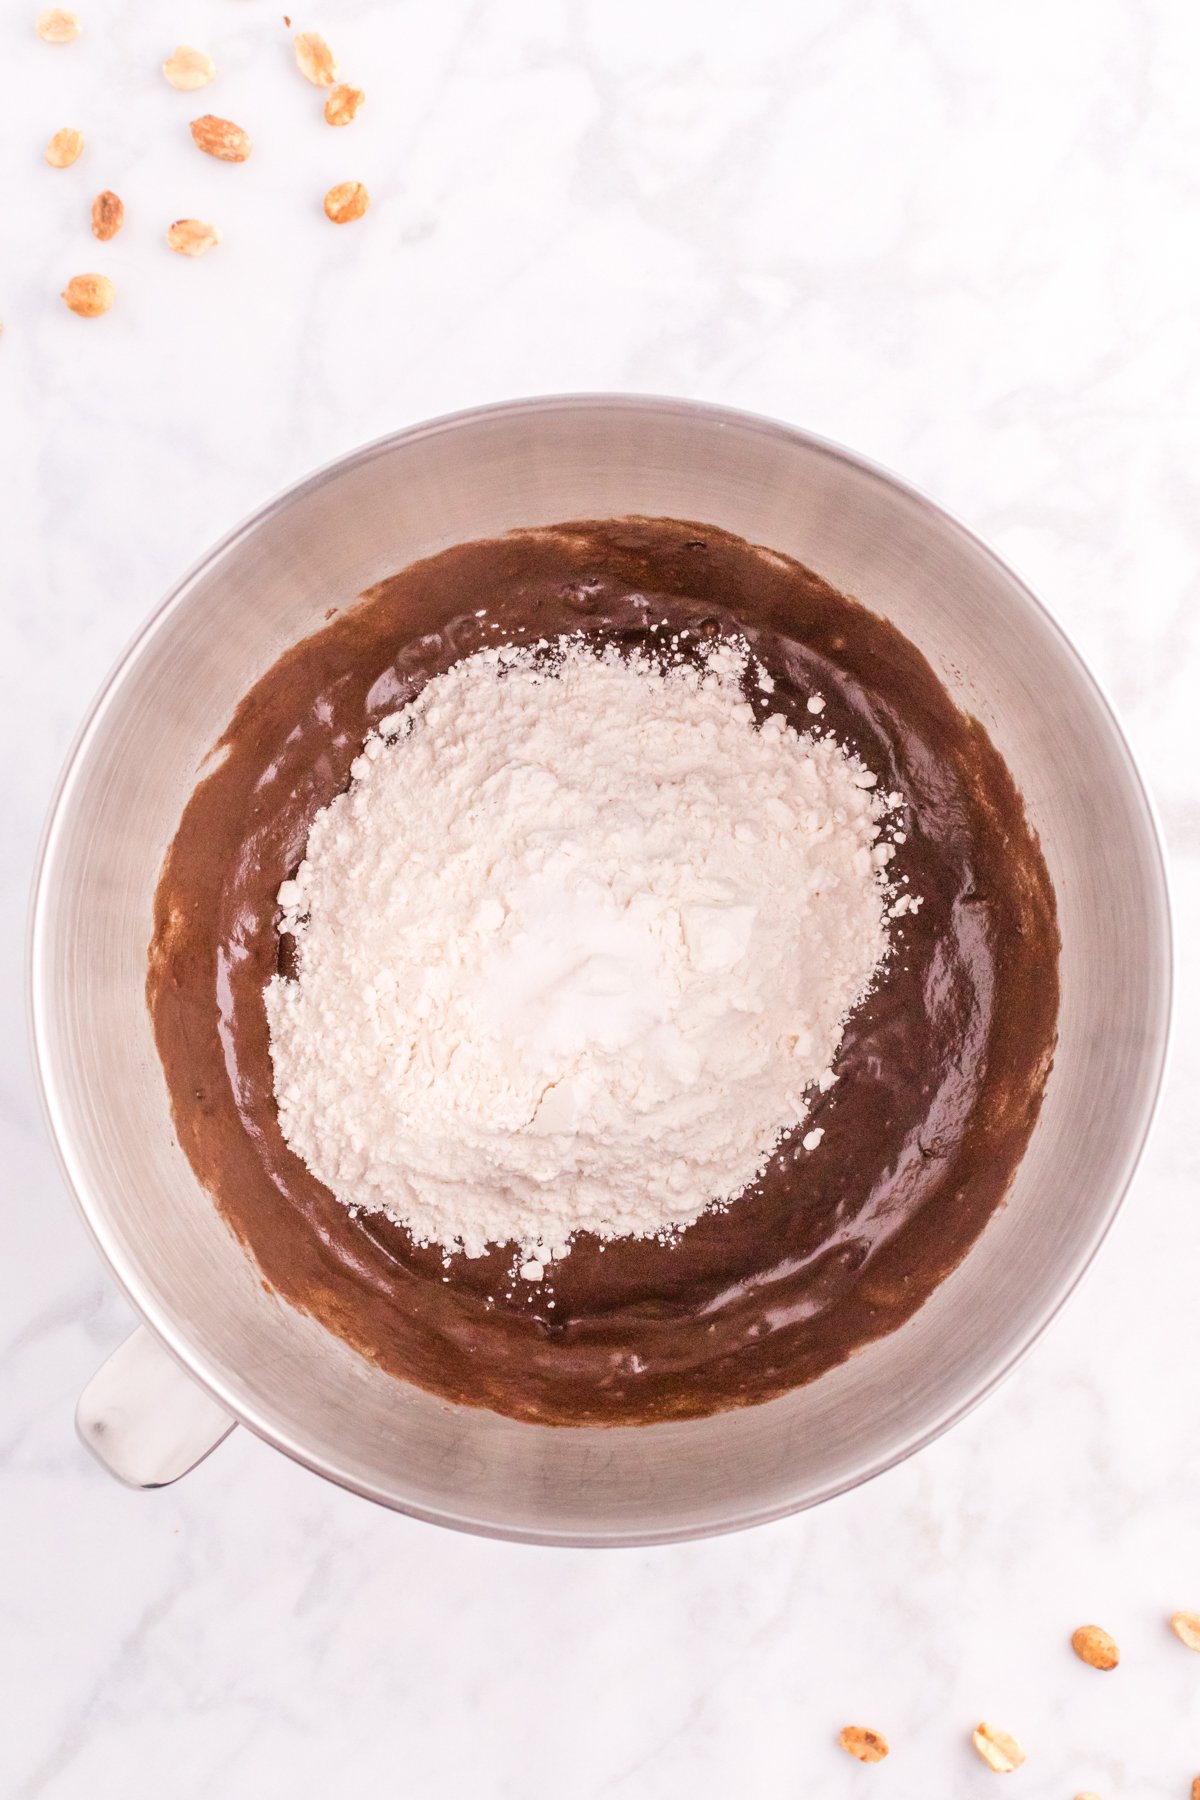
Spread the chocolate brownie batter evenly in the bottom of the prepared pan, smoothing it out with a rubber spatula.
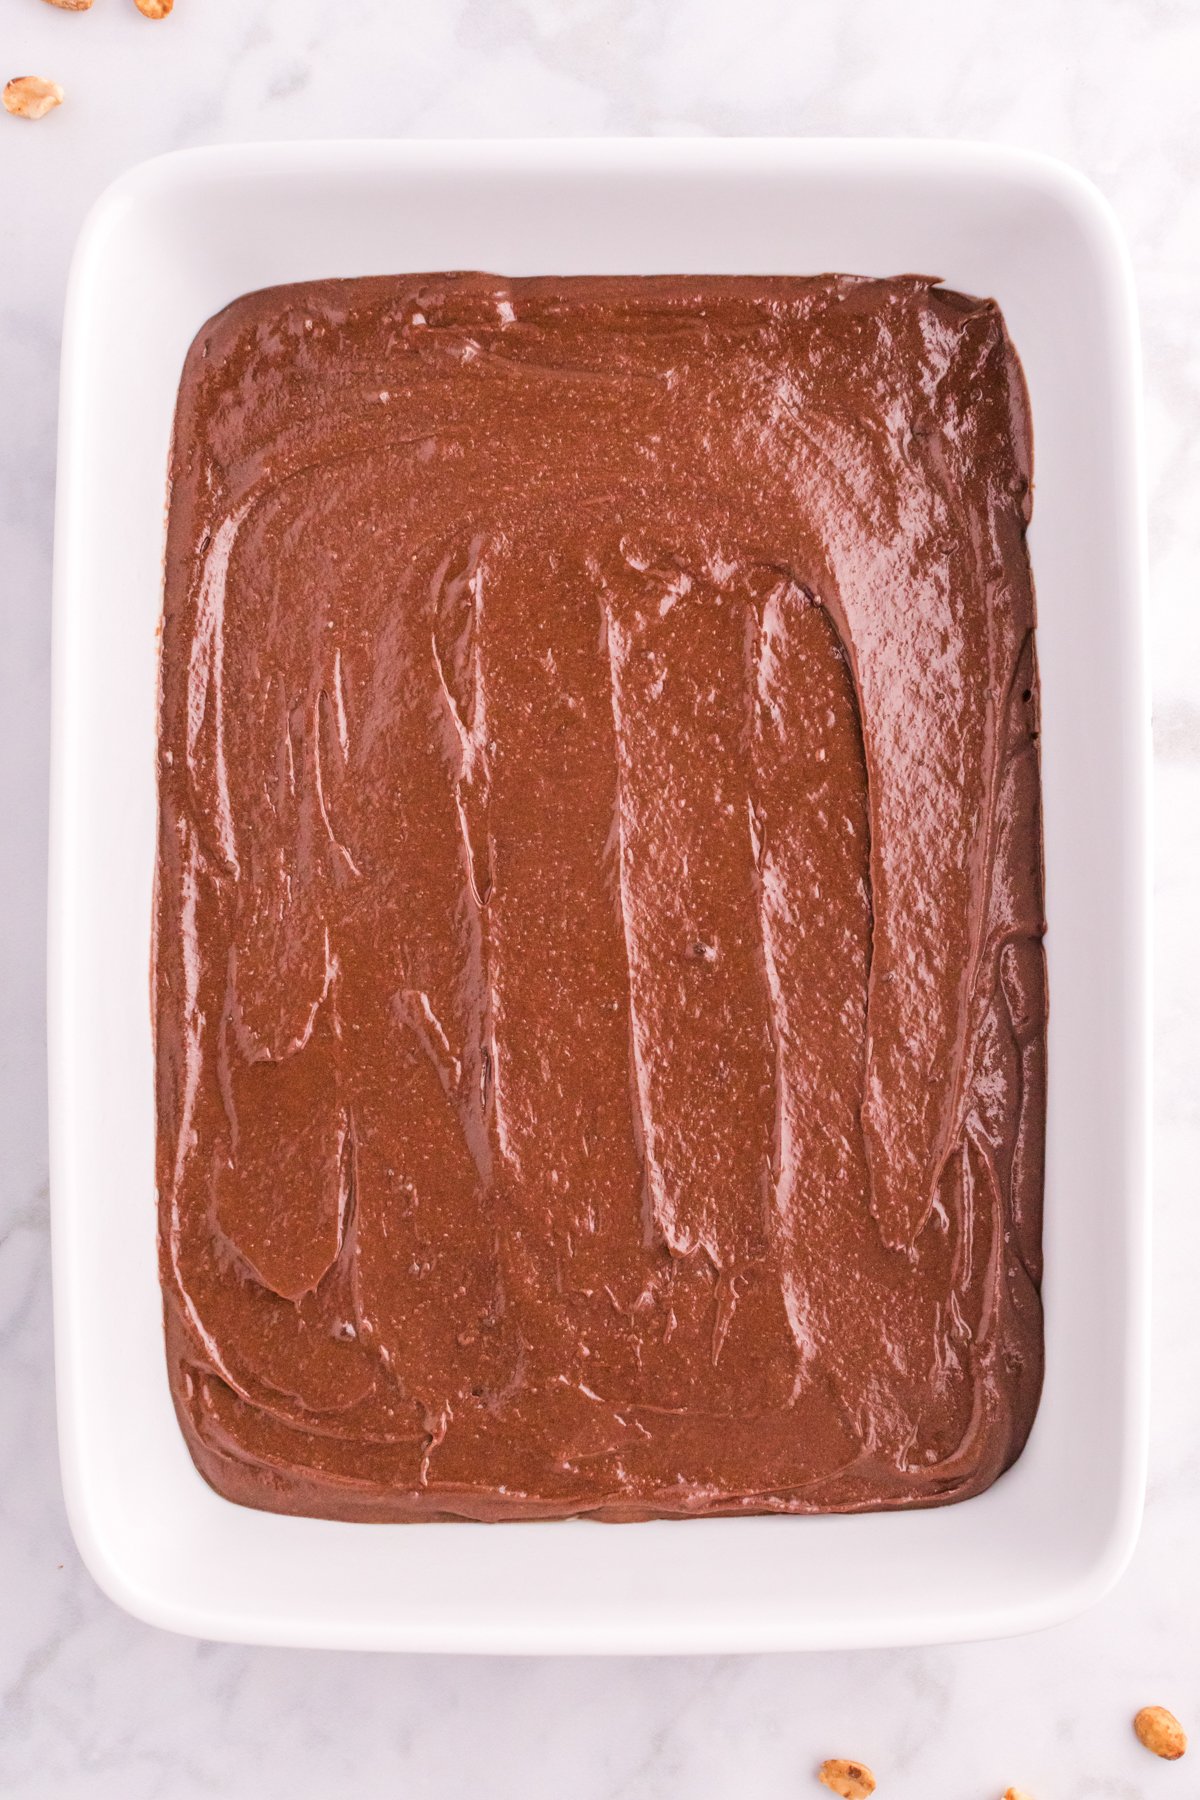
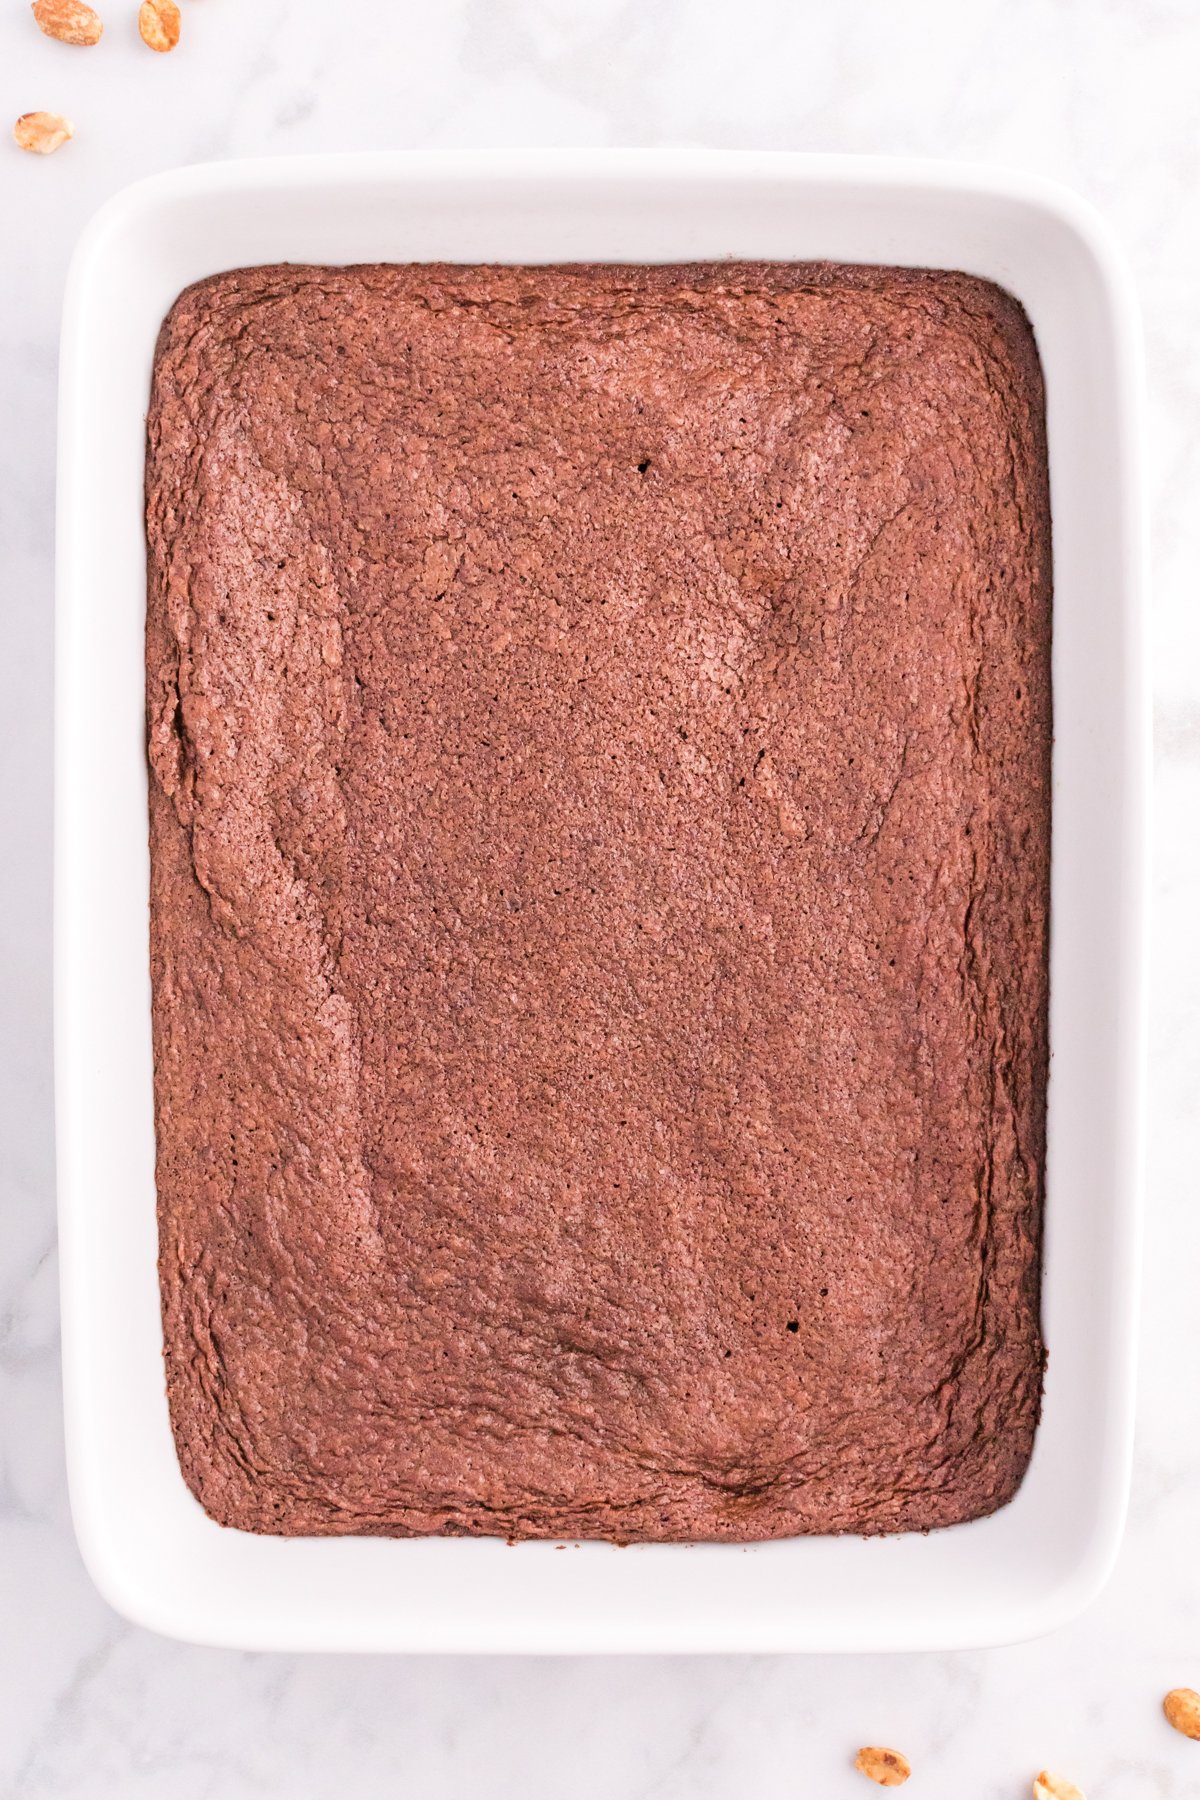
Bake for 30 minutes, or until a toothpick inserted in the middle comes out clean. Allow brownies to cool completely.
2 – Make the Peanut Butter Topping
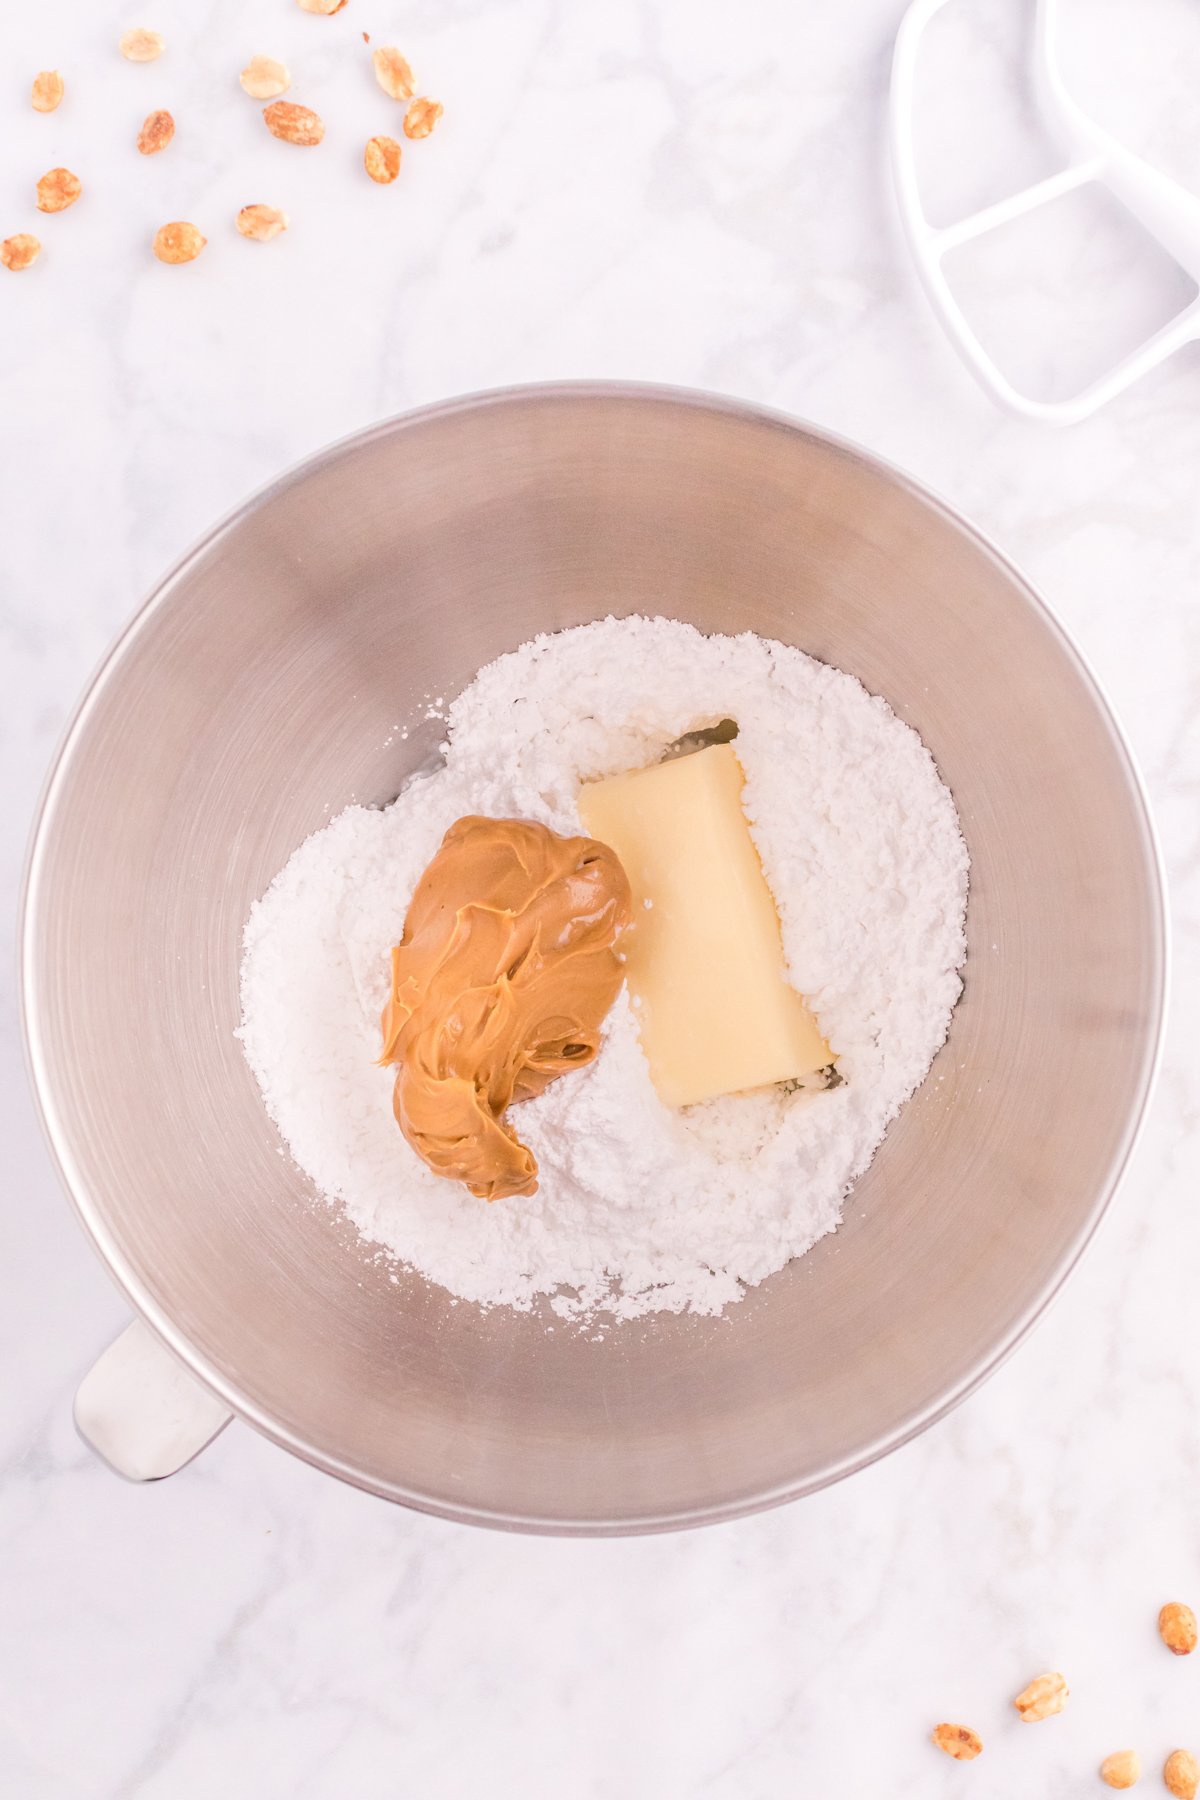
While the brownies are cooling, combine powdered sugar, butter, peanut butter, and milk in a mixing bowl and beat about two minutes until it is smooth and fluffy. This will give you that nice peanut butter flavor to your brownies once added!
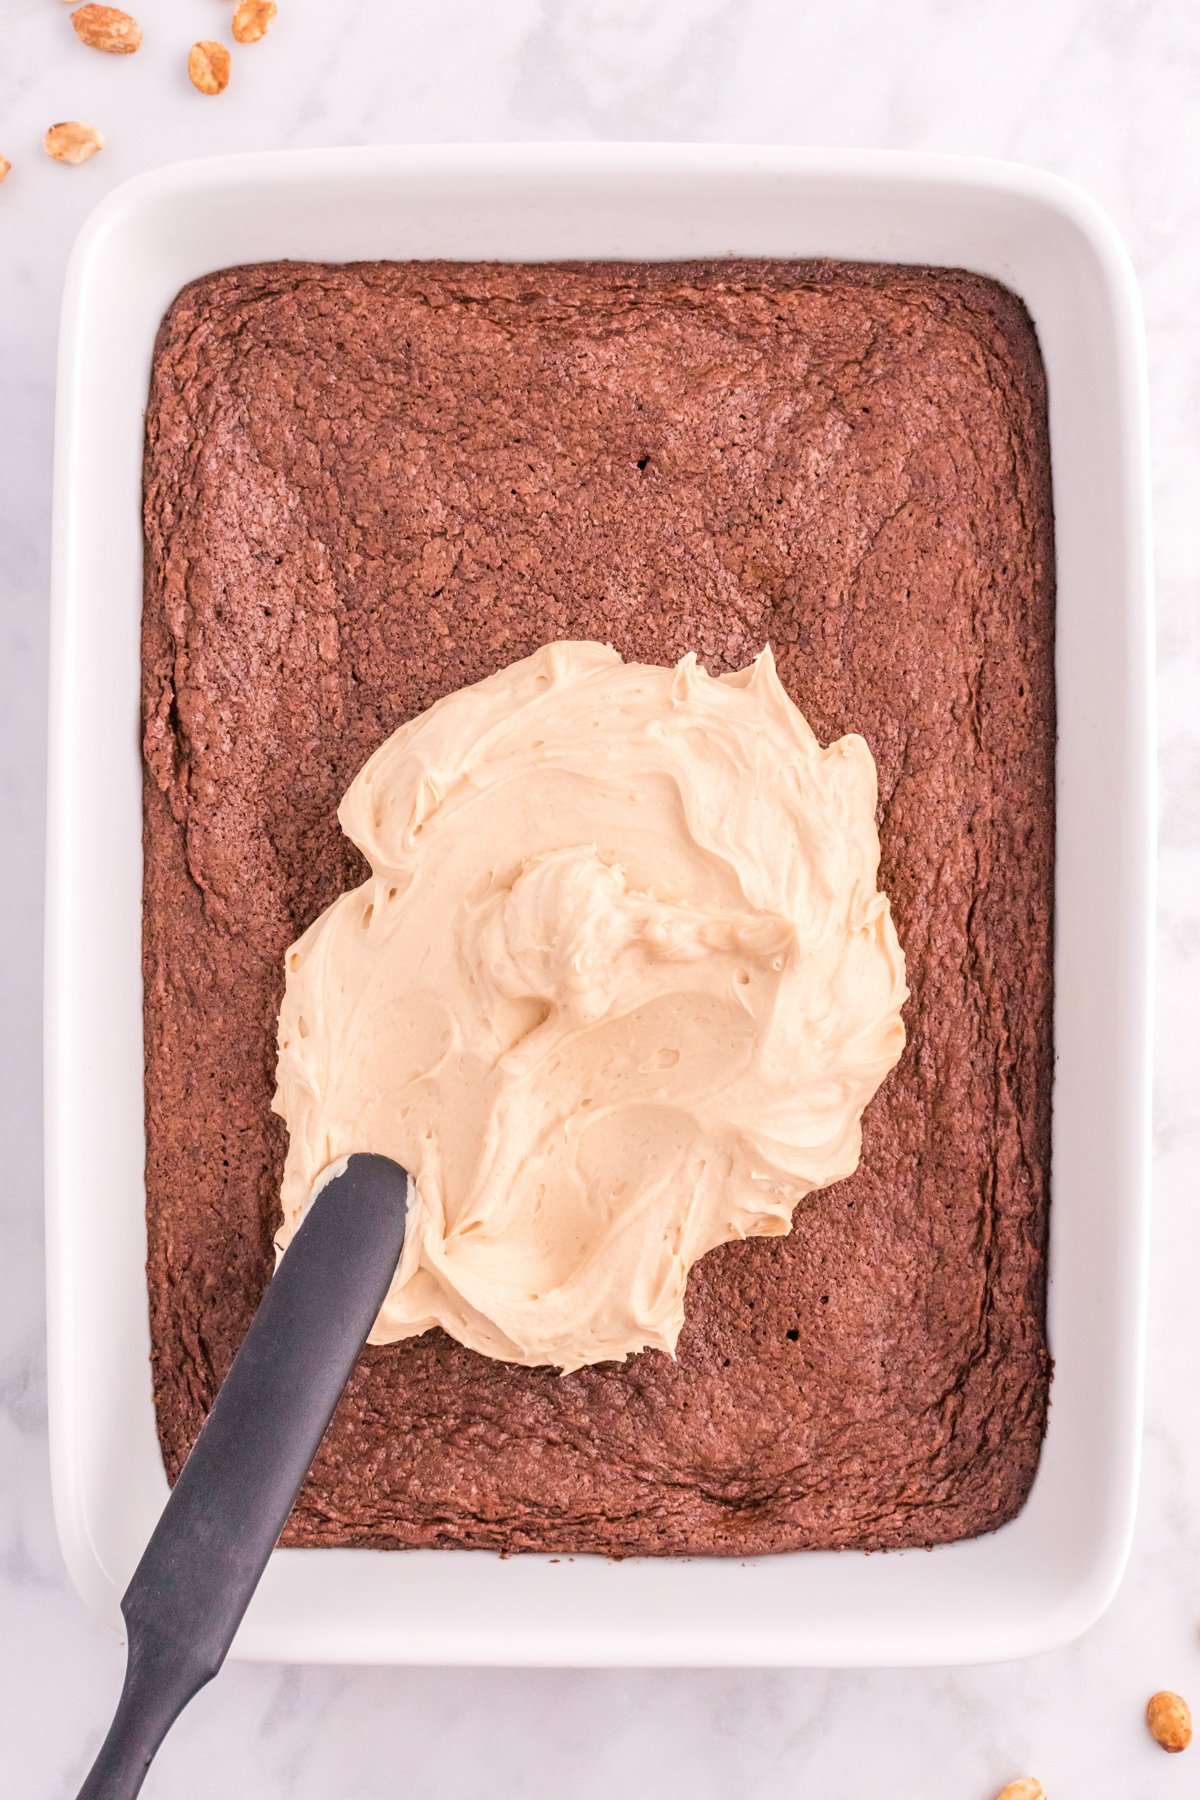
Spread the peanut butter mixture evenly over the cooled brownies. If they’re not cooled completely, wait a few more minutes. They really need to be cooled or you’ll end up with a peanut butter filling that starts melting into the brownies instead of creating the even layer you want.
3 – Make the Chocolate Glaze
Next, you’re going to make a chocolate ganache to put on top of our moist peanut butter brownies.
Melt the chocolate chips and butter in the microwave for 30 seconds, stir, then repeat until chips are melted and mixture is smooth.
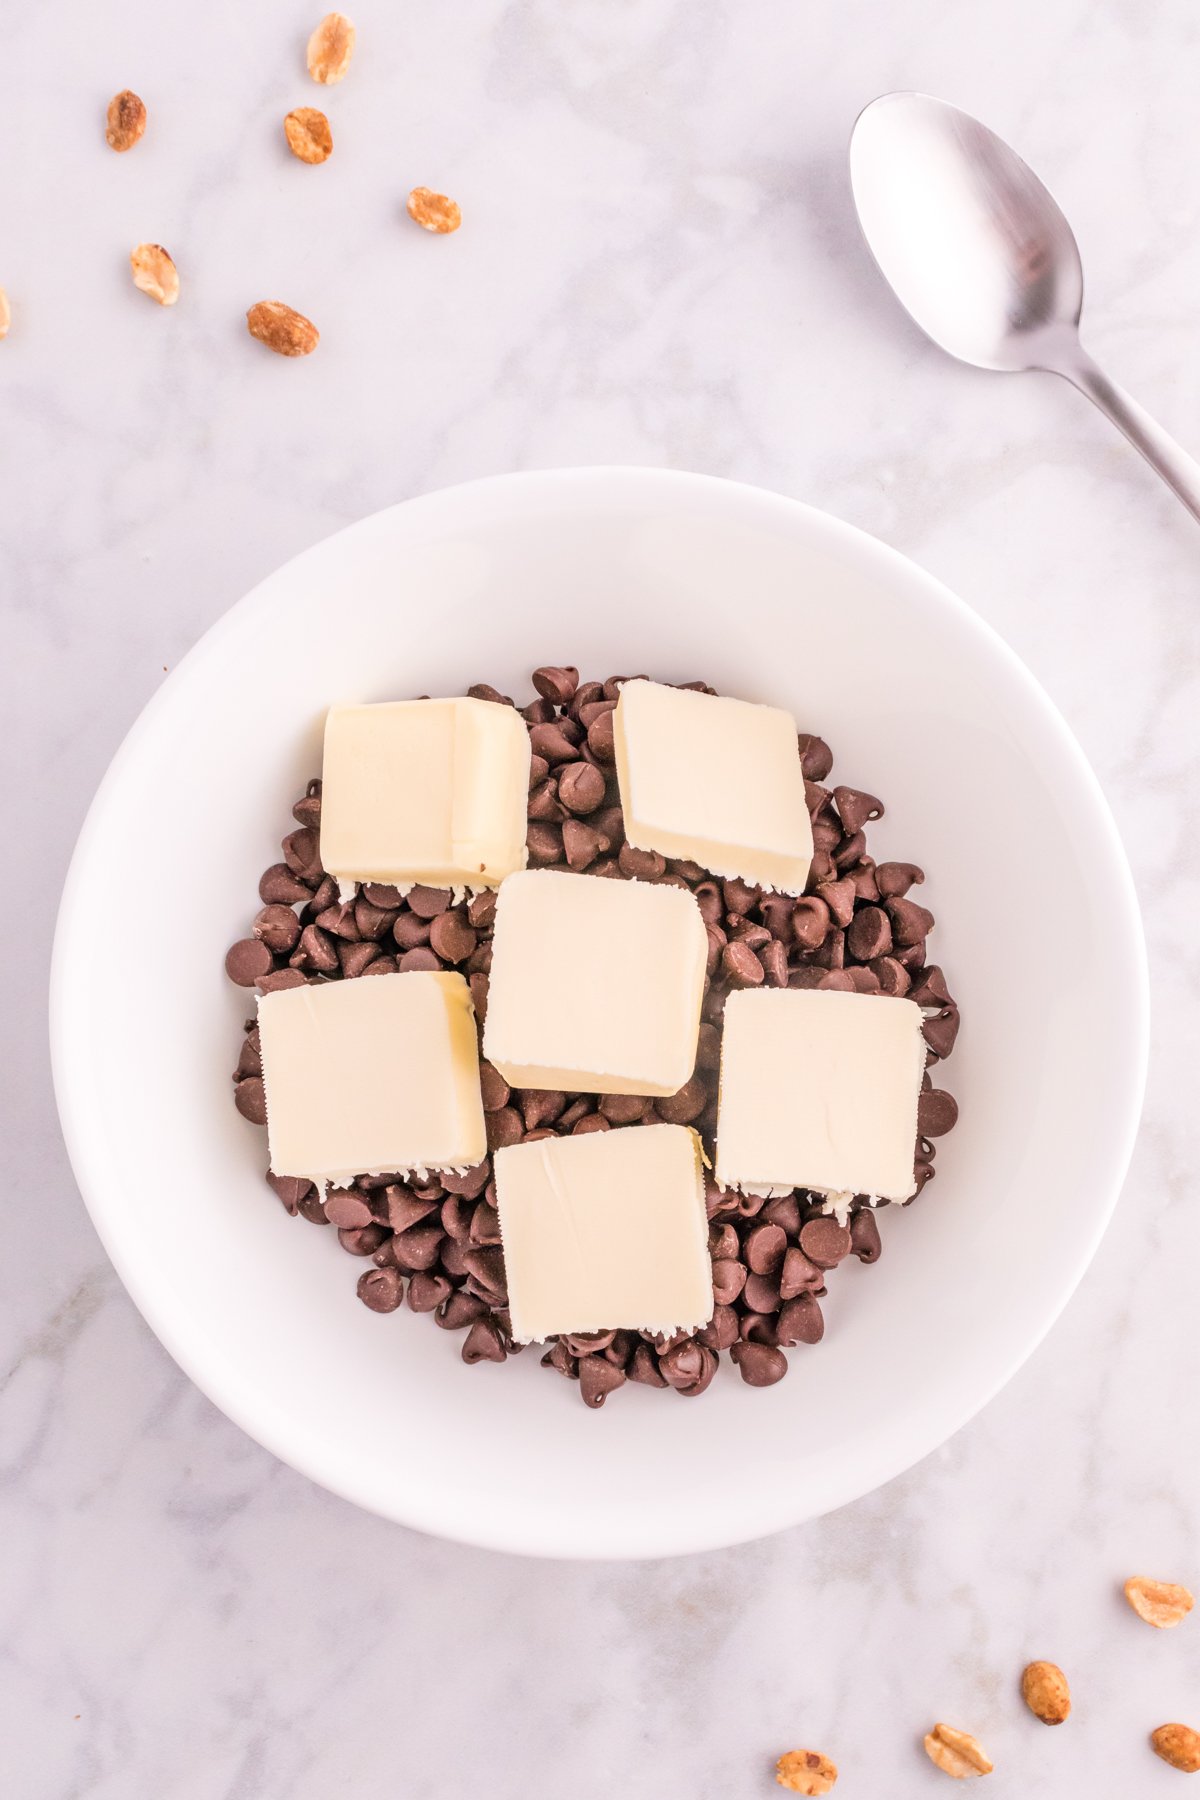
Allow the chocolate mixture to cool for 10 minutes, then add one tablespoon of milk and mix well. You want it to be a consistency that will spread easily. If it seems too thick, add a little more milk before adding to the peanut butter layer. If it’s too thick, it’ll pull up the peanut butter layer when you spread it on top.
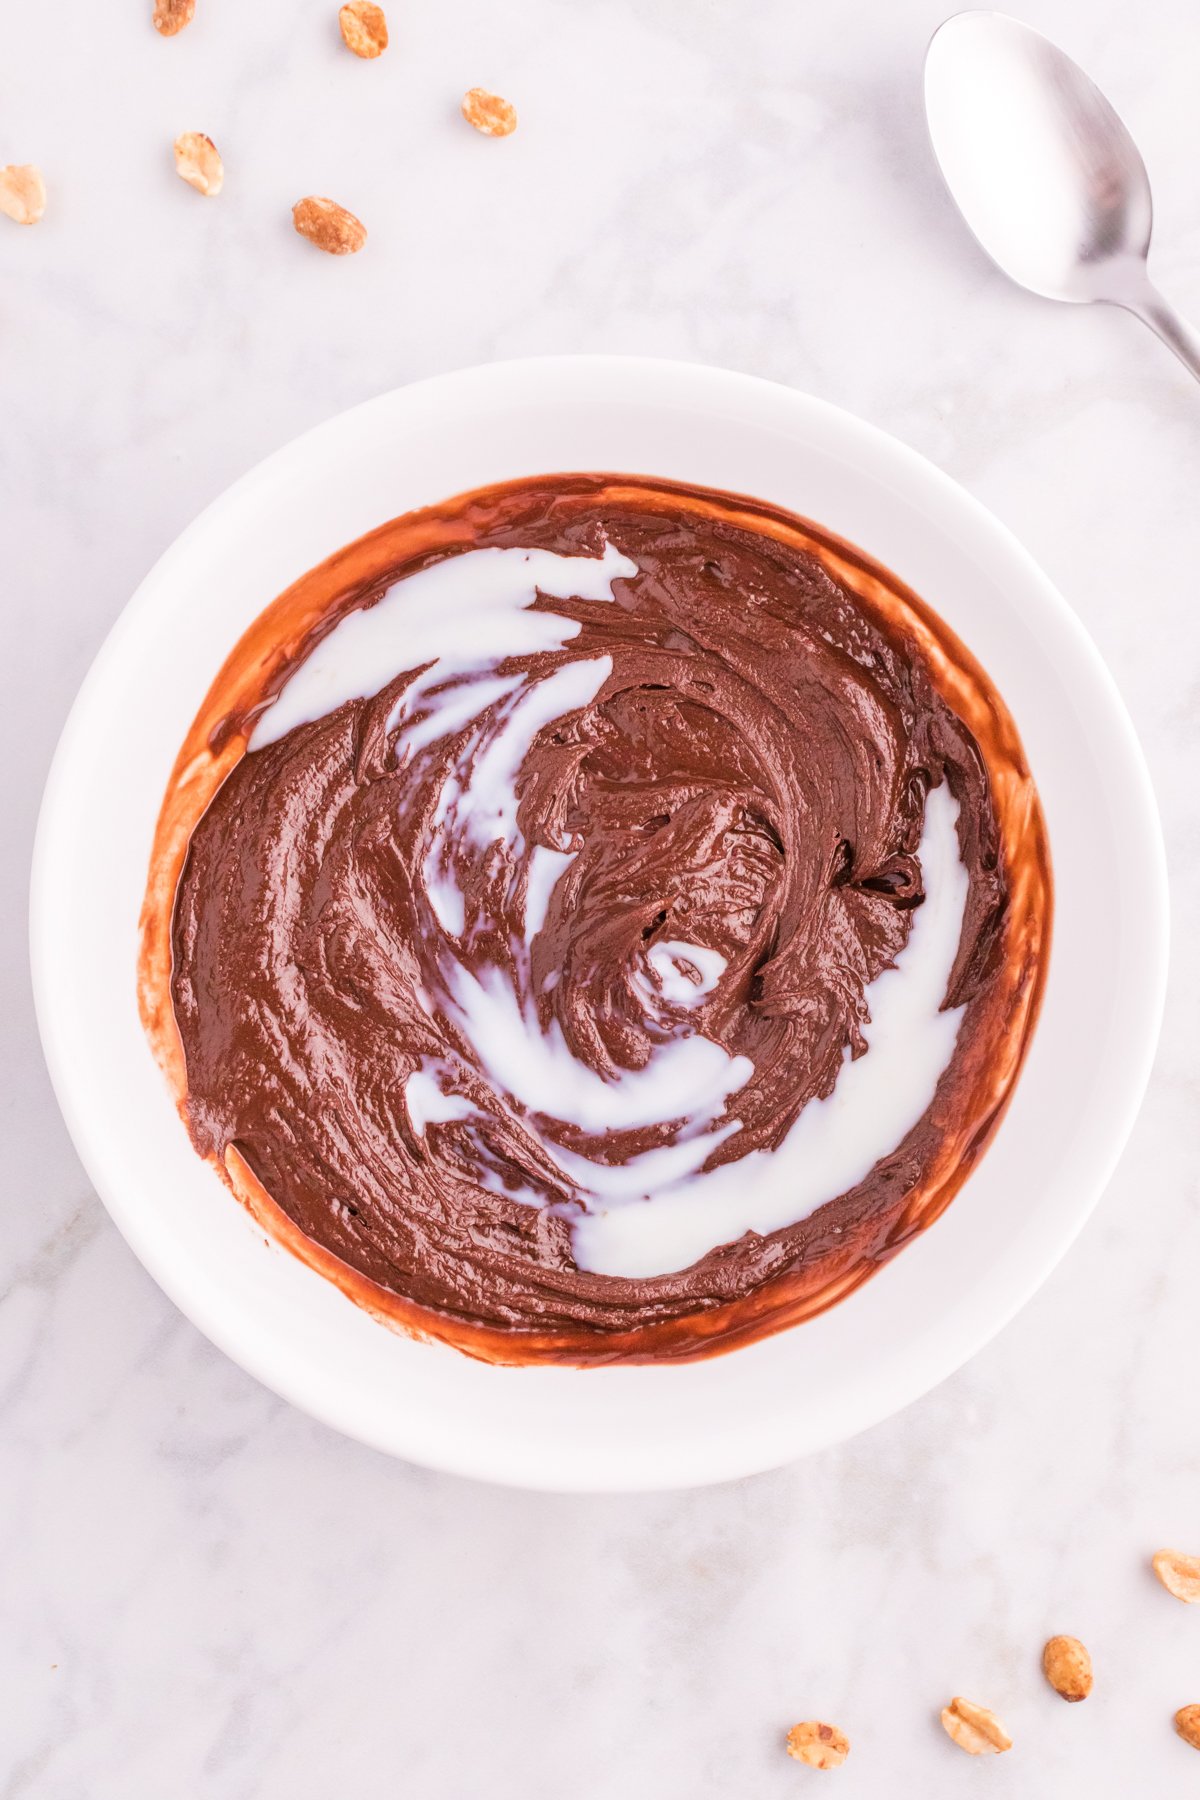
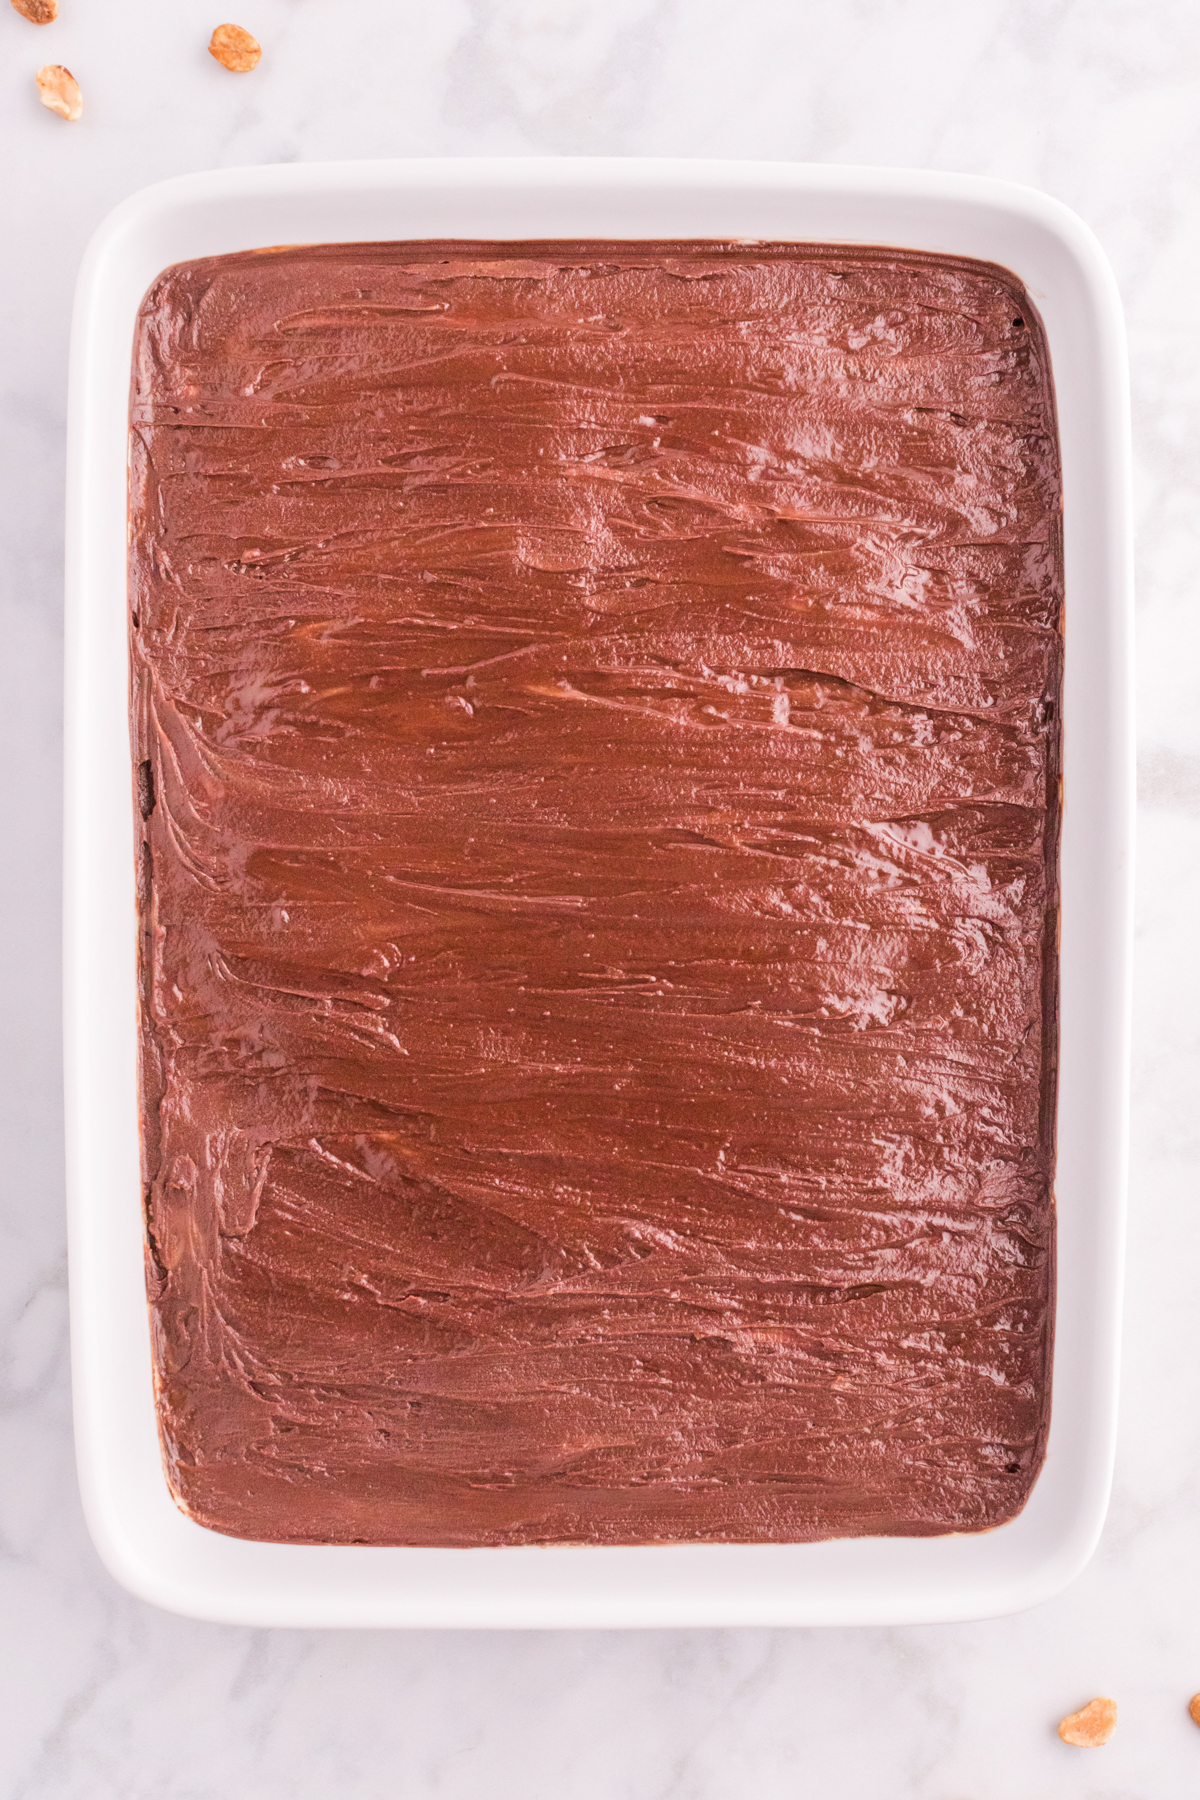
Spread melted chocolate over peanut butter layer using a rubber spatula to spread it over all of the brownies evenly.
4 – Chill and Serve
Cover the pan lightly with plastic wrap (or a cover) and refrigerate until the chocolate layer is firm, typically about 30 minutes.
Once chilled, cut into squares using a sharp knife and serve either chilled or at room tempearture.
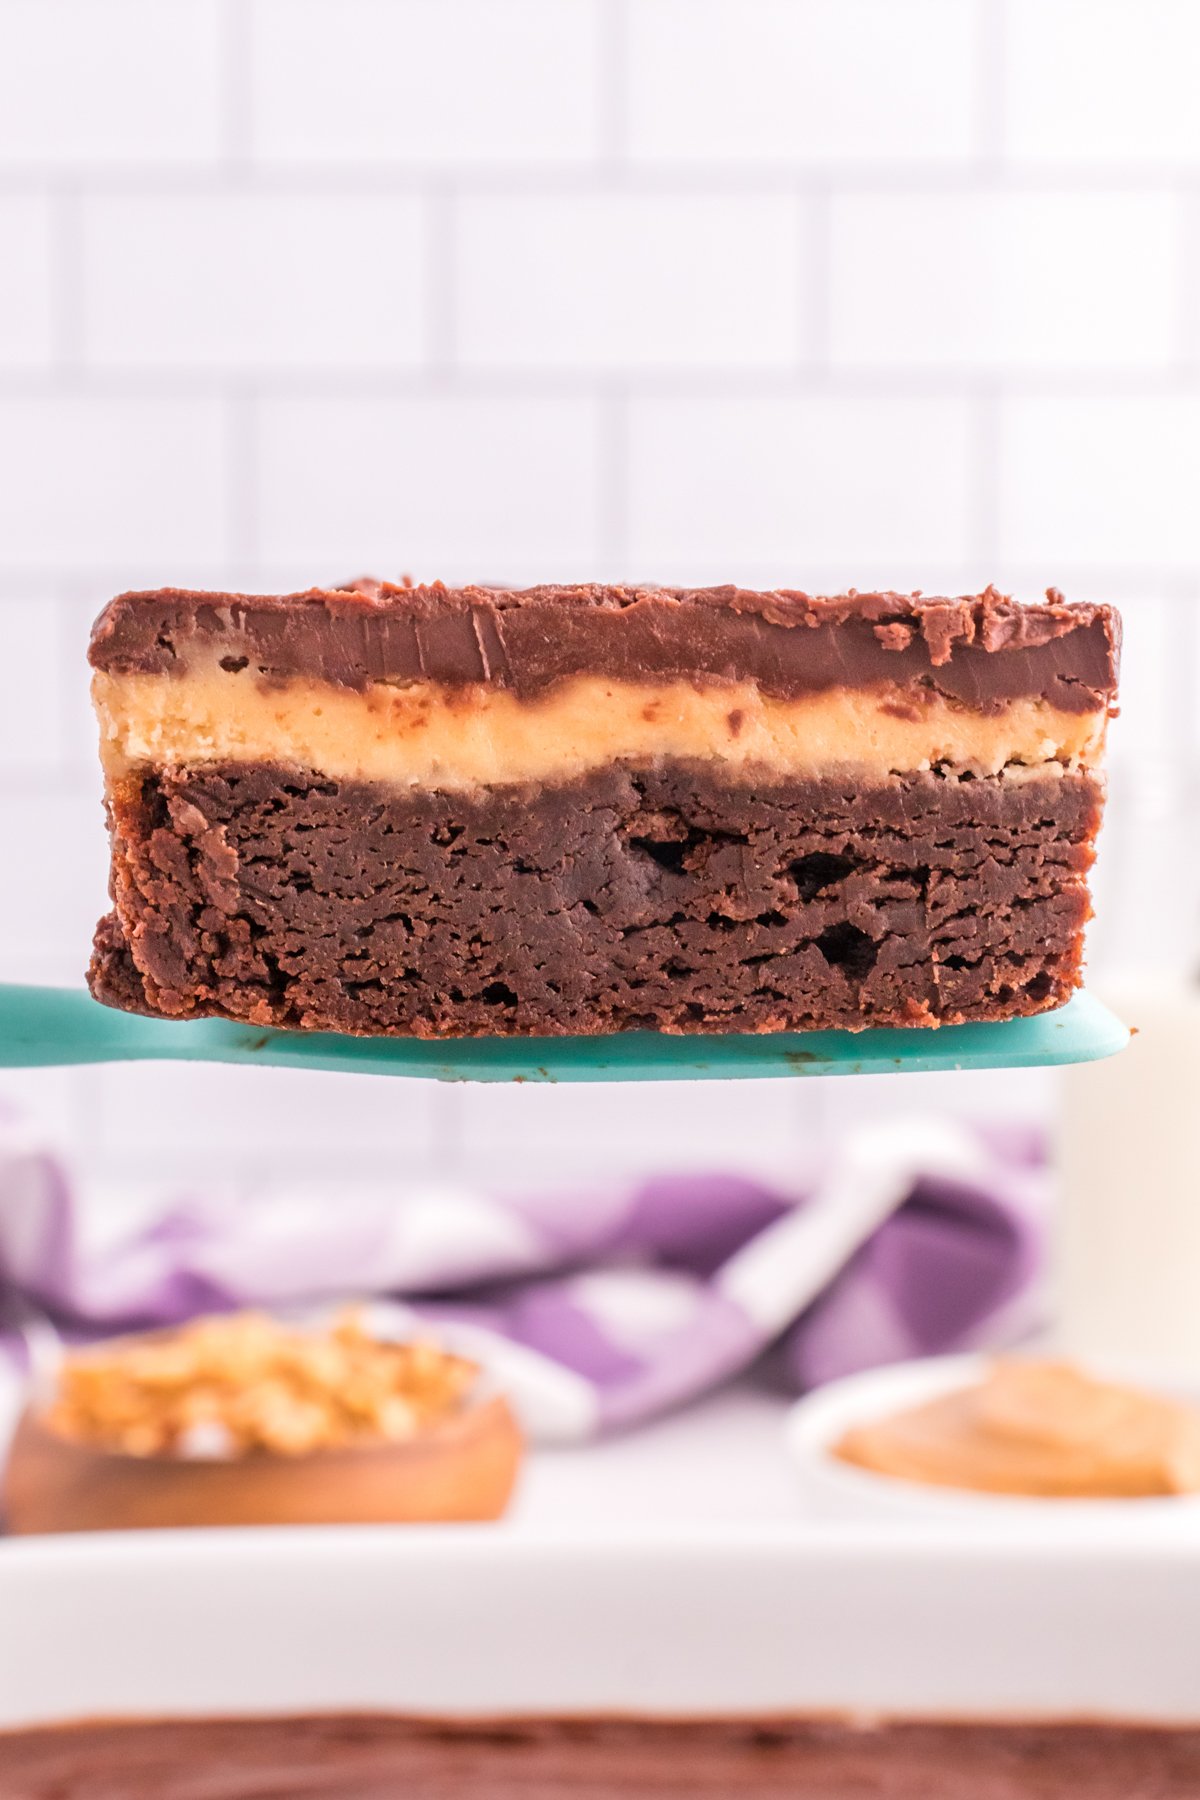
These are delicious on their own or would be really yummy with a scoop of vanilla ice cream because really what isn’t better with ice cream??
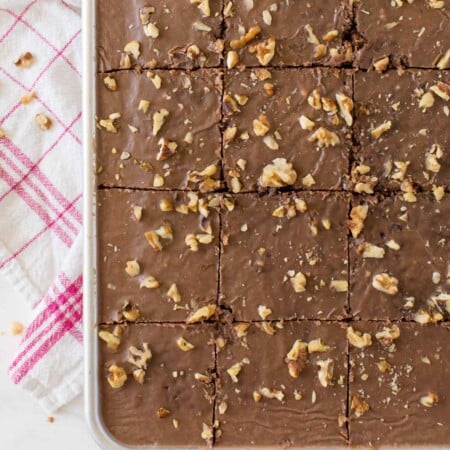
Just look at those layers of fudge brownies, peanut butter, and chocolate. Makes you want to go make these right now doesn’t it? Or maybe that’s just me! Good thing I still have some left in the freezer to enjoy!
Expert Tips & Storage Info
Make sure the the brownie layer is completely cool before adding the peanut butter or the peanut butter will melt right off.
Add a piece of parchment paper to the baking pan before adding in the brownie batter to make it easier to remove the brownies from the pan when you’re ready. This makes them much easier to cut!
Make a small batch by halving the recipe and baking these an 8×8 square baking pan for 25-30 minutes instead of the written baking time.
Store any leftover chewy peanut butter brownies (if there are any) covered in the fridge for up to a week. You can either eat them chilled directly out of the fridge or let them come to room temperature before enjoying.
Recipe FAQs
Peanut butter brownies last for up to a week when stored covered in an airtight container in the refrigerator.
If you’d prefer to use a boxed brownie mix, use a family size fudge brownie mix for the first layer of the brownies instead of our homemade brownie recipe included in the recipe card. Let them cool completely then finish the recipe as written by adding the peanut butter and chocolate layers on top.
You can freeze peanut butter brownies and should if you have any leftovers because they freeze beautifully! Once brownies are chilled, cut into squares and add into a freezer safe container and store in the freezer for up to three months. When you’re ready to enjoy, let thaw at room temperature for at least 30 minutes before eating.
More Peanut Butter Desserts
If you like peanut butter, you have to try these other delicious peanut butter recipes!
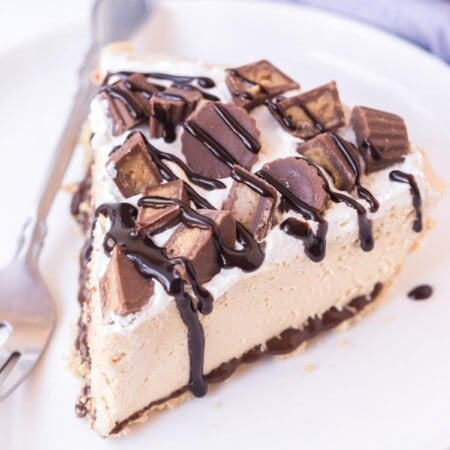
- Reese’s peanut butter pie – a rich and fluffy pie made with chocolate and Reese’s peanut butter cups!
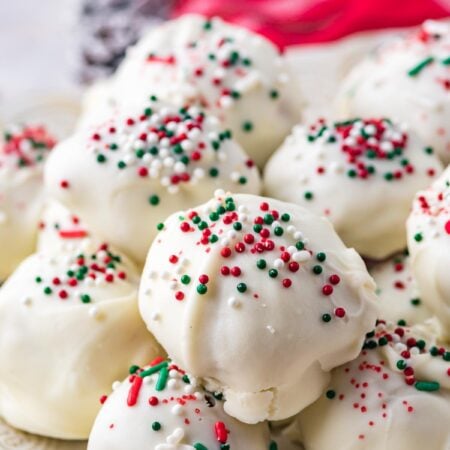
- Peanut butter snowballs – these no-bake peanut butter treats are a yummy addition to any occasion!
- Homemade nutter butters – these taste just like store-bought nutter butters but even better!
- Snickers cookies – peanut butter cookies stuffed with a Snickers candy bar then topped with a chocolate drizzle!
- Butterscotch haystacks – butterscotch and peanut butter get mixed together in these fashioned cookies!
Layered Peanut Butter Brownies
Ingredients
Brownie Layer
- 2 cups granulated sugar
- 1 cup salted butter melted
- ¾ cup unsweetened cocoa powder
- 2 tsp vanilla extract
- 4 large eggs
- 1 cup all-purpose flour
- ½ tsp salt
Peanut Butter Layer
- 2 cups powdered sugar
- ½ cup butter softened
- ½ cup creamy peanut butter
- 2 TBS milk or cream
Chocolate Topping
- 2 cups semi-sweet chocholate chips
- ½ cup butter sliced into 1 TBS pieces
- 1 TBS milk
Instructions
Brownies
- Preheat oven to 350°F and spray a 9" x 13" baking pan with non-stick cooking spray or parchment paper.
- Combine sugar, melted butter, cocoa powder, vanilla, and eggs and mix well.2 cups granulated sugar, 1 cup salted butter, 3/4 cup unsweetened cocoa powder, 2 tsp vanilla extract, 4 large eggs
- Add flour and salt and mix until just combined.1 cup all-purpose flour, 1/2 tsp salt
- Spread the brownie batter evenly in the bottom of the prepared pan then bake for 30 minutes, or until a toothpick inserted in the middle comes out clean. Allow brownies to cool completely.
Peanut Butter Layer
- While brownies are cooling, combine powdered sugar, butter, peanut butter, and milk in a mixing bowl and beat about 2 minutes until it is smooth and fluffy.2 cups powdered sugar, 1/2 cup creamy peanut butter, 2 TBS milk or cream, 1/2 cup butter
- Spread the peanut butter mixture evenly over the cooled brownies.
Chocolate Topping
- Melt chocolate chips and butter in the microwave for 30 seconds, stir, then repeat until chips are melted and mixture is smooth. Allow it to cool for 10 minutes, then add 1 tablespoon of milk and mix well. It should be an easily spreadable consistency.2 cups semi-sweet chocholate chips, 1/2 cup butter, 1 TBS milk
- Spread melted chocolate over peanut butter layer then cover and refrigerate until chocolate layer is firm.
- Cut into squares and serve! Store any leftovers covered in the refrigerator for up to 1 week.
Leave a Comment