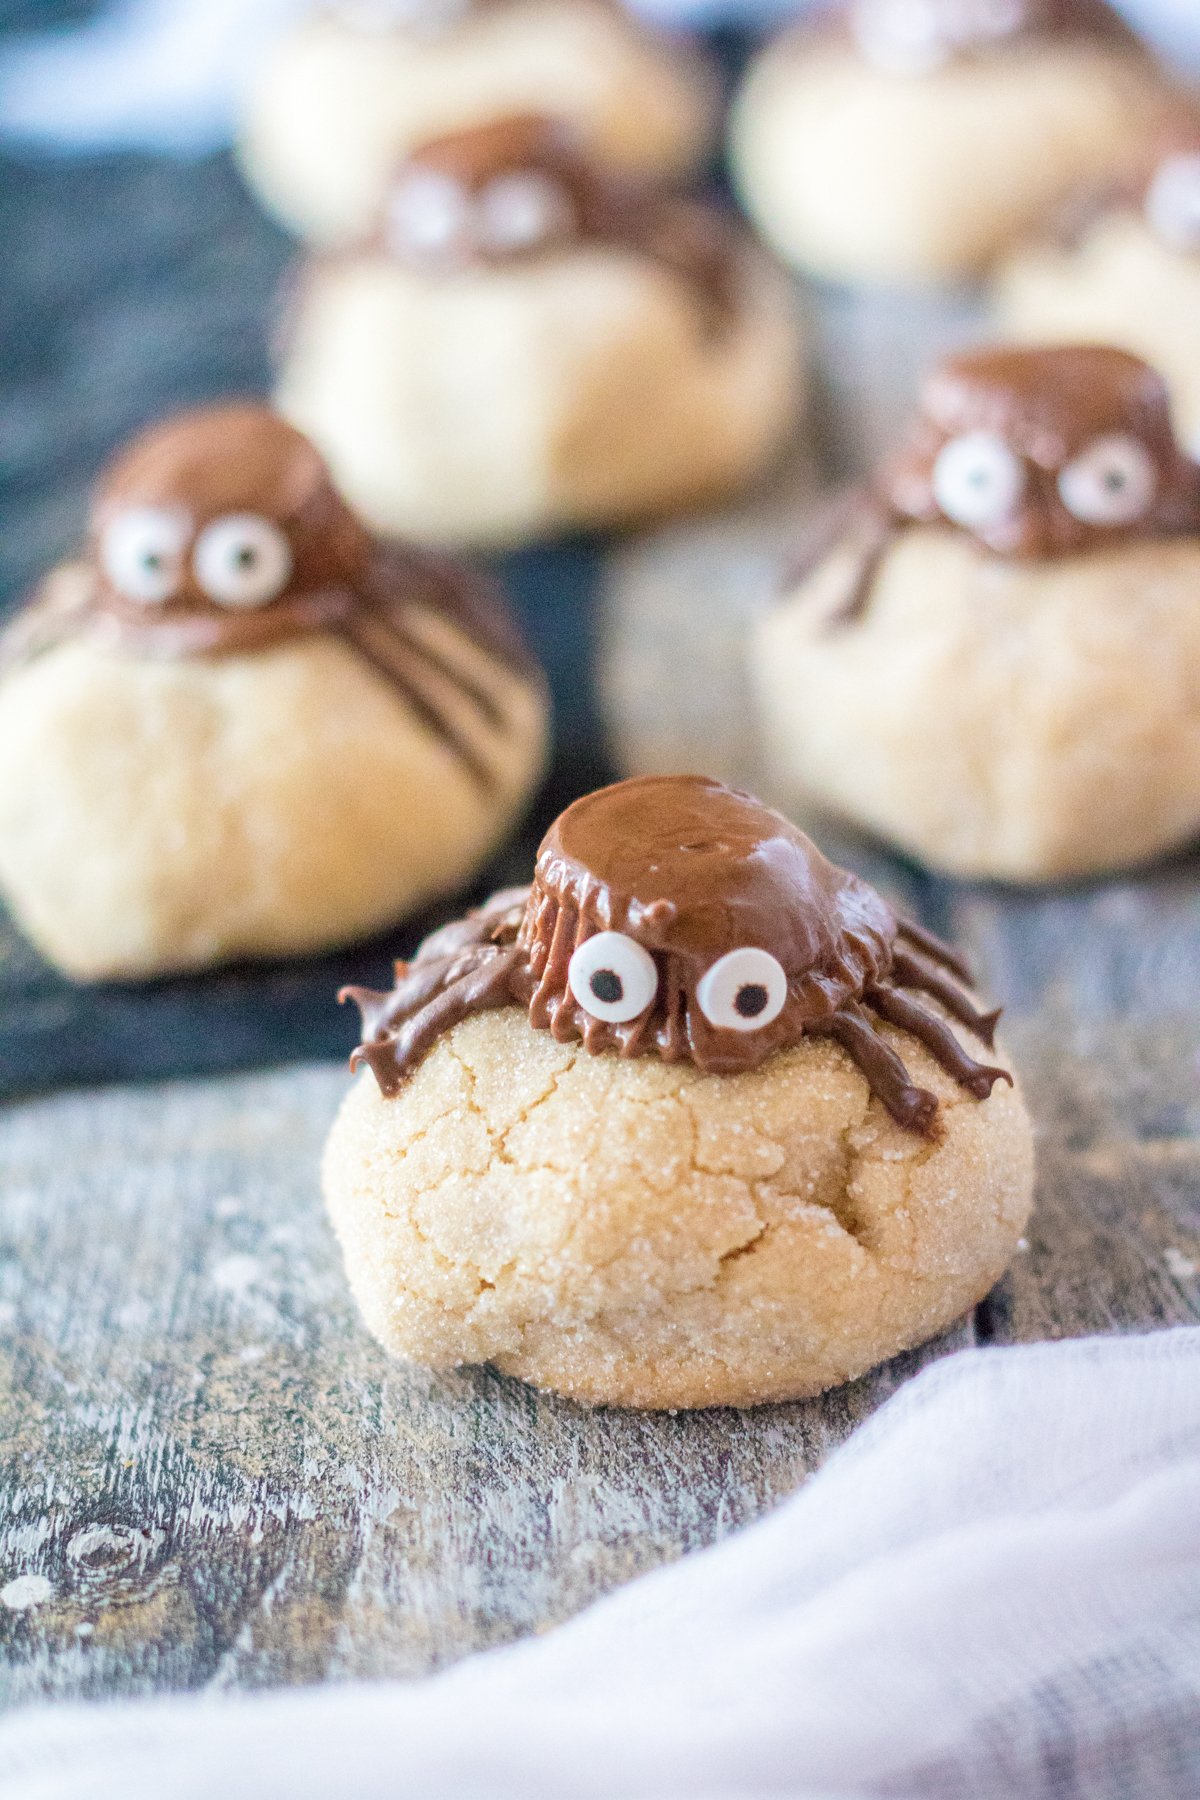
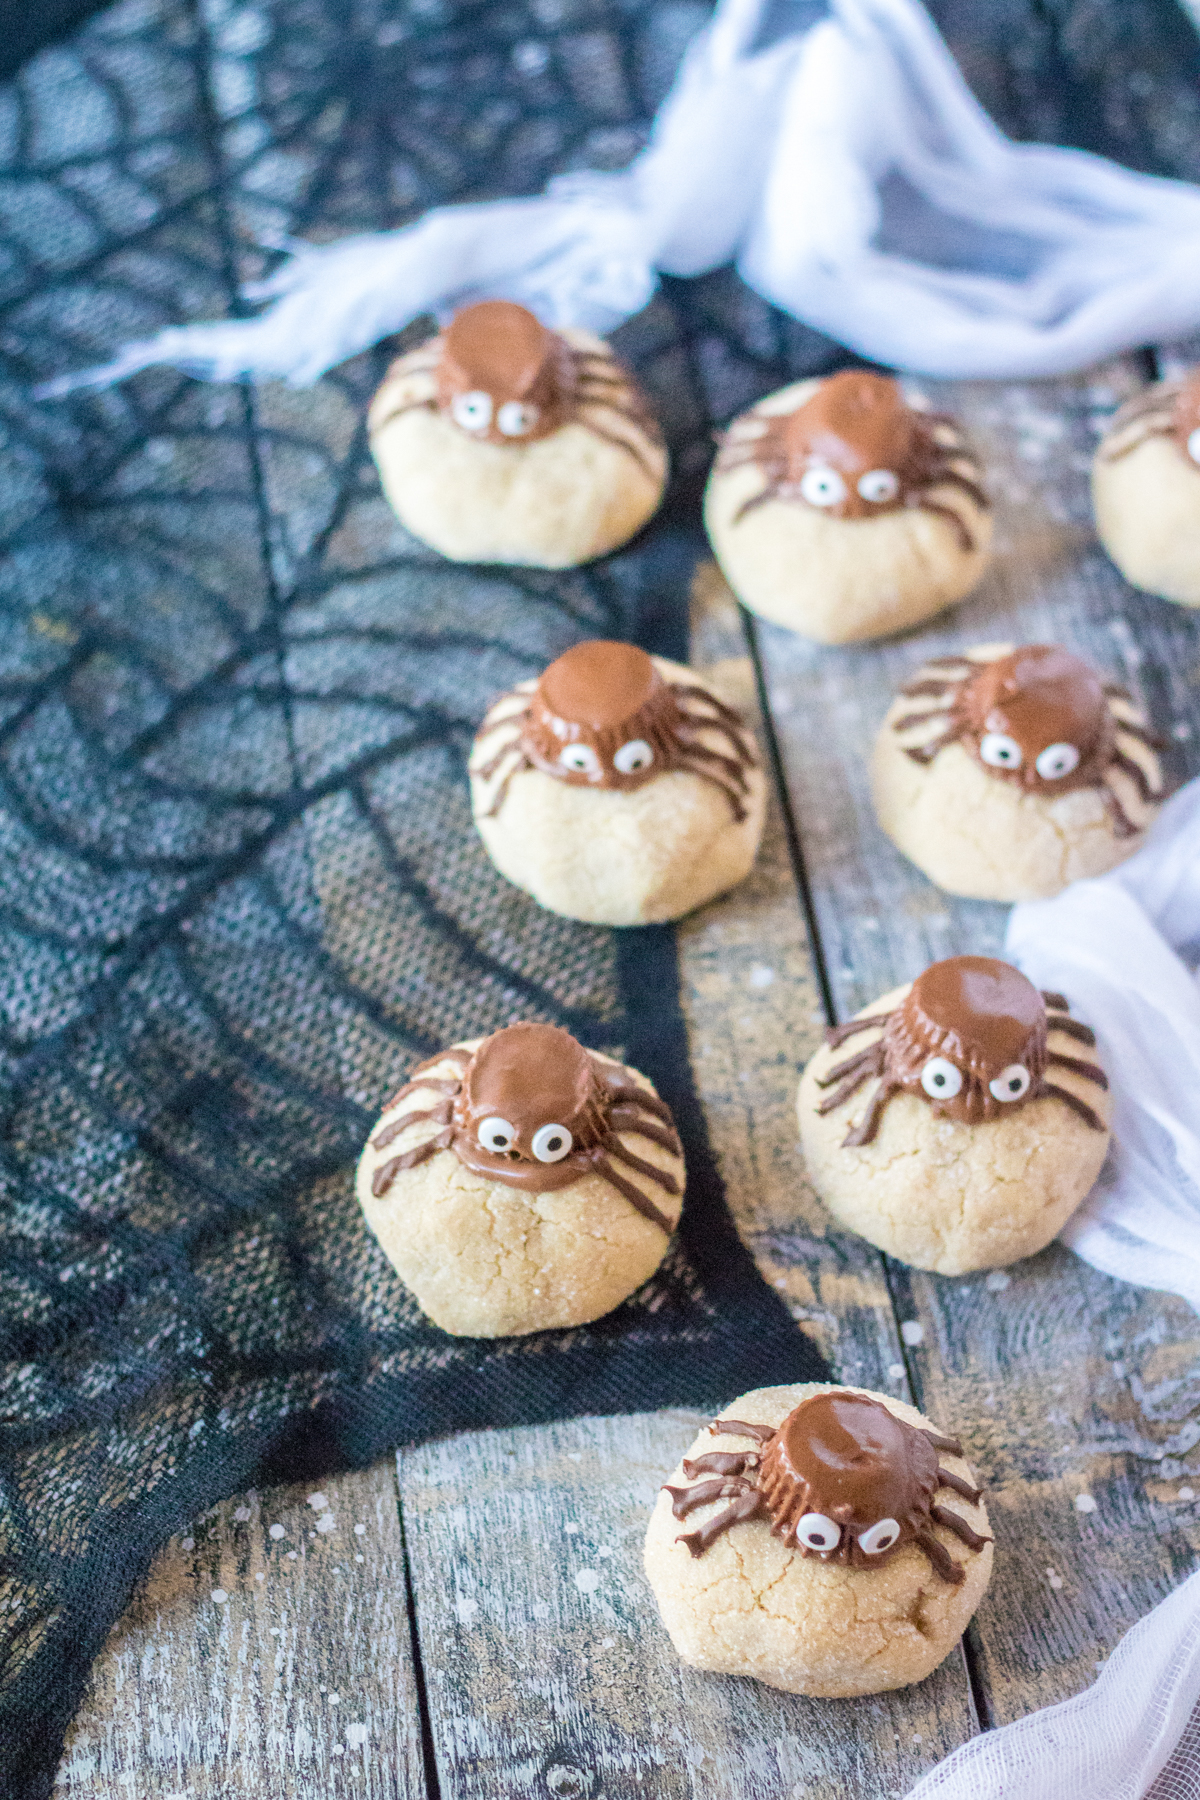
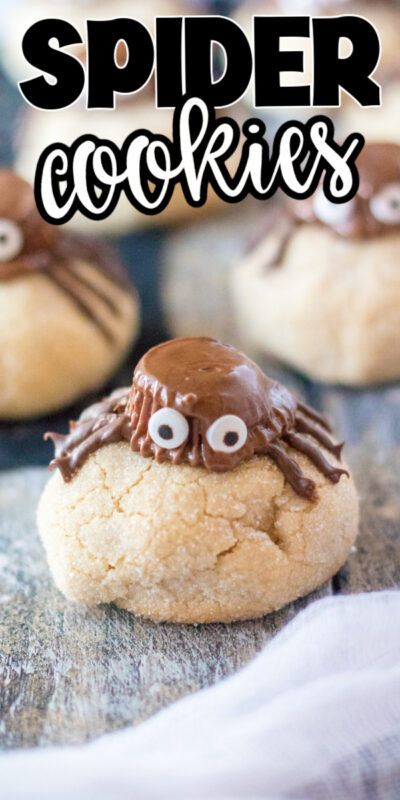
These fun peanut butter spider cookies start with a delicious soft peanut butter cookie then are topped with the cutest chocolate spiders! They make great Halloween treats or are fun for a camping or outdoor party!
Want to save this recipe?
Enter your email below and we’ll send this idea straight to your inbox (plus you’ll receive fun weekly ideas from us too!)
With just a few weeks to Halloween, I’m ready to go all out with the creepy, crawly, and cutest recipes! Bring on the ghost brownies, witch Halloween dessert board, and even candy corn pudding cups.
I love being able to turn things into fun Halloween creatures and these spider cookies are not different.
You could really make these cute spiders on top of any peanut butter cookie or even just do spiders instead of the regular kiss on top of these peanut butter blossoms.
But I personally like this peanut butter cookie recipe the best with the spider topping, so thats my recommendation!
Why You’ll Love This Recipe
- Soft – these peanut butter cookies are super soft and fluffy, making them absolutely delicious. The peanut butter cup on top just adds even more peanut butter goodness!
- No-chill dough – these cookies can be ready to go in just a few minutes since there’s no need to chill the dough before baking! Perfect for when kids are asking for cookies and you don’t have a pack of Oreos in the pantry!
- Fun to make – kids can help with these every step of the way from making the dough to rolling the balls and even creating the cute little spiders on top!
Ingredients
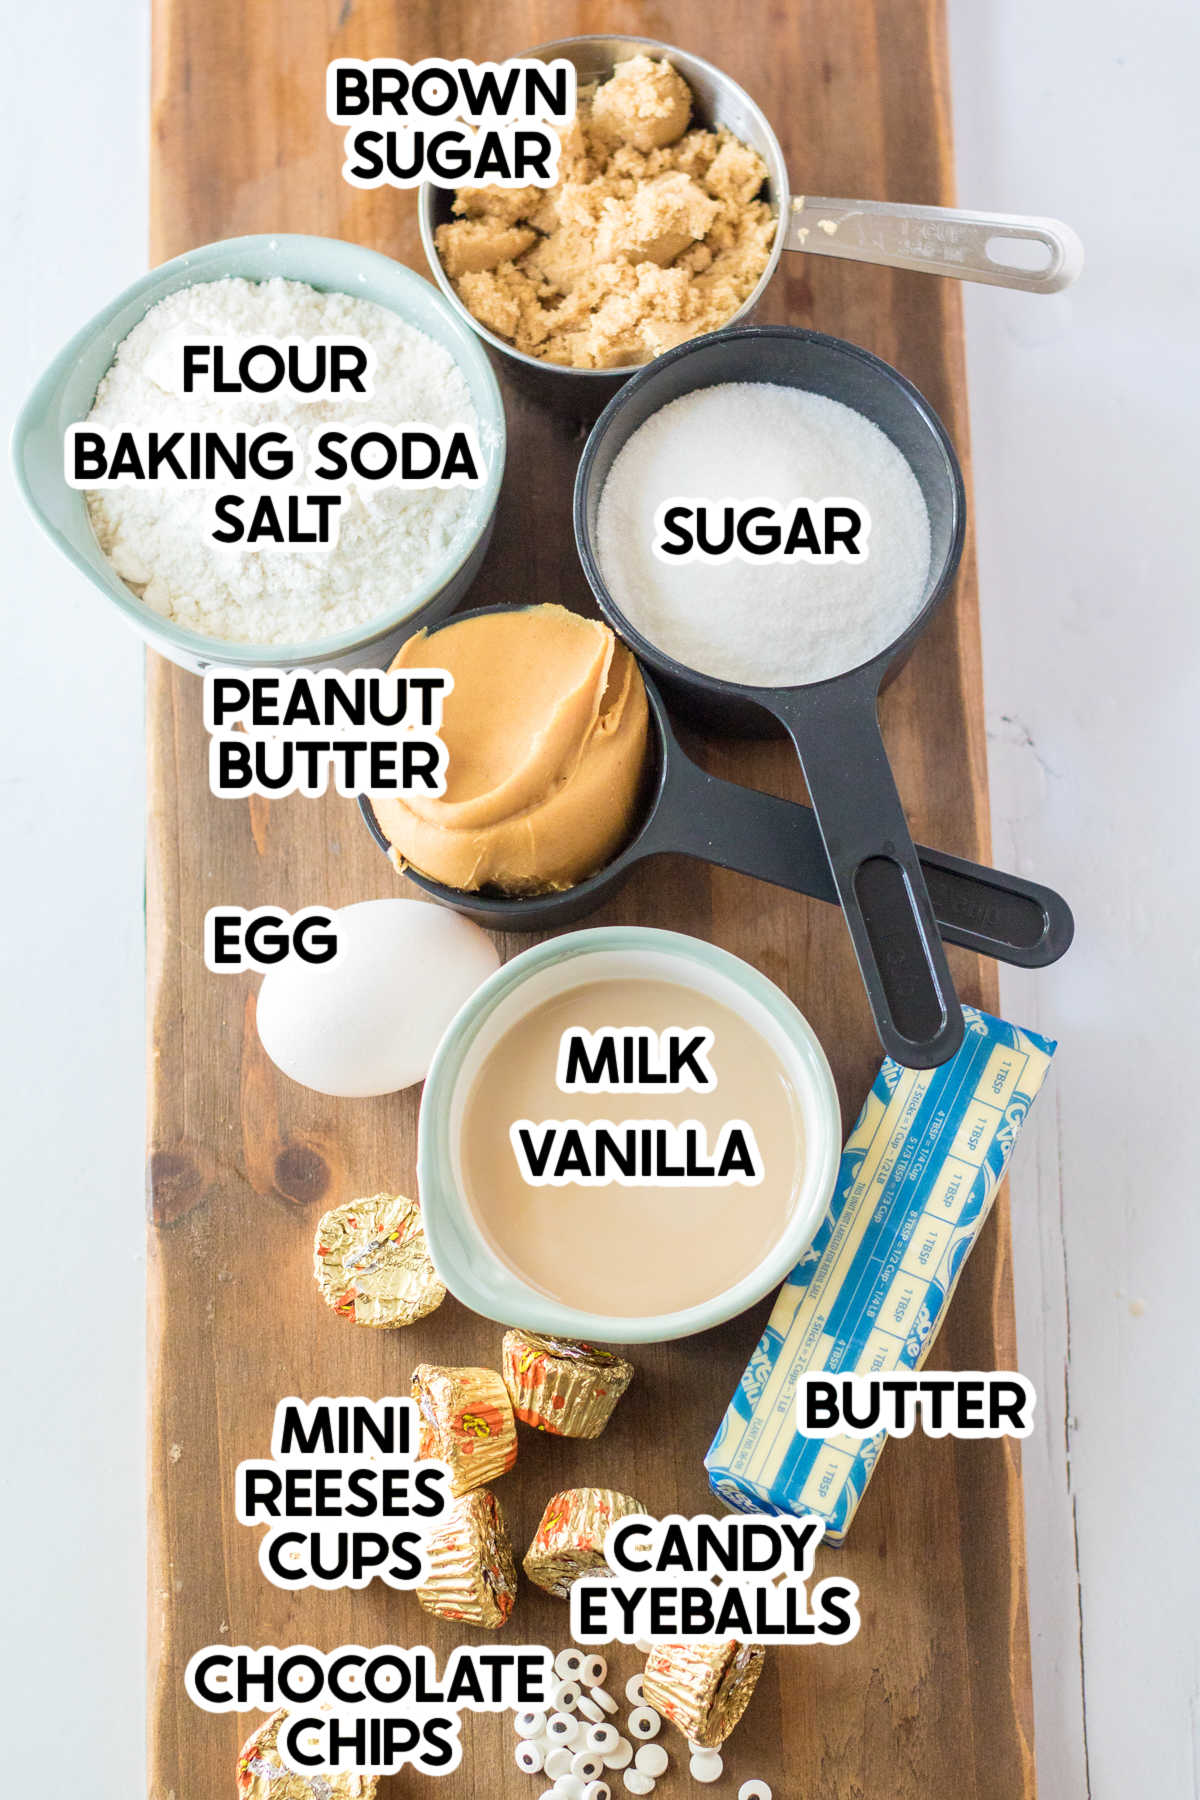
Ingredient Notes
- Butter – make sure that you’re using unsalted butter in these and make sure the butter is nice and soft! I typically like to take the butter out of the fridge about an hour before starting my dough.
- Peanut butter – these are best with creamy peanut butter, ideally the no stir kind.
- Mini Reese’s Peanut Butter Cups – the key here is that these need to be frozen so that they don’t completely melt on the cookies. They’ll thaw before you eat the cookies, but they should be kept in the freezer before adding to the cookies.
All of the other ingredients are pretty self-explanatory and are all things you’ll likely already have in your pantry or fridge other than the candy eyeballs (I mean I always have some leftover to make these monster cinnamon rolls but know not everyone is that way).
How to Make Spider Cookies
If you’ve ever made homemade cookies, you can make these. They’re very straightforward and easy to make!
Start by preheating your oven to 375 degrees and lining a baking sheet with parchment paper.
Beat together the butter, peanut butter, egg, 1/2 cup sugar, brown sugar, vanilla, and milk together. You can do this in a stand mixer with a beater attachment or just use a hand mixer. Mix until everything is completely combined.
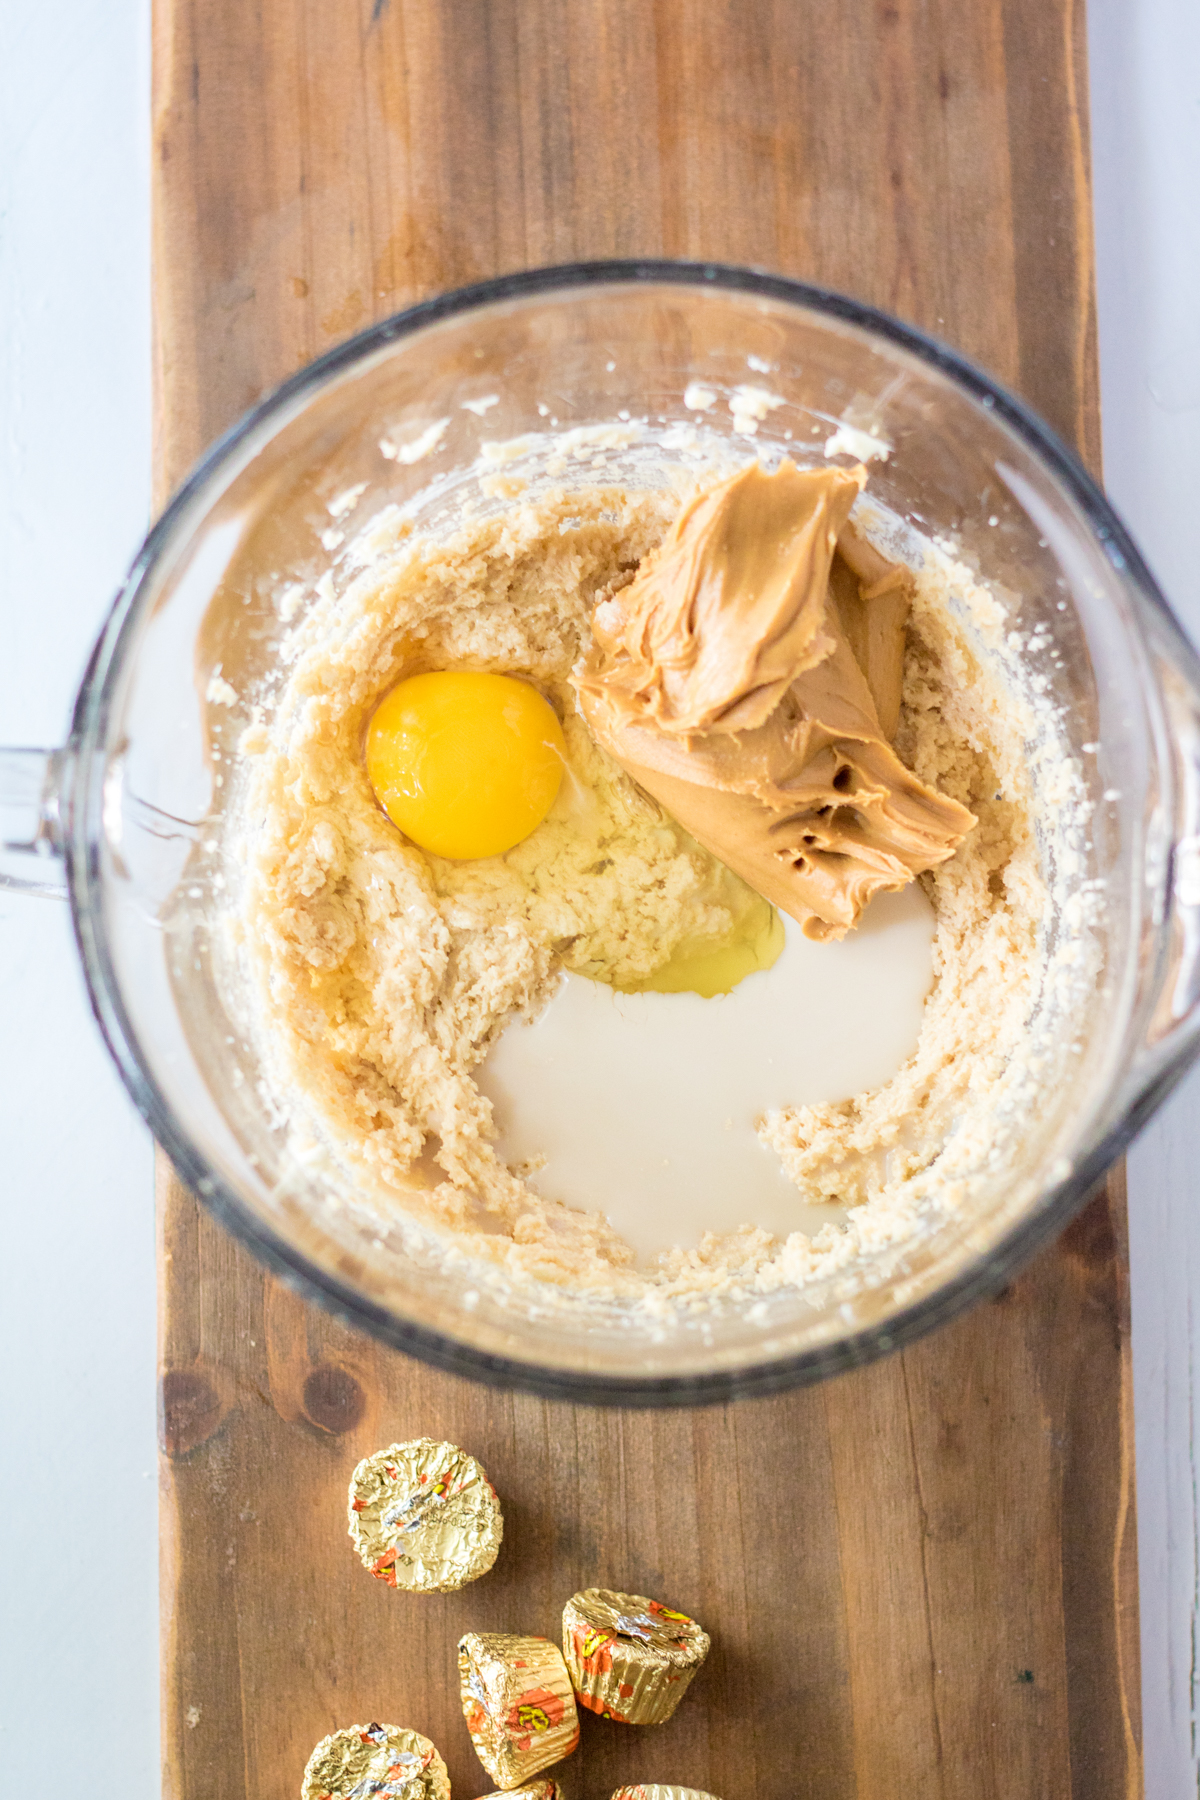
In another bowl, combine your dry ingredients – flour, baking soda, and salt. Then add the dry mixture to the wet mixture and beat until well blended.
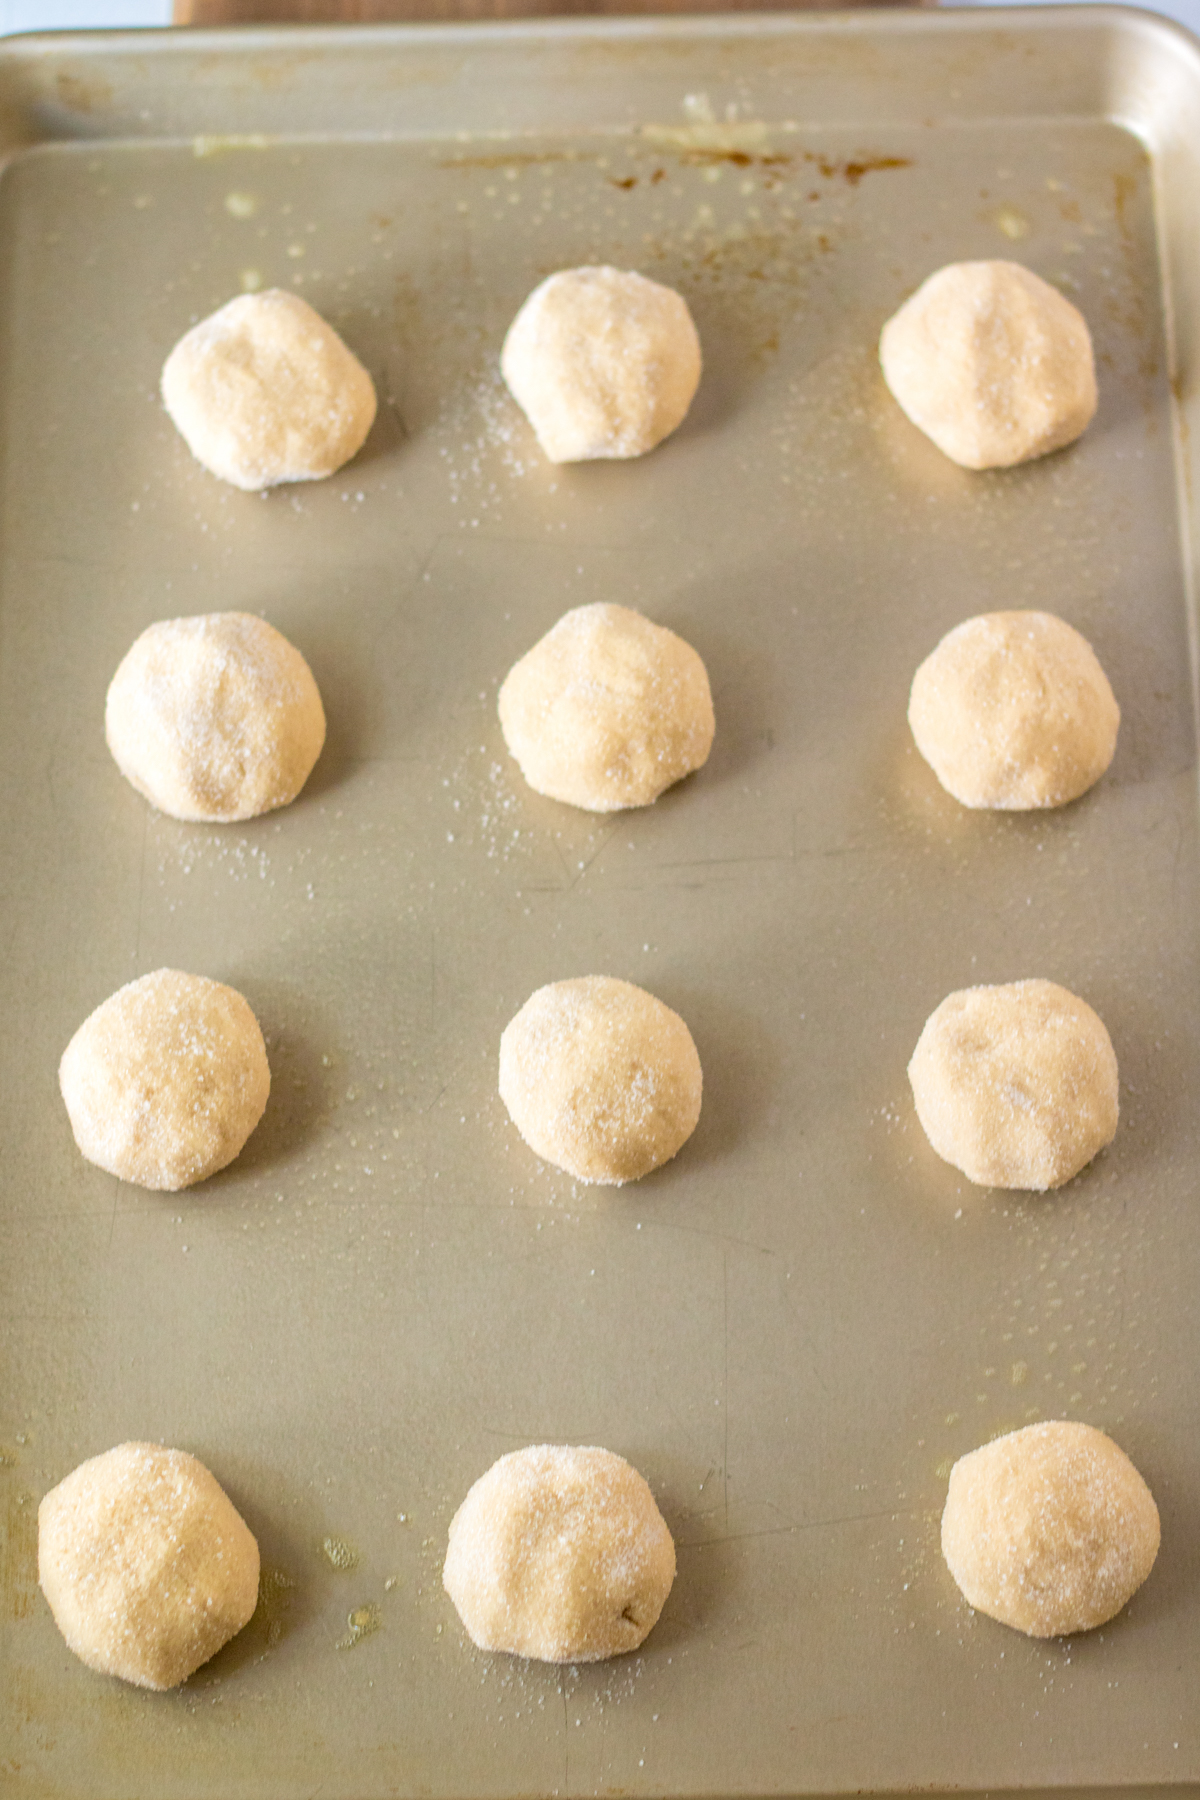
Roll the dough into 24 equal balls, or as equal as you can get. I typically like to use a 2TBS cookie scoop to get even balls of dough!
Once you have the dough ready, put the remaining 1/4 cup of sugar in a bowl and roll the cookie dough balls in the sugar, completely covering the outside of each in sugar.
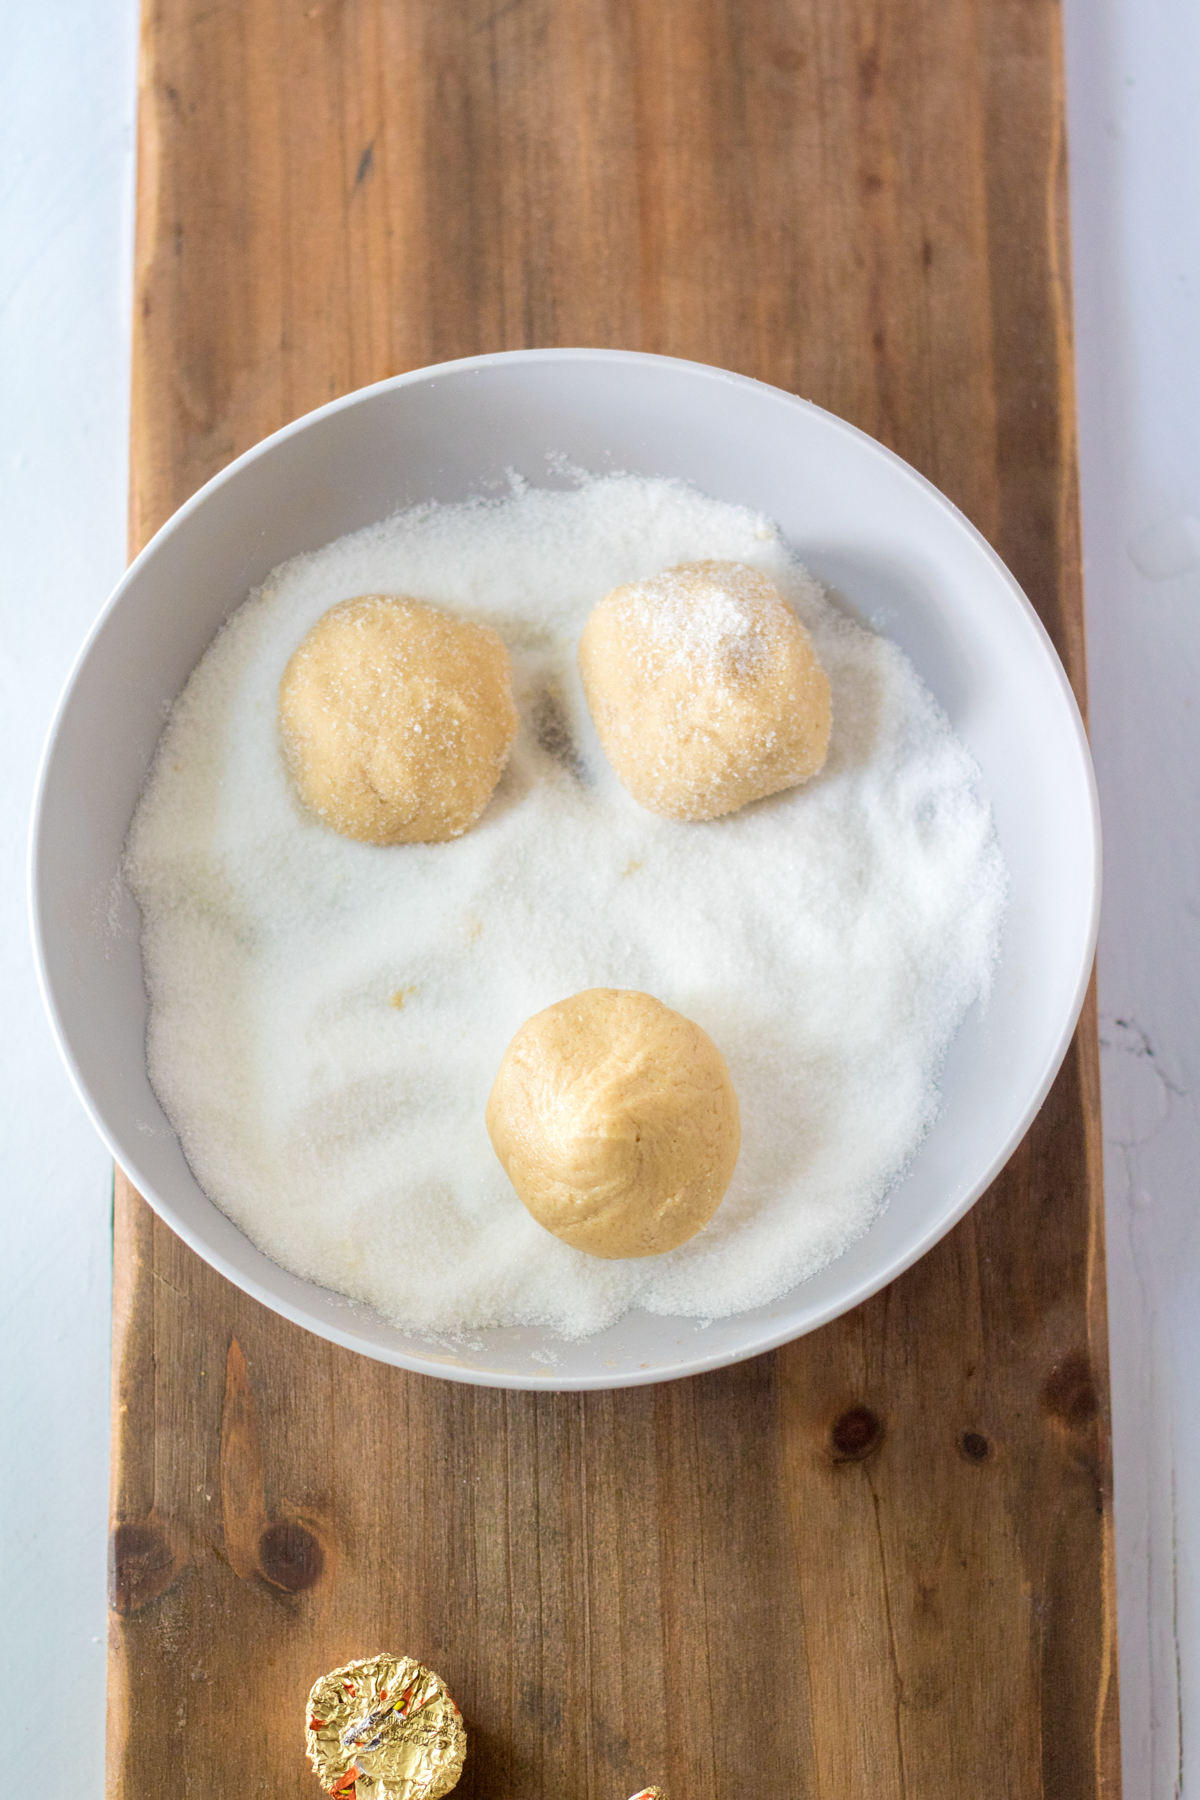
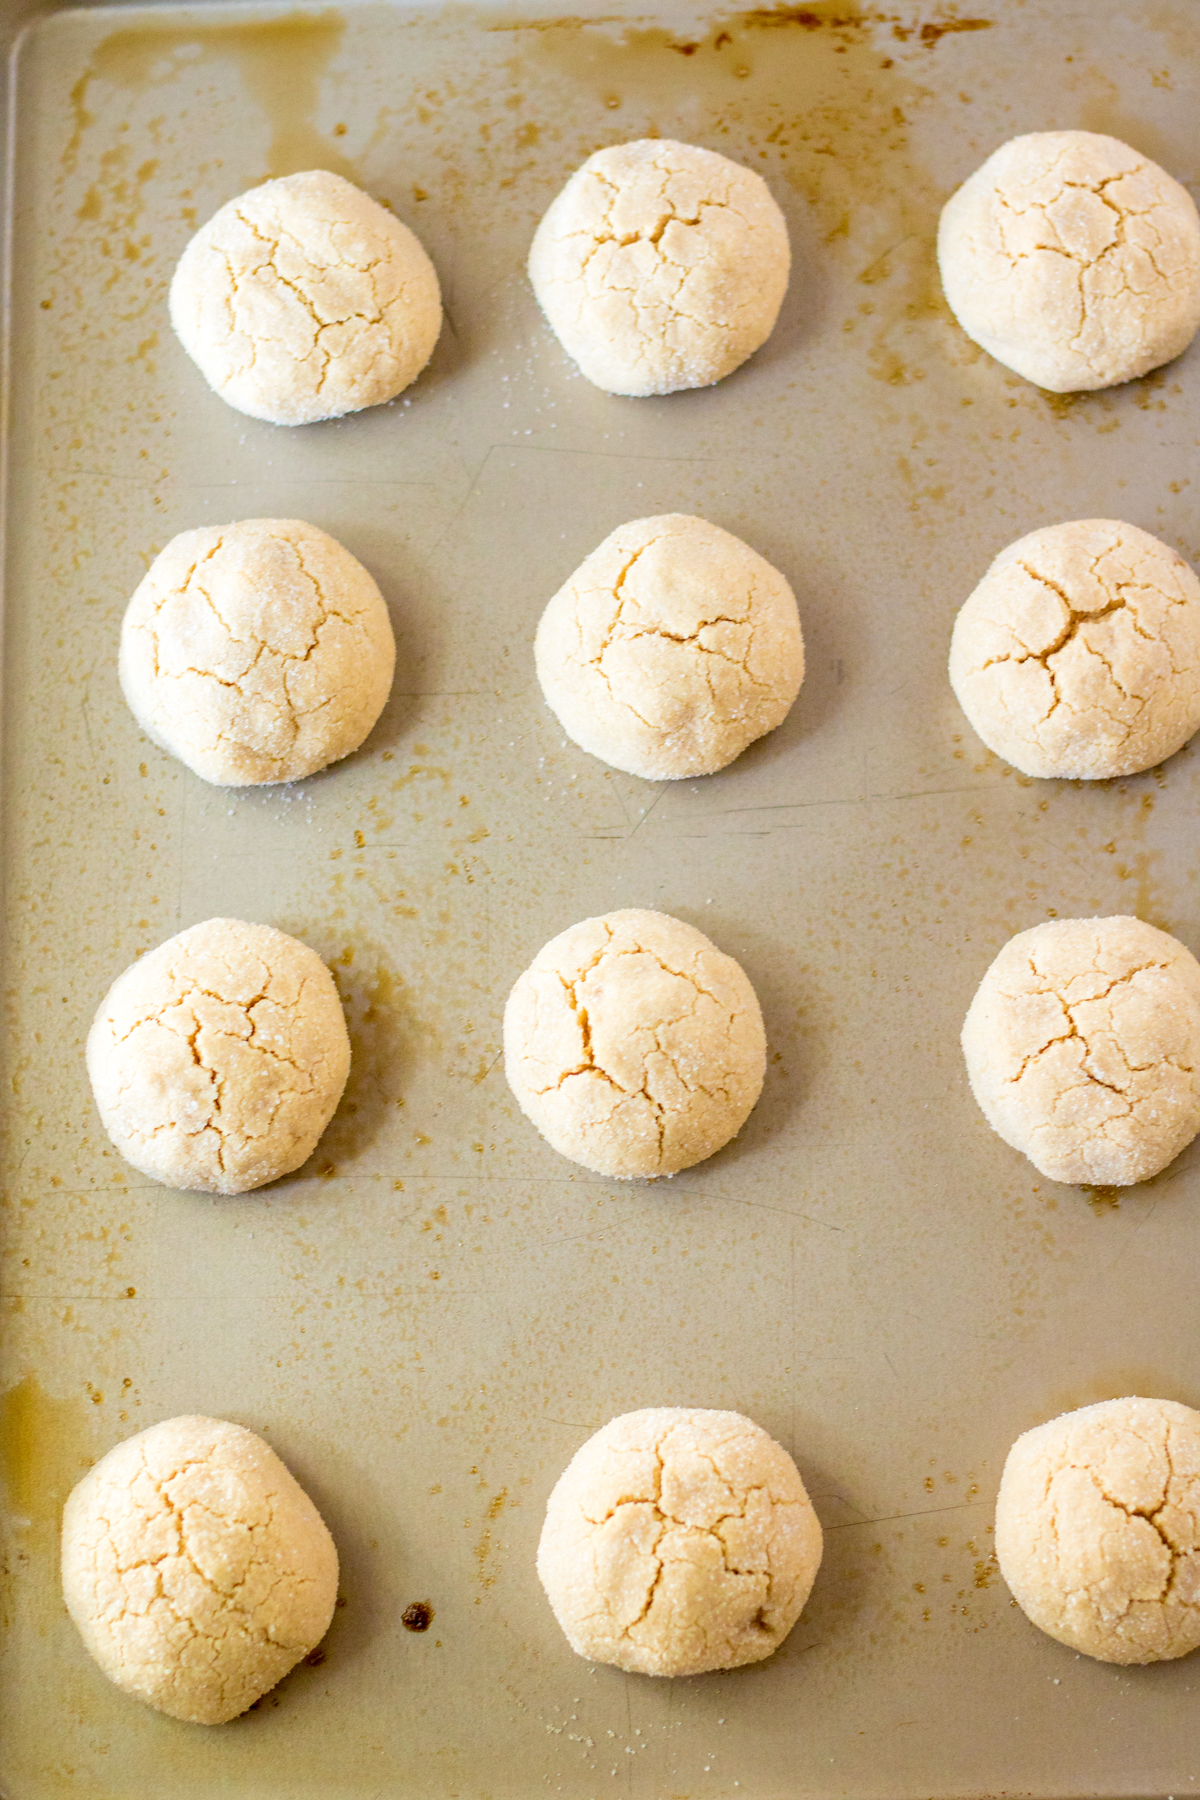
Place the cookie dough balls on the prepared baking sheet and bake in the preheated oven for 10-12 minutes or until the tops are lightly golden.
Remove from the oven and let the cookies cool on the baking sheet for about 10 minutes. You want to make sure they’re pretty cool before adding the spiders on top so they don’t melt.
After the cookies sit for about ten minutes, gently press a FROZEN peanut butter cup upside down onto the top of each of the cookies.
The cookies will likely still be slightly warm and that’s okay. You want the peanut butter cup to melt slightly so that you can stick the eyes onto the chocolate while it’s a bit soft.
Once you have peanut butter cup and eyes on the cookies, place them in the fridge to allow the peanut butter cups to firm back up.
While the cookies are chilling in the fridge, melt the chocolate chips in a microwave safe bowl in the microwave or on the stove using a double boiler.
As soon as the chocolate is melted, place the chocolate in either a piping bag or a ziploc bag with a tiny corner cut off. Use the bag to pipe eight little legs on top of the cookies, starting at the peanut butter cups and moving down the cookies to create the spider’s legs.
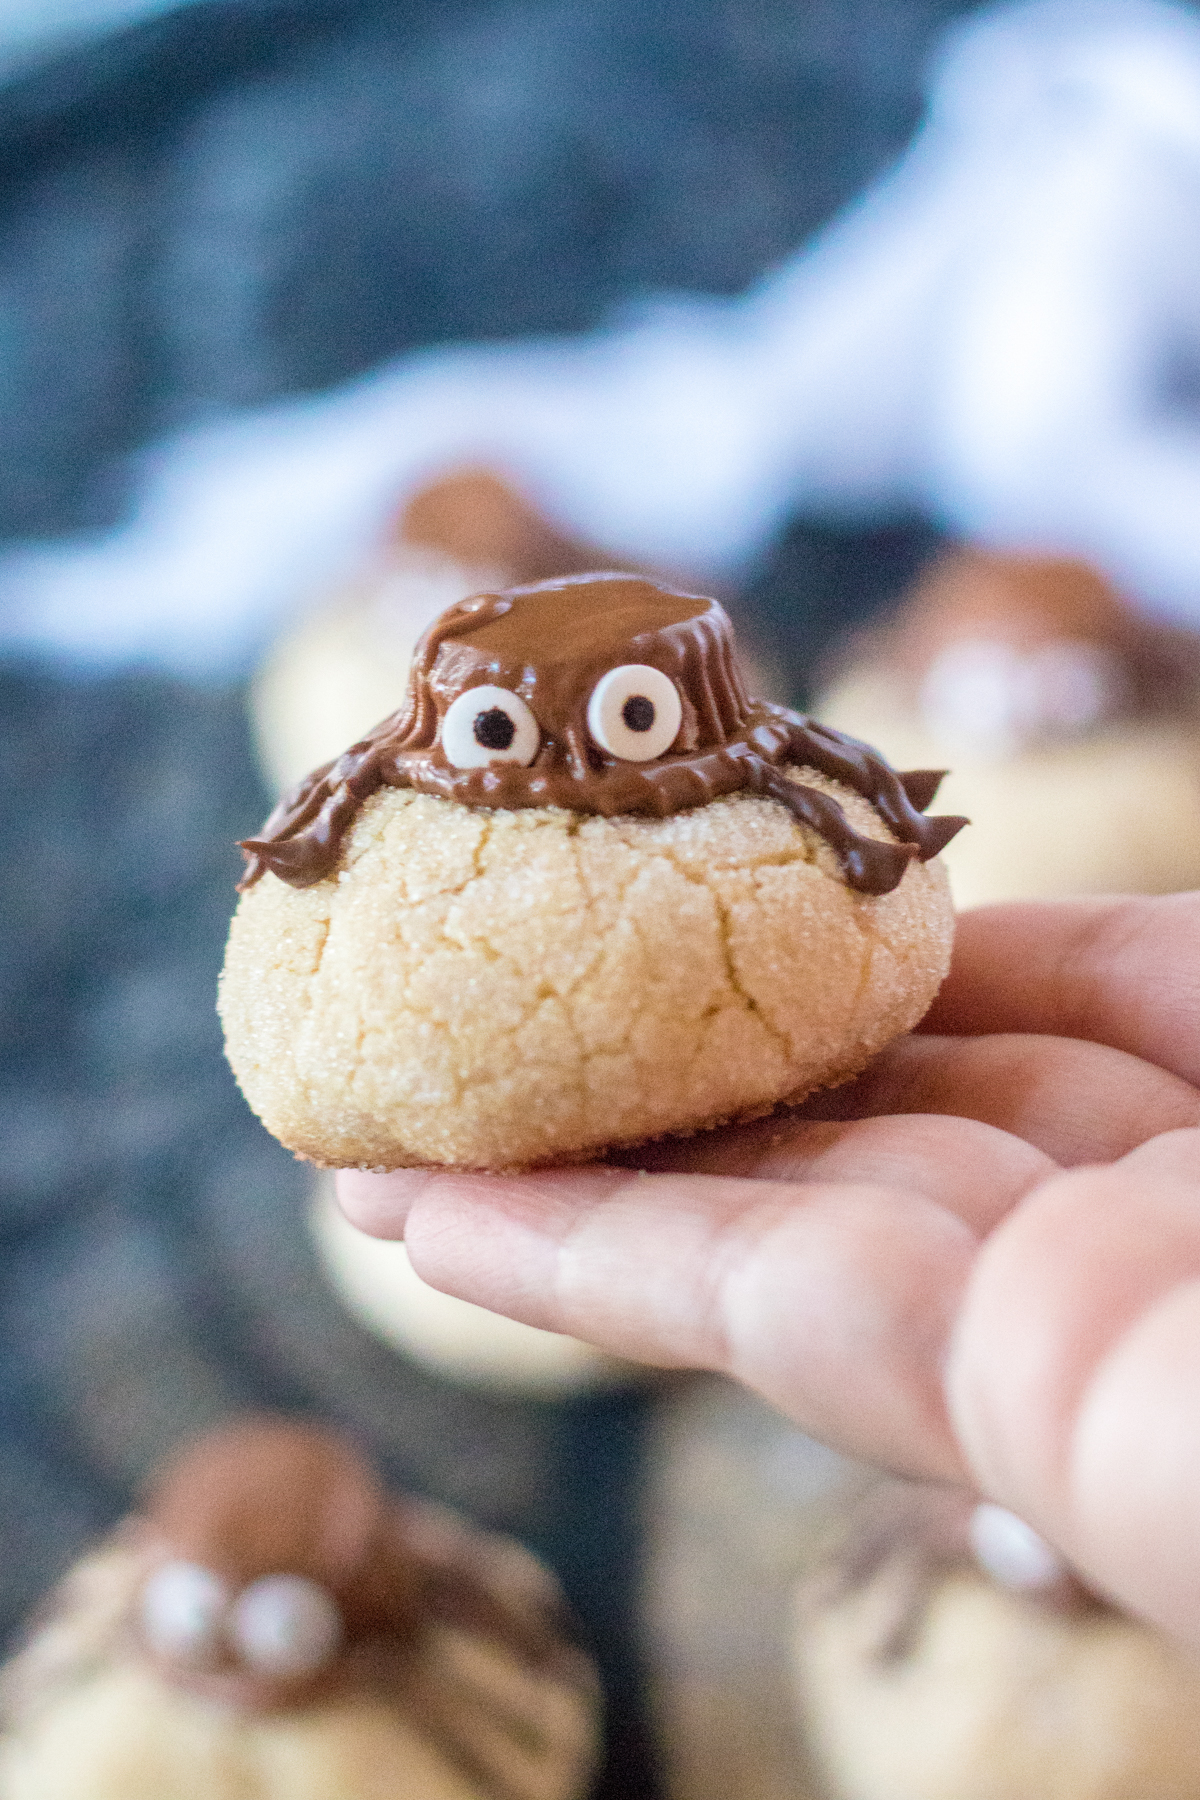
Put the cookies back in the fridge for another 10 minutes or so to let the chocolate harden (but don’t leave them in there too long).
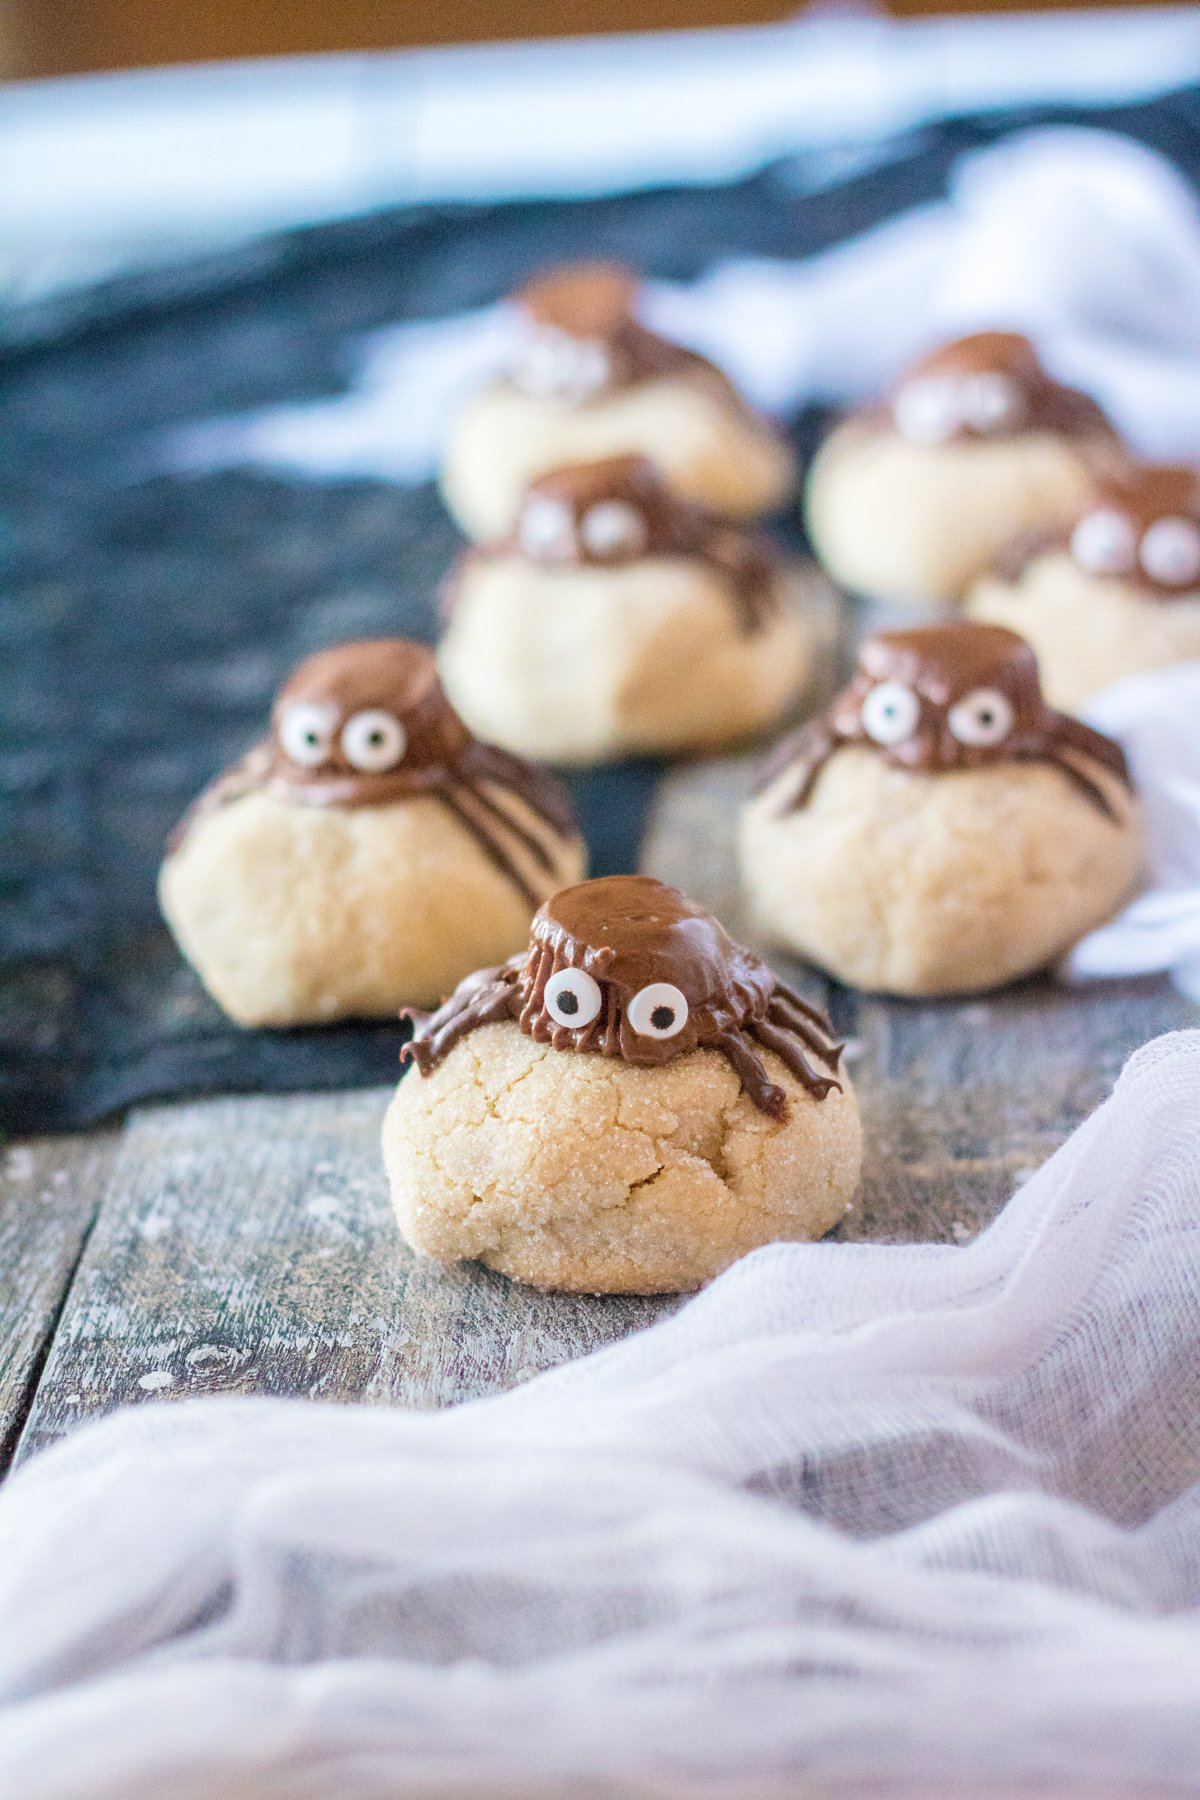
Then enjoy the cutest cookies you ever did see! Or at least the leggiest!
Expert Tips
Work in batches. Only get a handful of the peanut butter cups out of the freezer at a time so you can keep them frozen as long as possible.
Freeze the peanut butter cookies after baked but before you put the spiders on top if you want to save these for later!
Store the peanut butter spider cookies in an airtight container (ideally not a plastic bag since it’ll get into the chocolate) for up to five days before tossing.
Recipe FAQs
How do you tell if peanut butter cookies are done?
If the top of the peanut butter cookies is beginning to golden, these are done. They may not seem totally baked, but they’ll finish baking while they sit on the baking sheet. You don’t want to over cook them or they’ll get hard instead of the soft cookies you’re looking for.
More Easy Cookie Recipes
If you like these peanut butter spider cookies, you’ll love these other fun cookie recipes!
- Monster cookies – these soft and chewy monster cookies are a classic for a reason!
- S’mores cookies – these semi-homemade s’mores cookies start with store-bought cookie dough then get transformed into something simply delicious!
- Chocolate chip M&M cookies – another classic cookie recipe with a sweet candy twist!
- Best ginger molasses cookies – these soft cookies are full of amazing holiday spices and flavor!
- Rolo cookies – a delicious chocolate chip cookie stuffed with a full Rolo candy!
Want more Goodies?
Want more delicious recipes just like this one? Enter your first name and email address in the form below to join the Play Party Plan community! You’ll receive weekly recipes and party ideas directly to your inbox!

Peanut Butter Spider Cookies
Ingredients
- ½ cup unsalted butter softened
- ½ cup creamy peanut butter
- ½ cup brown sugar packed
- ¾ cups sugar divided
- 1 egg
- 2 TBS milk
- 1 tsp vanilla
- 1 ¾ cups all-purpose flour
- 1 tsp baking soda
- ½ tsp salt
- 24 Mini Reese’s Peanut Butter Cups unwrapped and frozen
- 48 candy eyes
- ½ cup semi-sweet chocolate chips
Instructions
- Start by preheating your oven to 375 degrees and lining a baking sheet with parchment paper.
- Beat together the butter, peanut butter, egg, 1/2 cup sugar, brown sugar, vanilla, and milk together.1/2 cup unsalted butter, 1/2 cup creamy peanut butter, 1/2 cup brown sugar, 3/4 cups sugar, 1 egg, 2 TBS milk, 1 tsp vanilla
- Combine your dry ingredients – flour, baking soda, and salt in a small bowl.1 3/4 cups all-purpose flour, 1 tsp baking soda, 1/2 tsp salt
- Add dry ingredients to the wet ingredients and combine until well blended.
- Roll the dough into 24 equal balls.
- Put the remaining 1/4 cup of sugar in a bowl and roll the cookie dough balls in the sugar.3/4 cups sugar
- Place the cookie dough balls on the prepared baking sheet and bake in the preheated oven for 10-12 minutes or until the tops are lightly golden.
- Remove from the oven and let the cookies cool on the baking sheet for about 10 minutes.
- Gently press a FROZEN peanut butter cup upside down onto the top of each of the cookies. Add candy eyes to the peanut butter cup while slightly warm.24 Mini Reese’s Peanut Butter Cups, 48 candy eyes
- Place cookies in the fridge to allow the peanut butter cup to harden. While the cookies are chilling in the fridge, melt the chocolate chips in a microwave safe bowl in the microwave or on the stove using a double boiler.1/2 cup semi-sweet chocolate chips
- Place the chocolate in either a piping bag or a ziploc bag with a tiny corner cut off. Use the bag to pipe eight little legs on top of the cookies.
- Put the cookies back in the fridge for another 10 minutes or so to let the chocolate harden then serve after chocolate has set.









Leave a Reply