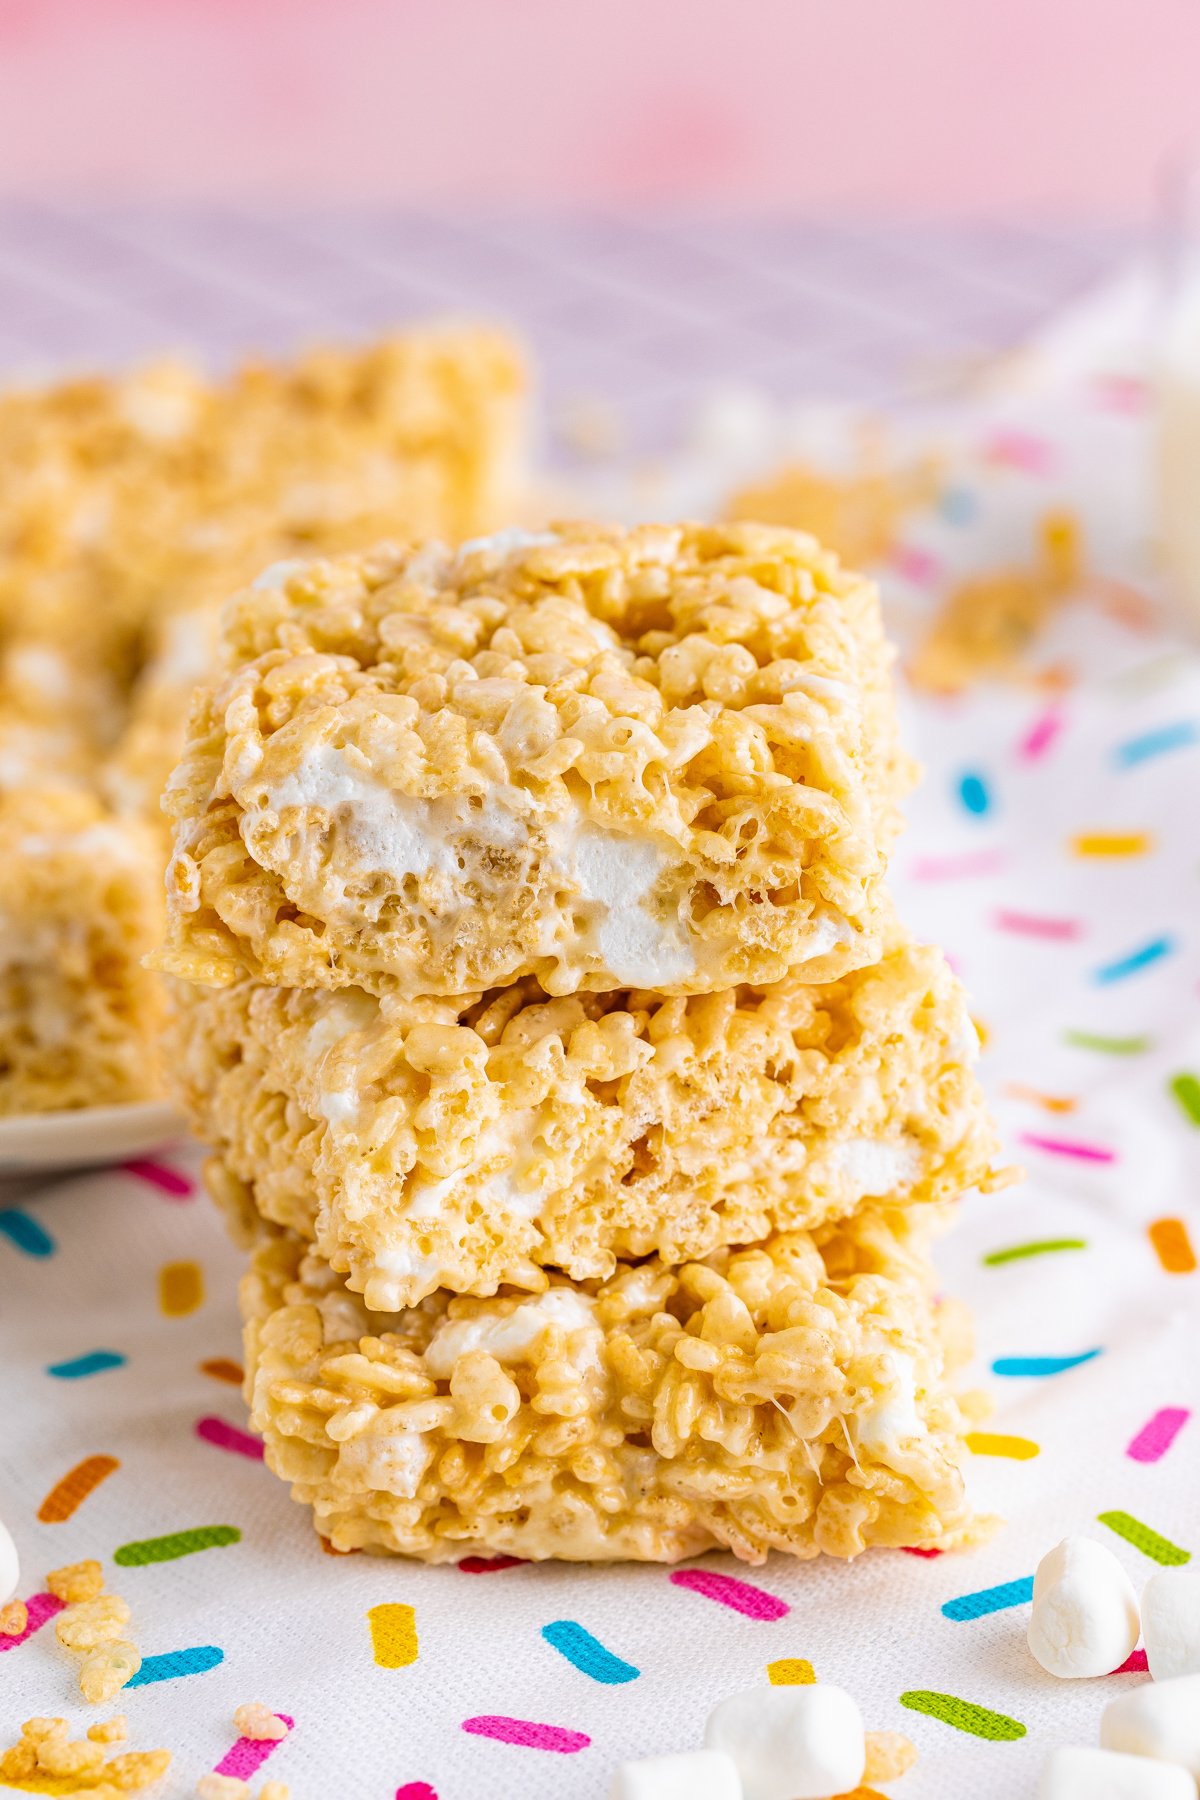
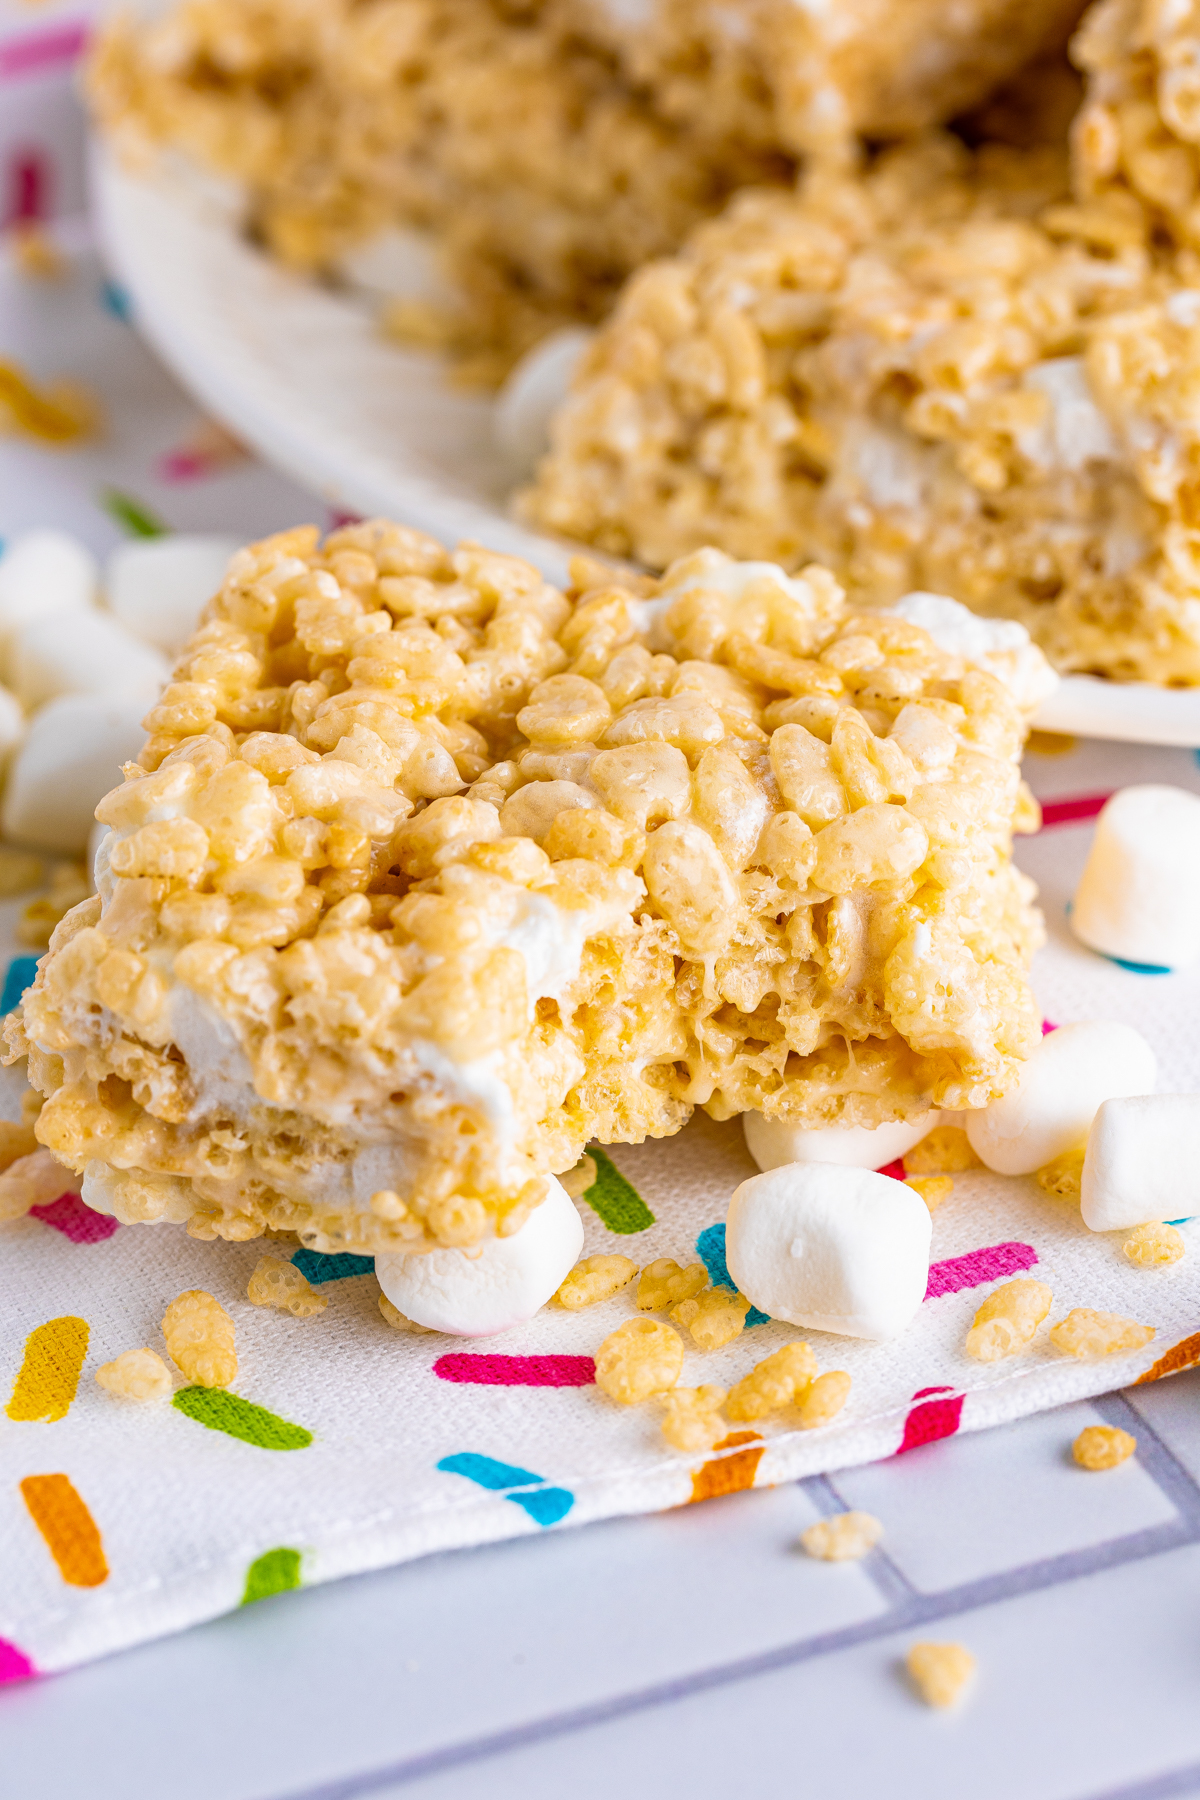
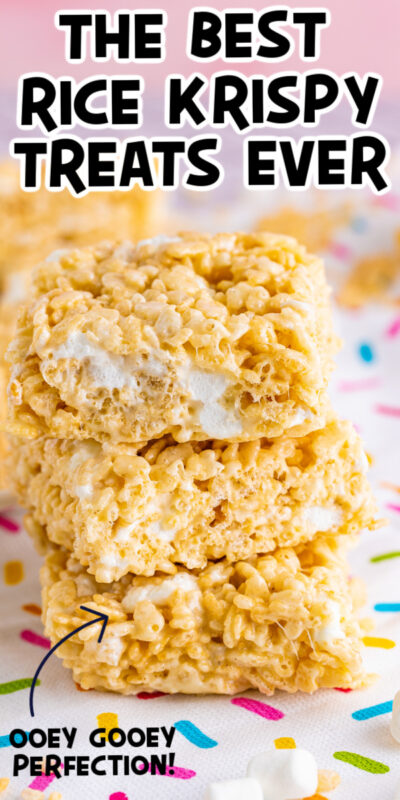
If you’re looking for the best rice krispie treats, you’ve come to the right place. You’ll never need another homemade rice krispie treats recipe again! The addition of a few simple ingredients brings this classic treat to the next level. This perfect rice krispie treat recipe makes delicious treats that are thick, chewy, and not too sweet.
Want to save this recipe?
Enter your email below and we’ll send this idea straight to your inbox (plus you’ll receive fun weekly ideas from us too!)
Rice krispy treats are one of those universally loved desserts because they are easy to make, fit almost any dietary restriction, and are easy to make for a crowd.
Plus, they are delicious!
There are also hundreds of recipes out there that all claim to be the best. I have made a lot of desserts in my life and can honestly say, these are the best rice krispie treats I have ever had.
Here’s what makes this the best rice krispie treat recipe ever – extra marshmallows and salt. That’s it, two simple ingredients.
The extra miniature marshmallows are added separately to give them an extra gooey marshmallow texture and the salt balances out all the sweetness to make it the perfect rice crispy treats.
I am constantly trying new dessert recipes for my family and friends. This classic dessert has been the most requested sweet treat by everyone, followed closely by these our all-time favorite striped delight.
Give these tasty gooey treats a try. I promise they will quickly become your new favorite dessert and the only rice krispies treats recipe you will ever need.
Why You’ll Love This Recipe
- Customizable – this is a great base recipe that can easily be served as is or it can be paired with your favorite things, like peanut butter, fruity pebbles, or brown butter.
- Quick and easy – I love making this because I can be done from start to finish in less than 20 minutes. Plus, it can feed a large number of people, it’s really a no-brainer anytime I need to bring something to share.
- Simple ingredients – most items are things that can be found in your pantry. No need to buy special vanilla bean paste or expensive marshmallow fluff. Everything you need is easily accessible and relatively cheap!
Ingredients
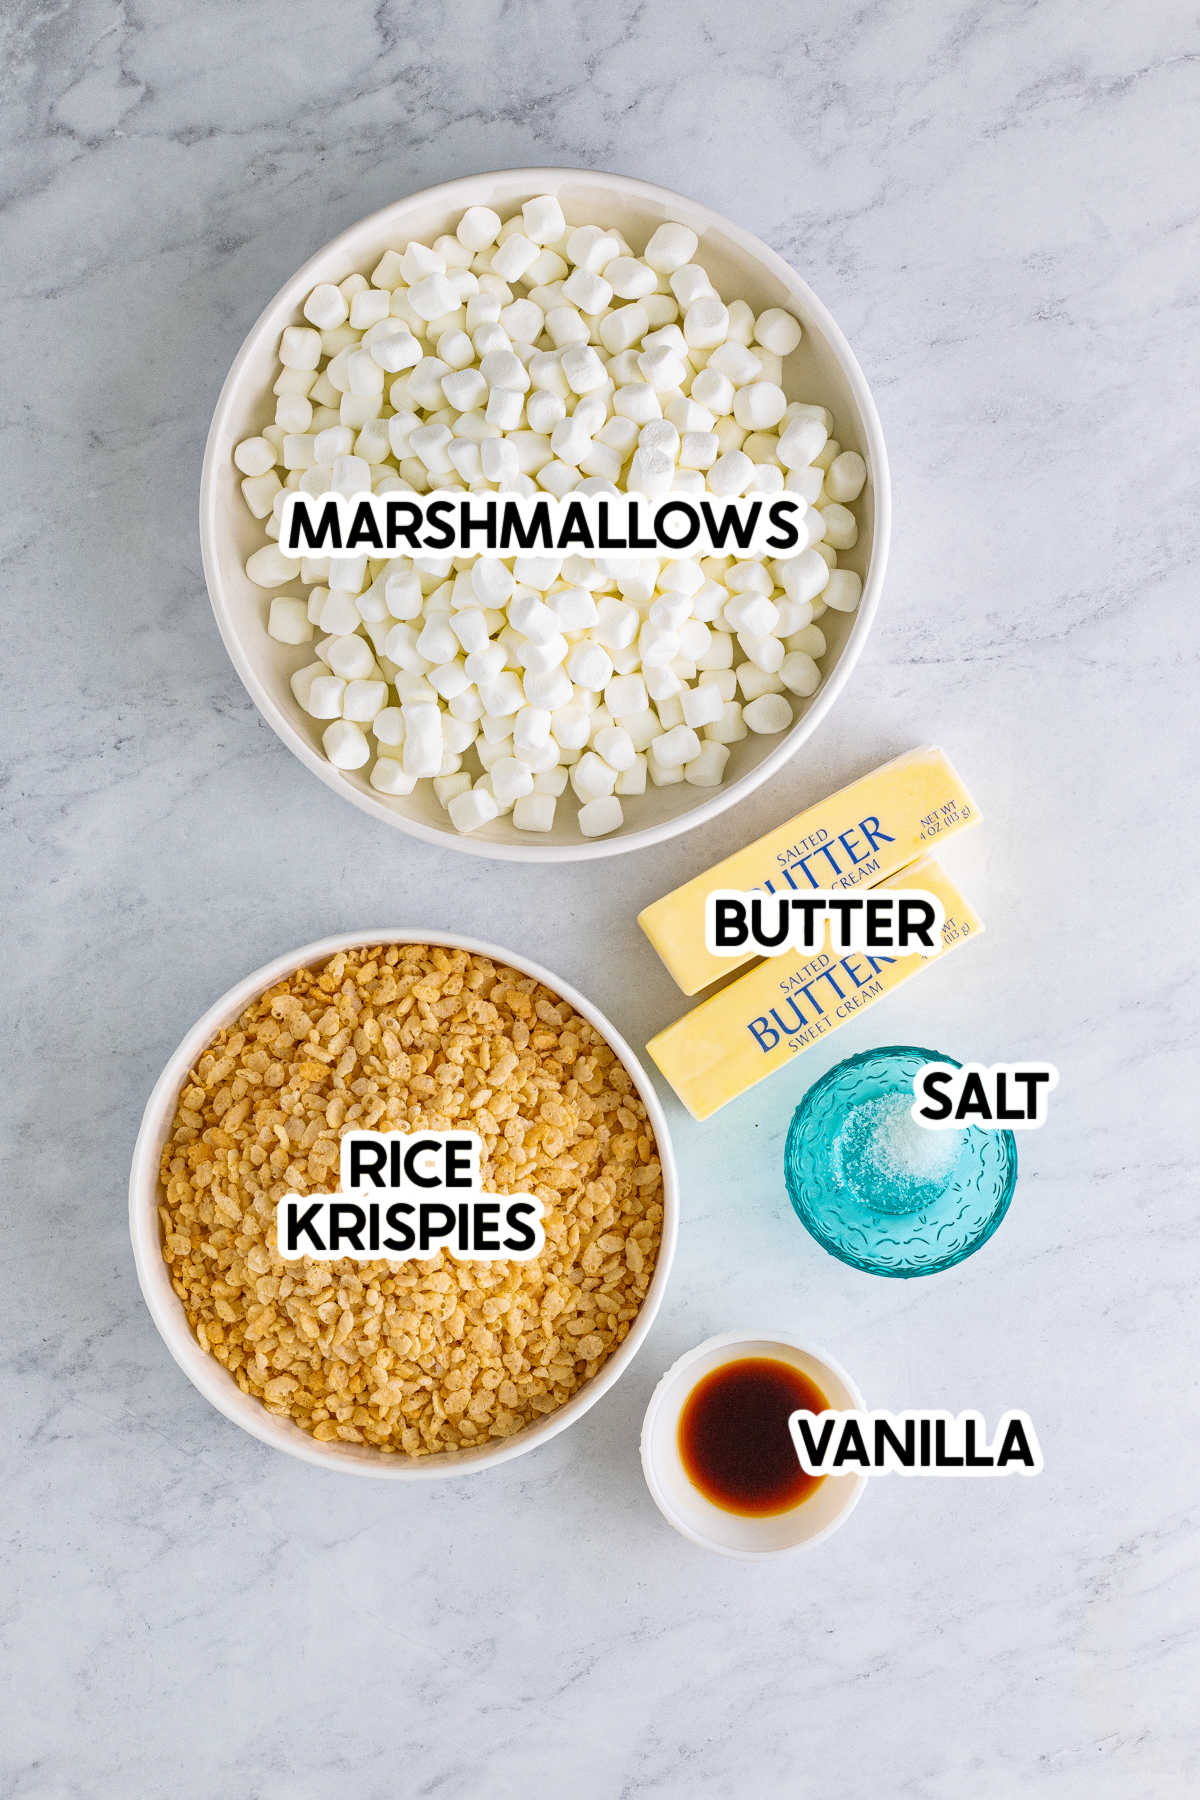
Ingredient Notes
- Pure vanilla extract – this gives it a deeper flavor but you can skip this step if you like. You can also substitute it for your favorite extract – lemon or almond would be great too!
- Salted butter – you can use unsalted butter if that is what you have, I would just increase the salt by a 1/4 tsp.
- Mini marshmallows – while in most recipes that use marshmallows, I say that you can substitute regular or jumbo marshmallows, I highly recommend using mini in this recipe. Why? Because you are going to add in four cups of mini marshmallows at the end and those need to be bite-sized to combine well with the rice krispie treat mixture. Trying to figure out the right measurement of regular plus mini marshmallows is a mess. Just get the three bags of mini marshmallows!
- Crispy rice cereal – you can substitute this for things like Cocoa Pebbles if you would like. The recipe calls for a nine ounce box of rice krispies (it’s a full box) or ten cups if you’re using a larger box of cereal. It is NOT nine ounces of rice krispies, it’s a full nine ounce box.
how to make the best rice krispie treats
One of the great things about this crispy treats recipe is it is super simple to follow!
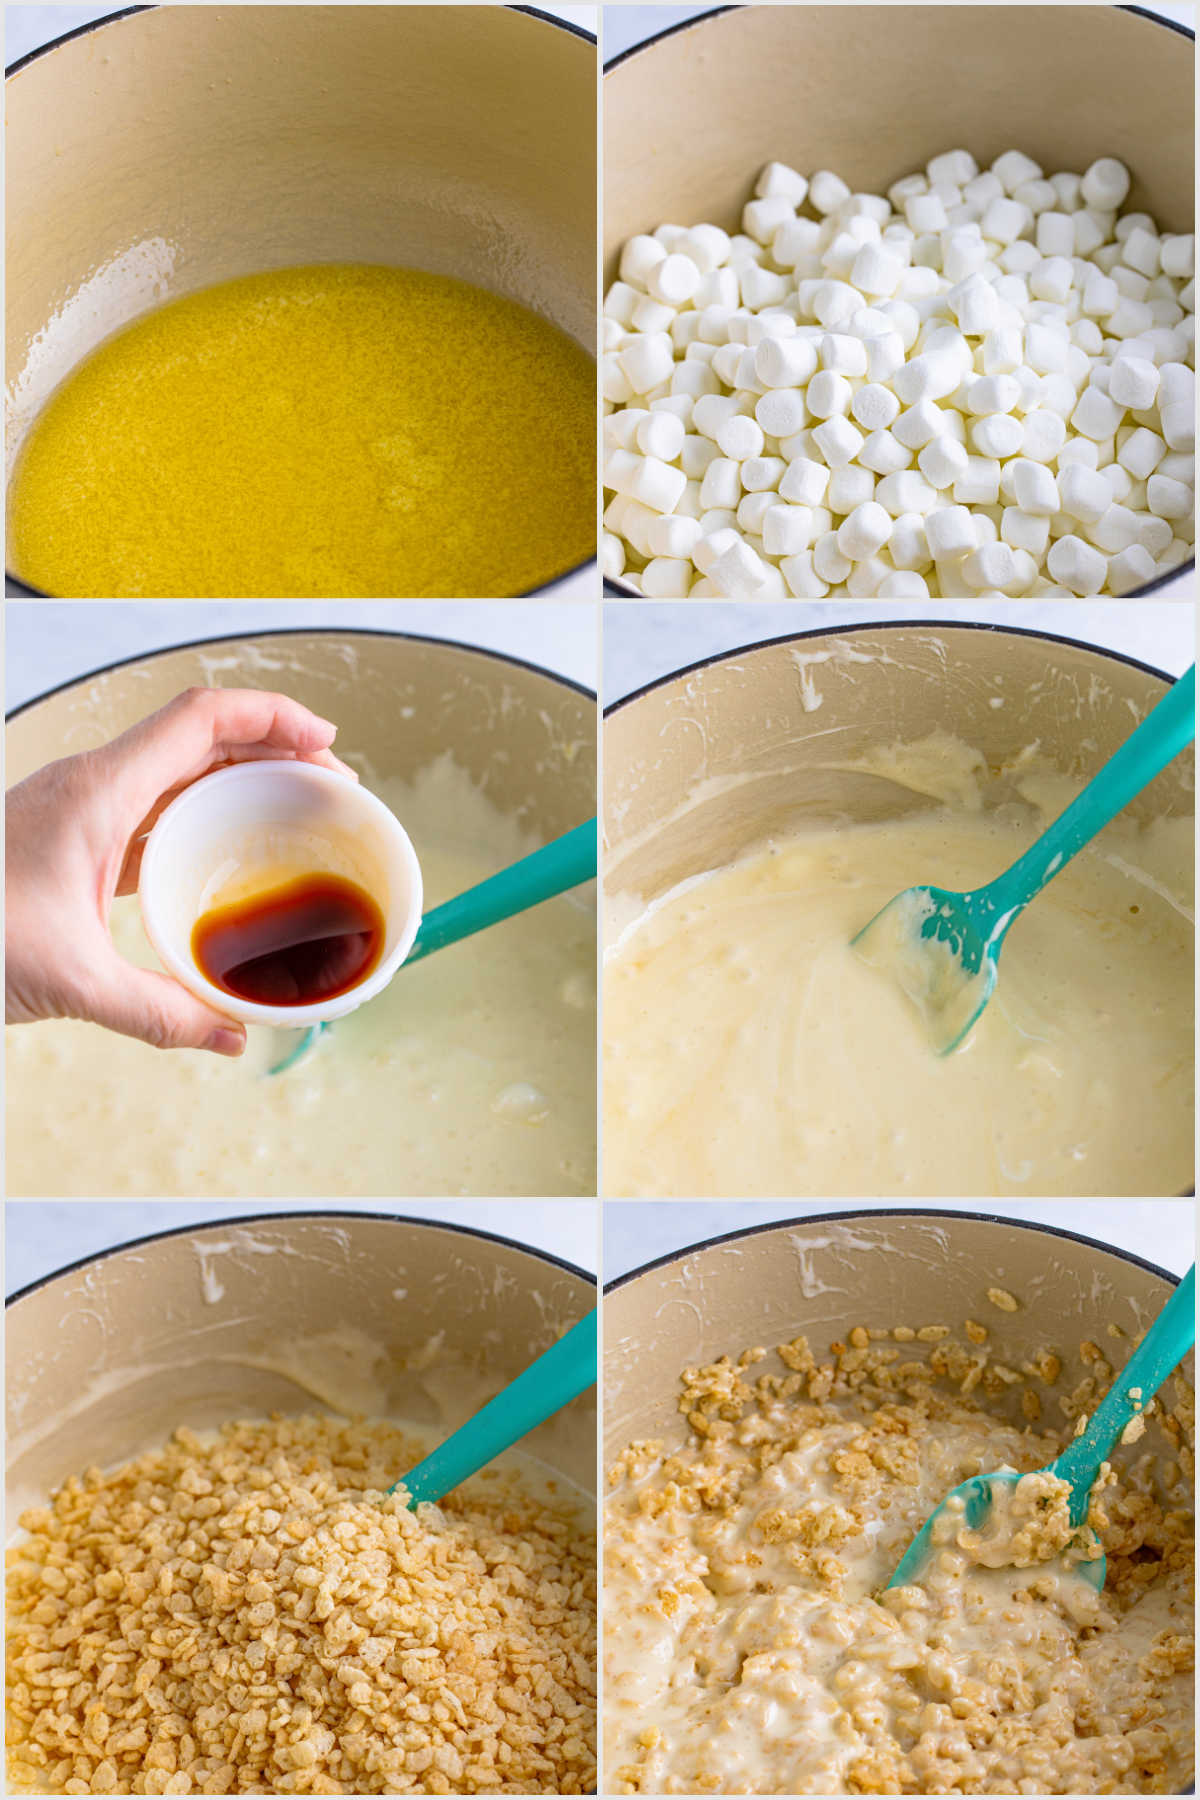
To help you get the best results I have included step-by-step pictures to help answer any possible questions along the way.
1 – Make The Rice Krispy Treats
Start by lining a jelly pan or 9×13 baking dish with parchment paper or wax paper. You can also use aluminum foil but make sure to spray it with non-stick spray, it can get sticky. Set the pan aside to use later.
Don’t have a jelly pan?
If you don’t have a jelly pan, a 9×13 baking dish works just fine for these, but they will be on the thicker side and you won’t get quite as many. Alternately, you could also just put these on a large cookie sheet and not use the entire cookie sheet to get the same concept as a jelly pan without a jelly pan.
In a large pot or a dutch oven, melt 3/4 cup of butter over low heat. Be careful not to get the pot too hot or the butter and marshmallows will burn.
While the butter is melting, measure out four cups of mini marshmallows and set aside for later. Don’t skip this step and just add all of the marshmallows to the pan – take the four cups out whether you want the mixed in mini marshmallows or not!
Add the remaining marshmallows (not the set aside ones) to the melted butter. Stir the marshmallows into the butter until they are melted, constantly stirring and scraping the bottom to avoid burning.
Take the pot off of the heat and stir in one tablespoon of vanilla and the sea salt into the melted marshmallow mixture.
Next, fold half of the rice krispie cereal into the melted marshmallow and butter mixture, mixing thoroughly.
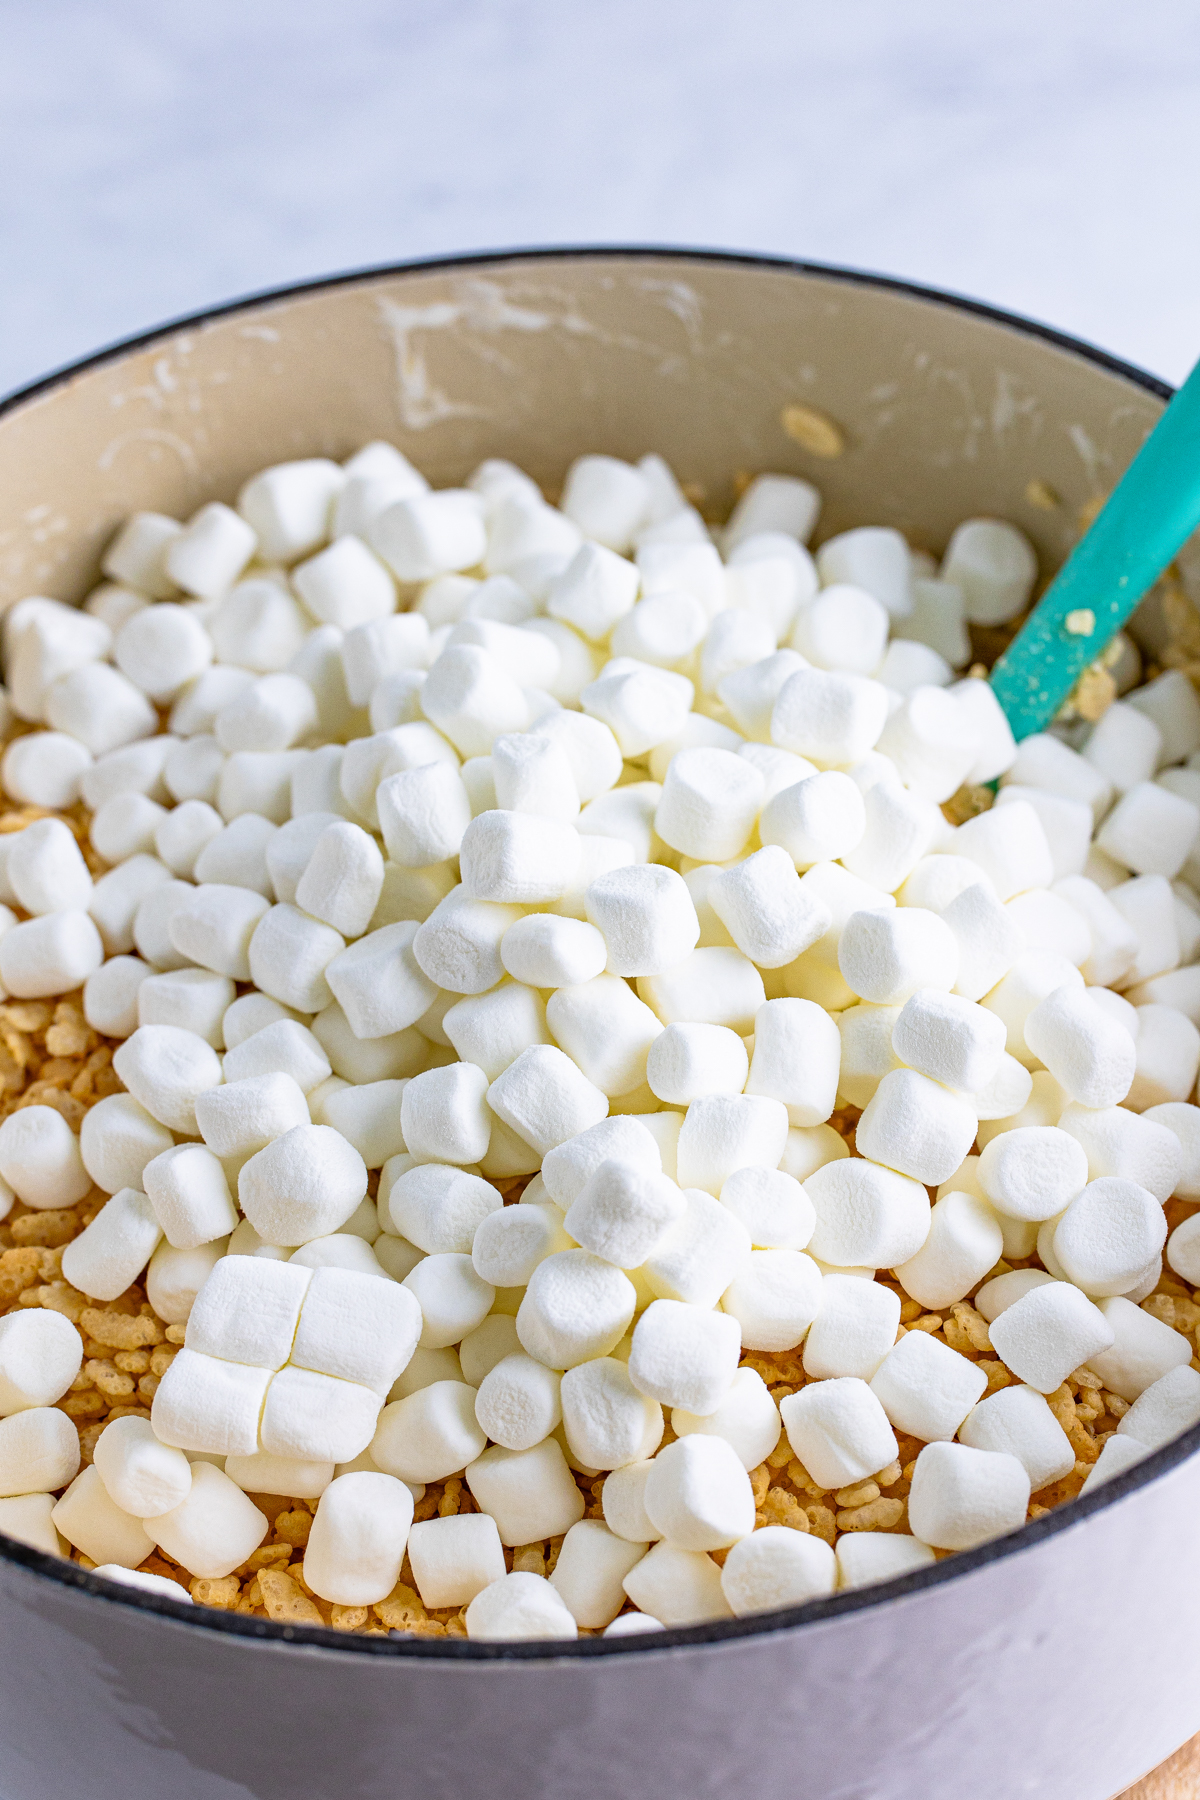
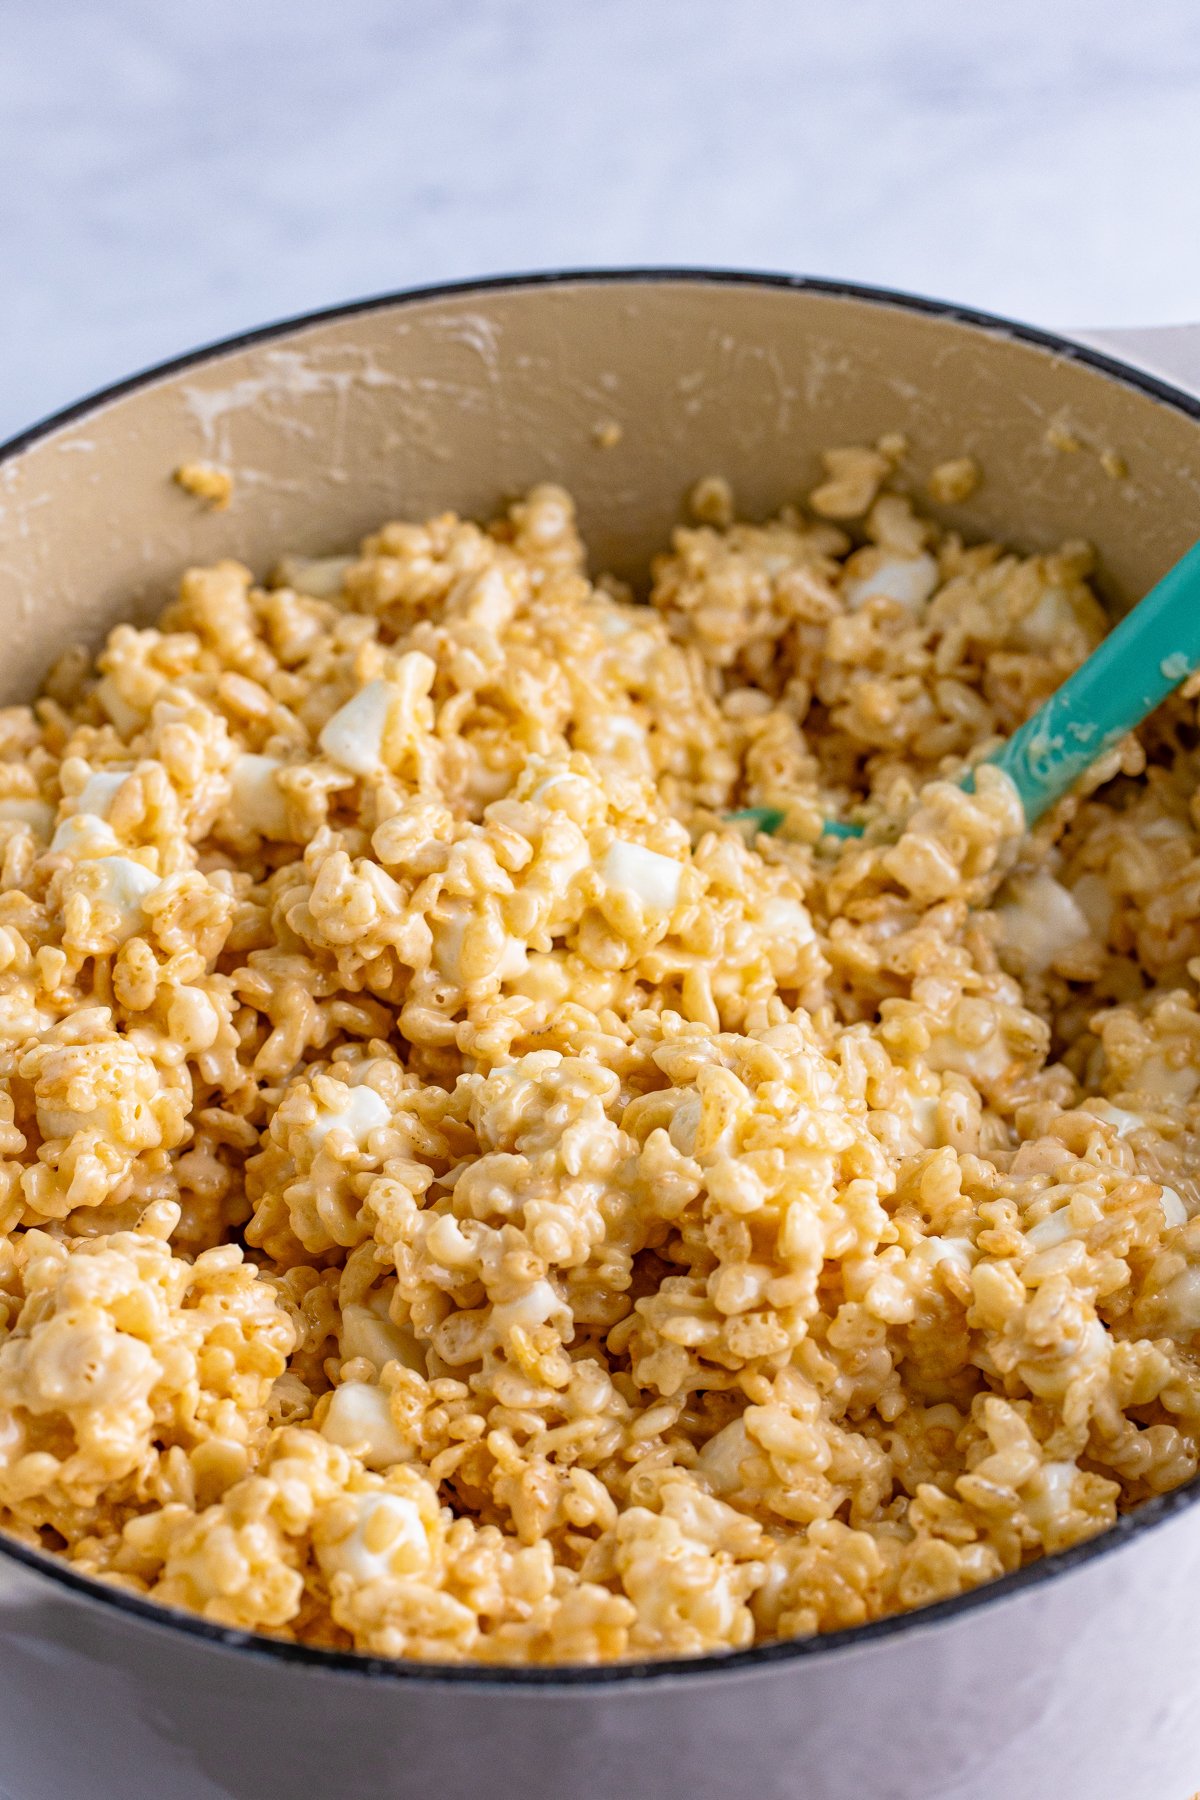
Add the reserved marshmallows and the rest of the rice cereal until everything is fully melted and combined. You’ll have pockets of mini marshmallows, which adds to the gooey nature of these treats.
Note!
While technically you can just leave out the four cups of mini marshmallows and not add them in here, this extra step (and the added marshmallows) really take these rice krispie treats to the next level of goodness. I recommend at least trying them once with the added marshmallows and if it’s too much for you, you can skip them the next time, because there will be a next time!
Fold as gently as possible to not smash the cereal pieces, just making sure the mini marshmallows are well mixed into the rice krispie treat mixture. The mixture will be super gooey, but that’s exactly what you want.
2 – Transfer to Pan
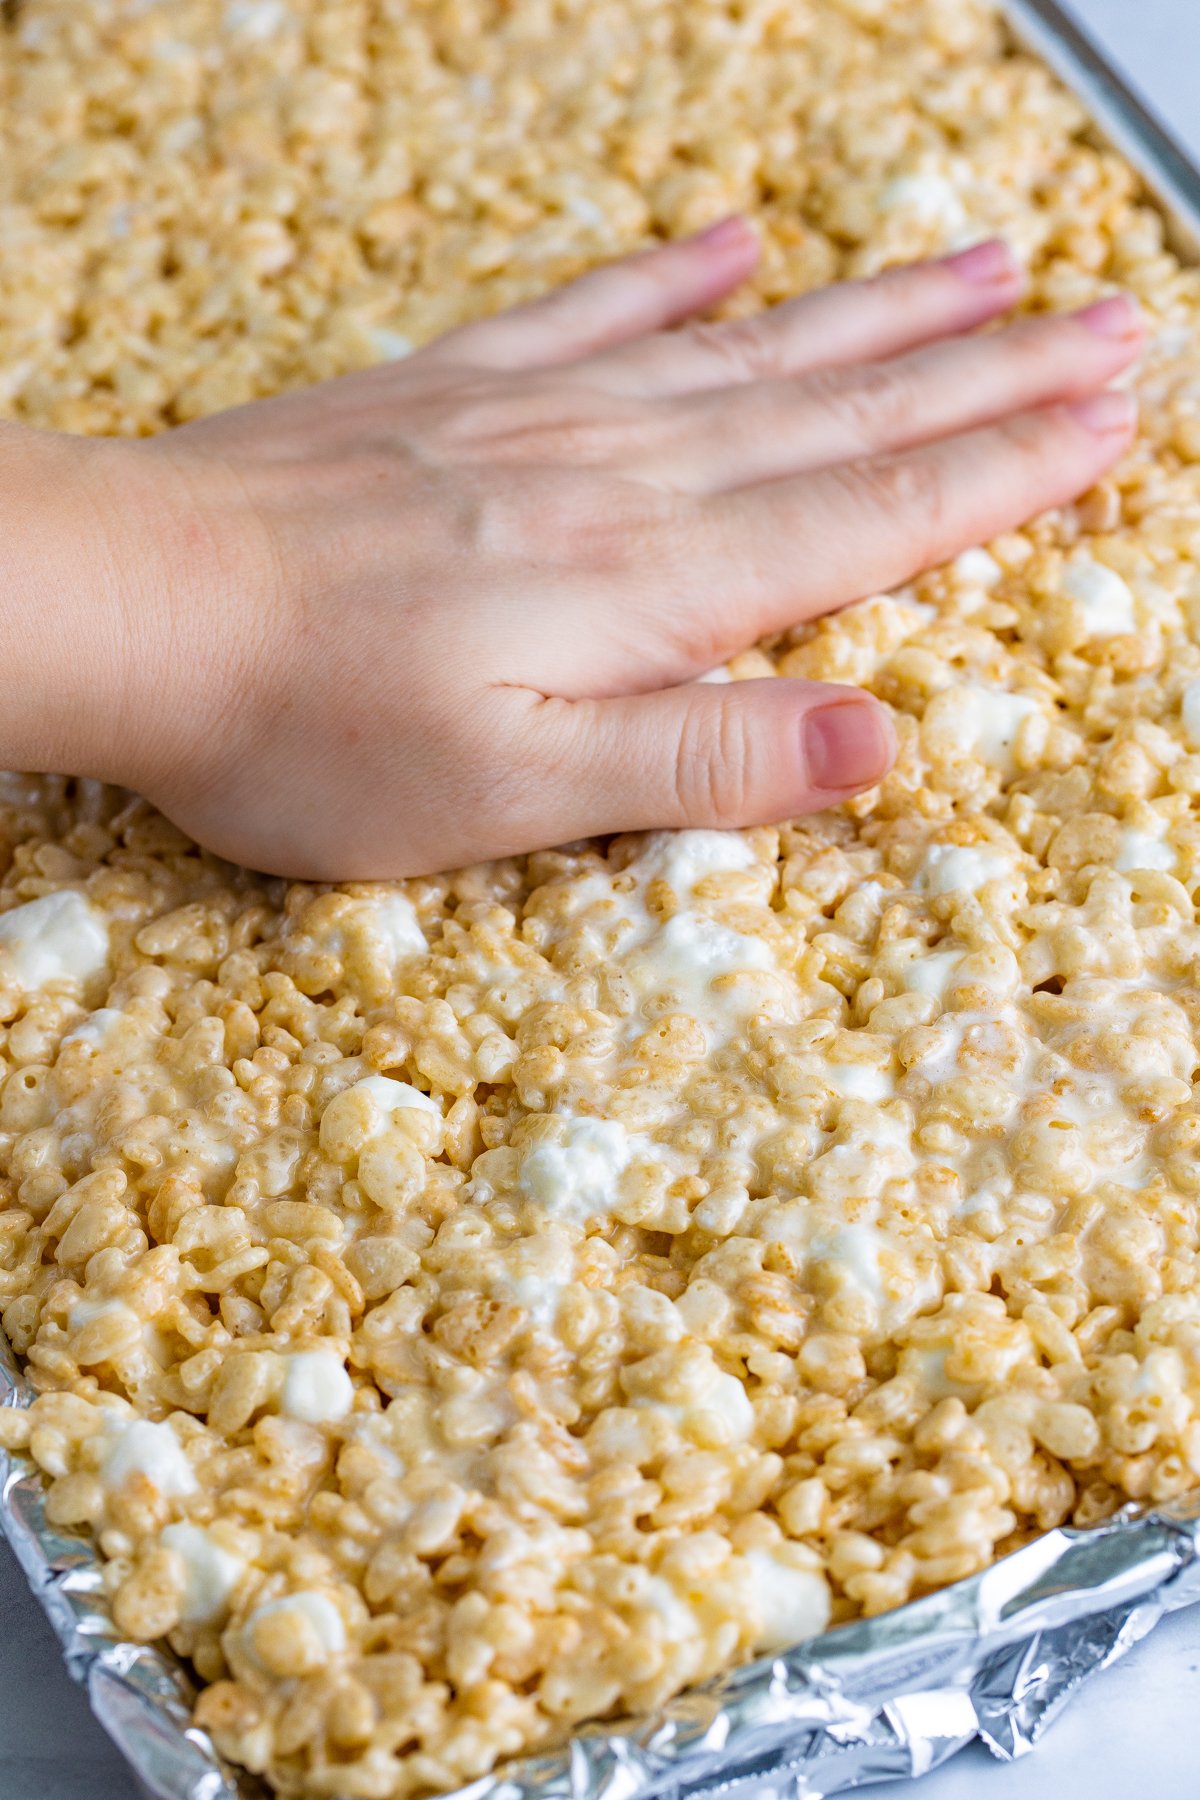
Once mixed thoroughly, transfer the marshmallow mixture onto the prepared 9×13 pan.
Gently press the treats into the pan by spraying your hands or a rubber spatula with nonstick spray and gently pushing down on the rice krispies until you have an even layer. Don’t press them too hard, you just want to press enough to get them in one layer.
If you press too hard, you can end up with hard treats.
3 – Set and Serve
If you have the time, let the rice krispies set up for two hours at room temperature. This gives the extra marshmallows time to solidify and the treats to cool. But if you don’t have time, I’ll tell you – I’ve definitely served a plate full of rice krispie treats minutes after they were done!
Once set, cut the rice krispie treats into bars, and they are ready to serve!
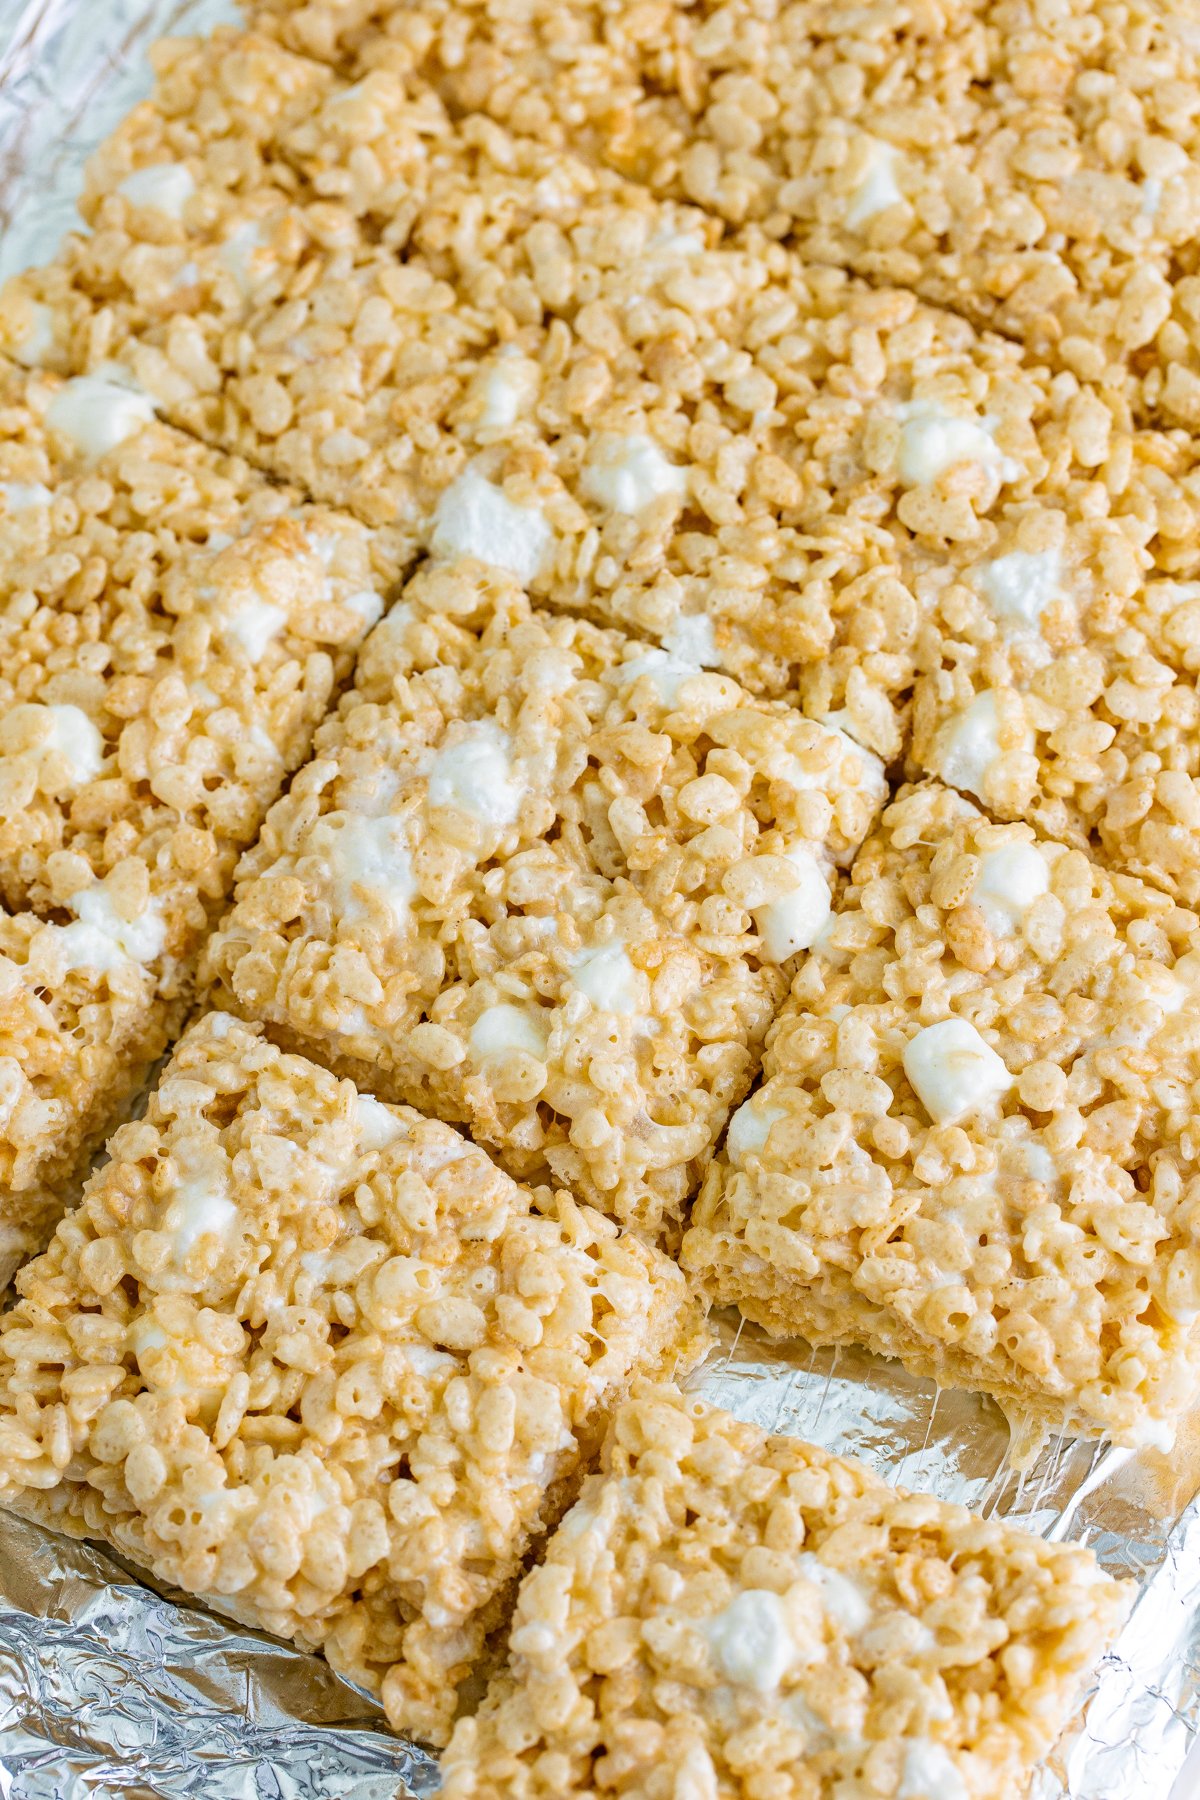
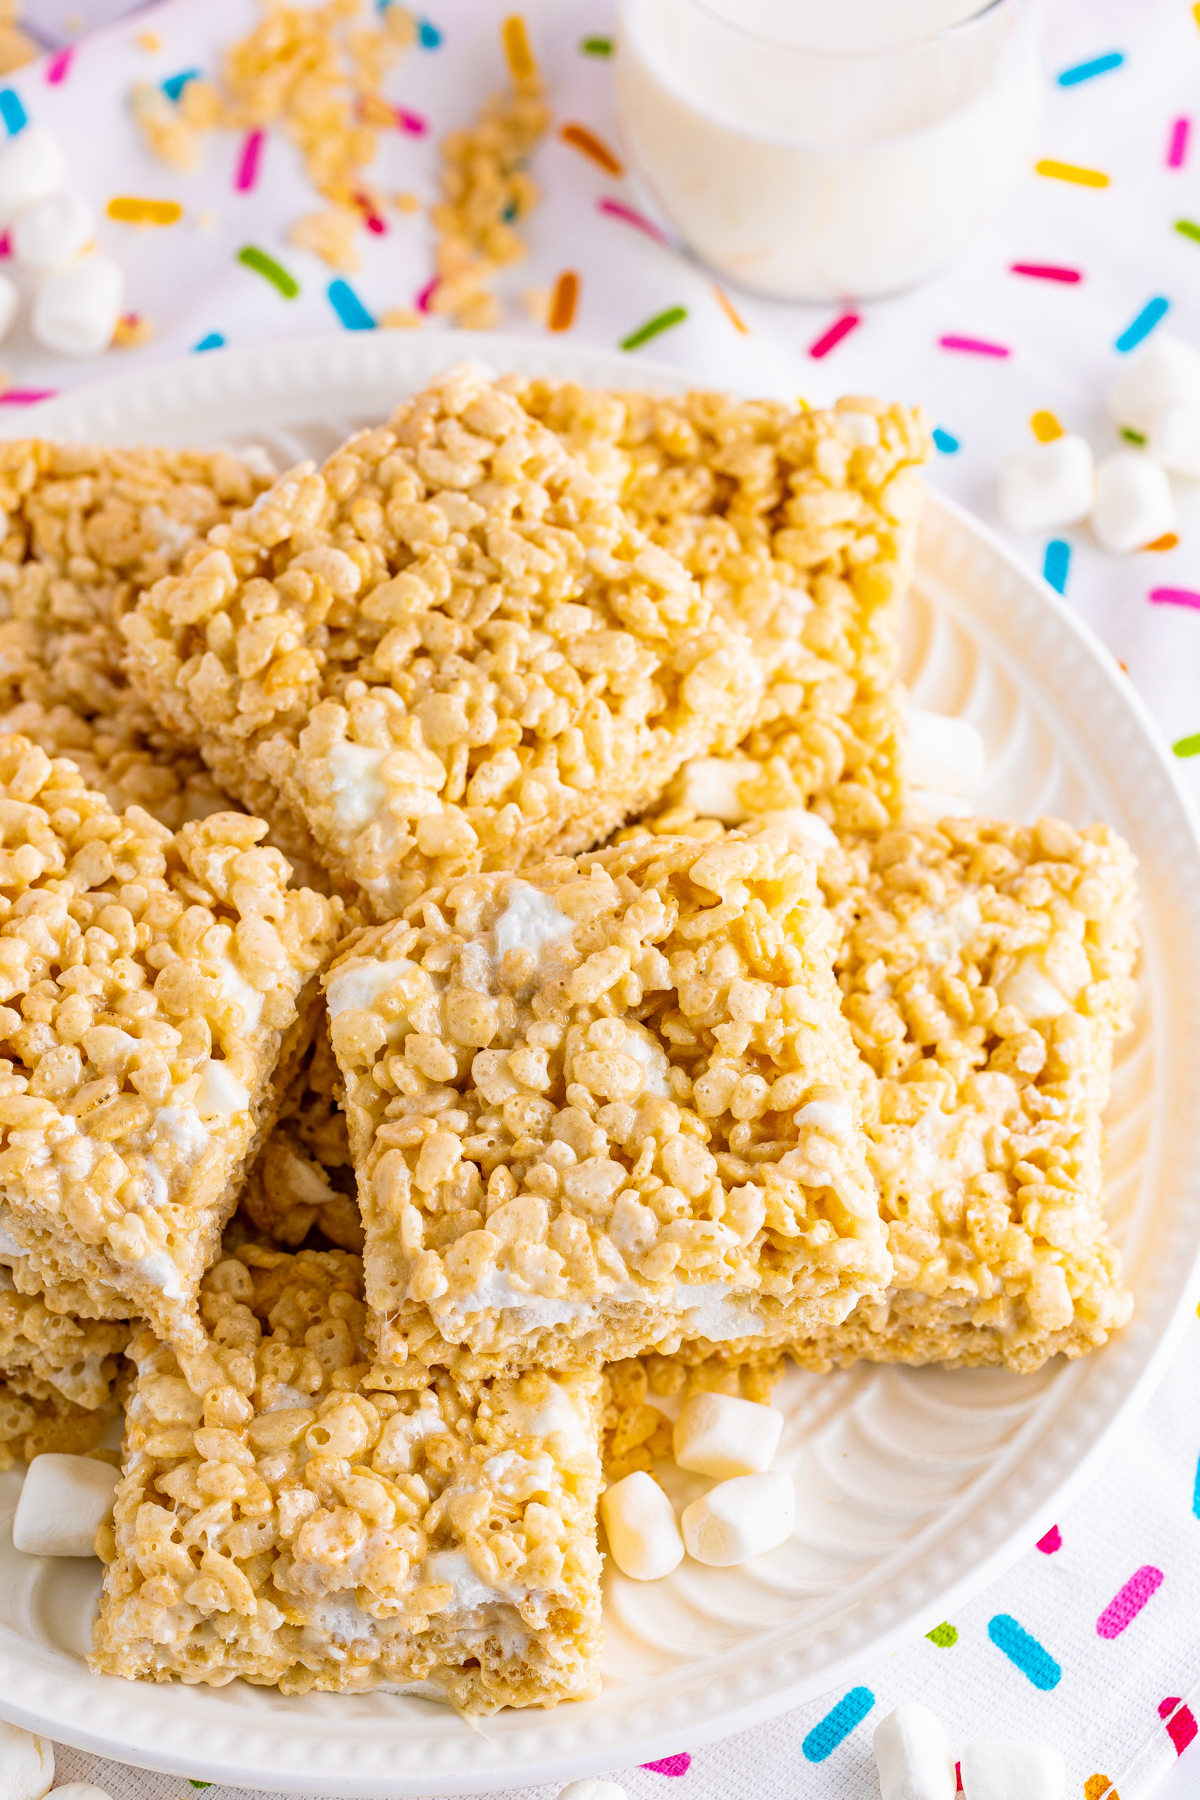
These are seriously the gooiest marshmallow rice krispie treats ever, and everyone loves them. If you have rice krispie treat lovers in your family, make double for sure!
Expert Tips And Storage Info
Make sure to measure out and set aside your extra marshmallows, even if you are going to omit them. Adding too many marshmallows to the butter can change the texture of the rice krispie treats. So you’d need three bags of mini marshmallows less four cups.
Separate your crispy cereal by adding it in batches (like we split it in half) to ensure that some of the cereal stays crunchy and doesn’t all just get soggy being added right at the beginning. This is why we split it into two batches.
Store this classic treat for up to five days at room temperature either wrapped in plastic wrap or in an airtight container.
Freeze these cereal treats for up to three months in an airtight container. But honestly, they’re not going to last long enough to make it to the freezer!
Recipe FAQs
Why are my homemade Rice Krispie treats hard?
There are a number of reasons your rice krispie treats might be too hard. If you heated the butter too quickly over high heat instead of low heat, this can make them hard. If you patted them down too hard or too much onto the pan, this can make them hard. They can also be hard if you didn’t measure the ingredients correctly and the cereal and marshmallow mixture ratio is off.
Make sure and read my notes and tips above to avoid hard rice krispie treats – although with this recipe, you really shouldn’t have issues!
How early can I make rice krispie treats?
You can make these the day before! While they will store for up to five days, they are the freshest when served within the first day or two.
What is the best way to cut rice krispie treats?
Wait until they are set then use a sharp knife to cut. If it is sticking to the treats you can lightly grease the knife with non-stick spray.
More Easy Treats
Looking for more simple treats to add to your dessert go-to list? Try out these easy recipe ideas and thank me later!
- Crunch bars – these delicious homemade crunch bars are kind of like a chocolate rice krispie treat!
- Mini fruit tarts – these adorable little tarts are so easy to make with the shortcut of using sugar cookie dough!
- Cookie Oreo brownies – it doesn’t get any easier than this three-ingredient layered dessert!
- Chocolate chip cookie pie – a chocolate chip cookie baked into a pie? Yes, please!
- Sopapilla cheesecake – bars filled with yummy cheesecake and churro flavor!
Want more Goodies?
Want more delicious recipes just like this one? Enter your first name and email address in the form below to join the Play Party Plan community! You’ll receive weekly recipes and party ideas directly to your inbox!
The Best Rice Krispy Treats
Ingredients
- ¾ cup salted butter
- 3(10 OZ) bags mini marshmallows
- 1 Tbsp vanilla extract
- ½ tsp fine sea salt
- 9 oz box of rice krispies cereal
Instructions
- Start by lining a 9×13 baking dish with parchment paper or wax paper. You can also use aluminum foil but make sure to spray it with non-stick spray, it can get sticky. Set the pan aside to use later.
- In a large pot or a dutch oven, melt 3/4 cup of butter over low heat. Be careful not to get the pot too hot or the butter and marshmallows will burn.3/4 cup salted butter
- Measure four cups of marshmallows and set aside. Add the remaining marshmallows to the melted butter. Stir the marshmallows into the butter until they are melted. Continue to stir as the marshmallows are melting, be sure to scrape the bottom of the pot to avoid burning.3(10 OZ) bags mini marshmallows
- Take the pot off of the heat and stir 1 tablespoon of vanilla and the sea salt into the melted marshmallow mixture.1 Tbsp vanilla extract, 1/2 tsp fine sea salt
- Next, fold half of the rice krispie cereal into the melted marshmallow and butter mixture, mixing thoroughly.9 oz box of rice krispies cereal
- Add the reserved marshmallows and rice cereal until everything is fully melted and combined. Fold as gently as possible to not smash the cereal pieces
- Once mixed thoroughly, transfer it onto the prepared pan.
- Gently press the treats into the pan by spraying your hands or rubber spatula with nonstick spray and gently push down on the rice krispies until you have an even layer.
- Let the rice krispies cool for 2 hours at room temperature then cut them into bars and they are ready to serve!
Tips & Notes:
- Mini marshmallows need to be used for this recipe so you can measure out the 4 cups of added ones!
- Vanilla can be replaced with lemon or almond extract for different flavors.
- Salted butter can be substituted with unsalted butter but make sure to add 1/4 tsp of salt to make up for the missing salt in the butter.
- Crispy rice cereal – you can substitute this for things like Cocoa Pebbles if you would like. The recipe calls for a nine ounce box of rice krispies (it’s a full box) or ten cups if you’re using a larger box of cereal. It is NOT nine ounces of rice krispies, it’s a full nine ounce box.




Leave a Reply