These hash brown cups are one of the easiest appetizers ever! Simply take some hash browns, combine them with a few ingredients, and you’ll have delicious hash brown cups to top however you’d like! They’re great with scrambled eggs, chili, broccoli cheese, or even just all by themselves!
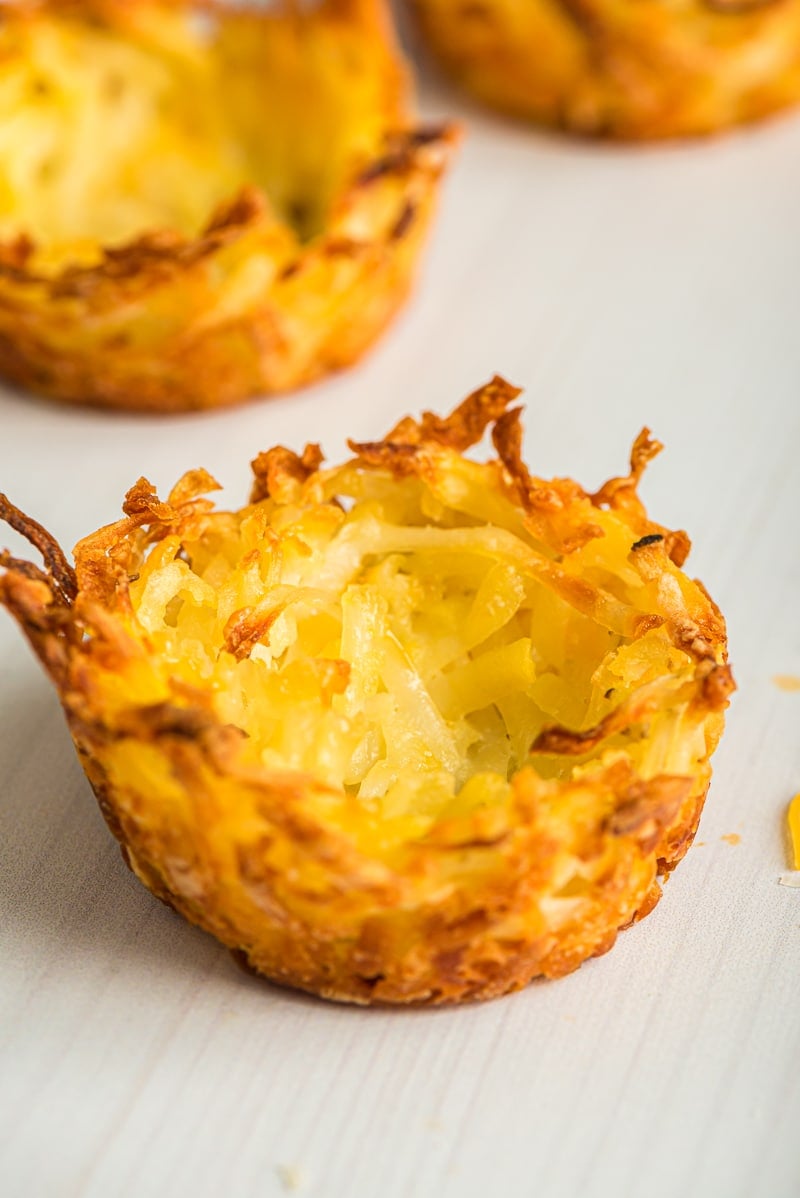
The Best Hash Brown Cups
I don’t know about you, but I love potatoes. I’ve already shared the best air fryer fries, easy mashed potatoes, and even creamy twice baked potatoes.
These are so easy to make with only five ingredients you likely already have at home other than maybe the hash browns, but I’ll give you a trick for those later!
You bake these hash brown cups up in muffin tins and then eat them plain (with ketchup) or top them with your favorite toppings. I like broccoli and cheese, chili, or go totally loaded with buffalo chicken like I did with these buffalo chicken potato skins.
Or serve them for breakfast or brunch with some scrambled eggs and chopped up bacon!
And the best part? Kids will love them because they’re hash browns. Serve them topped with something a bit fancier and adults love them because they’re finger food style appetizers. They’re a bit crunchy and totally delicious.
Want to take it a step further? Try my breakfast muffins with a hash brown crust that I made inspired by these hash brown cups!
Why you’ll love this
- Simple ingredients – these hash brown cups only have five simple ingredients, including salt, so really four. And other than the shredded hash browns, I can almost guarantee you already have these at home!
- Versatile – they’re more or less potatoes, which means they’re a great vehicle for pretty much anything you want to serve them with! Bacon and eggs, bacon and cheese, broccoli and cheese – whatever!
- Quick and easy – if you can mix ingredients together, you can make these hash brown muffin cups! It’s literally that easy, especially if you use pre-shredded potatoes!
Ingredients
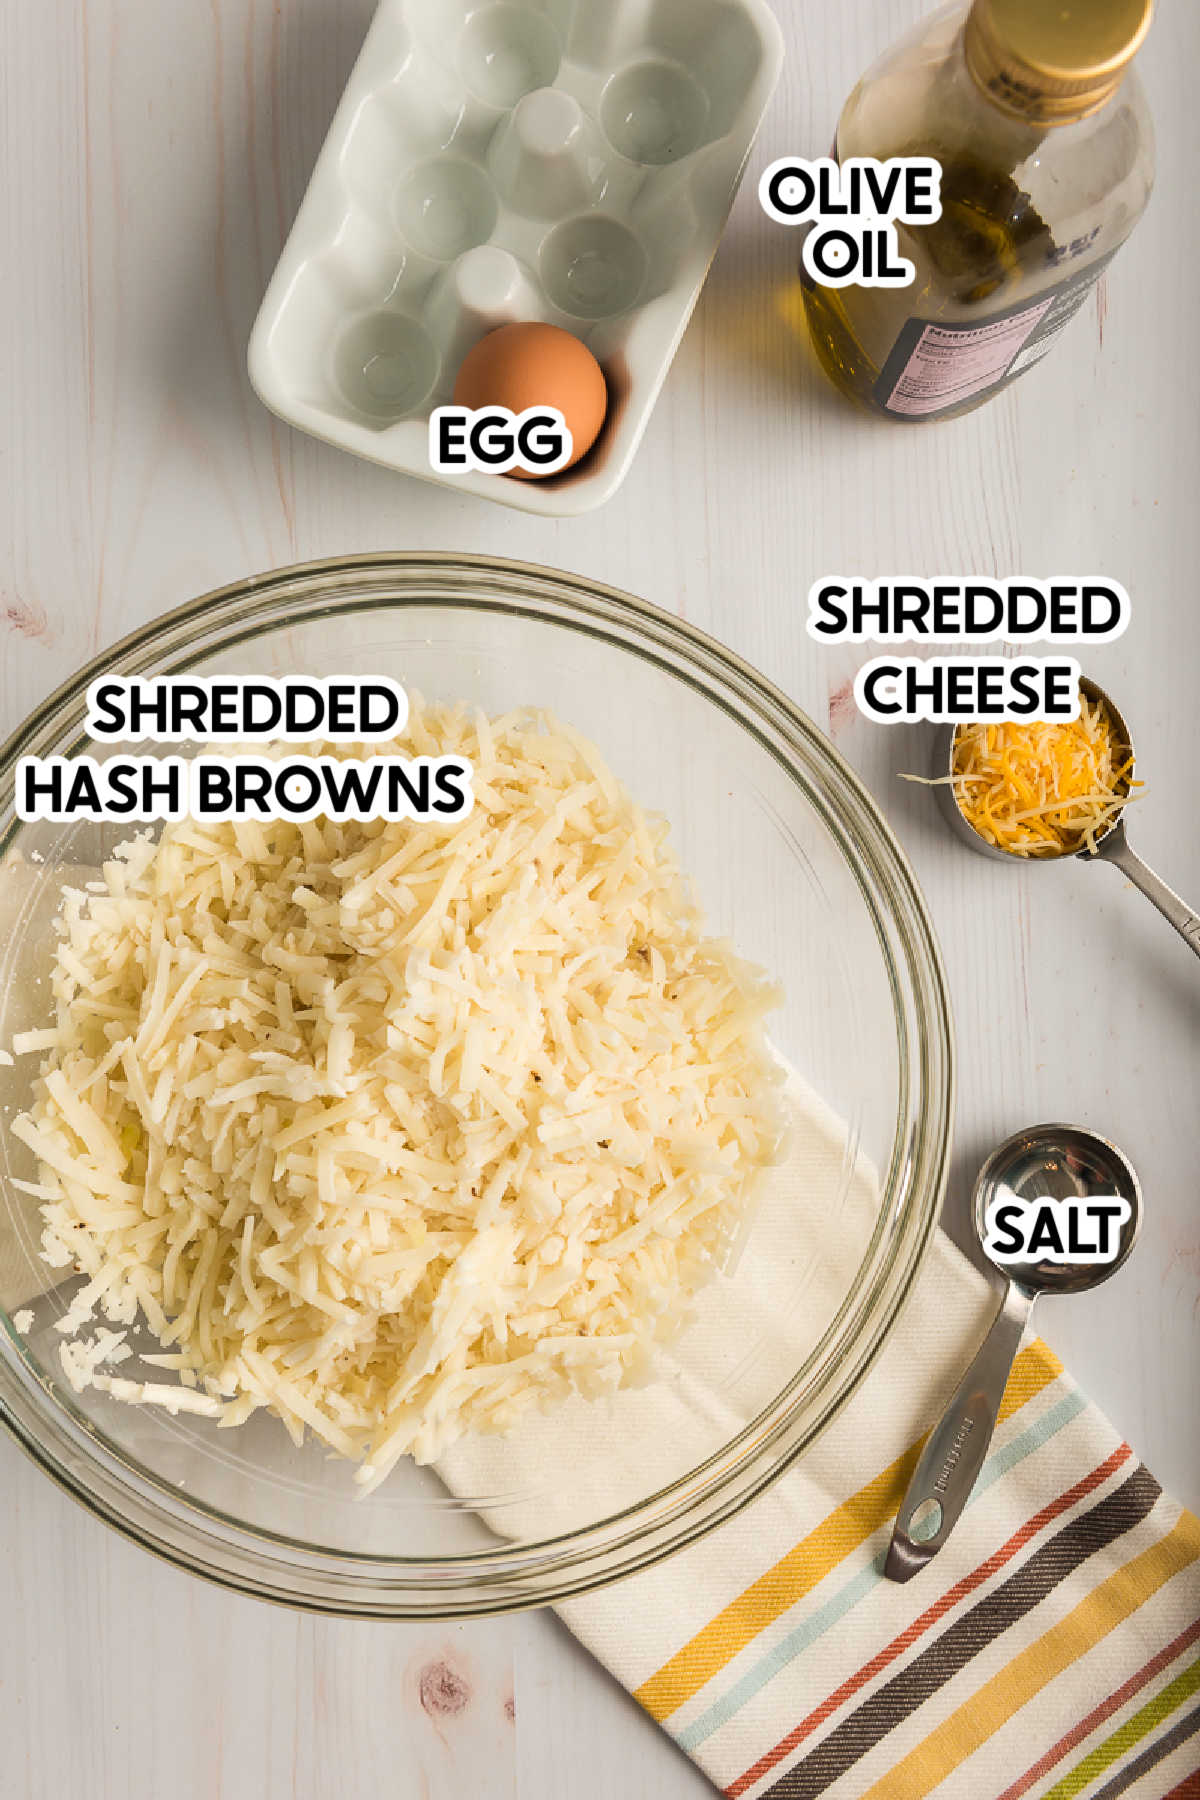
Ingredient Notes
- Shredded hash browns – you can either shred these fresh or buy refrigerated store-bought pre-shredded hash browns (my preferred method). If you do shred them yourself, make sure to do thick shreds rather than fine shreds – that’ll give you mush! If the only thing you have is frozen, make sure to let them thaw overnight and try to squeeze out any excess moisture after thawing.
- Shredded cheese – I like to use Mexican blend in these but a mild cheddar cheese works great too or if you want to make them a bit fancier, you can use a sharp cheese or something like monterey jack that’s more adult-friendly as well.
- Olive oil – I use olive oil but you can also use avocado oil if you prefer.
Recommended tools
The best way to keep these hash brown cups from sticking is to use a silicone muffin pan. That’s a link to the one that I personally use and love! I highly recommend investing in one of these if you don’t have one already. They’re awesome, especially for things like this. If you don’t have one, you can still make these but people have reported issues with them sticking if you don’t spray the muffin tins well with cooking spray!
How to make hash brown cups
These hash brown cups are about as easy as can be to make! You’ll have hash brown bites in no time!
- Preheat your oven to 400 degrees Fahrenheit. If you’re using a regular muffin tin, spray and grease the muffin tin well. If you’re using a silicone muffin tin like I recommend, you can spray if you want but it’s not as necessary.
- Using either a paper towel or a cheesecloth, press the shredded potatoes gently to remove as much liquid as possible. This helps you get the crispiest hash brown cups possible!
- Mix your hash browns (after you’ve pressed out the liquid), olive oil, egg, cheese, and salt in a large bowl until well combined.
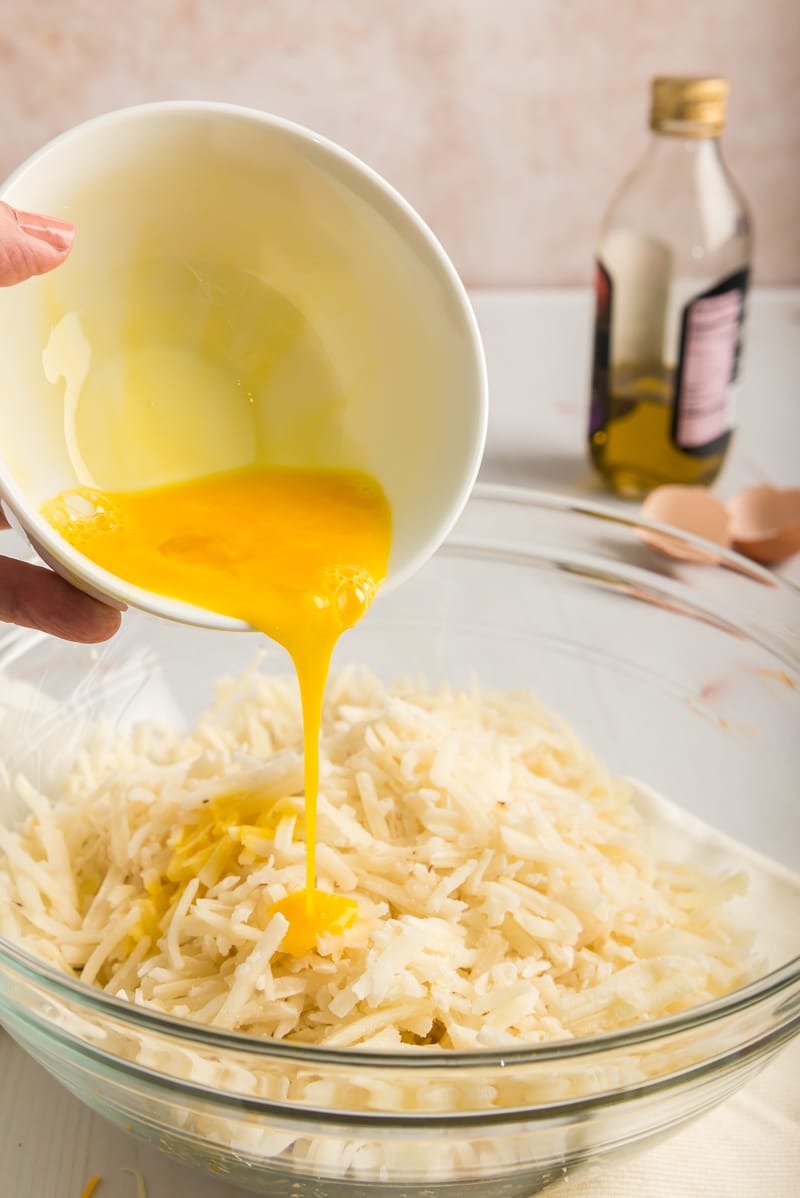
- Fill each cup about 3/4 full with the hashbrown cups mixture.
- Use your fingers or the back of a measuring spoon to make a small cavity in the middle of the mixture, pressing the mixture into the sides. Be careful to make sure you don’t press all the way through – you want a layer of the cup on the bottom. This will make them into cups.
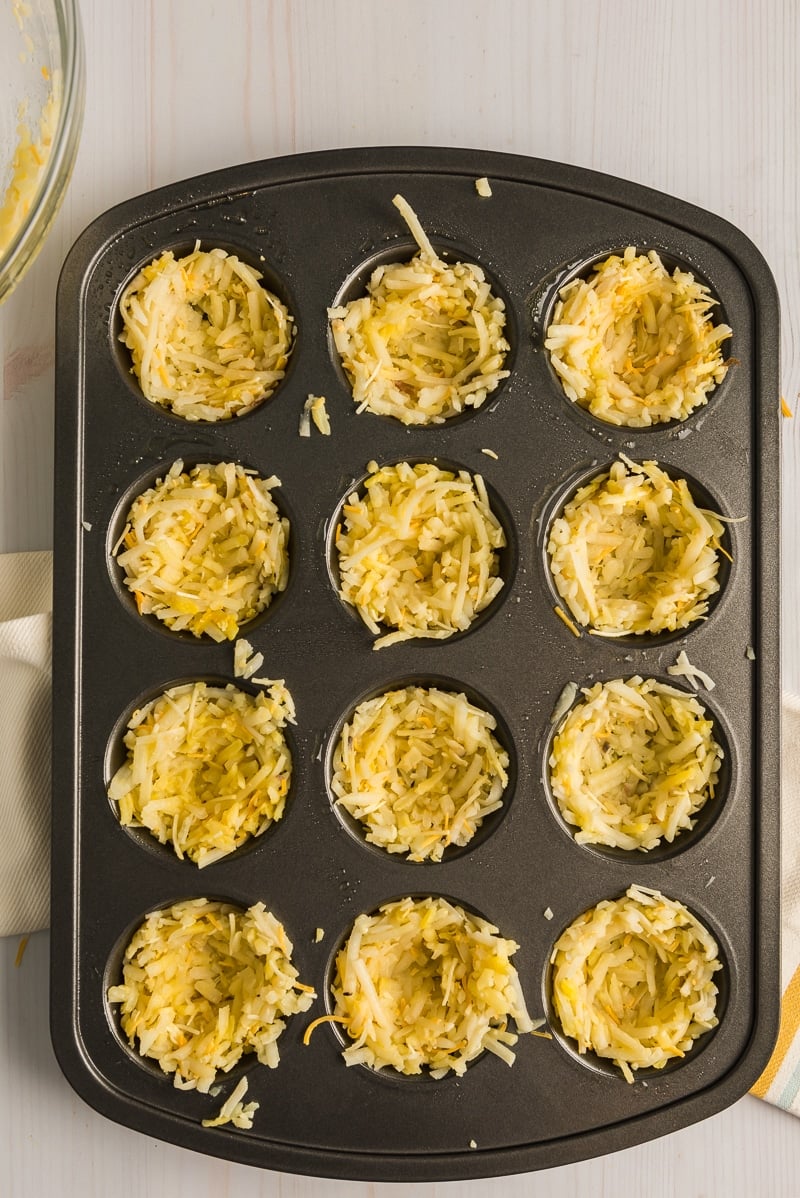
- Bake in the oven at 400 degrees for about 45-50 minutes or until the edges are browned and crispy and the potatoes are completely heated through.
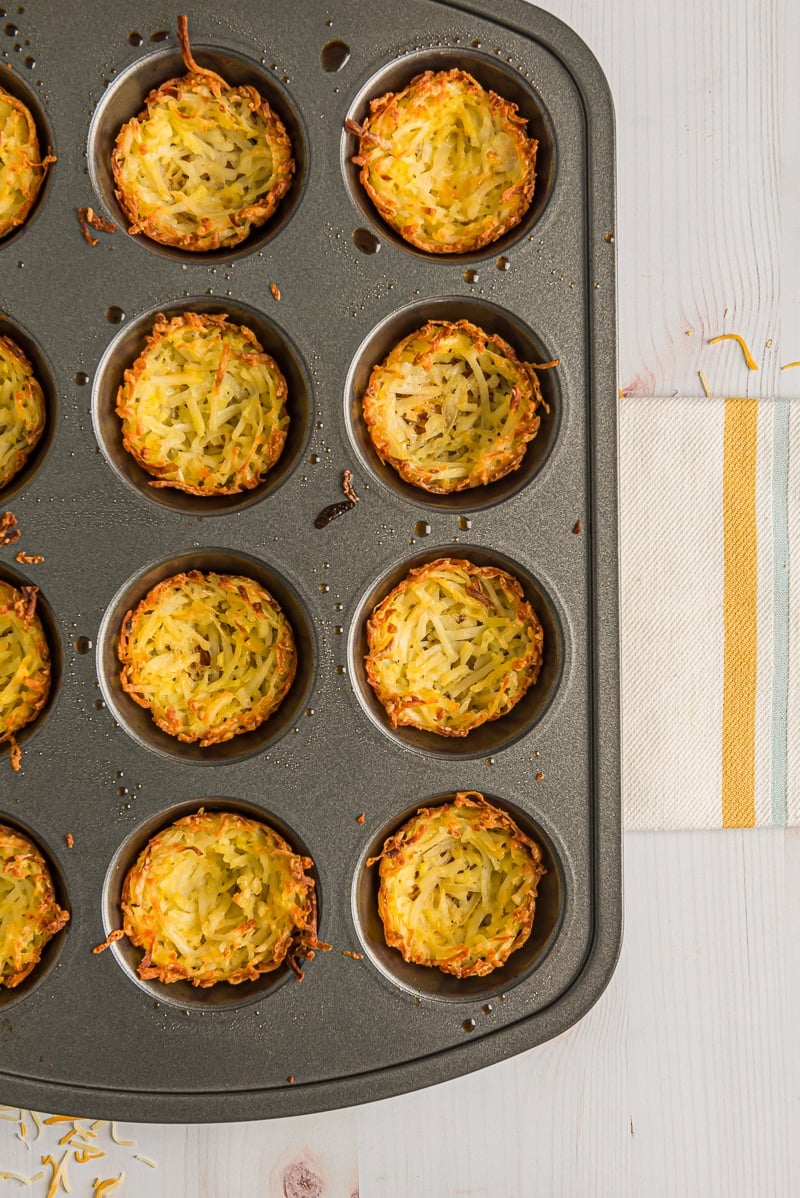
- Let cool for a few minutes then remove from the muffin tin by sliding a rubber spatula underneath.
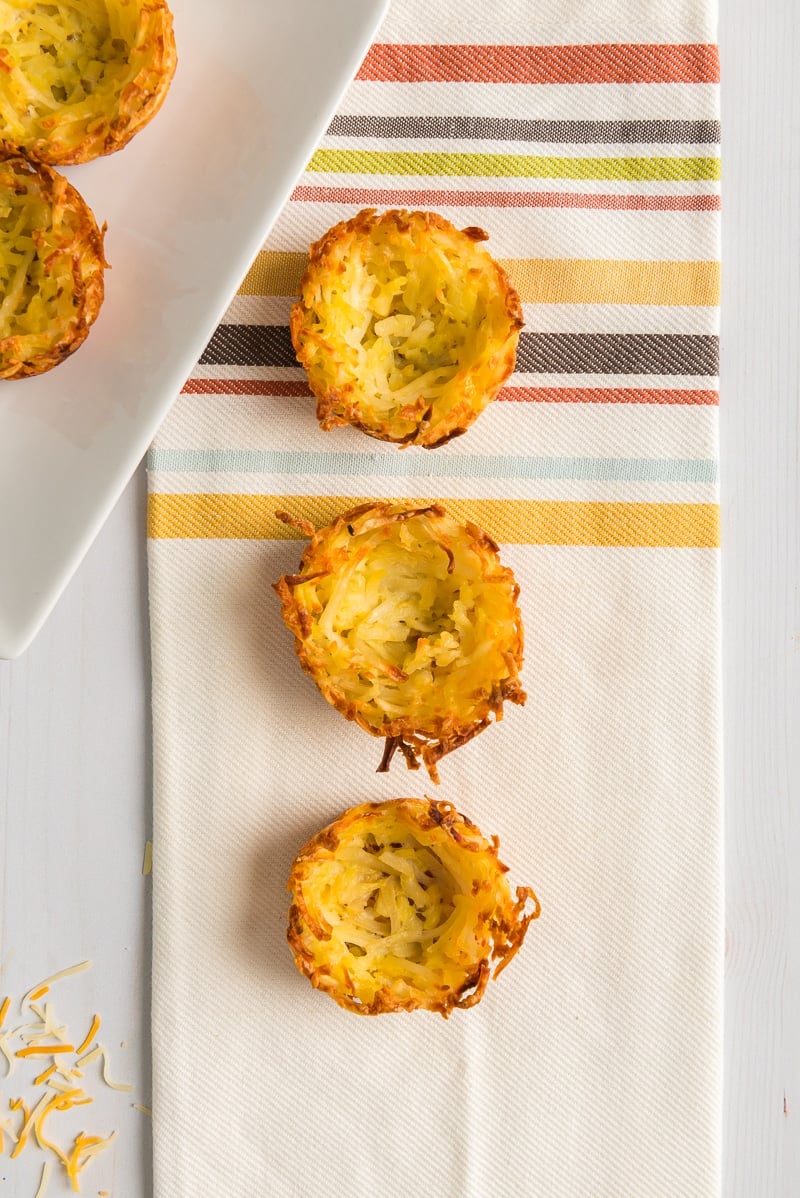
- Enjoy by themselves or with any of your favorite toppings. They’re great with a fried egg, chili, broccoli and cheese, or really just about anything you’d eat with potatoes!
Tips & Storage Info
Store these in the refrigerator in an airtight container for up to five days then reheat in the oven until warm. If you want to freeze, freeze in an airtight container. Thaw overnight then reheat in an air fryer or the oven (not the microwave – they’ll get mushy) for a few minutes.
Bake a few minutes longer if the outsides aren’t quite browned yet. You want to make sure the outside is completely cooked or the cups will fall apart.
Spice things up by adding a little paprika to the hash brown mixture.
Use a silicone muffin tin that you can just push the cups out for the best results. Or make sure a regular muffin tin is really well greased so they don’t stick.
Set up a hash brown bar for brunch kind of like this DIY nacho bar where you have hash brown cups and a bunch of toppings people can choose from.
Recipe FAQs
Can I use frozen hash browns?
Fresh are best but if you only have frozen, make sure they are completely thawed and drained of excess liquid before using. You definitely don’t want to add hash browns straight out of the freezer.
How long will these hash brown cups last?
Store these in the fridge in an airtight container for up to five days. If you want to freeze, freeze in an airtight container. Thaw overnight then reheat in an air fryer or the oven for a few minutes.
Why won’t my hash browns get crispy?
If your hash brown cups aren’t crispy, it’s likely because you didn’t strain out the liquid before you added the hash browns to the mixture. This step is important to get rid of any excess liquid that may prevent the hash browns from getting crispy!
More Easy Breakfast Recipes
Want other ideas to complete the first meal of the day? These are some of our favorite brunch recipes?
- Mini pancakes – fluffy and delicious pancakes made in a bite-sized version
- Chicken minis – this copycat Chick-Fil-A recipe is one of our most popular breakfast recipes for a reason!
- Homemade white sausage gravy – pair this breakfast sausage gravy it with these drop biscuits for a classic breakfast feast!
- Blueberry yogurt muffins – the softest blueberry muffins ever!
- Breakfast casserole with bread – a popular breakfast casserole, perfect for parties, holidays, and crowds!
Want more Goodies?
Want more delicious recipes just like this one? Enter your first name and email address in the form below to join the Play Party Plan community! You’ll receive weekly recipes and party ideas directly to your inbox!

Hash Brown Cups
Ingredients
- 20 oz shredded hash browns fresh, not frozen
- ¾ tsp salt
- 1 egg beaten
- 1 TBS olive oil
- ¼ cup shredded Mexican blend cheese
Instructions
- Preheat your oven to 400 degrees Fahrenheit. If you’re using a regular muffin tin, spray and grease the muffin tin well. If you’re using a silicone muffin tin like I recommend, you can spray if you want but it’s not as necessary.
- Using either a paper towel or a cheesecloth, press the shredded potatoes gently to remove as much liquid as possible.20 oz shredded hash browns
- Mix your hash browns (after you’ve pressed out the liquid), olive oil, egg, cheese, and salt in a large bowl until well combined.3/4 tsp salt, 1 egg, 1 TBS olive oil, 1/4 cup shredded Mexican blend cheese
- Fill each baking cup about 3/4 of the way full with the potato mixture.
- Use your fingers or the back of a measuring spoon to make a small cavity in the middle of the mixture, pressing the mixture into the sides. Be careful to make sure you don’t press all the way through – you want a layer of the cup on the bottom. This will make them into cups.
- Bake at 400 degrees for 45-55 minutes, until the outside edge if browned and crispy and all potatoes are heated through.
- Let cool for a few minutes then slide hash brown cups out using a rubber spatula.
- Serve hot topped with your favorite toppings – eggs, bacon, chili, broccoli and cheese, etc.
Tips & Notes:
Nutrition Info
This recipe was originally posted November 25, 2013 and has since been updated with new photos, tips, and tricks.






Leave a Reply