
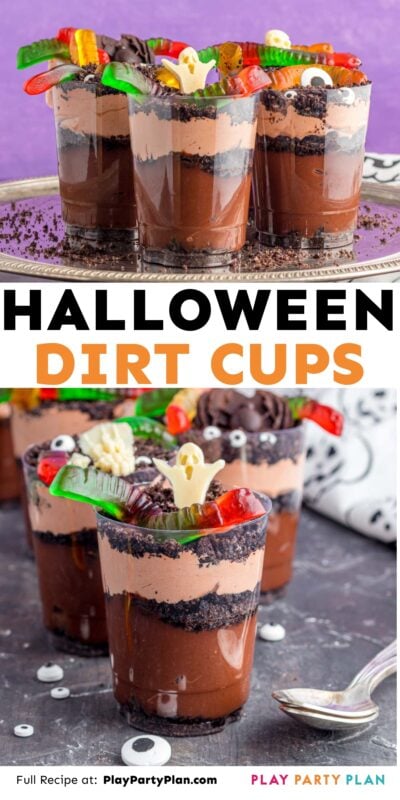
We’ve been bringing these Halloween dirt cups to parties for years and they’re always the first thing to go! Adults love how easy they are to make and both kids and teens alike love the fun layers of chocolate and Halloween candy!
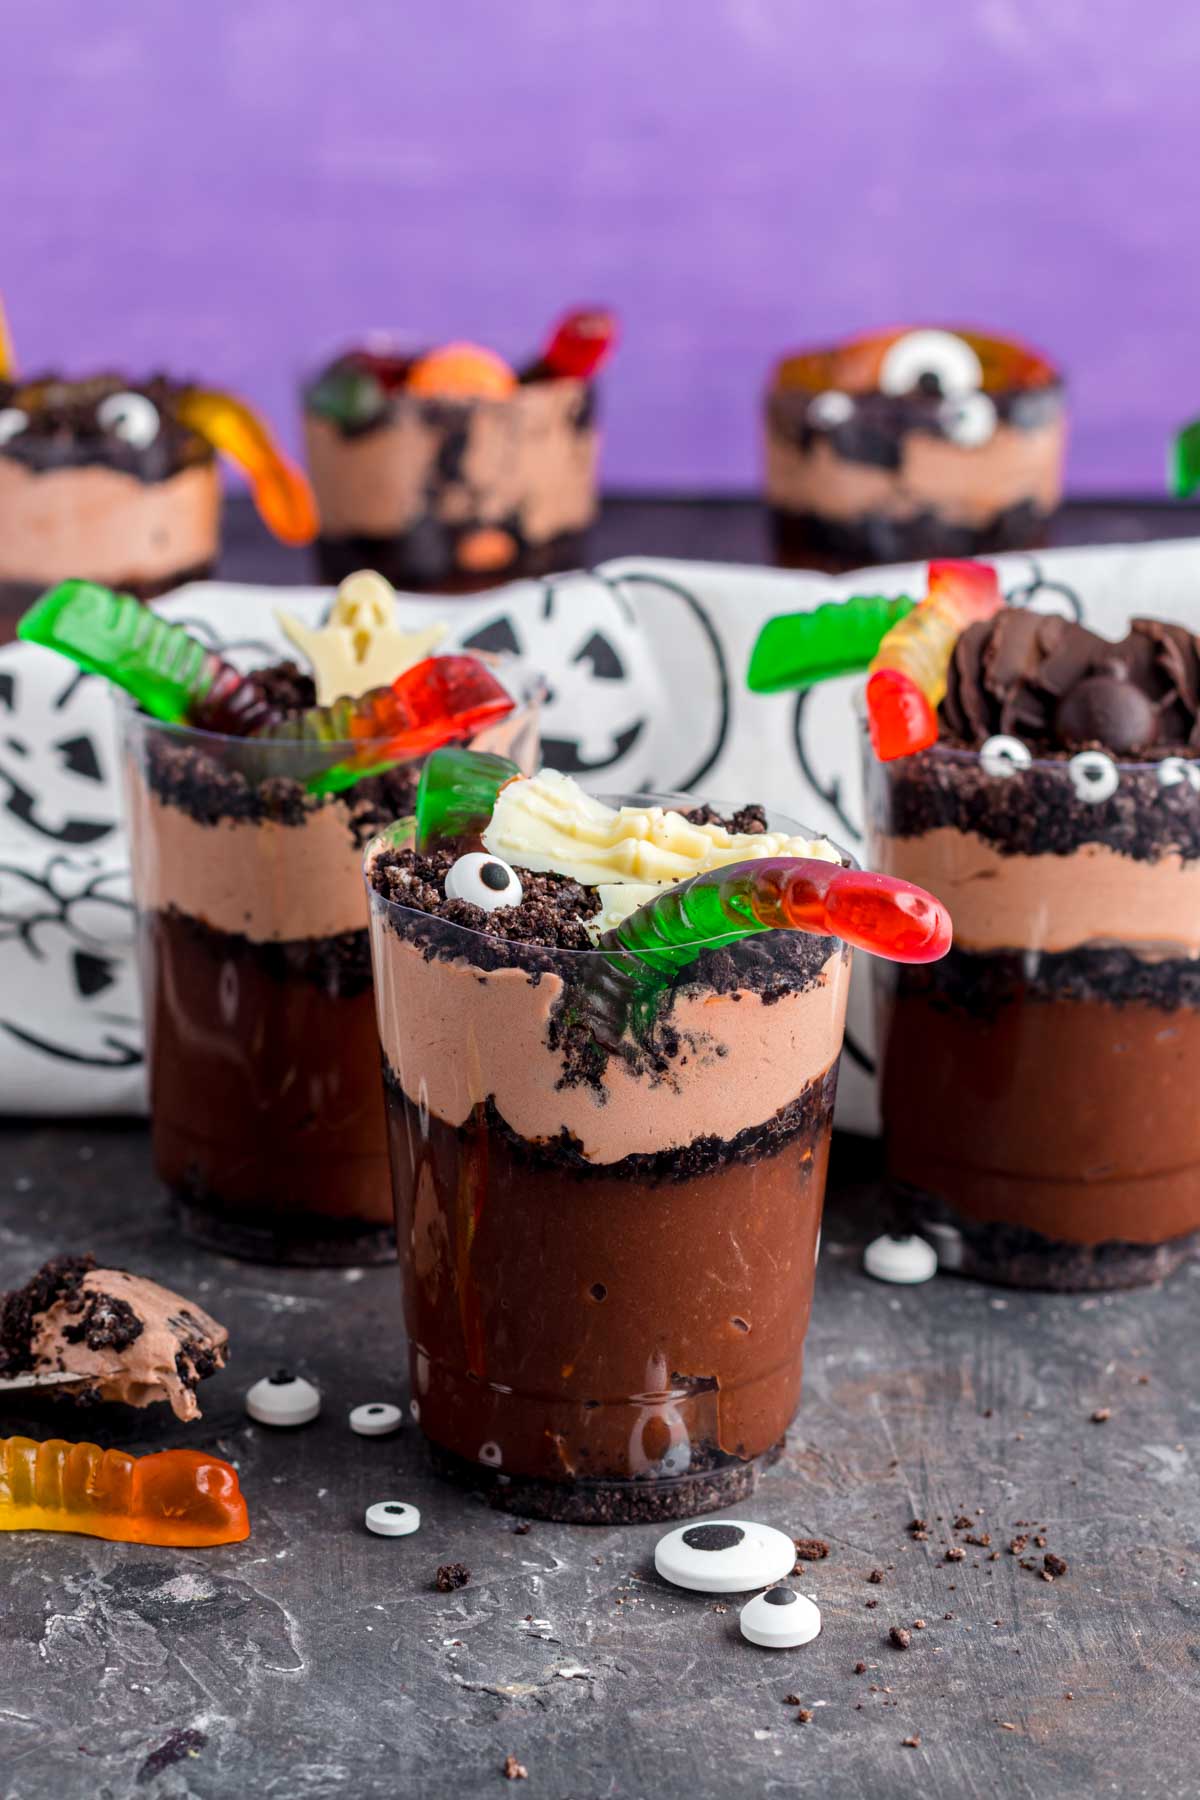
They’re not only spooky and festive, they’re delicious too! Layers of pudding, chocolate filling, and Oreo dirt get topped with sprinkles, Halloween candy, and more to look just like little graveyard cups! They’re perfect for Halloween parties, dessert on Halloween night, or any time you want a festive treat during spooky season!

Want to save this recipe?
Enter your email below and we’ll send this idea straight to your inbox (plus you’ll receive fun weekly ideas from us too!)
There’s just something about Halloween that makes me want to make all of the fun treats! And these Halloween dirt cups are so much fun, not to mention so cute! I shared a Halloween dirt cake earlier this week and thought it’d be fun to do an individual serving version too!
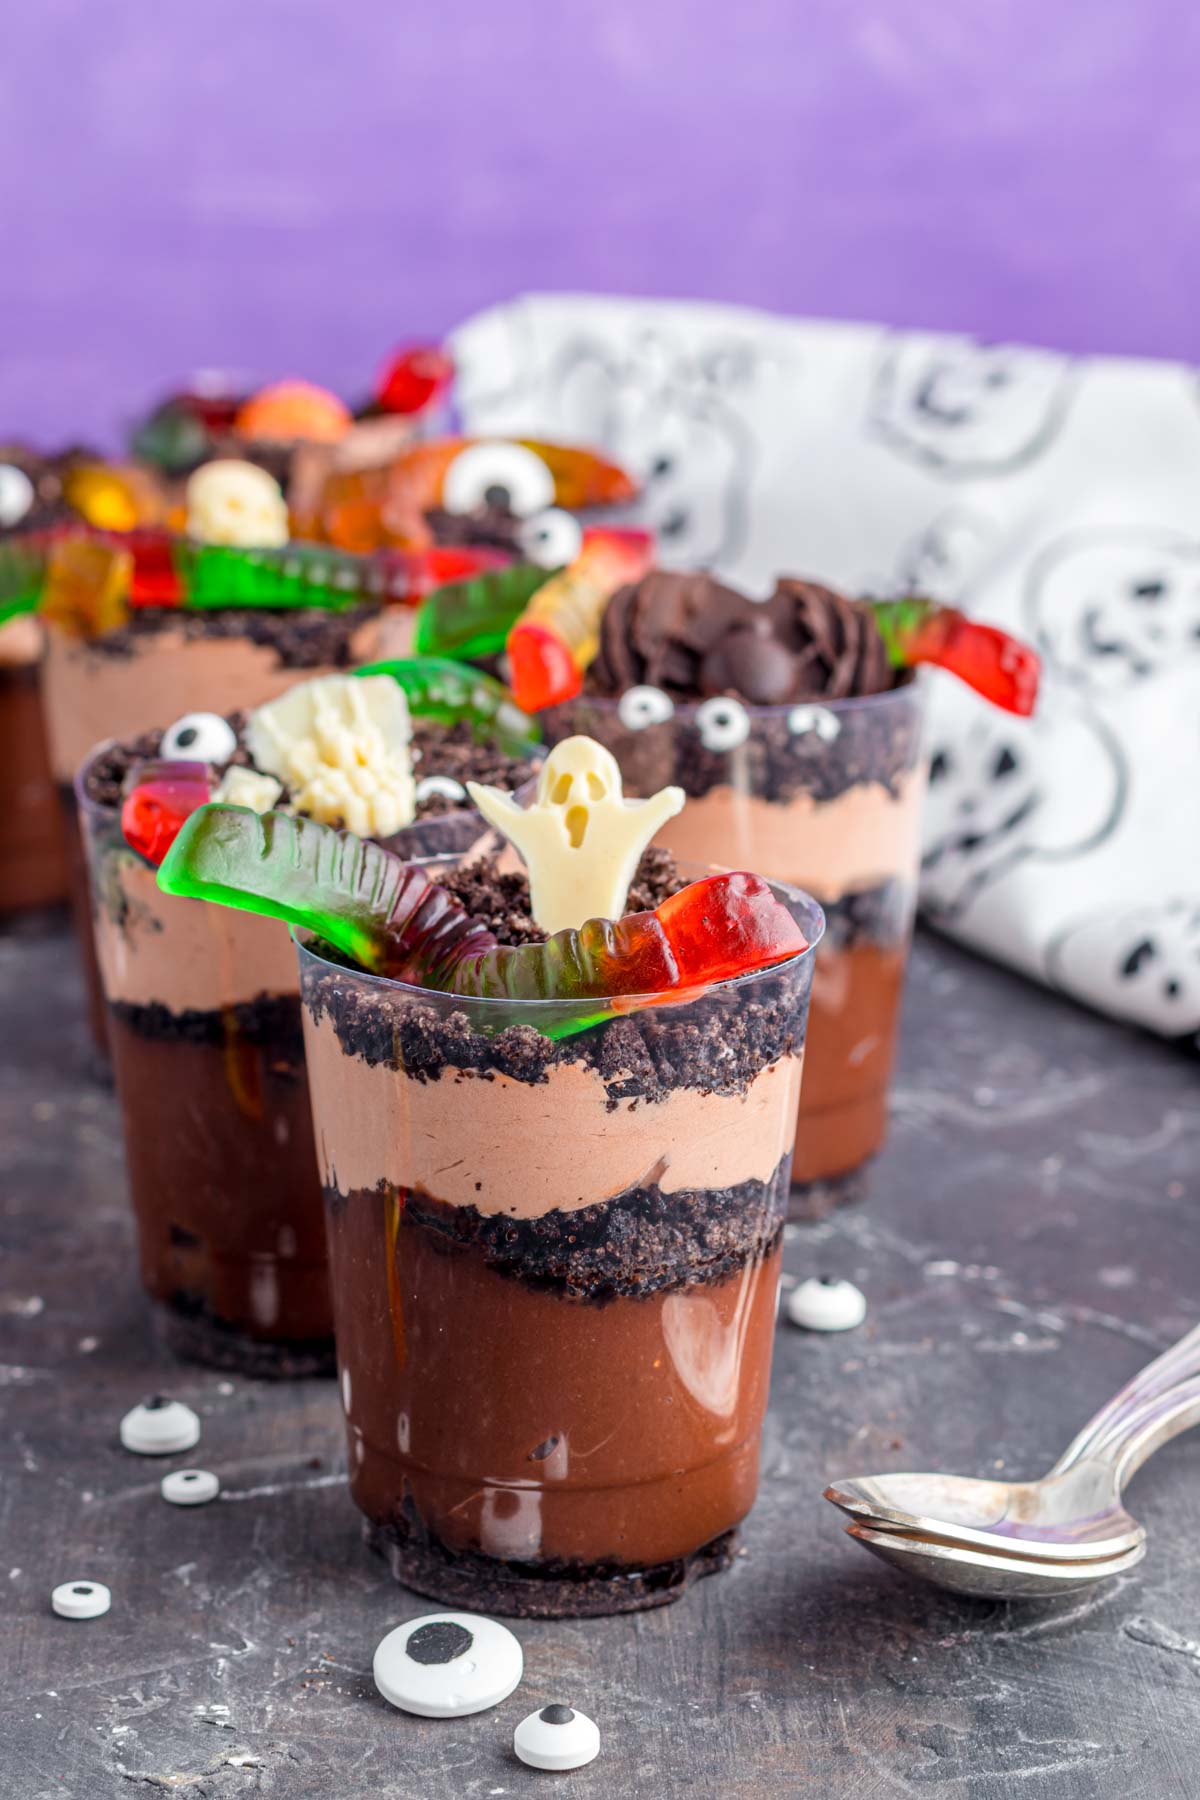
While these Halloween graveyard dirt cups aren’t a cake (they’re more like a classic dirt and worms dessert) like the graveyard cake, they are individual cups that look like little mini graveyards full of dirt and creepy crawlers!
You can either make them all yourself or let kids help you decorate the top – I did the latter, and the kids loved being able to make their very own graveyards!
I did it at home with my boys, but you could also do this as an edible craft at Halloween parties or classroom parties!
Why You’ll Love This Recipe
- Easy dessert – this is one of the easiest no bake Halloween desserts I’ve ever made. It’s literally just making layers of pudding, adding Oreo layers, and decorating with candy!
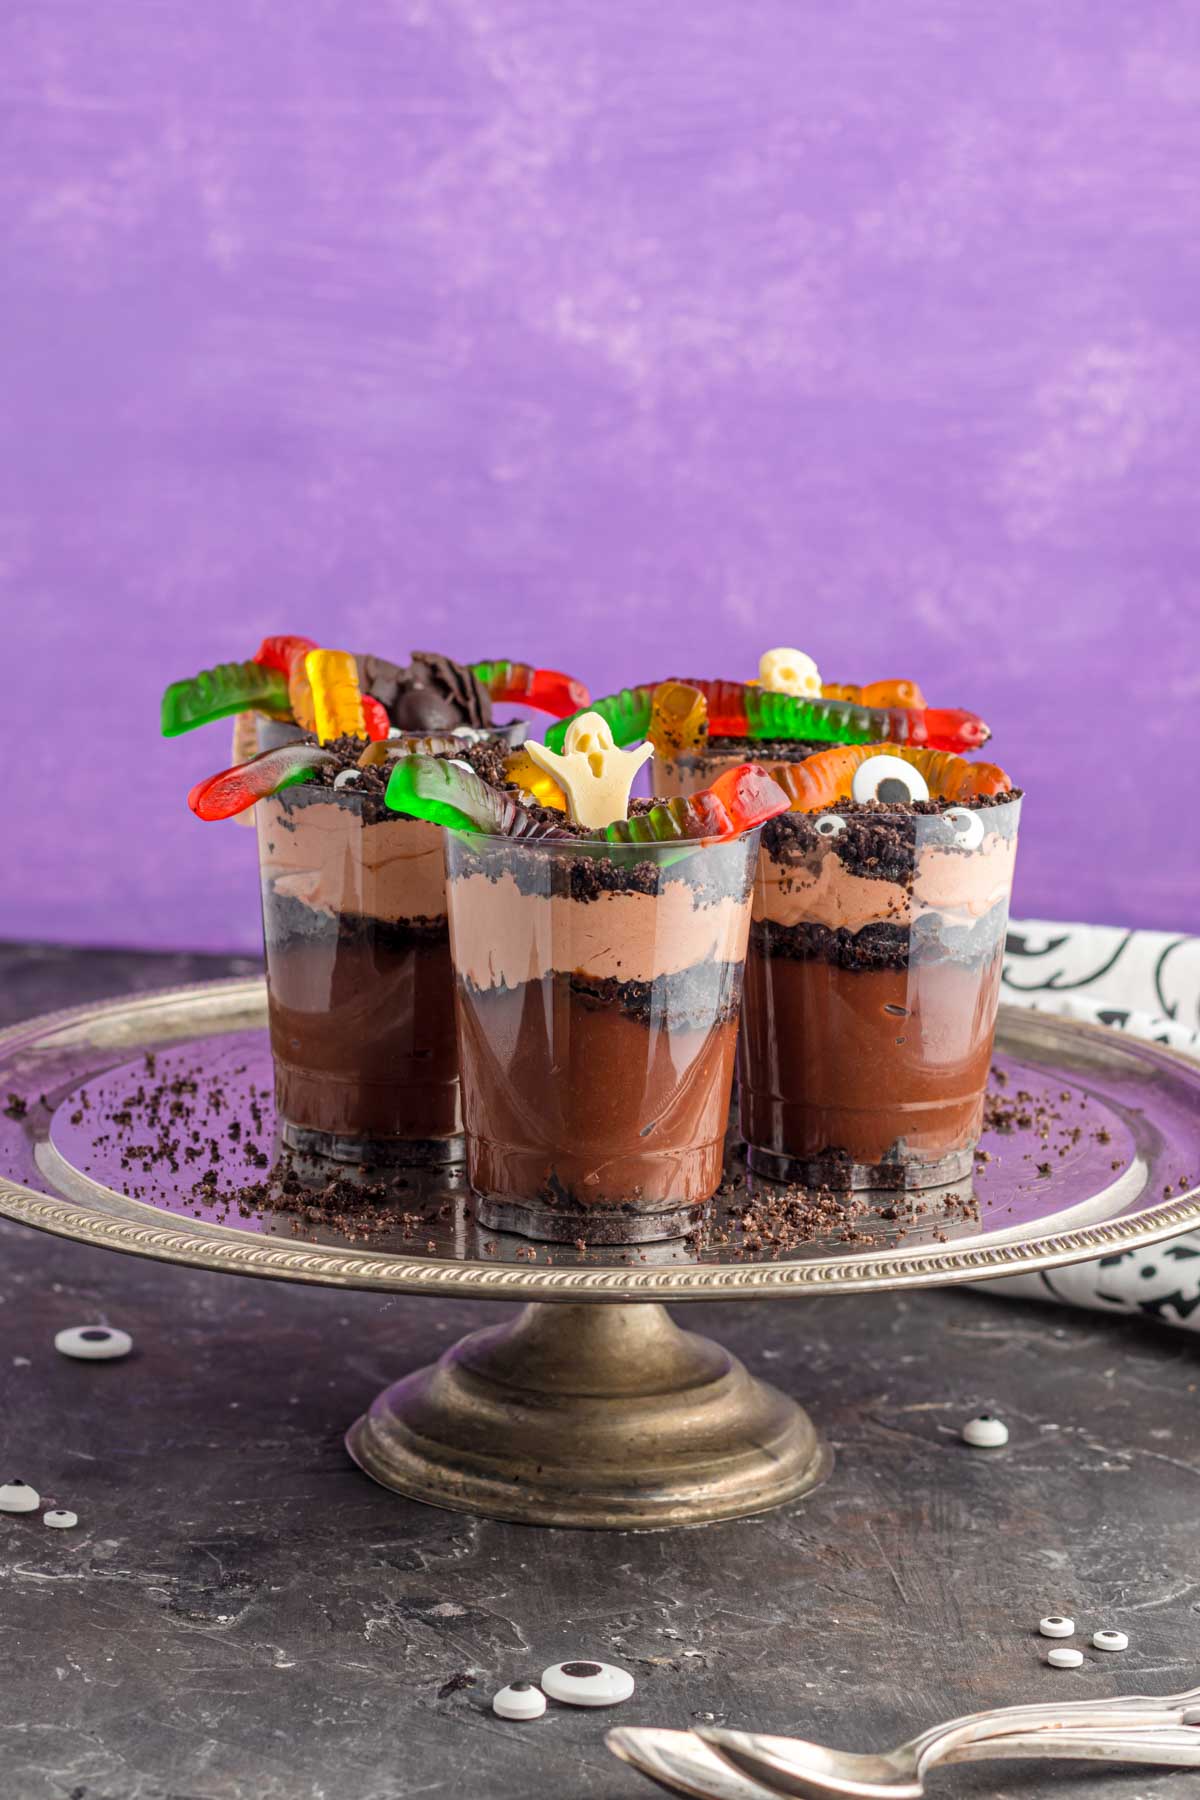
- Cute dessert – these fun Halloween dirt cups make a great addition to a Halloween party table with their bright colors and festive toppings!
- Fun recipe – not are are these easy to make, they’re actually a fun dessert to make too! There’s just something satisfying (and fun) about adding a thick layer of pudding to each cup, then Oreos, and then topping with tombstone cookies. I may be weird, but I really think it’s fun. And my kids did too!
Ingredients
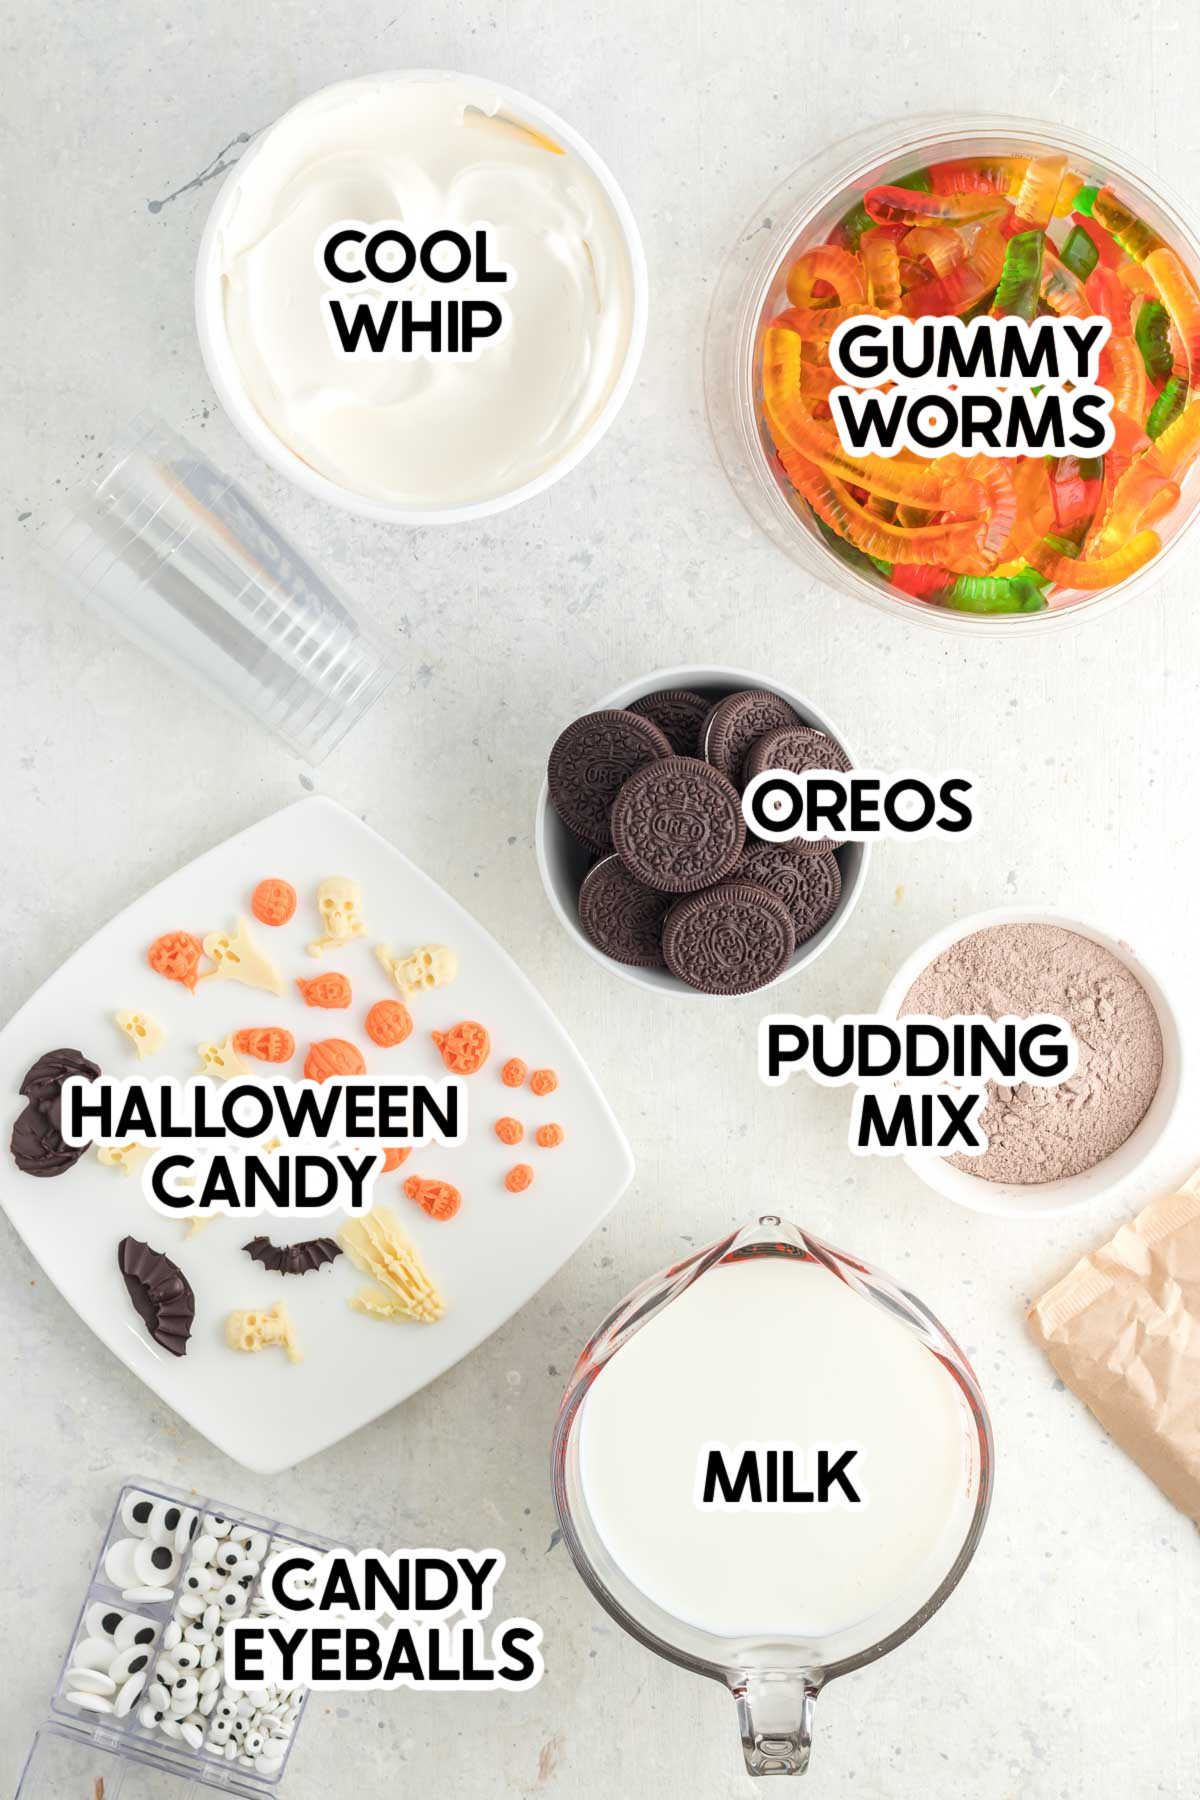
Ingredient Notes
- Cool Whip – you can use either Cool Whip or stabilized whipped cream if Cool Whip isn’t your thing. Just make sure it isn’t frozen!
- Oreo cookies – you’ll want to use either whole Oreo cookies or generic chocolate sandwich cookies work as well if you can’t for some reason find Oreos. Keep them whole, no need to scrape out the inside cream filling.
- Pudding mix – I like these Halloween dirt pudding cups best with chocolate pudding but if you don’t want chocolate for some reason, you can also use vanilla, cheesecake, or even white chocolate pudding mix in the same measurements instead. Oh and make sure to use instant pudding mix so you can make these quickly. No one wants to be waiting on pudding to set!
- Milk – I always prefer using whole milk for recipes like these where you want the pudding to be nice and thick! While you can use milk with less fat content, my favorite way is to use whole milk that’s thick and creamy! If you don’t have milk, your next best option is heavy cream, but honestly that may just be a little too thick anyone’s liking!
- Halloween candy – I put candy but really you could use anything for the graveyard decorations. We used Milano cookies on our graveyard dirt cake. I’ve seen Nutter Butter cookies used as tombstone or even just little ghost peeps or candy bones! The possibilities are pretty endless!
Tip!
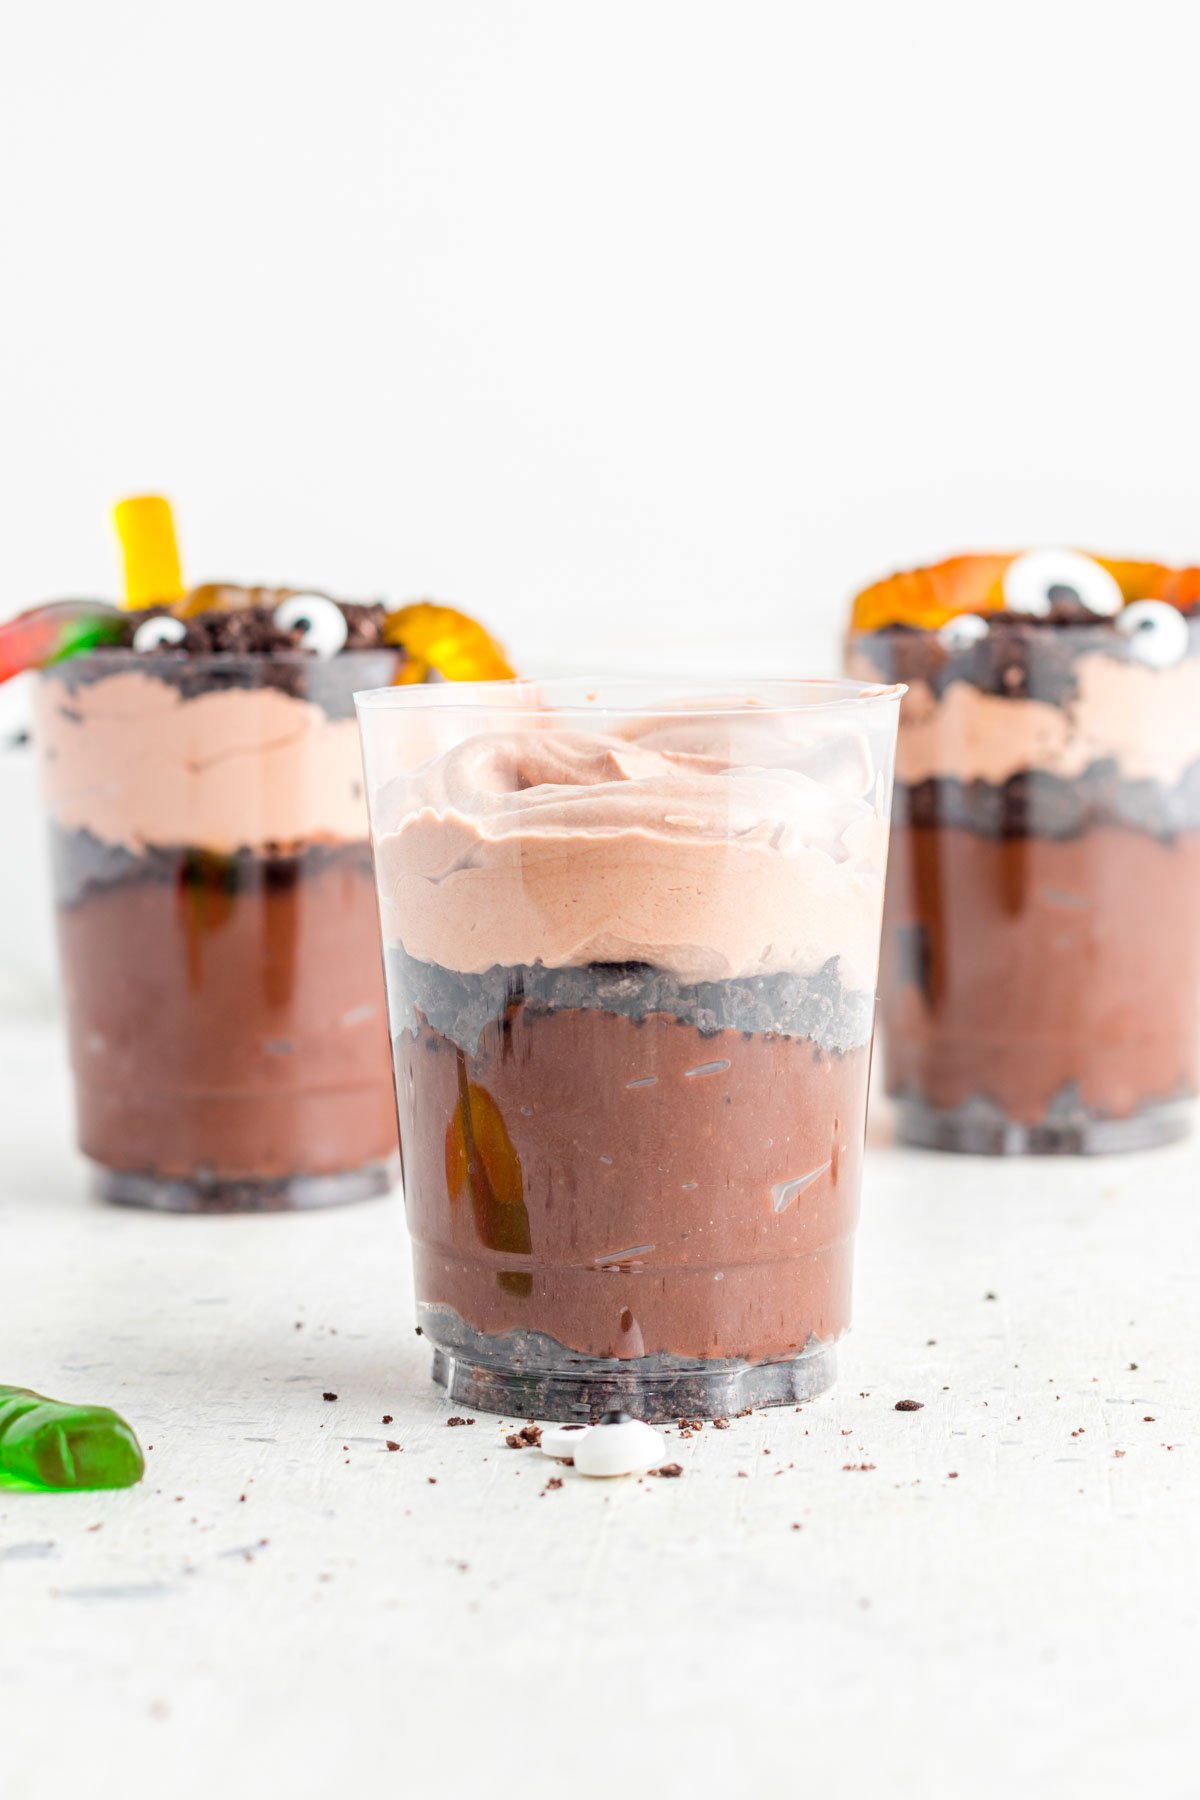
Make these in clear plastic cups so that you can see all of the fun layers of your graveyard pudding cups – it’s kind of like all of the layers of the Earth under there!
How to Make Halloween Dirt Cups
These dirt cups are simple to make in just three easy steps – making the pudding, making the Oreo dirt, layering the cups, and decorating them!
Just make sure to read through the steps below and the recipe card carefully for any tips and tricks I have for perfect layers!
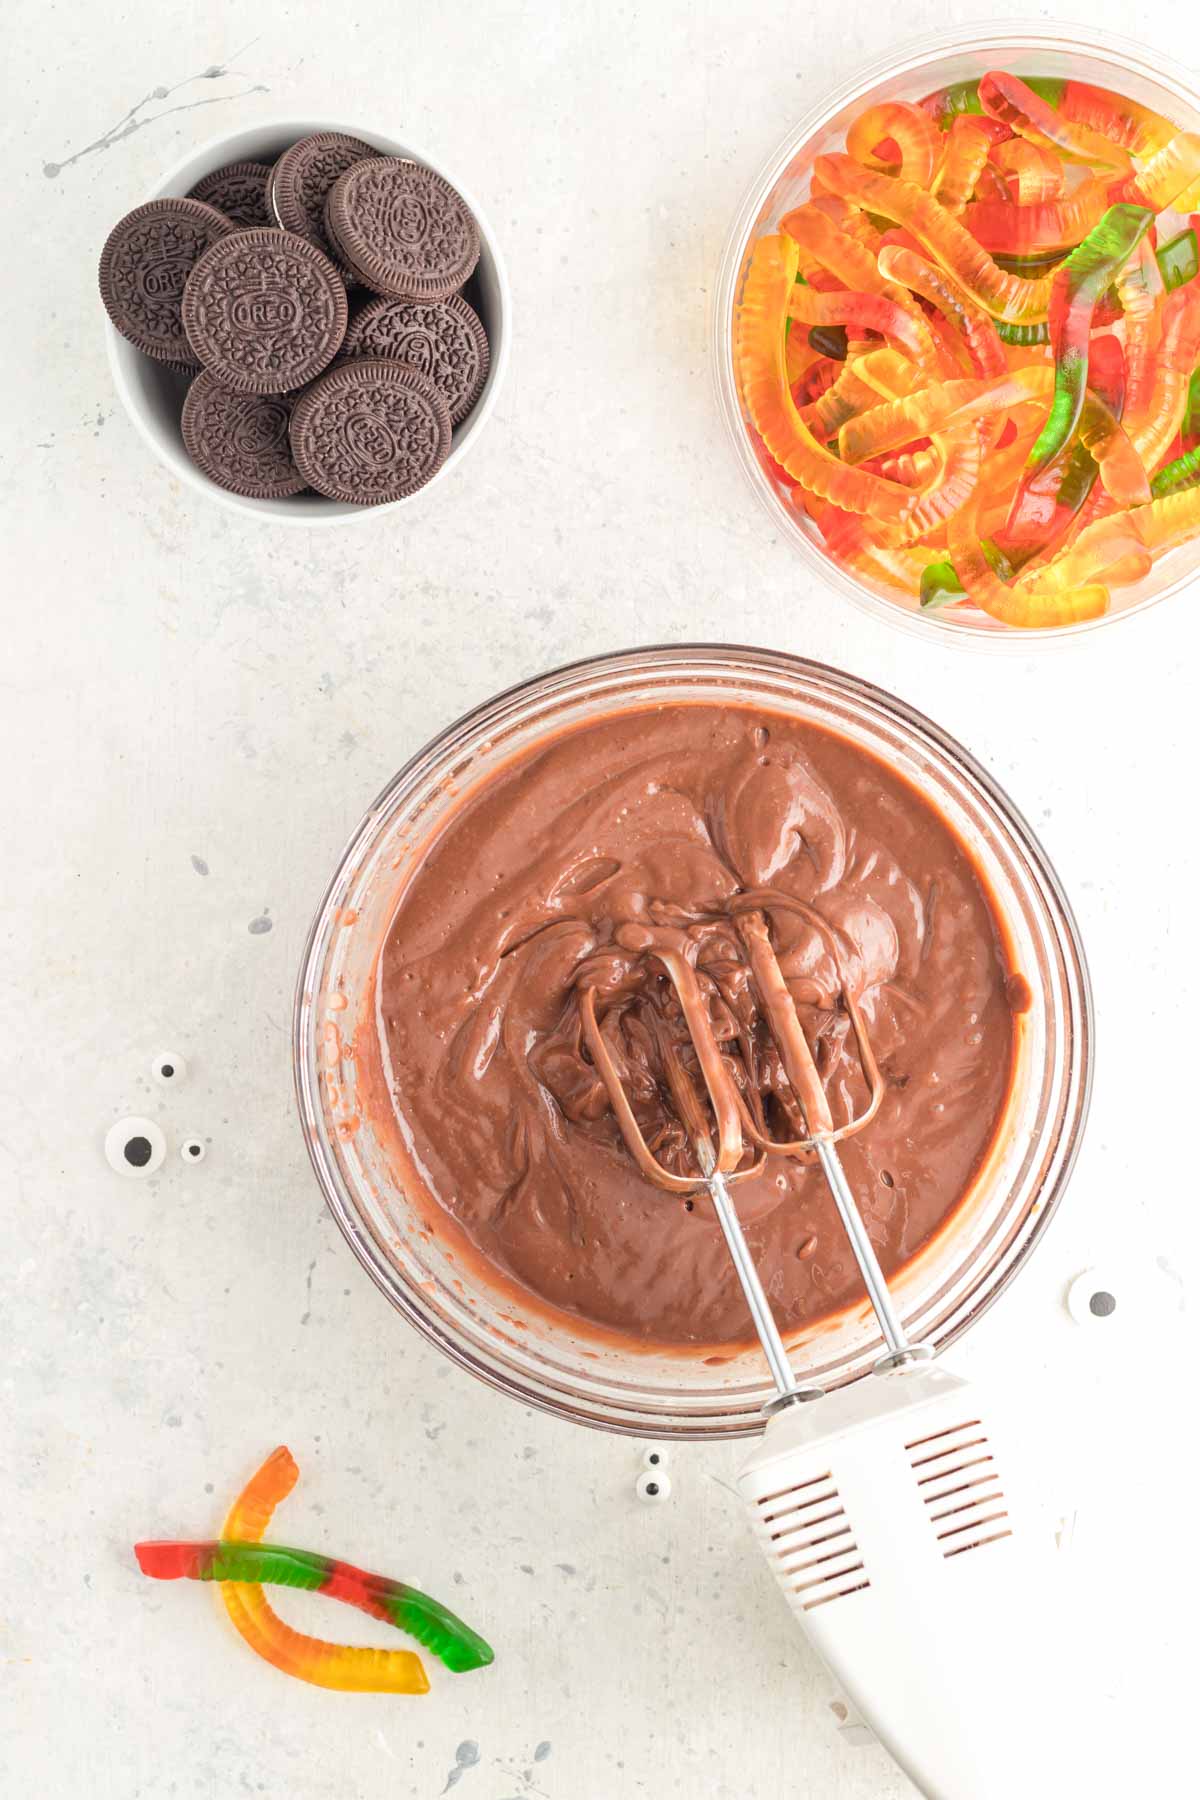
1 – Make the pudding
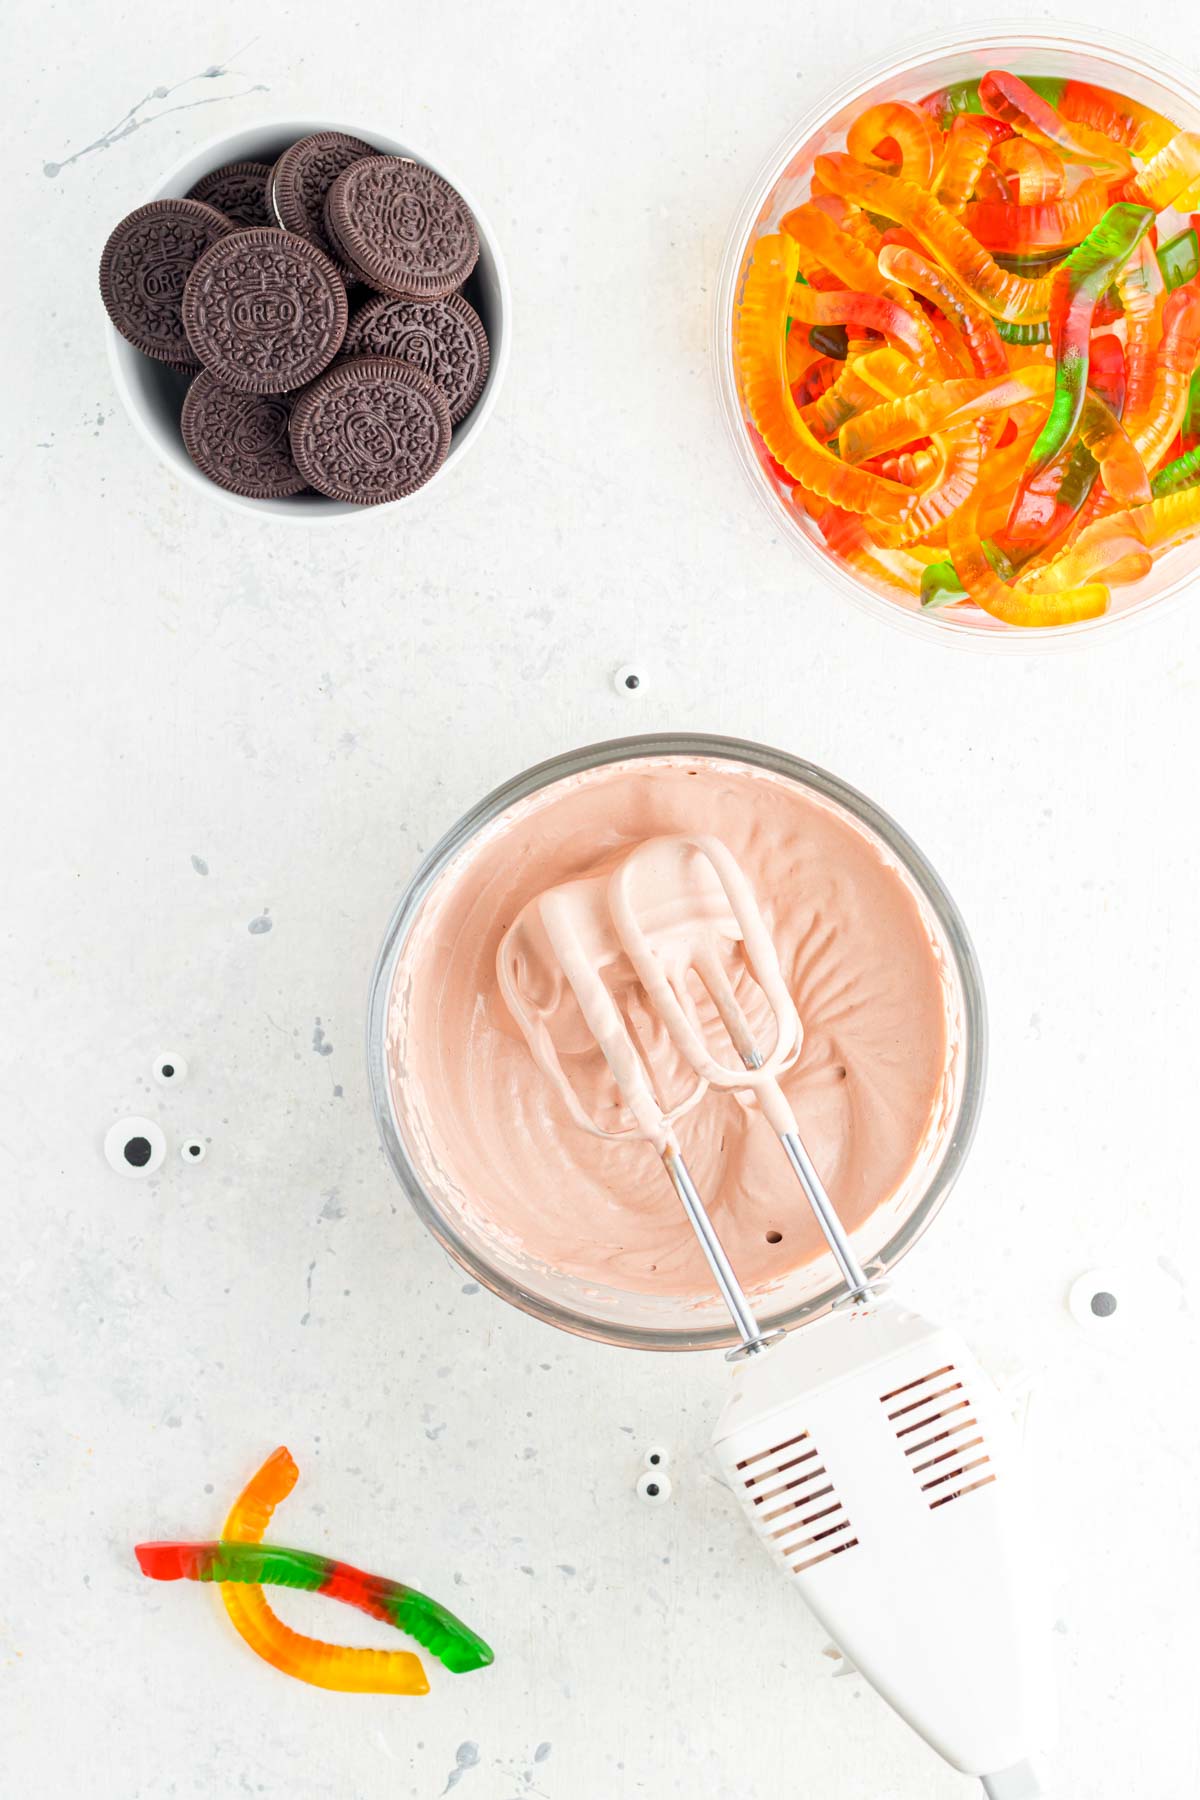
First, add the two packages of pudding and milk into a large bowl and mix until it becomes thick and smooth. You can either mix it by hand or mix with an electric mixer, either one works great!
Just keep mixing until it’s thick, typically about 2-3 minutes. Then put in the fridge to allow it to chill for a few minutes.
In a medium bowl, combine the Cool Whip and one cup of the chocolate pudding you just made. Mix those together for about two minutes until well combined.
Allow the pudding and Cool Whip mixture to cool while you make the Oreo dirt.
2 – Make the Dirt
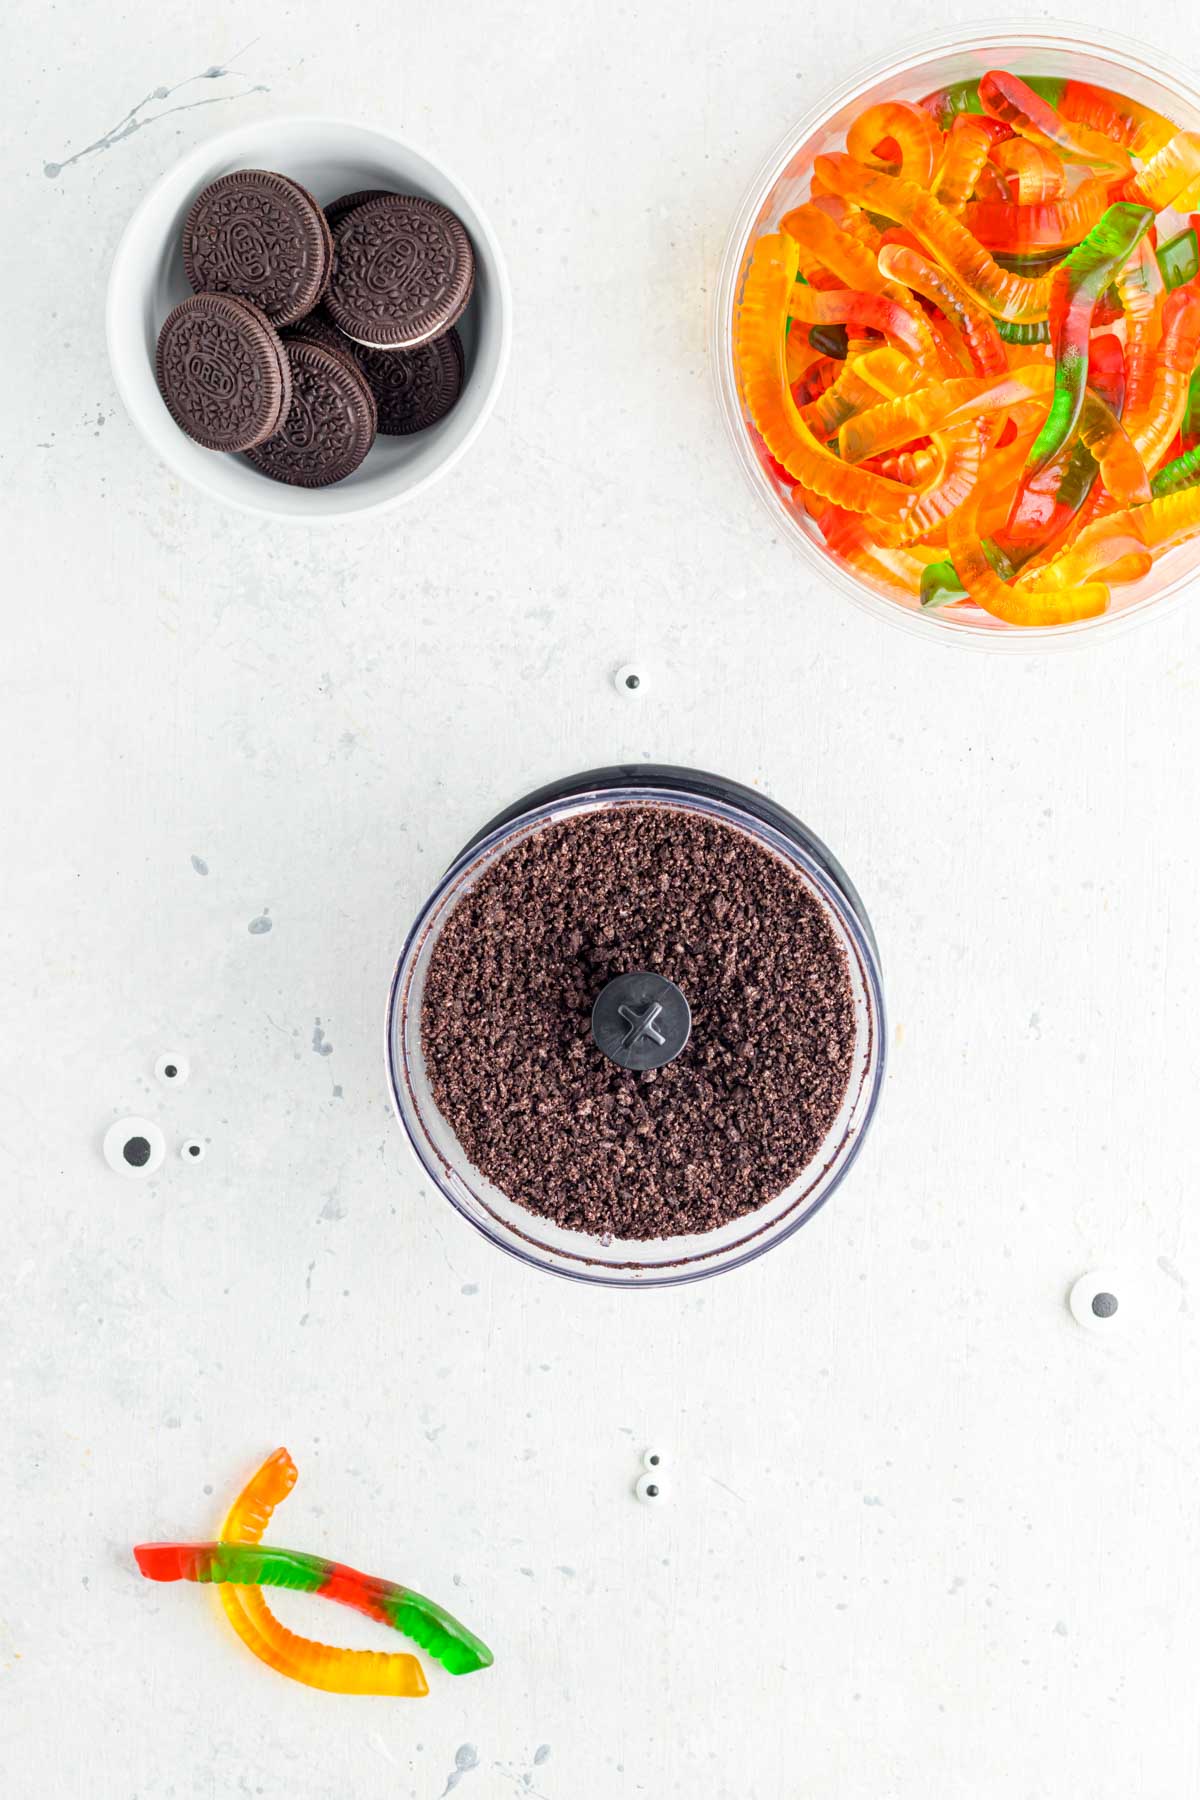
Put Oreos into a food processor and pulse until they become medium fine crumbs. This is definitely the preferred method!
How to Make Oreo Dirt without a food processor
If you don’t have a food processor, you can crush the Oreos in a Ziploc bag and use a rolling pin to crush them!
If you want to go this route, I recommend double bagging the Oreos before rolling them out so if you poke a hole in the bag by accident, you don’t end up with Oreo crumbs everywhere.
Trust me, they’re not fun to clean up!
3 – Layer the Cups
I like to setup a little assembly line for layering my cups but if you’d rather do one at a time or if people are doing these individually, you can just have everyone do their own layers instead.
But if you want to do assembly line like I do, put out all eight of your cups in a line, then do the following for each of the cups!
- Add 1 tablespoon of the Oreo dirt to the bottom of each cup. Shake it around slightly to get an even layer on the bottom.
- Add a 1/2 cup of the chocolate pudding to your graveyard pudding cups, trying your best to evenly smooth it on top of the Oreos.
- Add another tablespoon of Oreo dirt on top of the chocolate pudding.
- Add 1/4 cup of the remaining pudding mixture (the pudding + Cool Whip) on top of the Oreo crumbs.
- Add one final tablespoon of the crushed cookies on top of the smooth layer of pudding.
Tip!
These are the amounts that I used for my layers. If you’re using larger or smaller cups (I used 9oz cups), you’ll want to increase or decrease the amount you’re using accordingly. Also, you really don’t have to measure things out if you’re in a hurry. I just found the 2:1 ratio of the chocolate pudding to the Cool Whip pudding mixture was best!
4 – Decorate the Cups
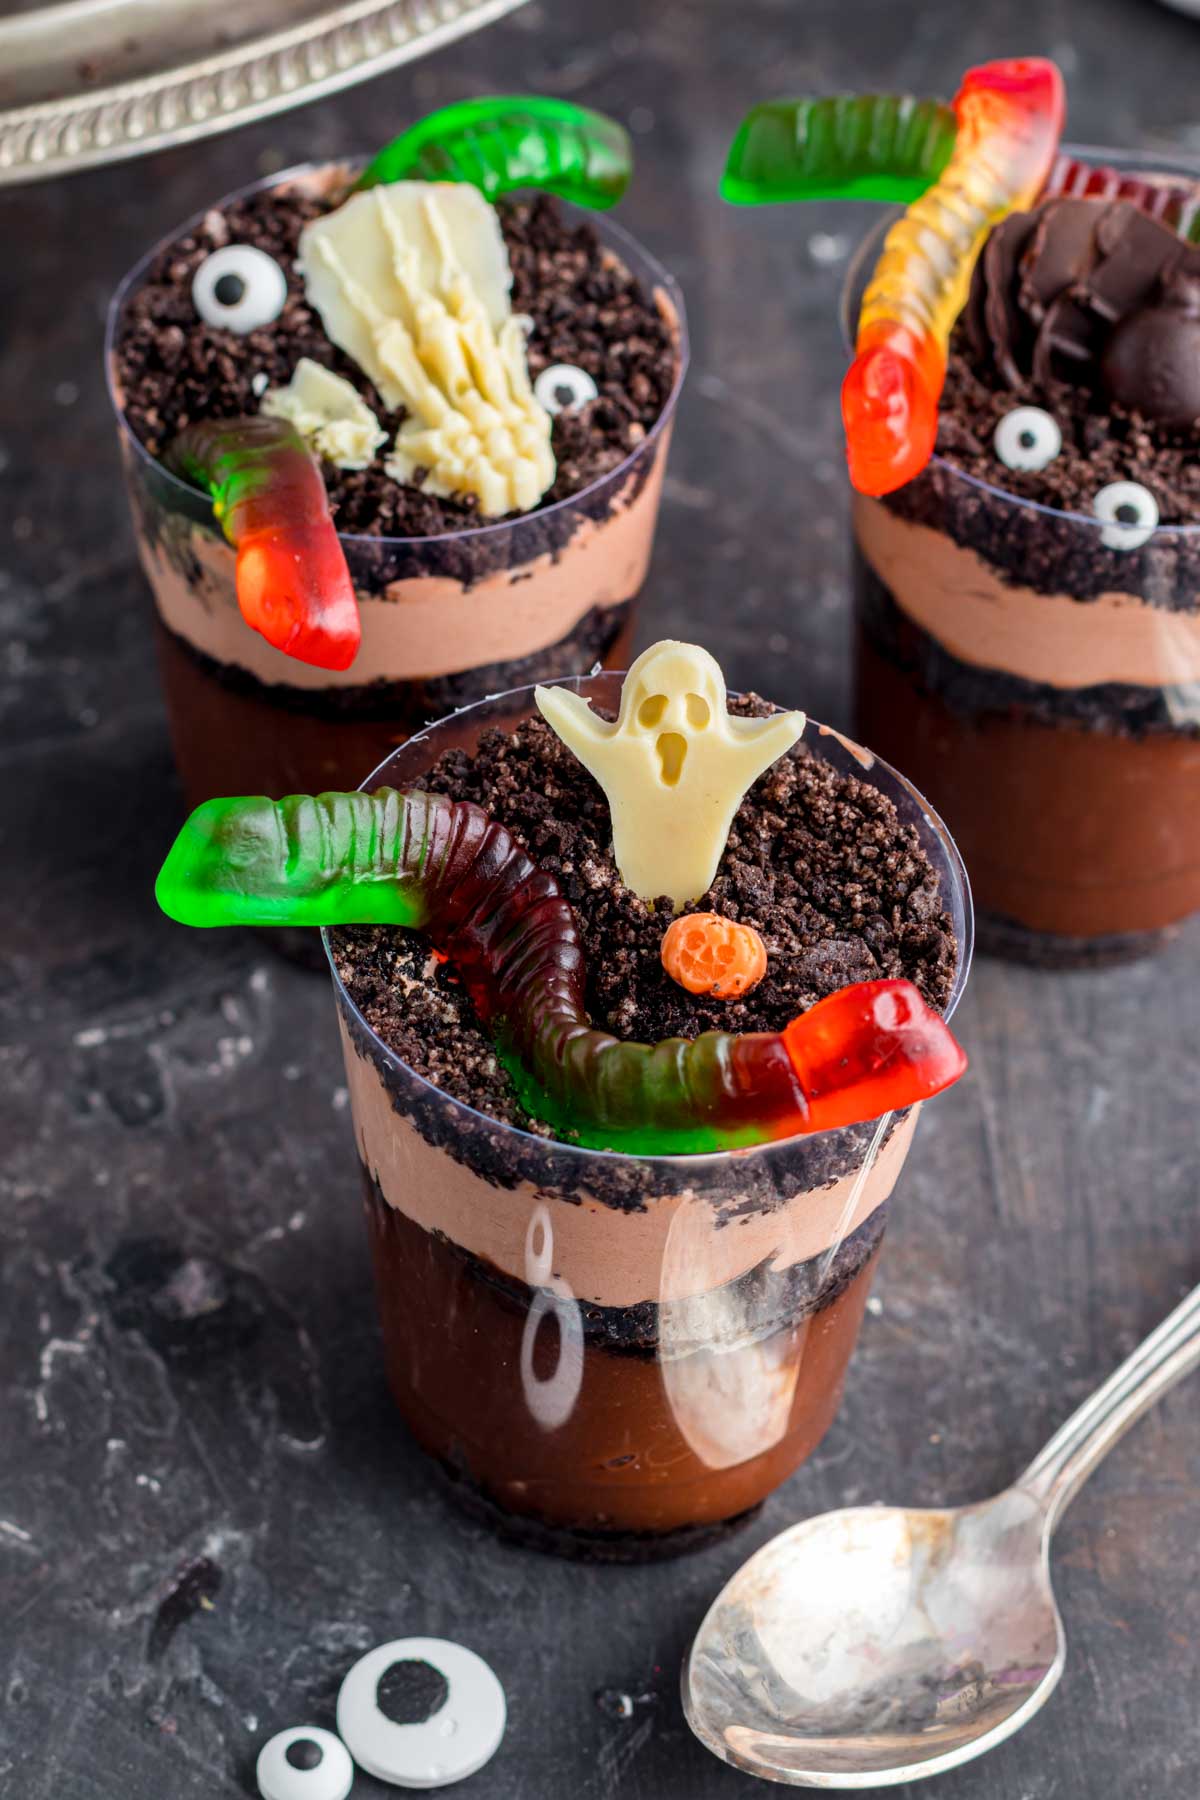
Finish off your dessert cups by adding gummy worms, candy eyeballs, Halloween candy, and anything else you want to make your mini graveyard dirt cups.
You could even use a little melted chocolate in a zipper top bag to add sayings to cookies for tombstones!
5 – Chill and Serve
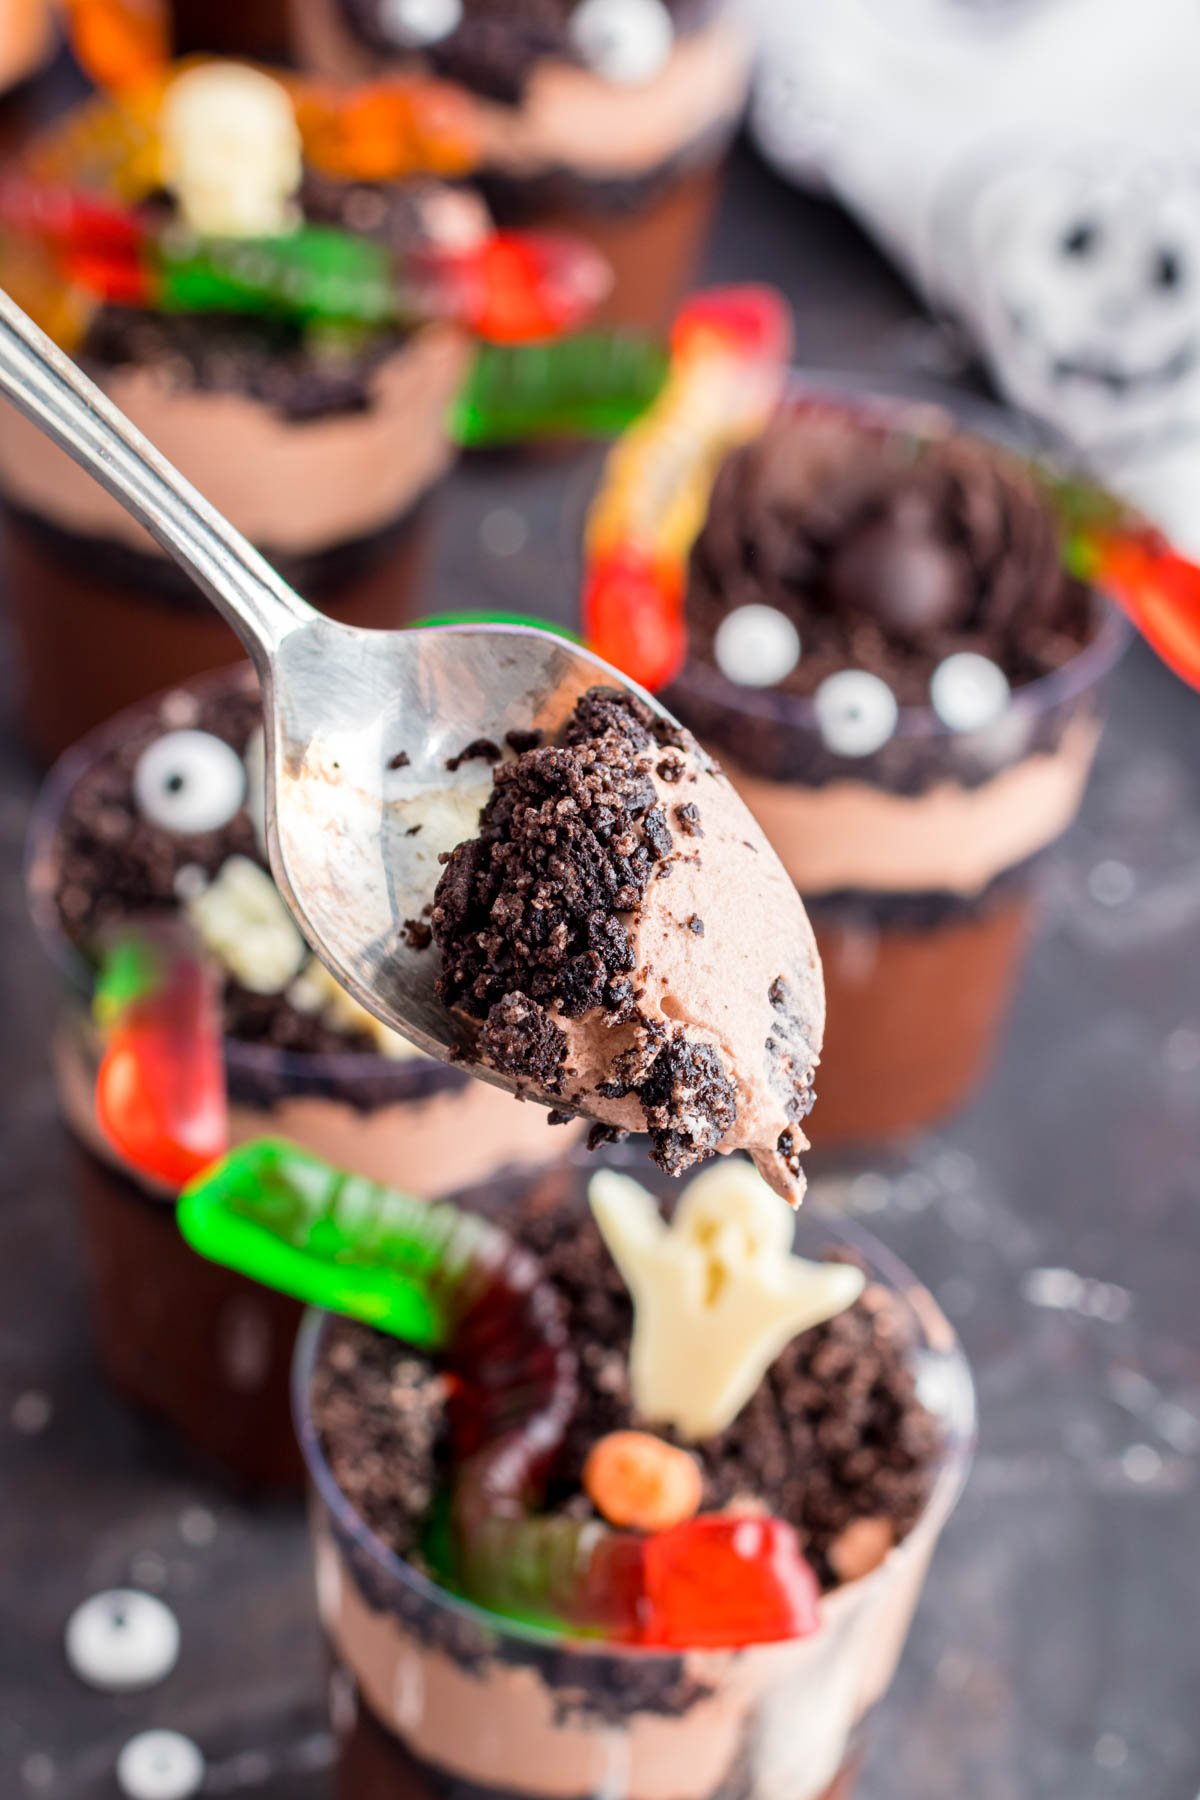
While technically you can eat these right away (and my kids did), they’re even better if you chill for 30 minutes before serving. It lets all of the flavors really mingle together and lets the pudding set just a little better.
But if you can’t wait to enjoy your very own cup of dirt, have at it! Spooky treats like these are made to be enjoyed!
How to Transport Dirt Cups
If you’re making these for a party or somewhere besides at your own house, you will probably need to get them there!
To make transportation easy, wait to add the final toppings until you’ve reached your final destination. Put the undecorated cups in muffin tins and add a little tight wrapping plastic wrap on top to keep everything from spilling out during transport.
When you reach your final destination, finish decorating and serve!
Expert Tips & Storage Info
Use a spoon to carefully place the layers of pudding and pudding mixture into the Oreo dirt cups. This will give you the cleanest outside to see all of those yummy layers. If you do get pudding on the exterior of the cup, you can either leave it (no big deal) or clean it off carefully with a wet paper towel.
Pat the cup on the counter after you add in each layer to help it settle into one even layer. This especially helps for the pudding layers!
Place the finished Halloween dirt pudding cups in a muffin tin if you need to travel to your next Halloween party! These graveyard pudding cups are one of the easiest Halloween recipes to make for a group and to travel with!
Store leftover cups in the refrigerator for up to three days before throwing away, if they last that long! They are best eaten the day of because the worms and Oreos can get a little soggy but I haven’t met a kid who ever complained about a soggy gummy worm!
Make smaller cups by halving the layers! This recipe is written for larger cups, but you can easily make smaller versions as well! And honestly, I have measurements because this is a food blog, but you could always just eyeball the layers as well!
Recipe FAQs
How long does dirt last in the fridge?
Oreo dirt pudding lasts for up to three days in the fridge before the dirt crumbs get so soggy they just don’t taste good.
Can I turn this into a Halloween dirt cake?
If you’d like to do one big Halloween dirt cake instead of dirt cups, you can just do layers in an 8×8 pan (for thicker layers) or layers in a 9×13 pan instead. The flavors and layers will be the same, it’ll just be one large dish instead of Halloween dirt cups.
Why didn’t my pudding thicken?
Make sure you are using instant pudding mix and use cold milk. If you use a different type of pudding mix, it will take much longer (and even possibly cooking depending on the pudding type you choose), to get the pudding to thicken. Choose the instant pudding for it to thicken in the five minutes referenced in the recipe!
More Fun Halloween Treats
If you like this dirt pudding recipe, make sure to check out these other sweet treat options!
- Halloween bark recipe – next time you’re craving a sweet treat, make this Halloween bark in minutes for satisfy that sweet tooth!
- Halloween pretzels – the cutest Frankenstein pretzels that make a great sweet and salty snack!
- Cauldron cupcakes – if you need a great idea for a witch themed dessert, these are some of my favorites!
- Peanut butter spider cookies – the best peanut butter cookies topped with a peanut butter cup spider!
- Ghost brownies – the perfect treat if you have just a few minutes but still want something cute!

Halloween dirt cups
Ingredients
- 2 (3.9 oz) boxes instant chocolate pudding
- 4 cups milk
- 1 cup cool whip
- 15 Oreo cookies
- Candy eyes, gummy worms, and Halloween candies
Instructions
- Add 2 packages of chocolate pudding and milk into a large bowl and mix until it becomes thick and smooth.2 (3.9 oz) boxes instant chocolate pudding , 4 cups milk
- In a medium bowl combine the cool whip and one cup of the chocolate pudding. Mix together for about 2 minutes until well combined.1 cup cool whip
- Mix those together for about 2 minutes until well combined.
- Put Oreos into a food processor and pulse until they become medium fine crumbs.15 Oreo cookies
- Line up all 8 plastic cups.
- Add 1 tablespoon of the Oreo dirt in the bottom of the cup. Then layer with 1/2 cup of the chocolate pudding. Add another tablespoon of Oreo dirt over the chocolate pudding. Add 1/4 cup of the whipped topping layer. Tap the cup to level it out. End with one last tablespoon of dirt. Repeat for all the cups.
- Add candy eyes, gummy worms, chocolates, and any other candy. Chill for 30 minutes then serve.Candy eyes, gummy worms, and Halloween candies


Leave a Reply