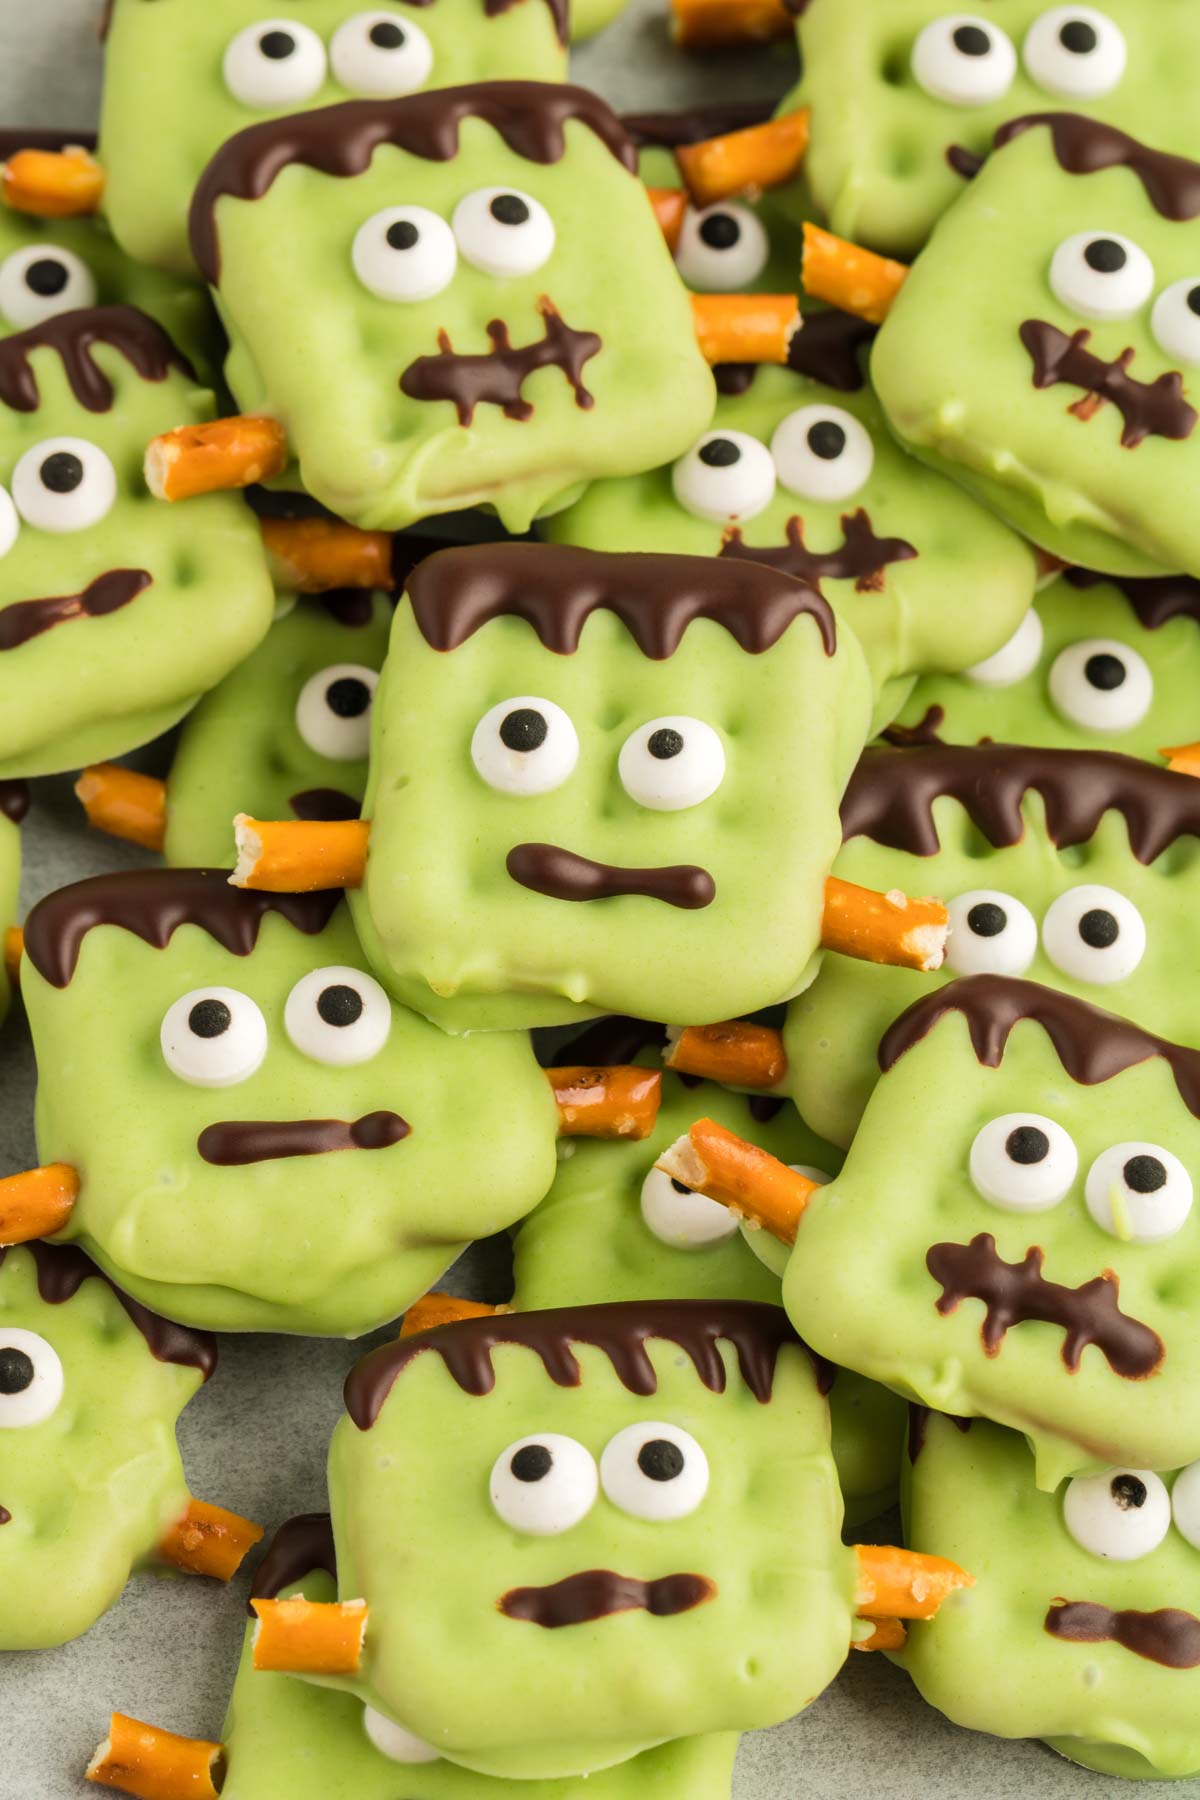
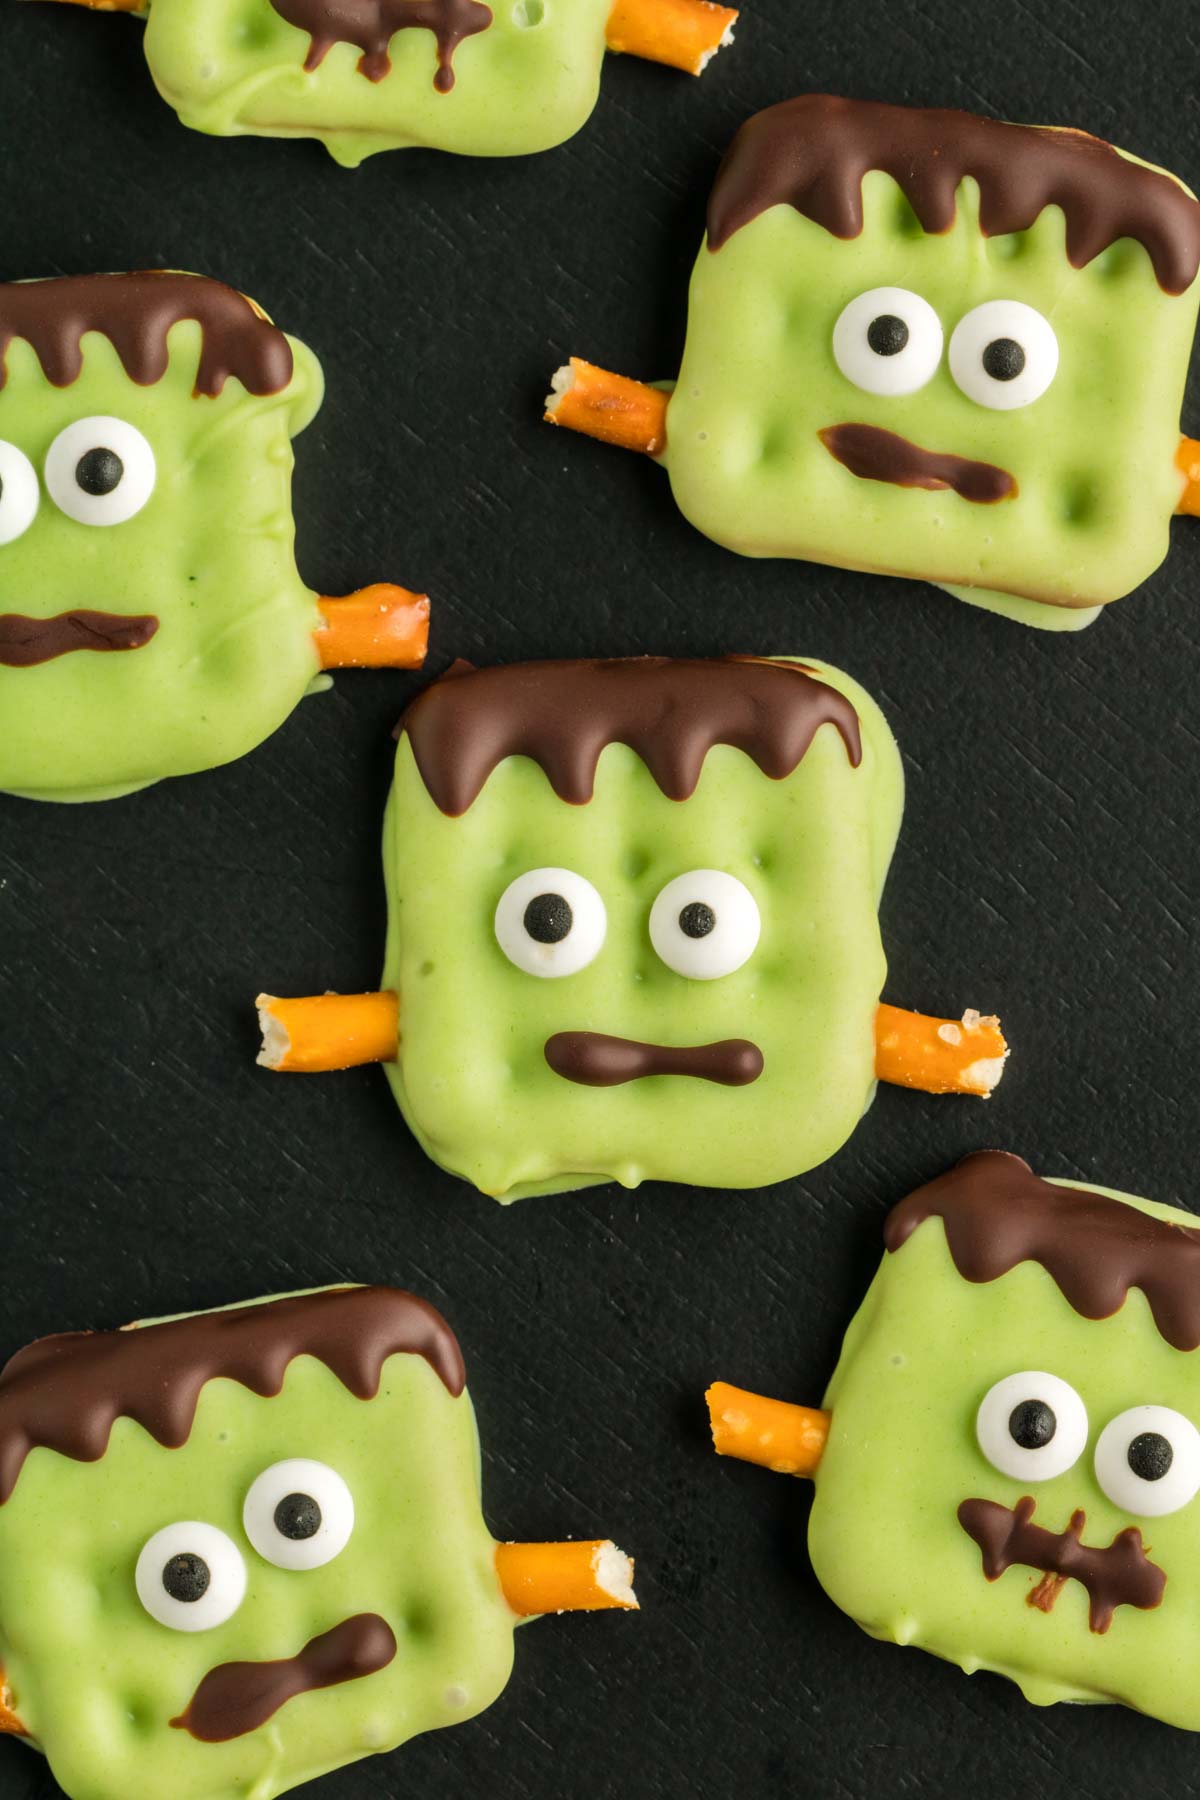
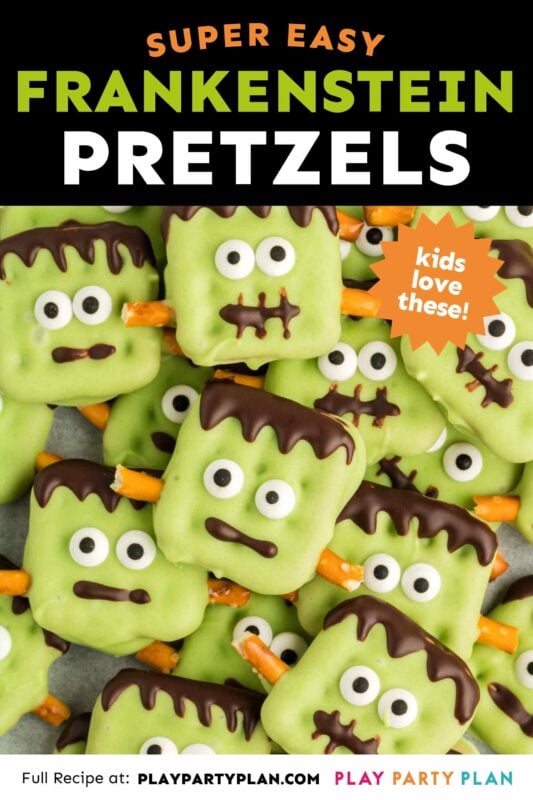
This Frankenstein Halloween pretzels recipe makes the cutest Halloween treats you’ll make this year! Salty pretzels coated in sweet chocolate gives you a sweet and salty treat that are pretzels for your next Halloween party or anytime you just want some festive treats to enjoy during spooky season!
Want to save this recipe?
Enter your email below and we’ll send this idea straight to your inbox (plus you’ll receive fun weekly ideas from us too!)
With the recent release of Hocus Pocus 2, I feel like this has been the year of the witch. Well, after sharing my witch hat cookies, cauldron cupcakes, and witch Halloween dessert board, I’m over witches and ready to move onto other Halloween recipe ideas.
I’ve also shared one Frankenstein recipe before – this Frankenstein guacamole – so thought it’d be fun to give a little love to the green monster!
I shared these Frankenstein Halloween pretzels over on my TikTok page a few weeks ago, and people absolutely loved them. I’m hoping you’ll love these monster pretzels as much because they’re a really fun treat and maybe my favorite treat I’m sharing this year!
Don’t tell my ghost brownies I said that.
And honestly the pretzel and candy melts make the perfect combination for a spooky treat – sweet and salty!
Why You’ll Love This Recipe
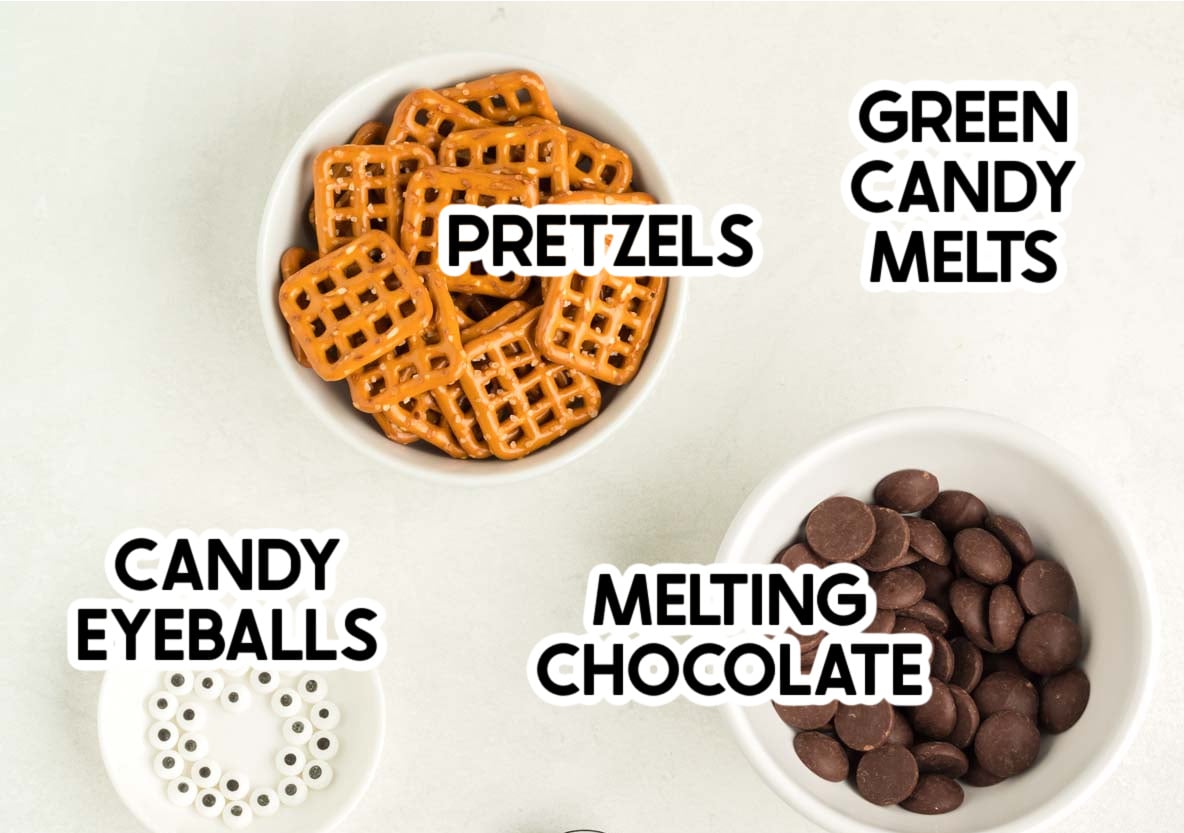
- Simple ingredients – all you need for these adorable Halloween pretzels are pretzels, candy eyes, candy melts, and chocolate. Super simple ingredients you can get at a your local grocery store, craft store, or even online somewhere like Amazon!
- Easy recipe – if you can microwave something, you can make this recipe! It really doesn’t get much easier than this!
- Fun Halloween treats – these are the perfect treat if you want a cute snack for Halloween parties, to give out to friends, or to give to the little monster that lives in your own house! Plus, they’re a bite-sized treat, which makes them perfect for any age – even little kids!
Ingredients
Ingredient Notes
- Melting chocolate – there are a number of different things you can use for this, but my favorite are the Ghirardelli chocolate melting wafers because they melt and harden the best in my opinion. You could also use good quality chocolate chips – dark chocolate, milk chocolate, or semi sweet chocolate would all be great.
- Square pretzels – to get the Frankenstein look in this easy treat, you need a bag of the square pretzels, typically called snap pretzels or butter snaps. They’re just little mini pretzels that are shaped like a square. You can use those both for the base of your treats and for the pretzel pieces you put on the sides of the pretzel.
- Candy eyeballs – I like the smaller versions (like these) on these sweet treats compared to the jumbo ones I used on my Hocus Pocus brownies.
- Green candy melts – you can either use green candy melts (the simplest version of this recipe) or you can use high-quality white chocolate chips combined with a green food coloring to make green candy melts. That’s a little more complicated but if you want to make these without having to buy candy melts, it’s an option. I used these vibrant green candy melts. Get two bags and make these Frankenstein rice krispie treats next!
Tip!
If you’re going to use white chocolate with green food coloring instead of candy melts, I recommend using gel food coloring instead of liquid, and I recommend adding a tsp of coconut oil to the white chocolate chips before you melt them so the melted white chocolate doesn’t seize.
How to make halloween pretzels
These spooky Halloween pretzels are so easy to make! It’s just melt dip, melt, decorate, and enjoy! If you’re more of a visual learner, you can watch the video in this post to see the step by step process as well!
Let’s get started – honestly, these are so much fun to make, I’m tempted to make another batch! The kids ate them so quick!
Line a large baking sheet with parchment paper (or wax paper) and set aside.
1 – Dip Pretzels
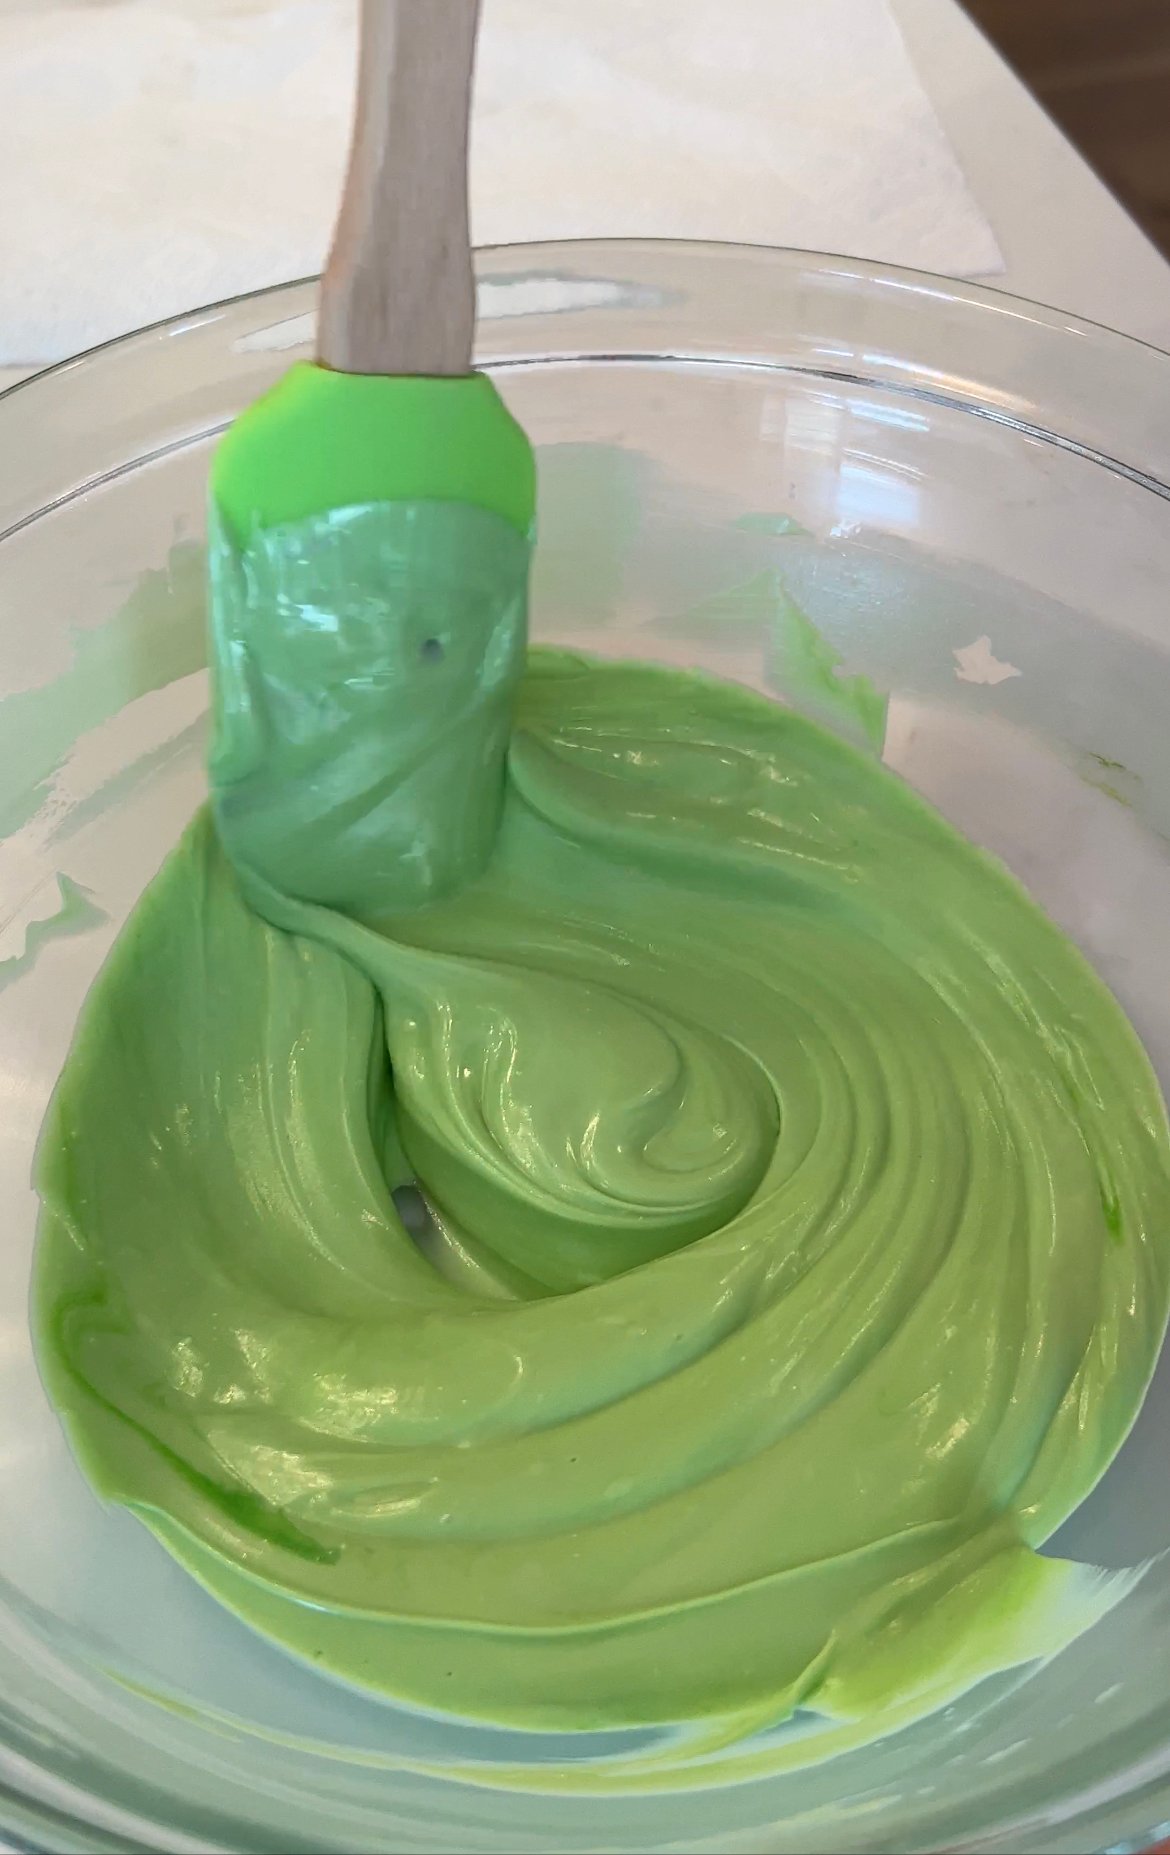
Add the green candy melts to a microwave-safe bowl that has a wide opening, wide enough that you can dip a fork flat into it.
Microwave the green candy melts for about 30 seconds then remove them from the microwave and stir. Put them back in and microwave after in twenty second intervals, stirring between each, until the candy melts are completed melted. You could also just follow the package directions for melting!
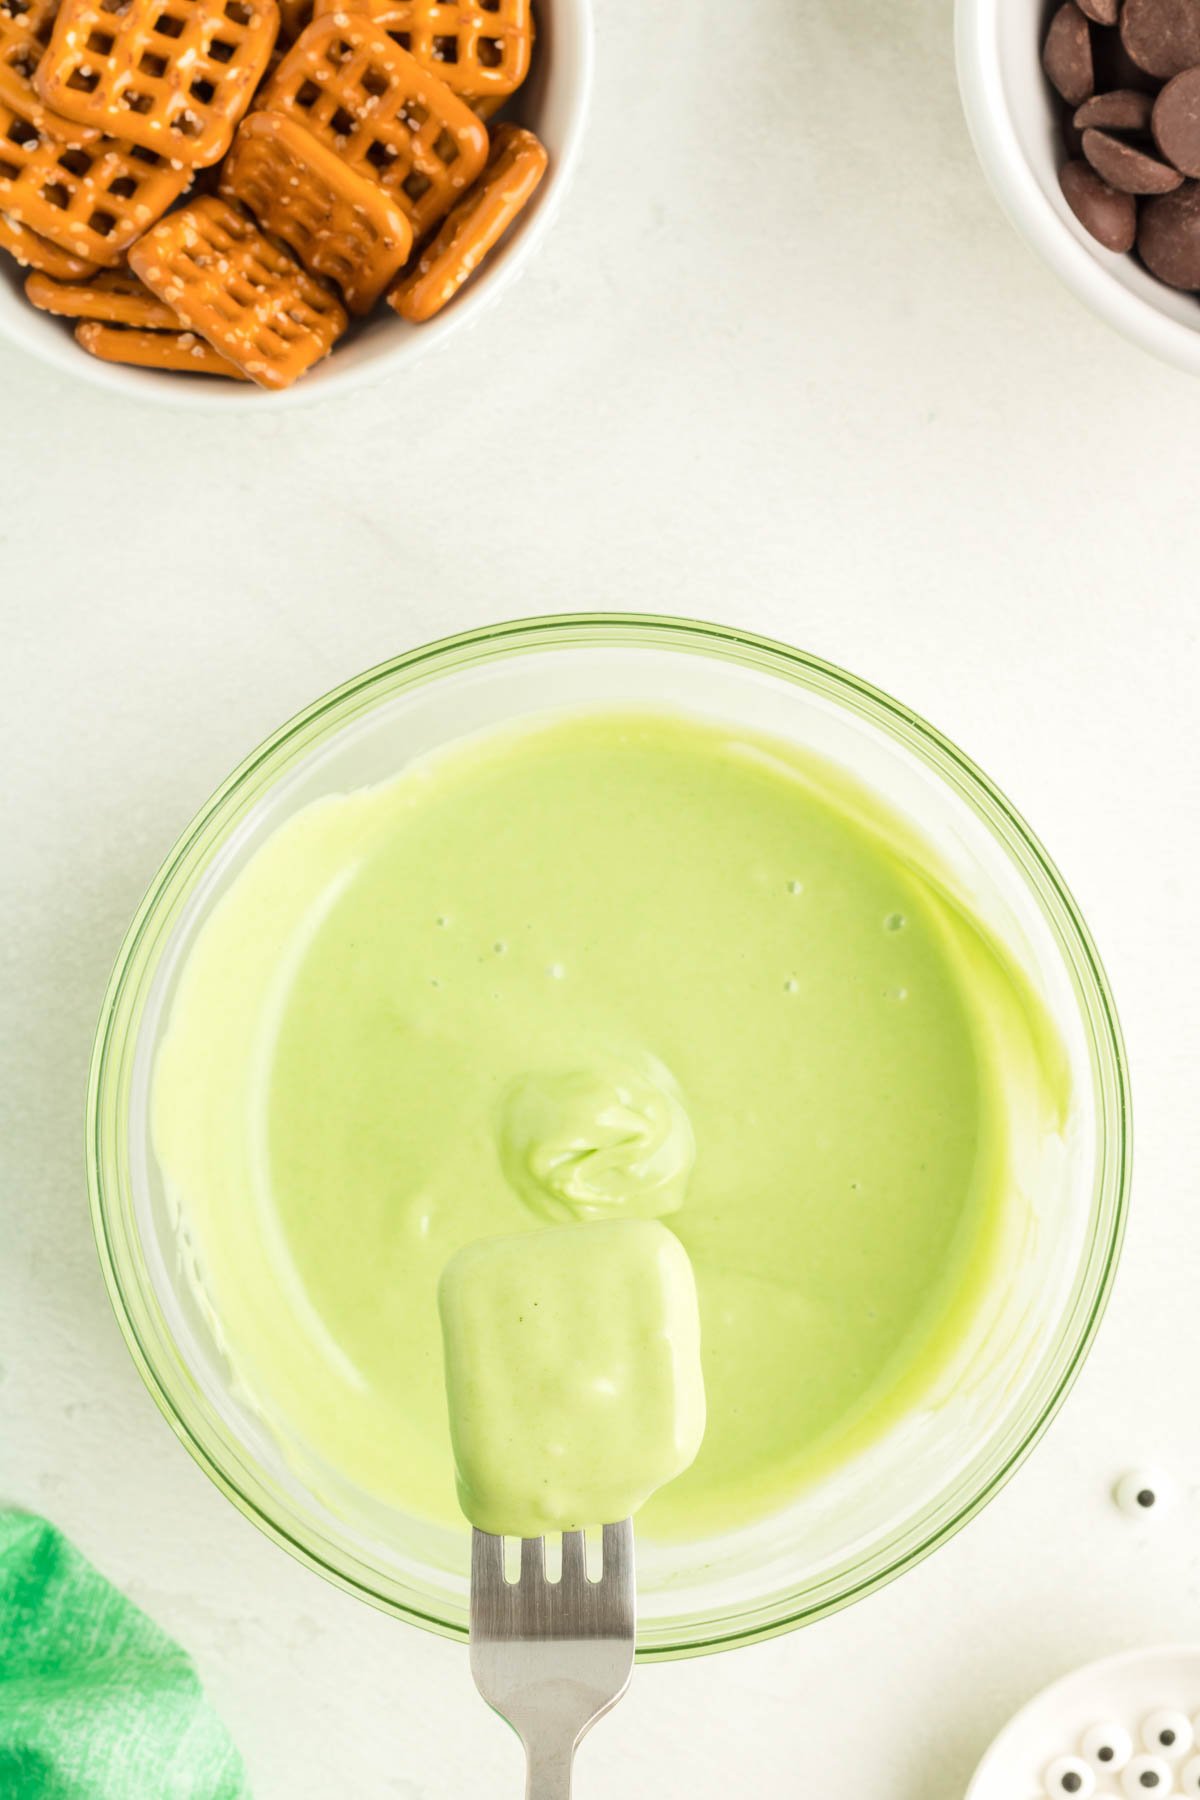
Use a fork and dip the square pretzels in the green candy melts one at a time. Tap off the excess candy and then place the pretzels onto the cookie sheet lined with parchment paper.
2 – Add Eyes and Bolts
While the candy melts are still wet on the pretzels, place two candy eyes in the middle of each pretzel, trying to put them about 2/3 of the way up the whole pretzel.
Place a piece of pretzel stick to each side of the pretzel to create Frankenstein’s bolts, pressing gently.
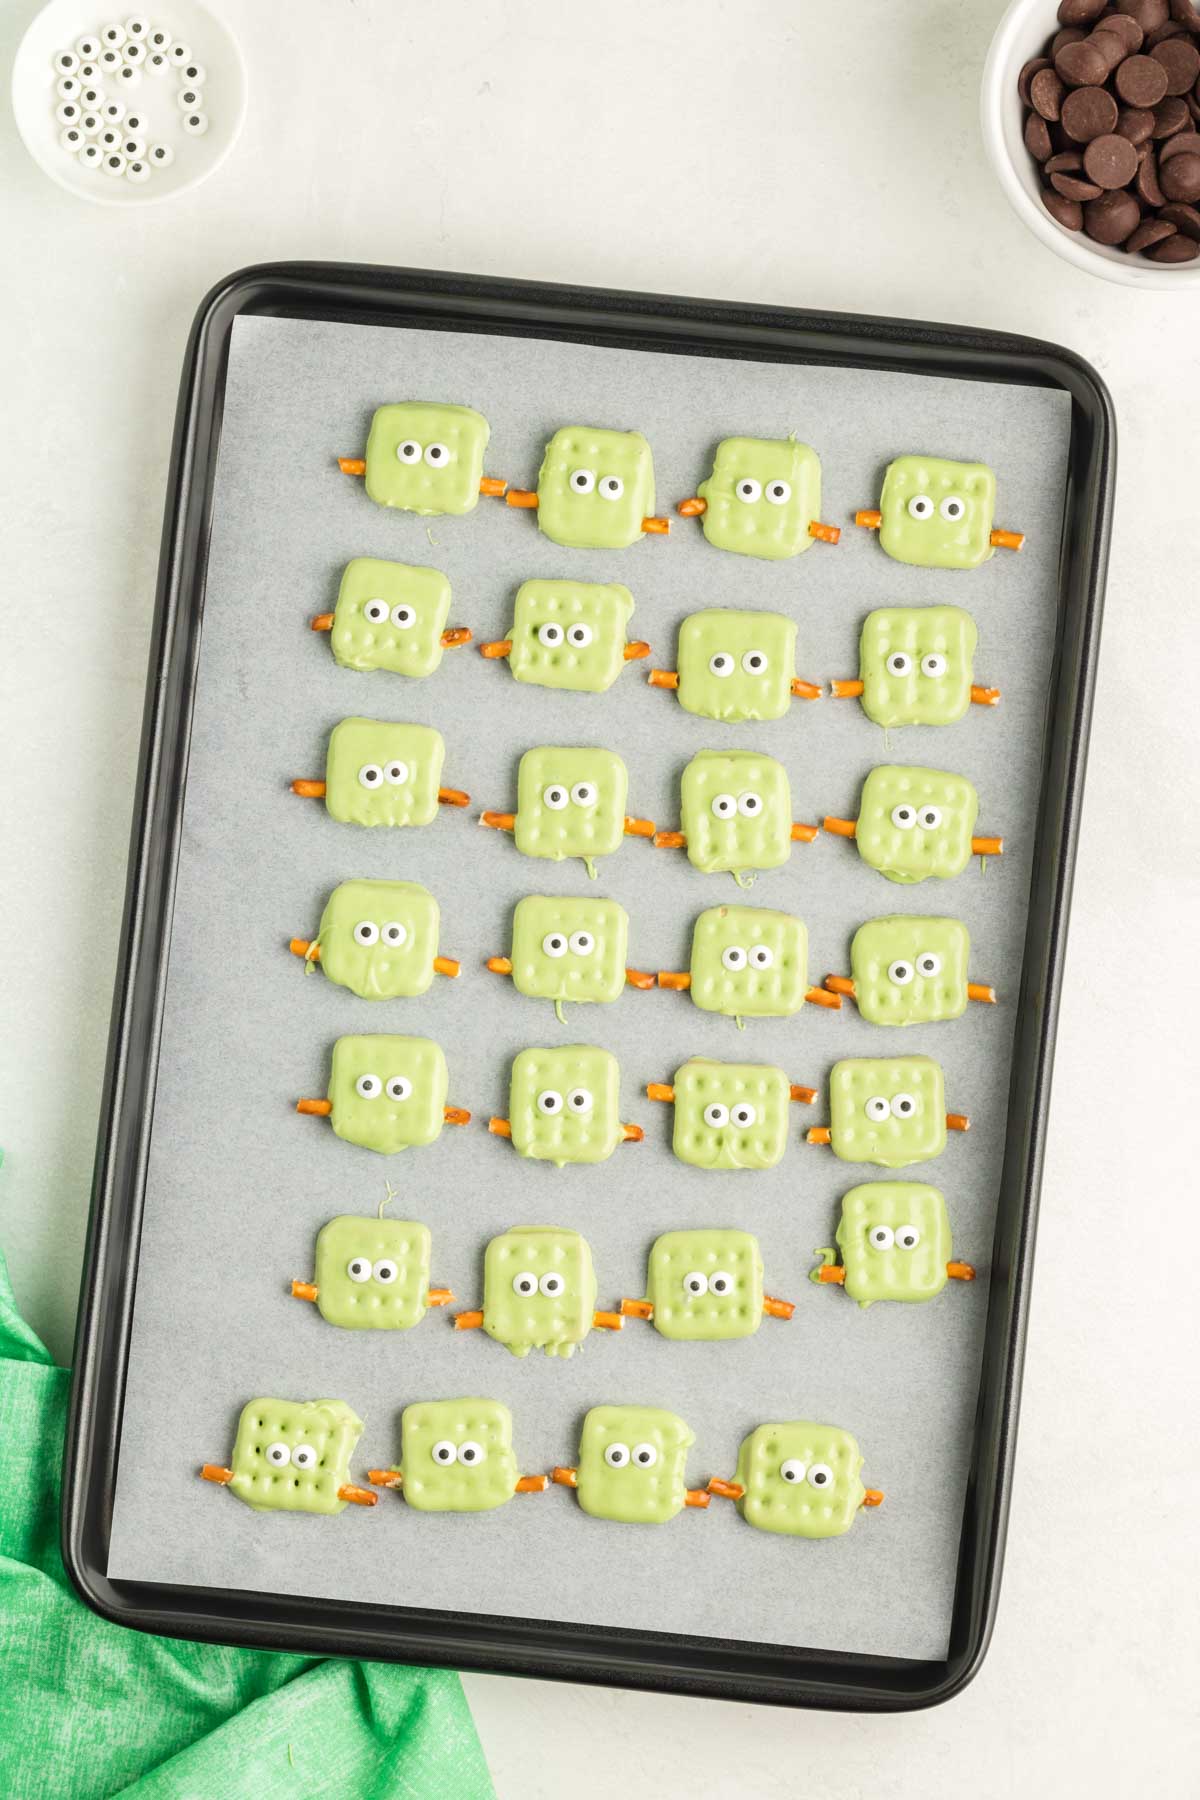
Place the candy melts in the fridge to chill to set for about 30 minutes before moving on to the next step. This will help keep the Halloween pretzel sticks on the side of the pretzels and the eyeballs on the top of the pretzel.
3 – Decorate Pretzels
After the green chocolate has set on the pretzels, place the melting wafers in a microwave safe bowl. Do the same as you did before – microwave first for 30 seconds, stir, then microwave at 20 second intervals, stirring in between, until the chocolate is smooth.
Add the melted chocolate to a to a piping bag, zipper top plastic bag with a tiny corner cut off, or a squeeze bottle – whatever you think you can handle the best. And honestly, these are super easy to decorate, so it doesn’t really matter that much.
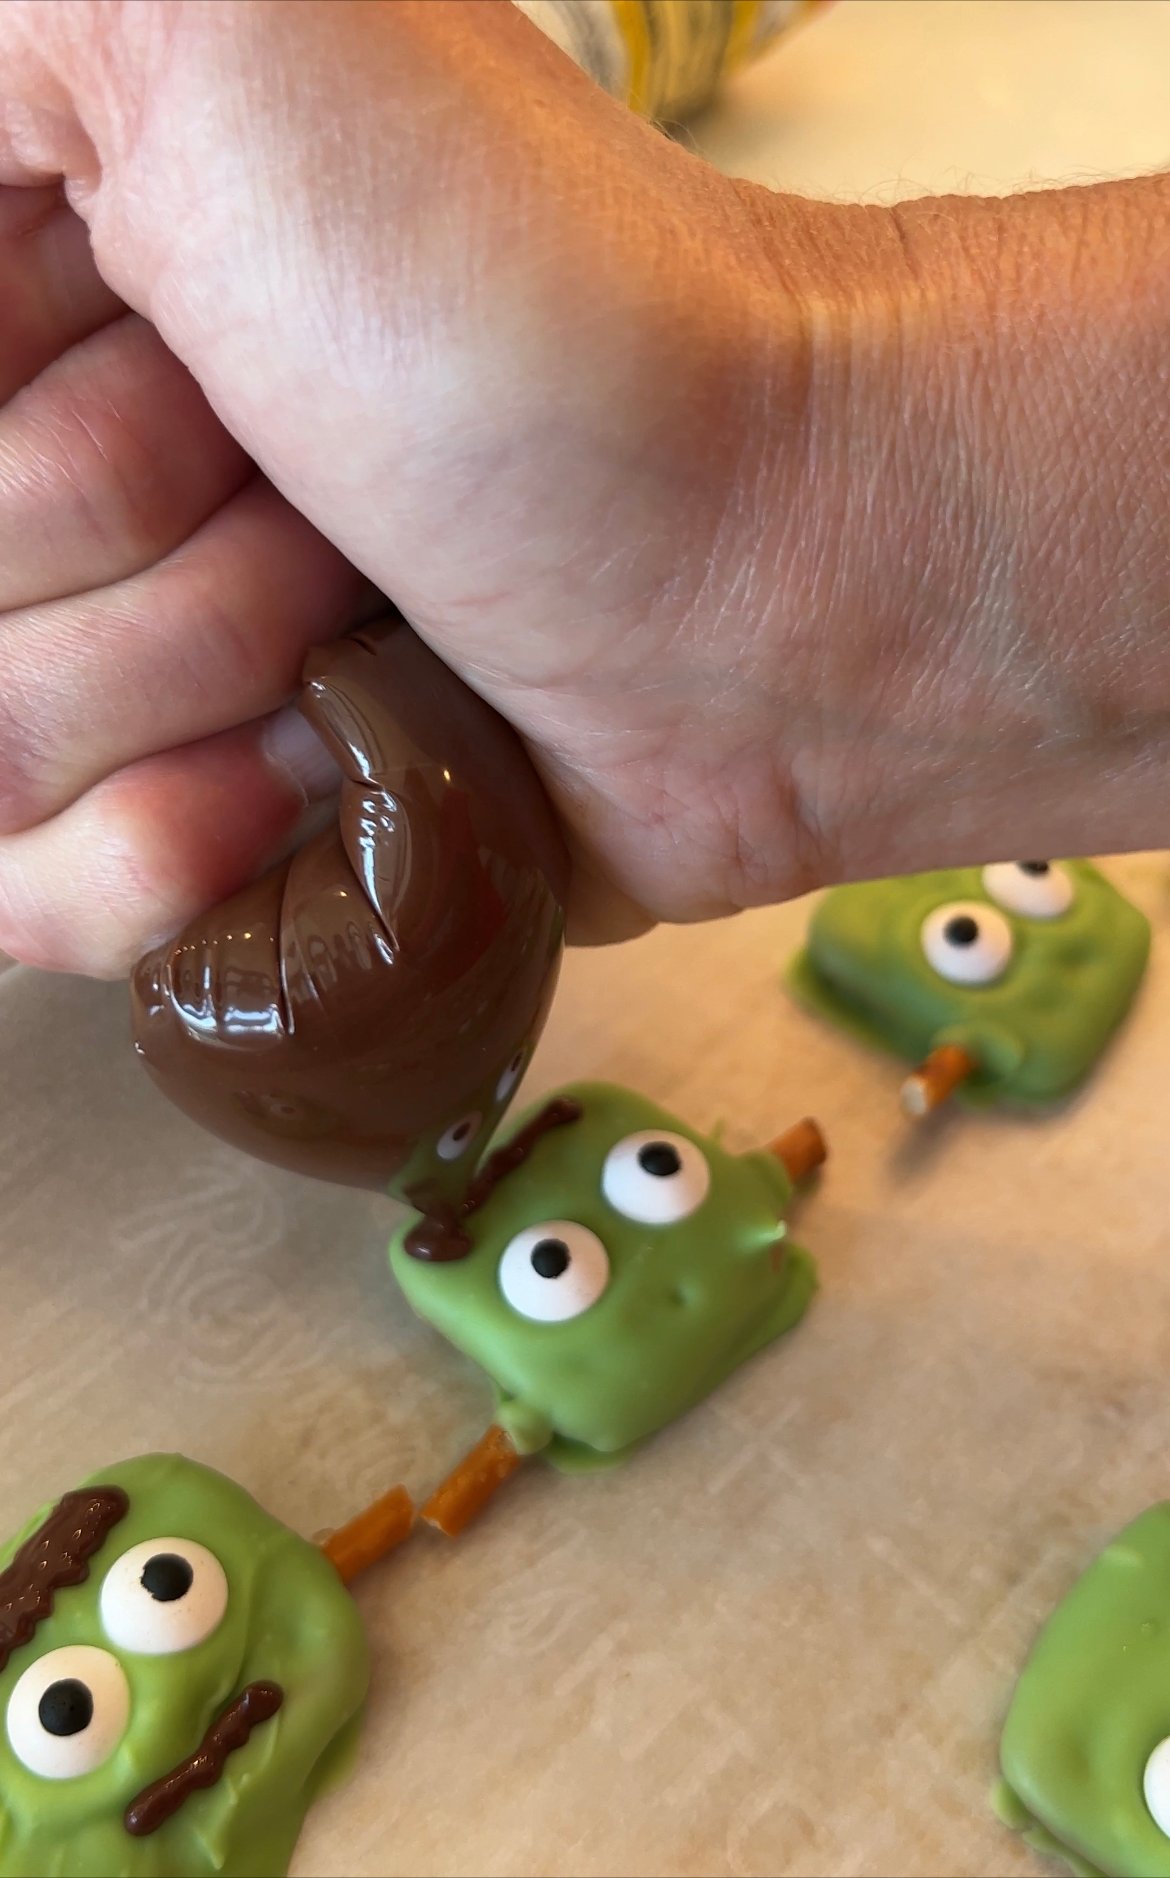
Once the melted chocolate is in your decorating bag or bottle, pipe on Frankenstein’s hair and mouth to each of the pretzels. Put the pretzels back in the fridge and allow them to chill until the chocolate is completely set.
4 – Serve
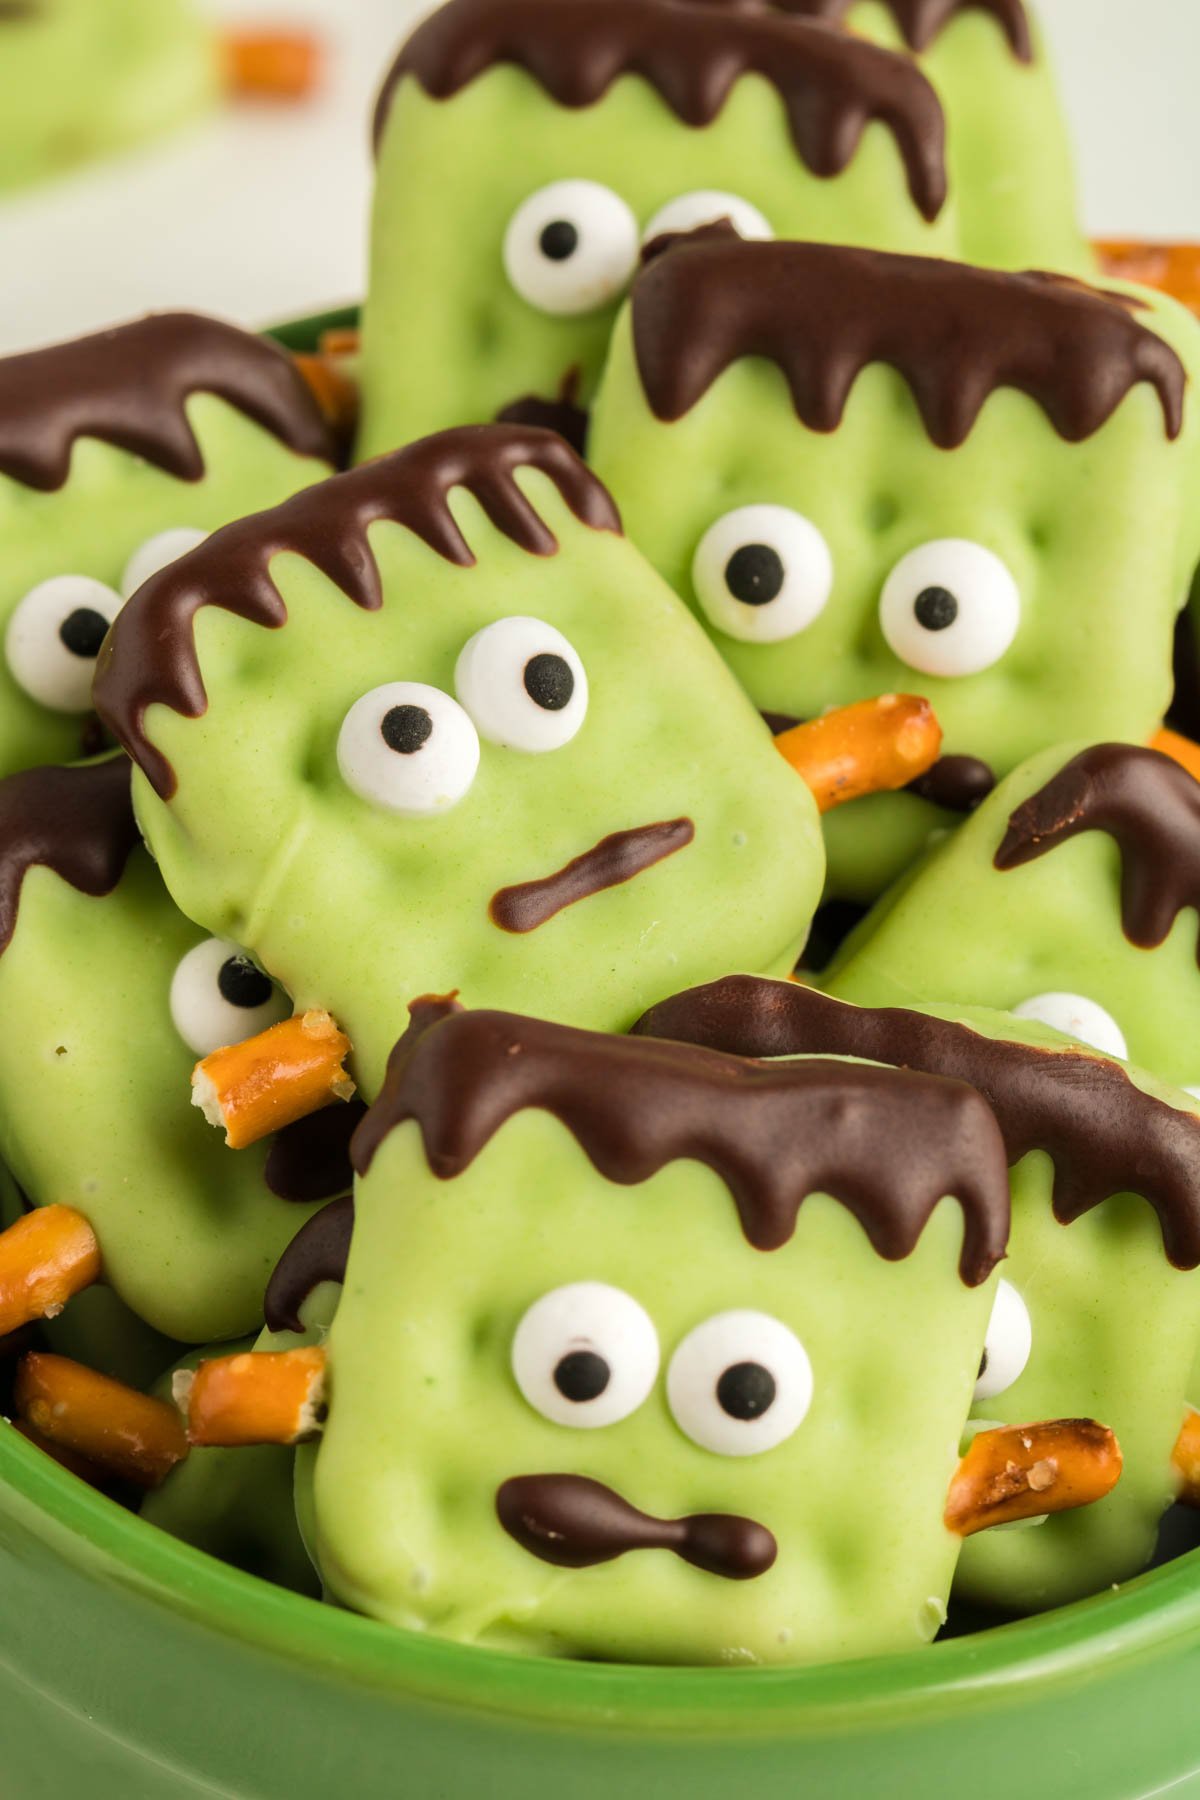
Transfer to a serving dish or if you’re not serving them right away, transfer to an airtight container for storage.
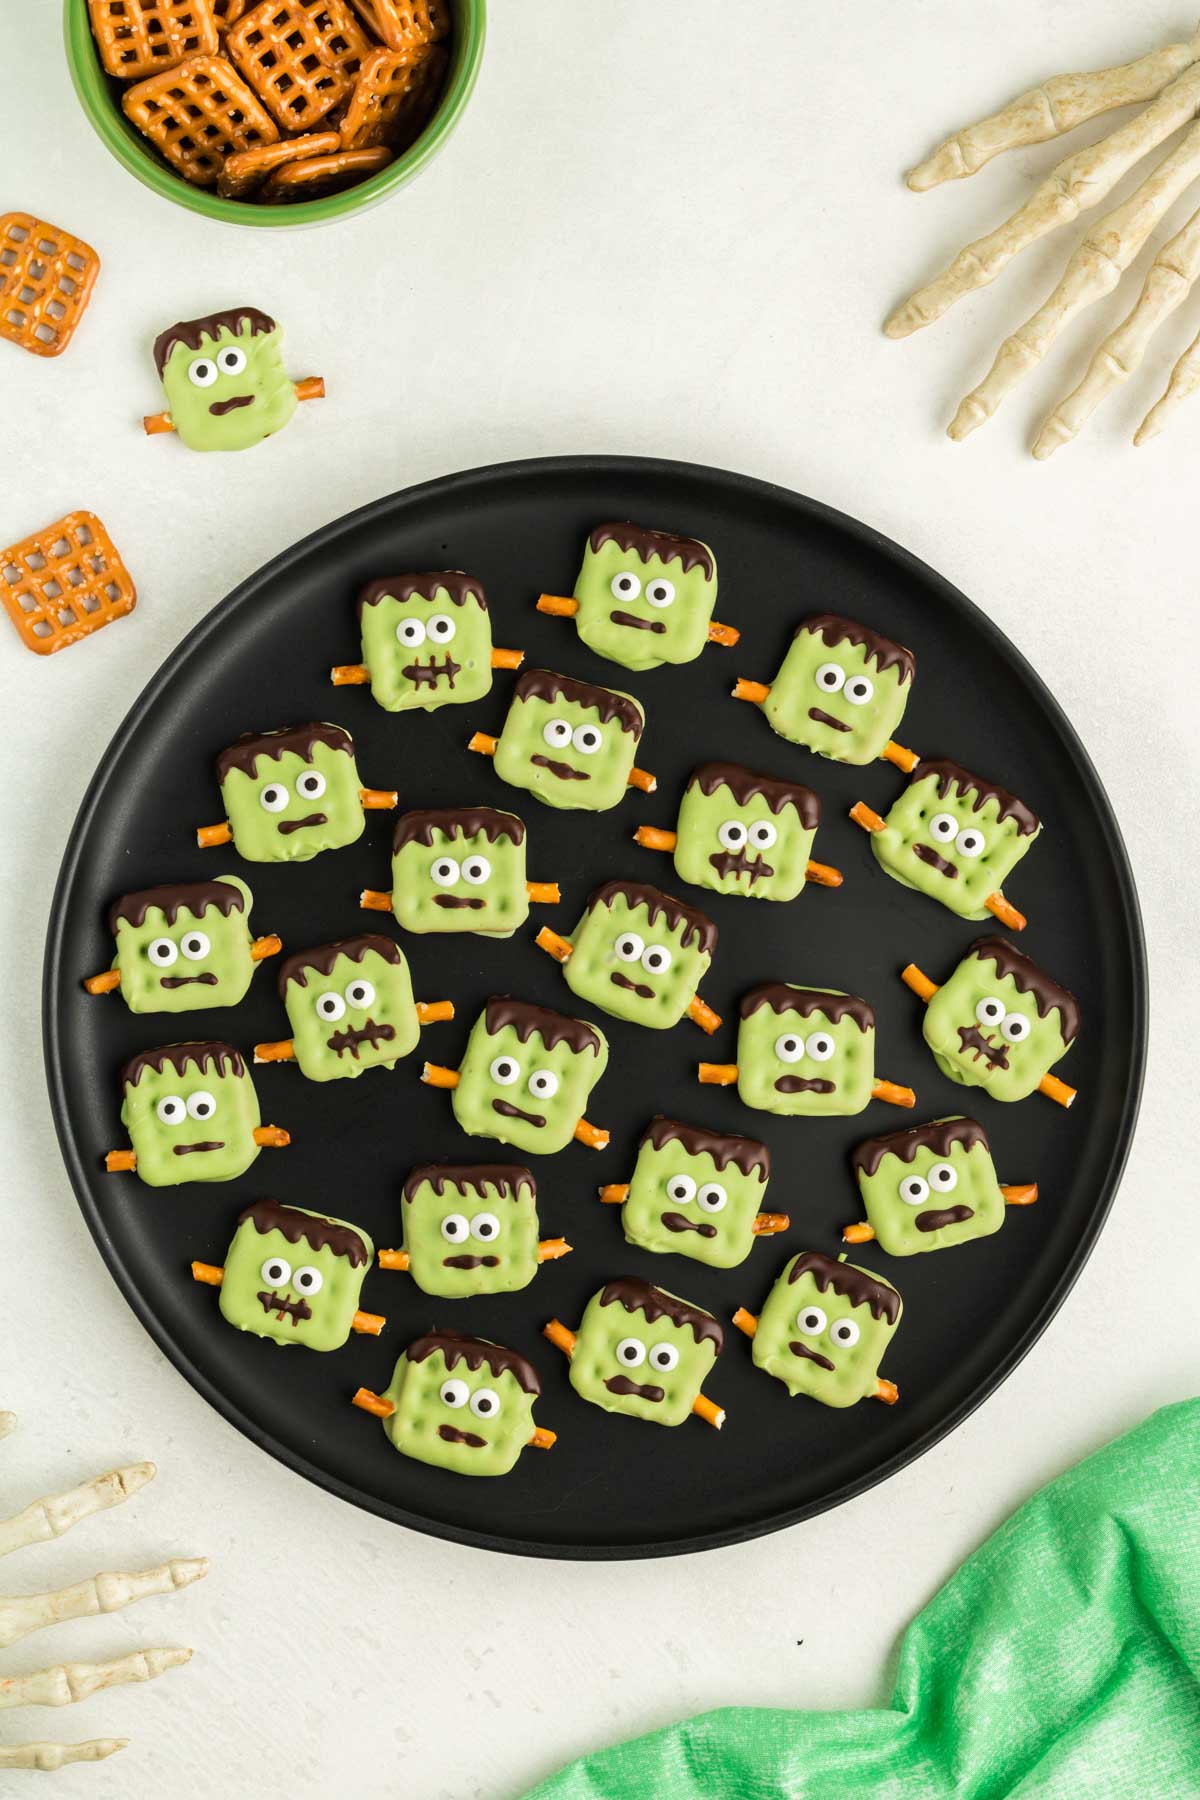
These Halloween chocolate covered pretzels were the first thing gone at our Halloween party this year! I think I need to make more options next year like ghost Halloween pretzels, pumpkin pretzels, and more!
Expert Tips
Store in an airtight container at room temperature for up to a week.
Keep out of the heat or you’ll end up with chocolate and candy melts that are too melty to hold on the bolts and candy eyes!
Put a bunch in a bag, add one of these cute Halloween gift tags, and add these chocolate-dipped pretzels to you’ve been booed buckets!
Don’t tap the pretzels too hard to get off the excess candy melts or the melted candy will start going through the holes in the square pretzels. Just tap lightly then put onto the parchment paper. It’s okay if there’s a small amount of chocolate on the outside that’s not perfectly square, it just adds to the monster feel of these.
Recipe FAQs
How far in advance can I make Halloween pretzels?
Technically, you could make these up to five days in advance. I personally think they taste better when eaten within three days, but they last up to a week. If you’re making them in advance, I recommend making them within three days of when you’ll be serving them.
Do Halloween pretzels need to be refrigerated?
Chocolate covered pretzels can be stored at room temperature if you have a dry and not too hot place to store them. If your home is warm, I recommend storing in the fridge so they don’t begin to melt.
More Halloween Treats
If you like Halloween desserts that are as cute as these Halloween pretzels, make sure to check out these other recipes too! They’re delicious and adorable!
- Spider web pretzels – white chocolate spider webs made on top of pretzels! Add some candy spiders for a delicious treat kids will love to help make!
- Spider cookies – the best peanut butter cookies get topped with chocolate spiders, yummy and spooky!
- Halloween rice krispie treats – rice krispies loaded with Halloween sprinkles, candy corn, and more!
- Monster cookie sandwiches – fun cookie sandwiches made with these delicious monster cookies, frosting, sprinkles, and of course candy eyes!
Want more Goodies?
Want more delicious recipes just like this one? Enter your first name and email address in the form below to join the Play Party Plan community! You’ll receive weekly recipes and party ideas directly to your inbox!
Frankenstein Halloween Pretzels
Ingredients
- 1 cup green candy melts
- 28 pretzel snaps (square pretzels)
- 56 candy eyeballs
- 8-10 pretzel sticks or pieces of the snap pretzels
- ⅓ cup semi sweet chocolate melting wafers
Instructions
- Line a large baking sheet with parchment paper and set aside.
- Add the green candy melts to a microwave-safe bowl that has a wide opening, wide enough that you can dip a fork flat into it.1 cup green candy melts
- Microwave the green candy melts for about 30 seconds then remove them from the microwave and stir. Put them back in and microwave after in twenty second intervals, stirring between each, until the candy melts are completed melted.
- Use a fork and dip the pretzels in the green chocolate one at a time. Tap off the excess chocolate and then place the pretzels onto the baking sheet lined with parchment paper.28 pretzel snaps
- Place two candy eyes in the middle of each pretzel.56 candy eyeballs
- Place a piece of the pretzel stick to each side of the pretzel to create Frankenstein’s bolts. Place the candy melts in the fridge to chill to set for about 30 minutes before moving on to the next step.8-10 pretzel sticks
- After the green chocolate has set on the pretzels, place the melting wafers in a microwave safe bowl. Do the same as you did before – microwave first for 30 seconds, stir, then microwave at 20 second intervals, stirring in between, until the chocolate is smooth.1/3 cup semi sweet chocolate melting wafers
- Add the melted chocolate to a to a piping bag, zipper top plastic bag with a tiny corner cut off, or a squeeze bottle – whatever you think you can handle the best. Pipe on Frankenstein’s hair and mouth to each of the pretzels. Put the pretzels back in the fridge and allow them to chill until the chocolate is completely set.
- Transfer to a serving dish or if you’re not serving them right away, transfer to an airtight container for storage.
Tips & Notes:
- Melting chocolate wafers – you can use these or high-quality chocolate chips
- Square pretzels – also called butter snaps or snap pretzels. You can use these for the bolts or get pretzel sticks as well.
- Green candy melts – I used vibrant green candy melts. You can use these or white chocolate with green food coloring and 1 tsp coconut oil melted together. If you use white chocolate chips, make sure to use a high-quality brand.



Leave a Reply