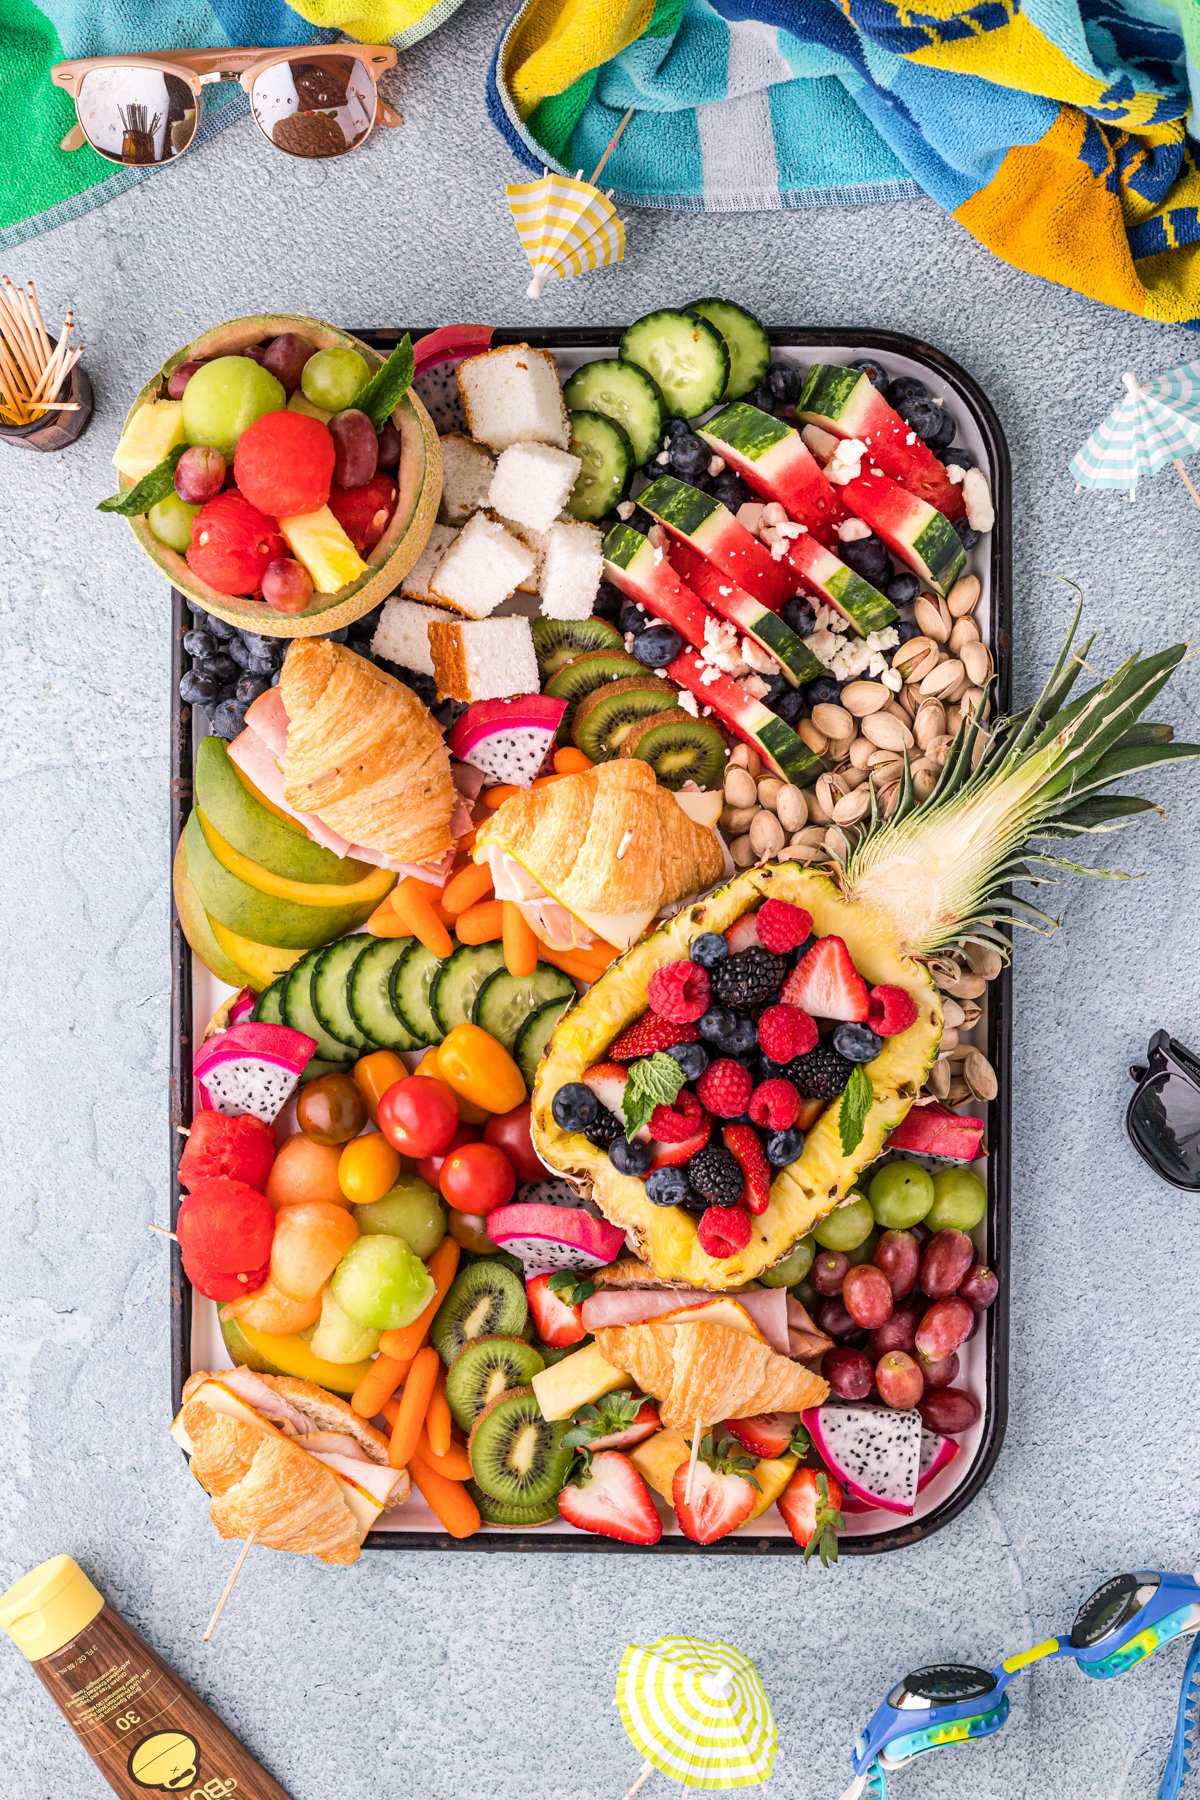
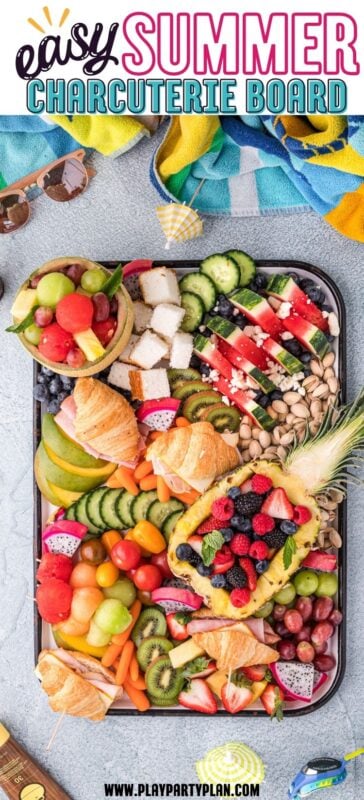
This gorgeous summer charcuterie board is a great idea if you’re looking to make a charcuterie board on a budget! This summertime board is full of delicious summer fruits, sandwiches, and treats that are perfect for an outdoor party or a day at the pool!
Want to save this recipe?
Enter your email below and we’ll send this idea straight to your inbox (plus you’ll receive fun weekly ideas from us too!)
I’m a big fan of charcuterie boards, but I’ll be the first to admit that they can get expensive, especially if you’re doing a particular theme or color scheme like I did with this Halloween dessert board.
That’s why I’m so excited to share this simple summer charcuterie board, it’s actually really reasonably priced to make and a great option if you want to make a charcuterie board on a budget!
Plus, it’s a great way to bring some fresh fruits and snacks to the pool or an outdoor party! Serve this board with this fun beach cake idea for dessert for the ultimate summer spread!
I love creating a beautiful charcuterie board that matches the theme of my parties because it’s just a really fun way to serve a lot of food. And I can’t wait to show you how to do it cheaper than you may think!
I’ve included instructions for recreating this particular board as well as tips and tricks for creating a charcuterie on a tight budget, so make sure to read this entire post for the cheapest way to jump in on this entertaining trend!
Why You’ll Love This Board
- Low-cost items – this board is full of great items that go along way but don’t cost you a bucket of cash! Things like fruit that are normally fillers on charcuterie boards become the star of the show on this summer board!
- Instagram-worthy board – this is not only a delicious board, it’s a beautiful board that doesn’t cost a lot of money! Take all the pictures you want before everyone scarves down the eats and treats!
- Variety of flavors – I tried to include a ton of different flavors and a variety of textures on this board to make it seems like like any other plentiful charcuterie platter while still being a budget-friendly charcuterie board!
Summer Charcuterie Board Ingredients
Ingredient Notes
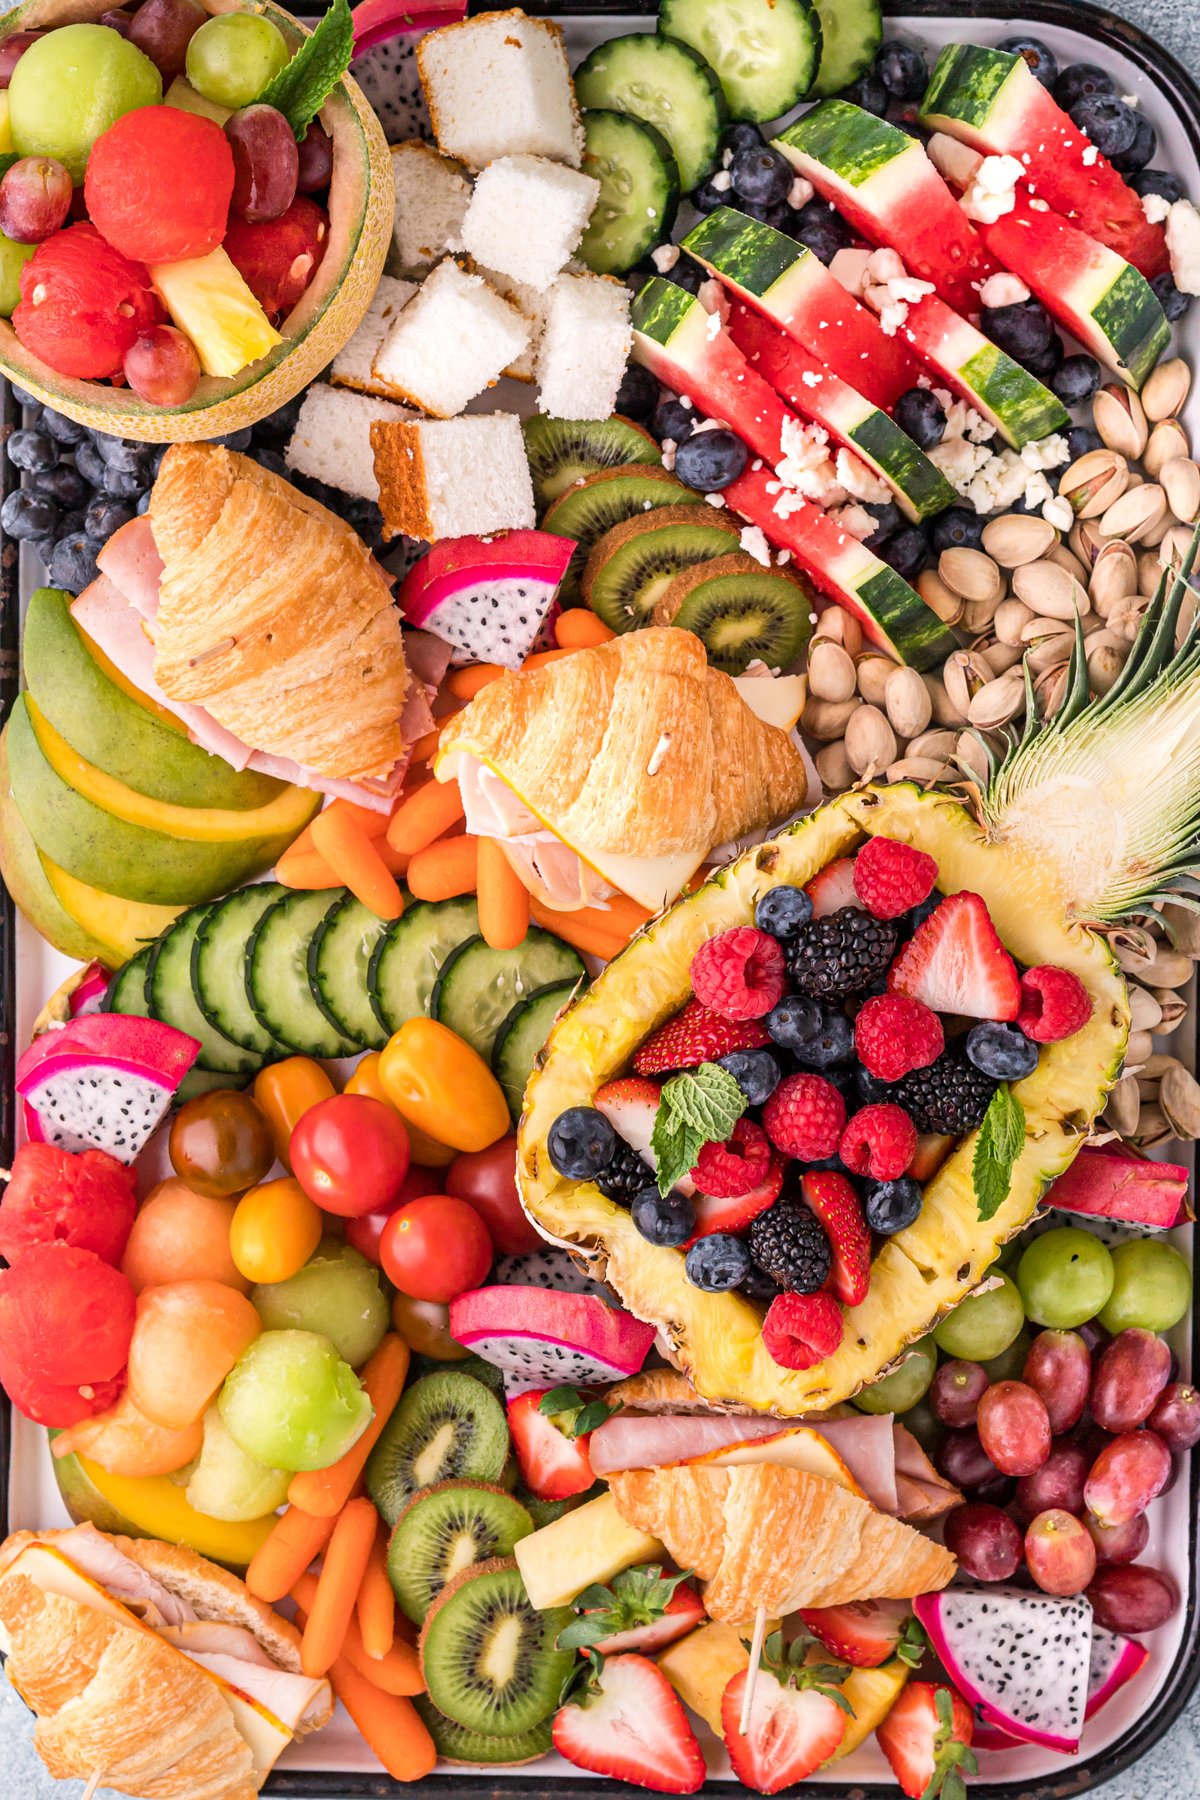
Unlike some of my other charcuterie board posts that have an actual board recipe, this one is more about choosing your favorite things for the summer and adding them to a fun summer themed board!
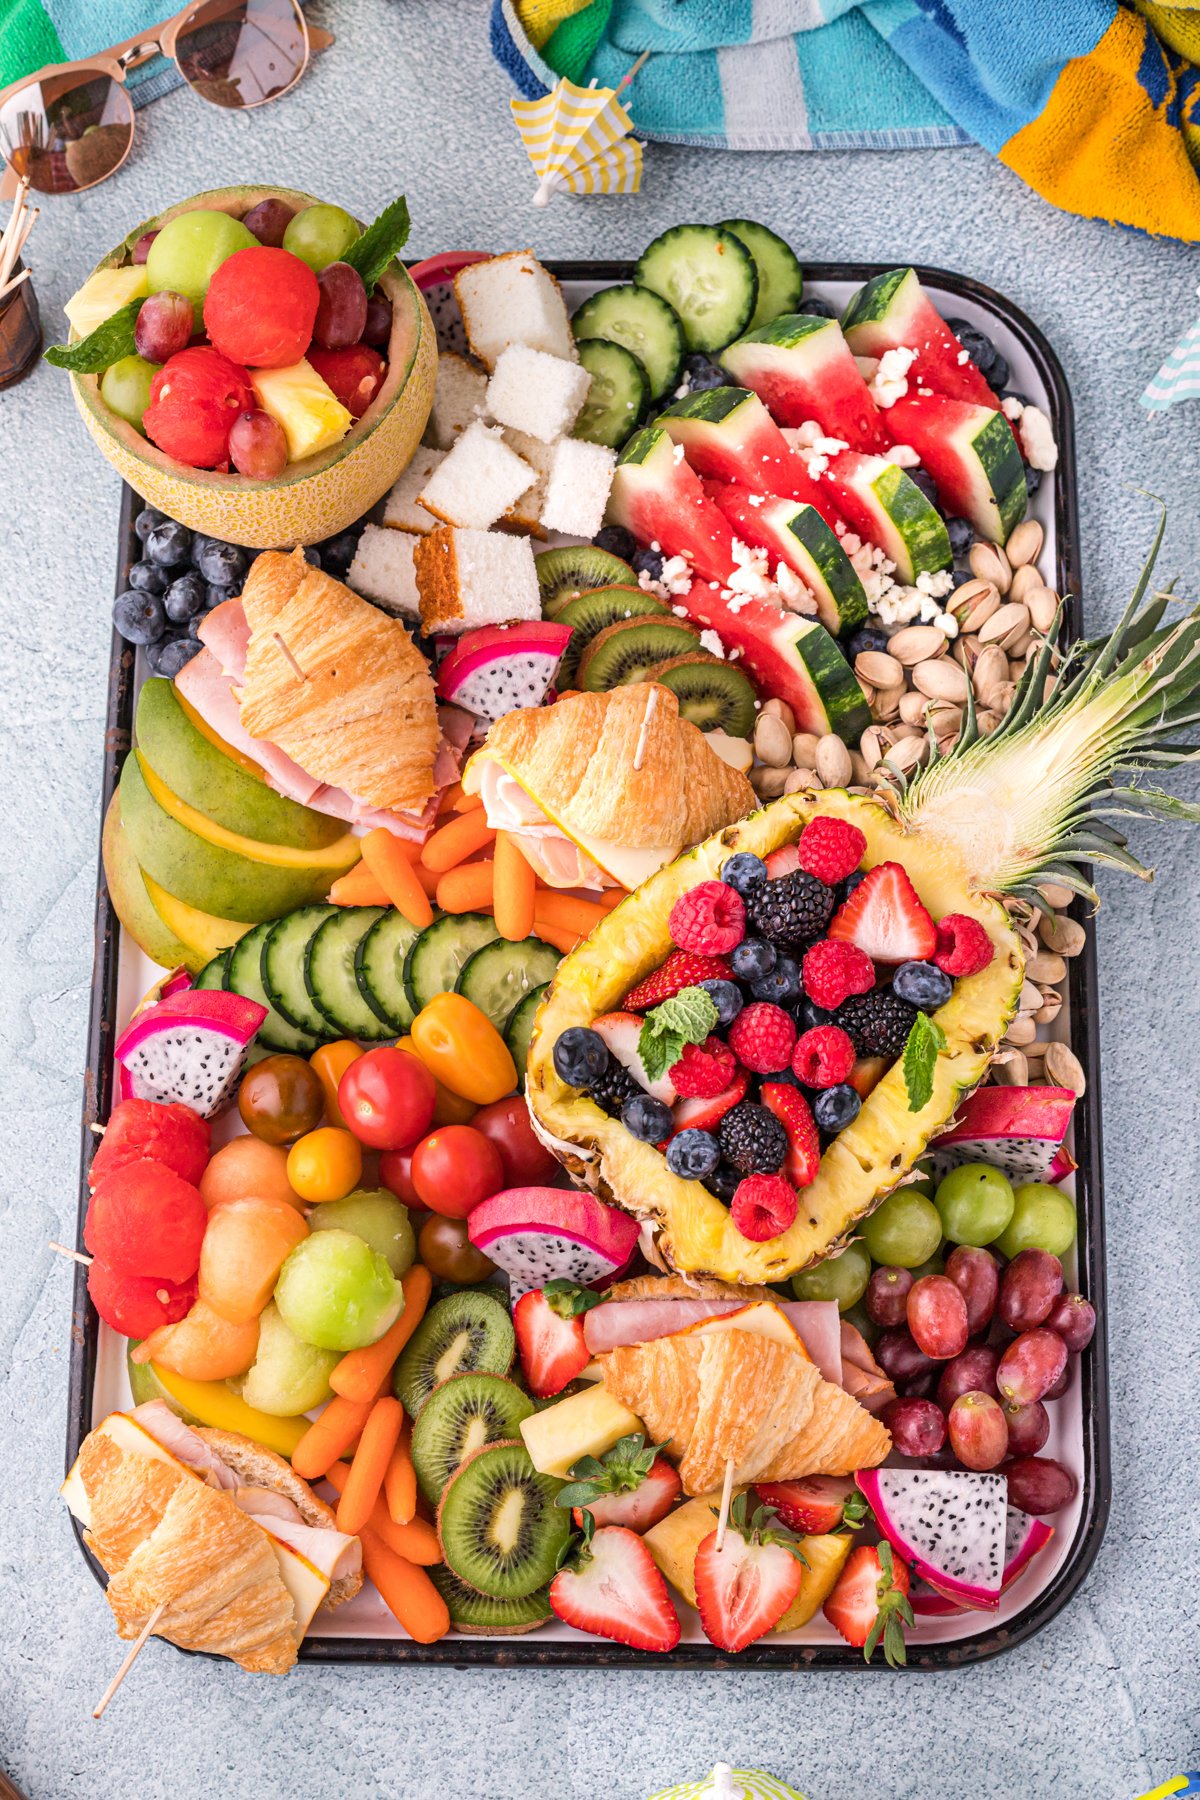
I’ve included a sample of what I used in the image above just to give you a starting point, but feel free to get creative with different items! Charcuterie boards are a great way to use up leftovers in your fridge and fun reasons to try out something new at your local grocery store!
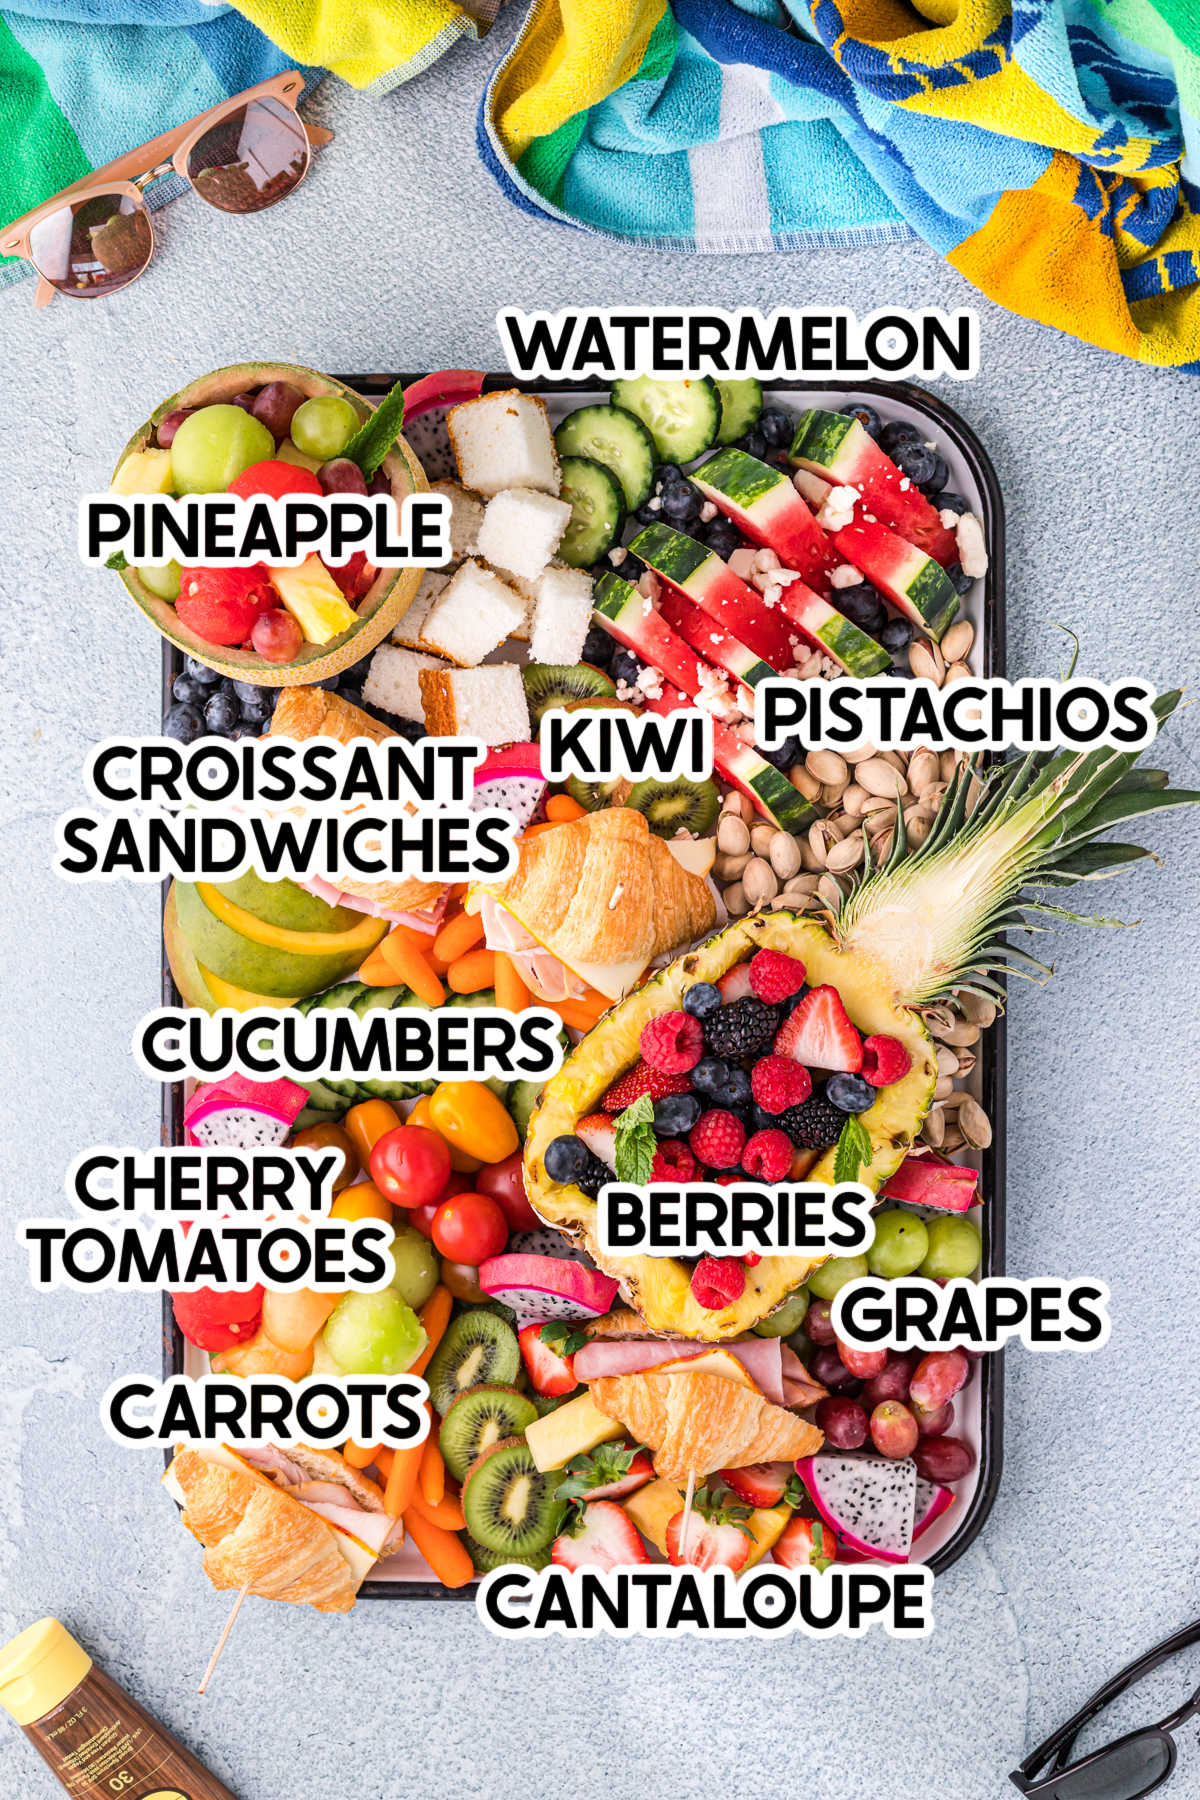
Items on this board include:
- Fresh fruits – berries, melons, mango, kiwi, watermelon, jackfruit, and tomatoes
- Veggies – baby carrots and cucumbers are great on this fresh summer board
- Sandwiches – mini croissant sandwiches or sliders make a great addition to this board
- Other fillers – pistachios, cut up angel food cake, and crumbled up goat cheese make a great garnish for the board
How do you make a cheap charcuterie board for summer
I wanted to share step by step instructions for creating this summer board in case you want to replicate this idea. I absolutely love how it turned out with the use of fresh fruits and flavors that remind me of summer!
1 – Choose a Board
Start by choosing a board or platter appropriate for the size of your gathering and how much other food you’re serving. If this is just one item in a menu of yummy party foods for adults, then you can probably keep it small. If this is your main food item, I’d go a little bigger.
A cookie sheet or large cutting boards will work if you don’t have a board, but I highly recommend investing in a simple charcuterie board that is universal enough to use for any occasion if you think you’ll be making these often. I have a wooden board that I use for pretty much everything.
2 – Prepare the Fresh Foods
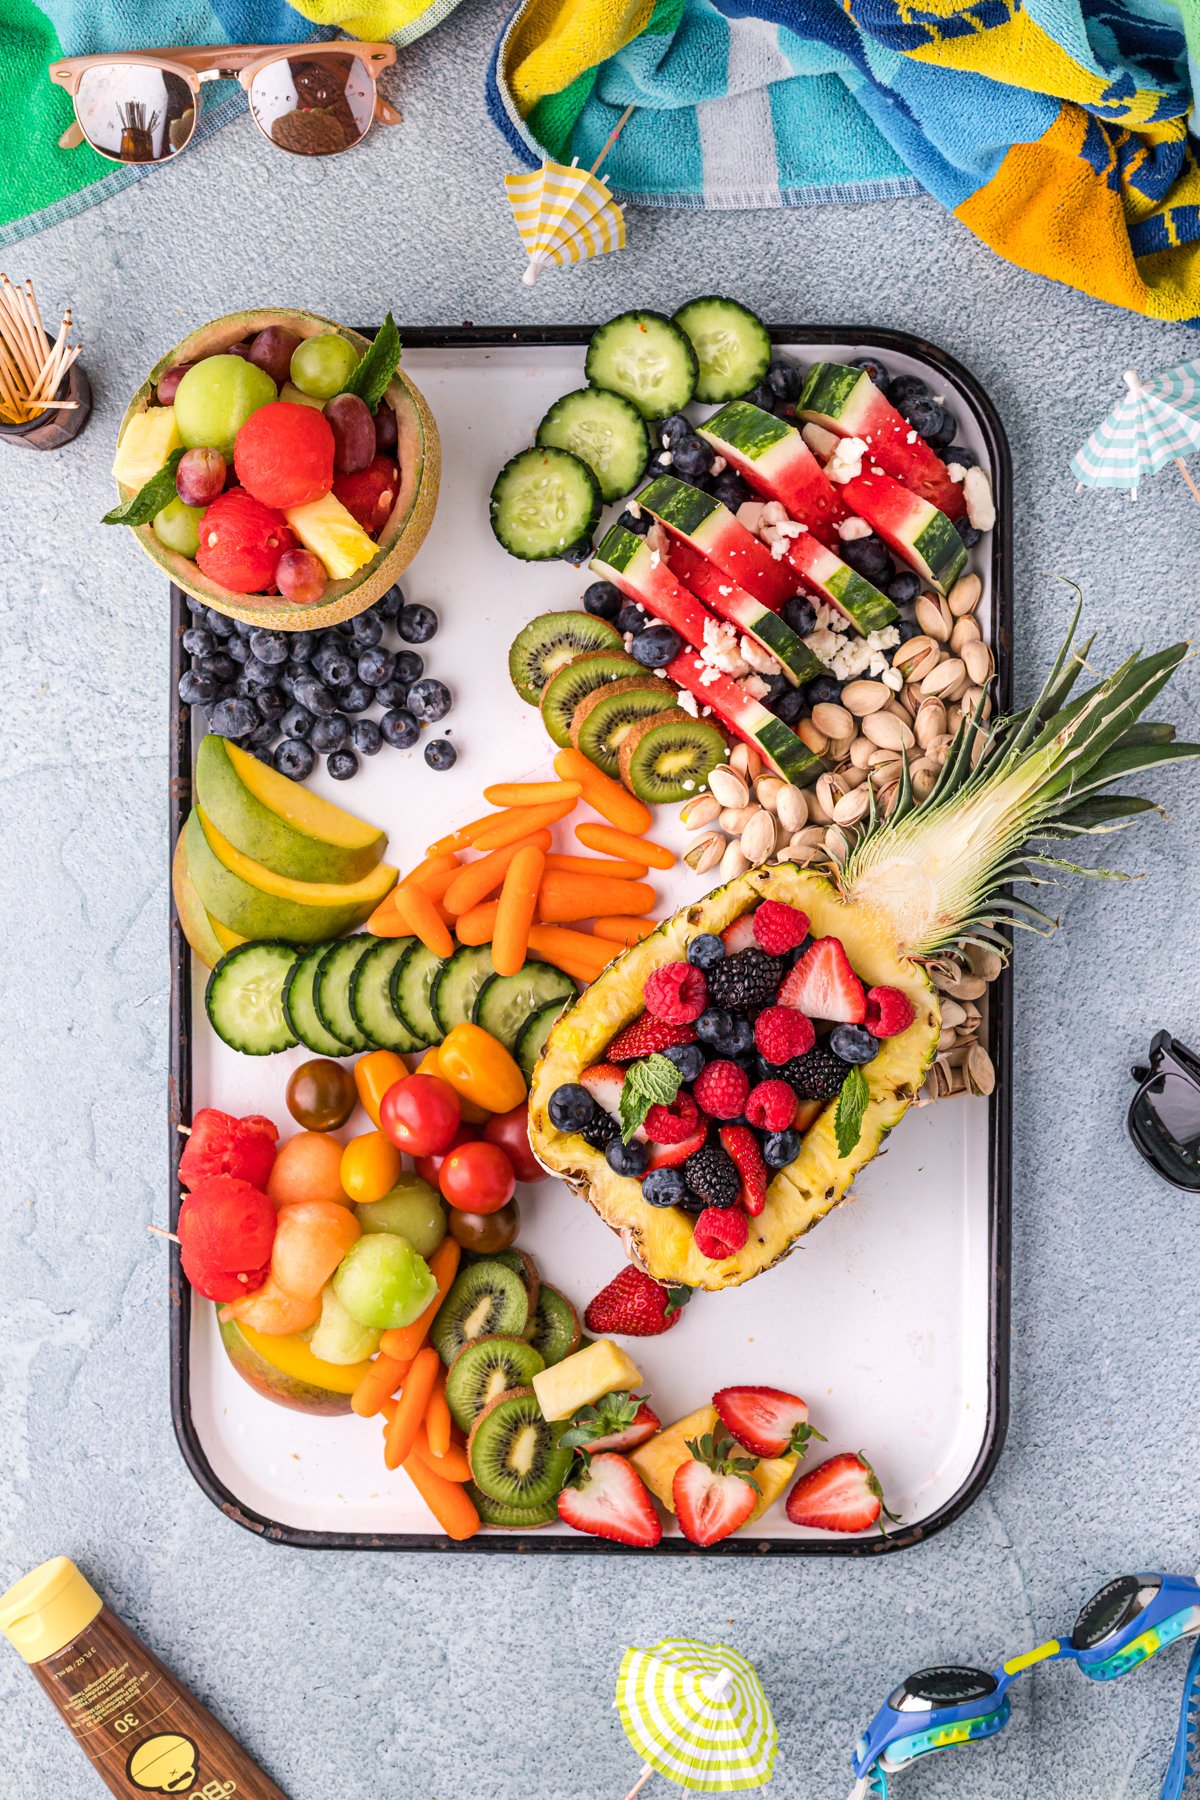
Prepare the fruits and vegetables however you’d like them – just make sure everything is washed and prepared in a way that people can eat it before it hits your board.
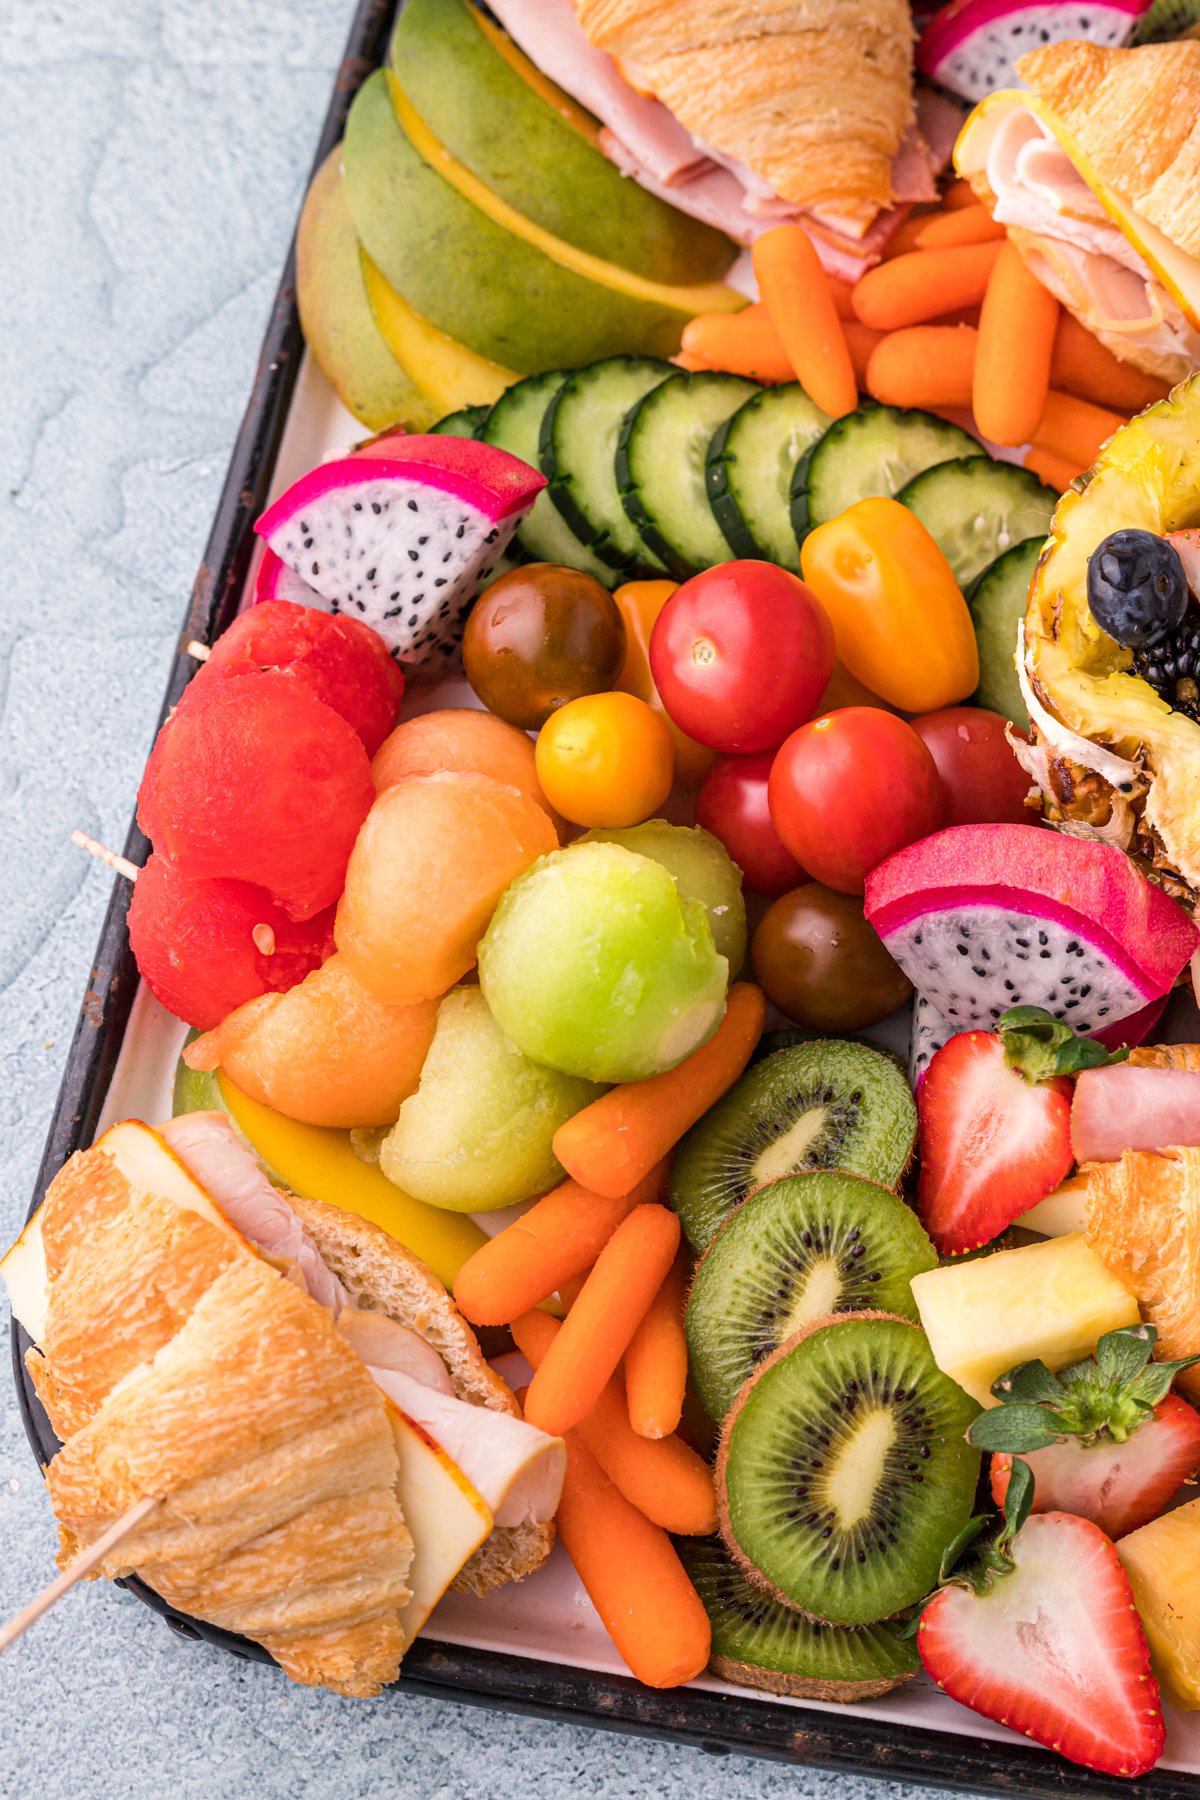
You can see in my board that I did a variety of different shapes to create interest on the board. Fruits can be sliced or scooped into balls. You can can also use cookie cutters or cut shapes if you want to make it fancier or if you wanted to do this for something like 4th of July with star shapes.
A couple of recommendations for the fruit:
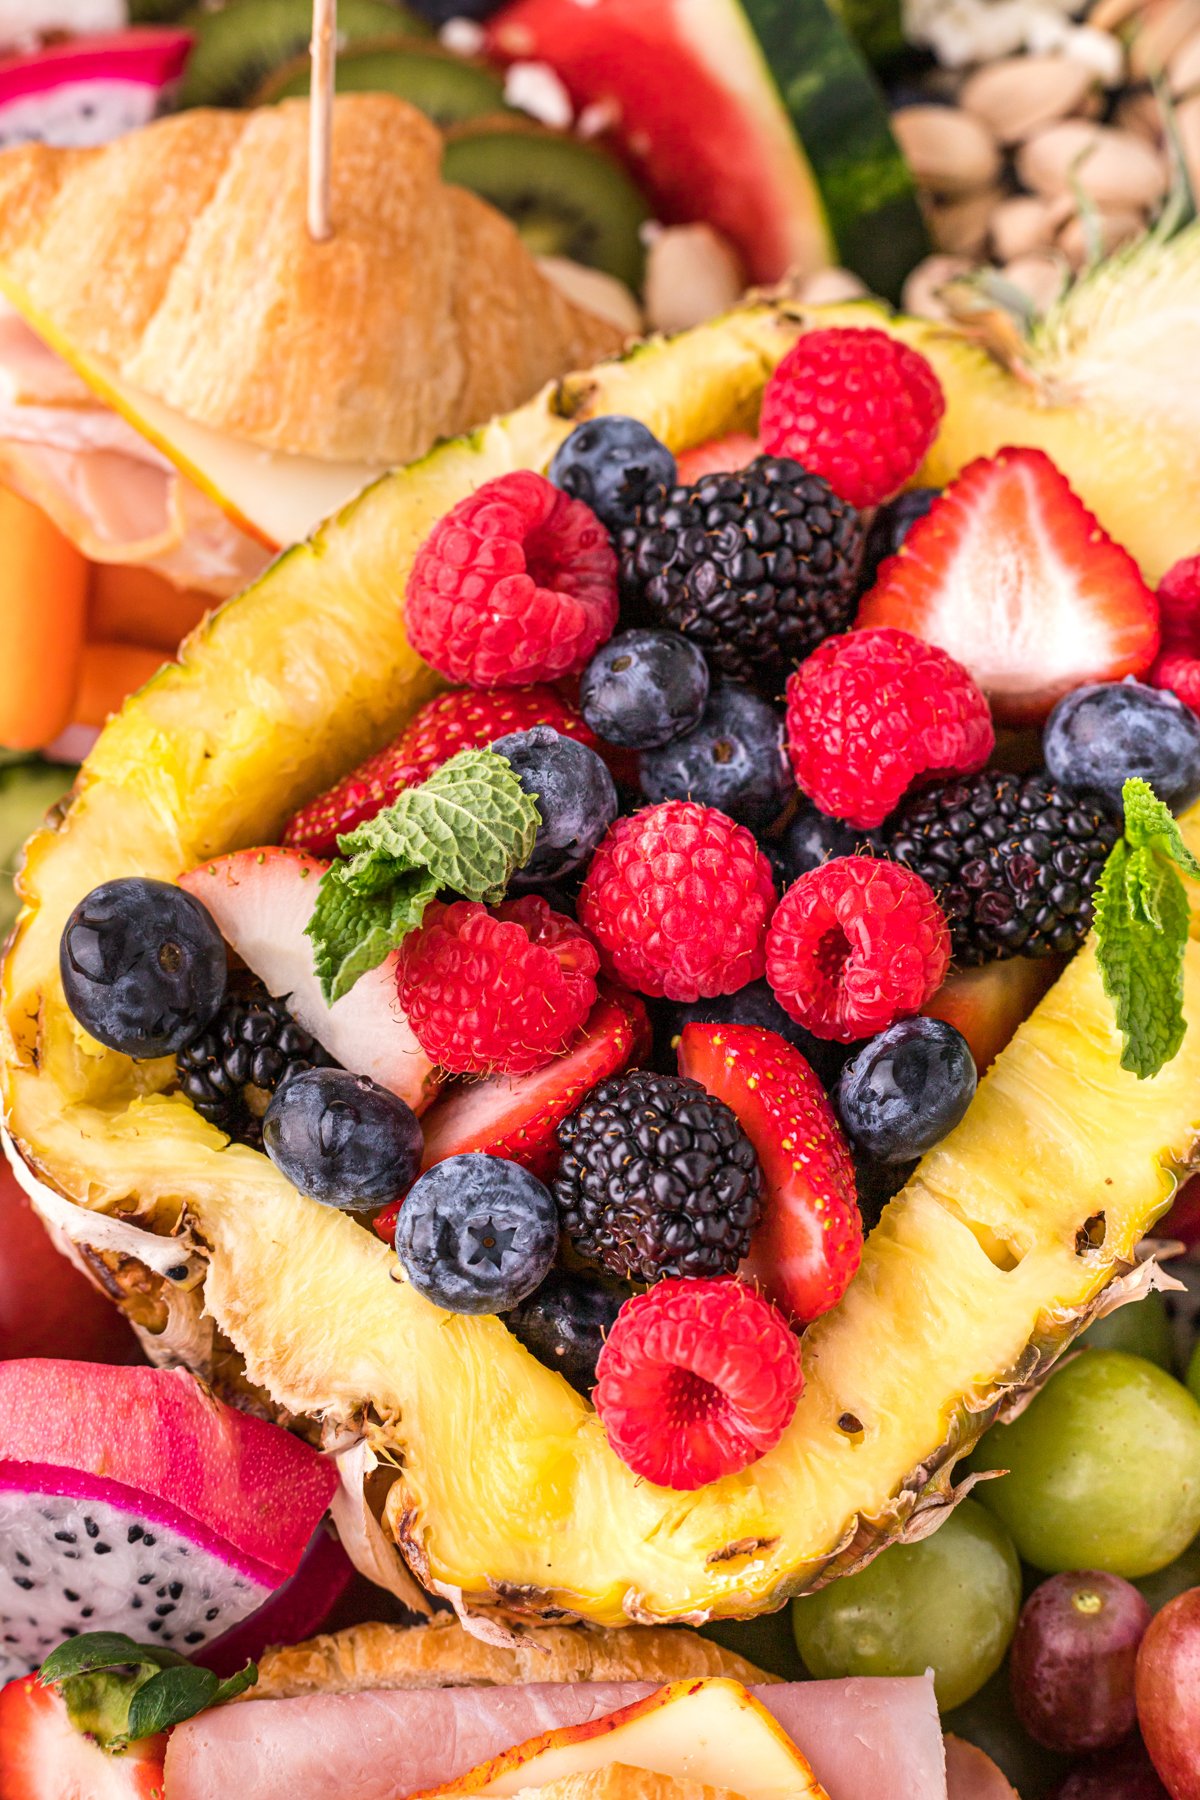
- Homemade mixed fruit salad can be a great thing to put into small bowls (or hollowed out fruit) and to make more expensive fruit like blackberries go further. The accumulated juices of the fruit together also makes it taste even better!
- Cut some larger pieces with the rind or peel not only to take up a bit more space (intentionally) but also to give people an easy way to grab and eat the food without silverware.
- Cherry tomatoes and grape tomatoes can go a long way! They also make great little finger foods that people love to snack on!
- Hollow out fresh fruit like pineapples, melons, and even citrus and use those in place of small bowls on your tray. You can fill them with cut up fruit or even this cream cheese fruit dip.
3 – Prep the Baked Goods
Now make finger sandwiches or mini-croissant sandwiches with your favorite sandwich fillers such as turkey, ham, roast beef and a variety of cheeses. I like to keep these as plain as possible (i.e., no condiments) and just have condiments on the side if anyone really wants them.
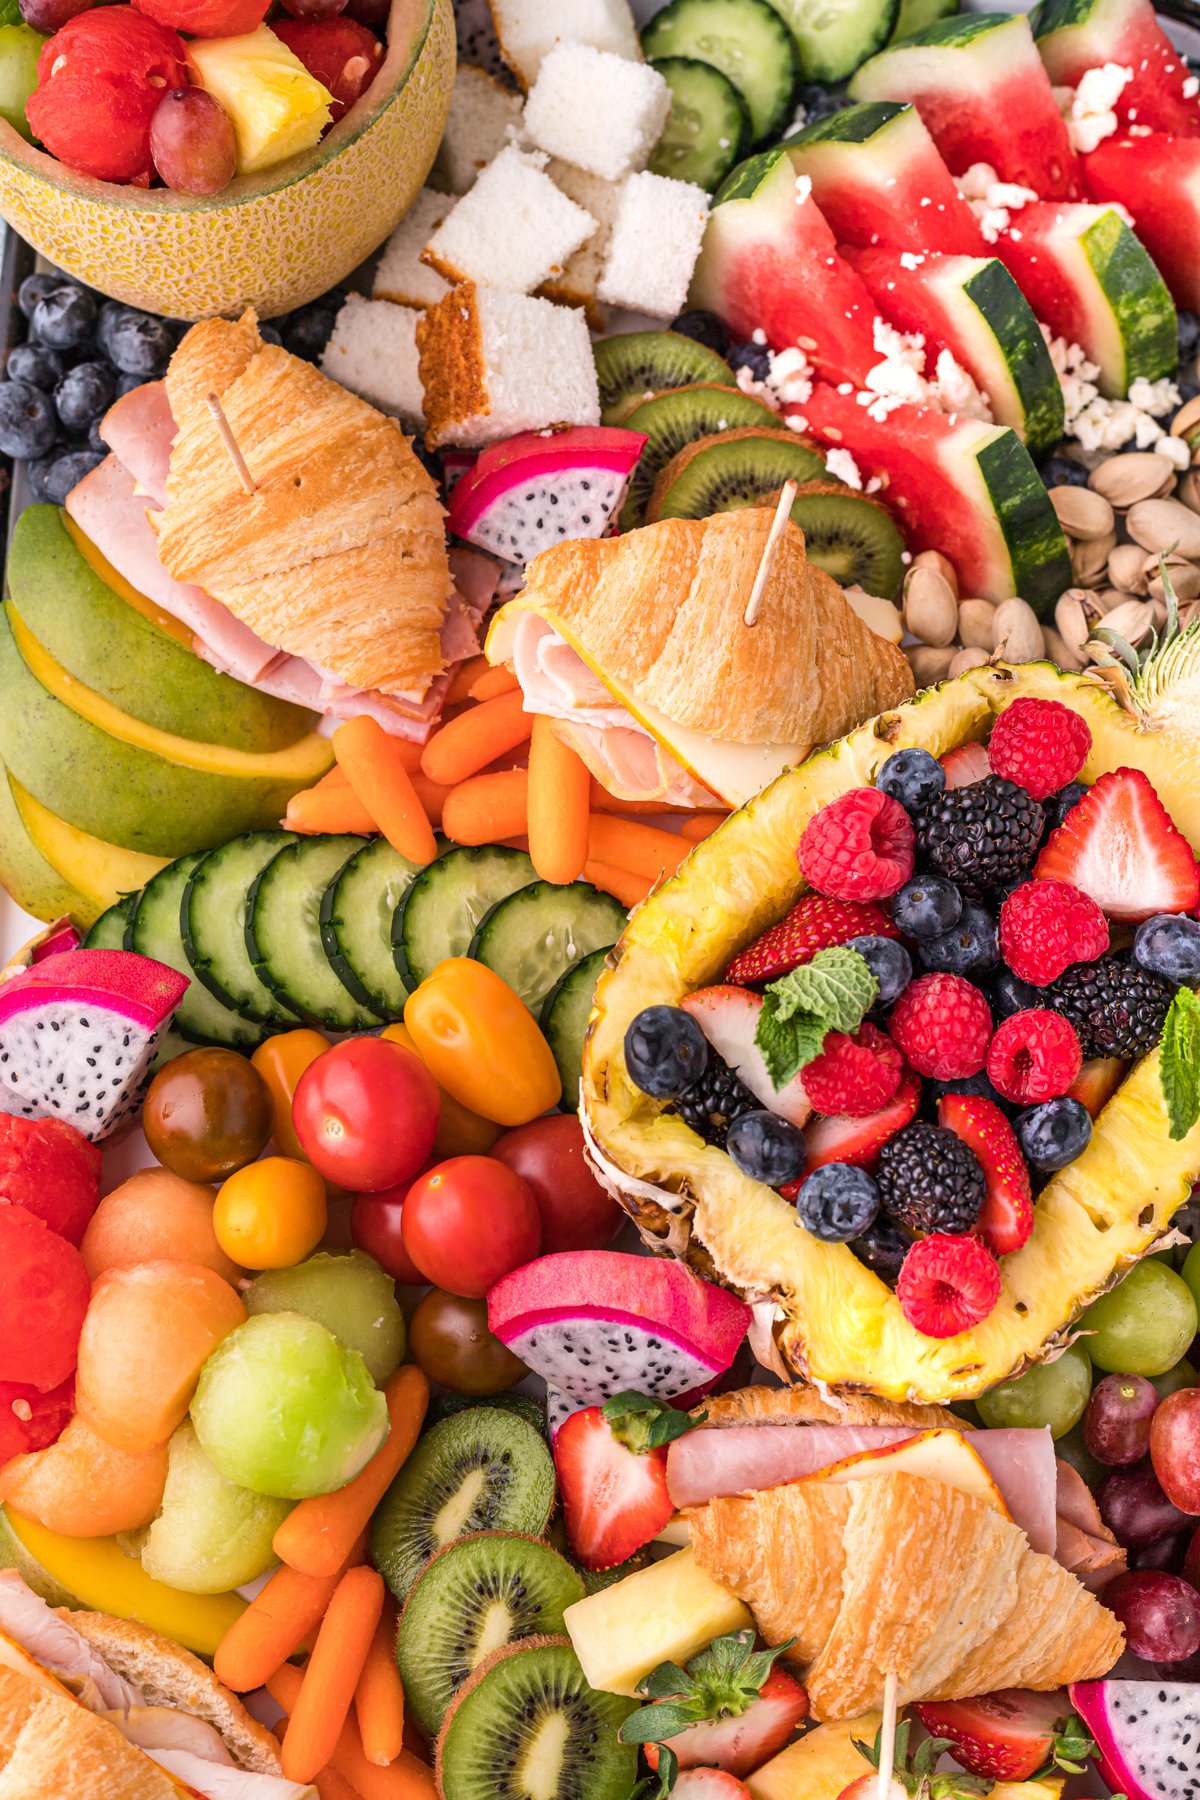
I personally like to offer a variety of meats and cheese options so everyone has something they like!
In addition to sandwiches, I always think it’s fun to have something sweet on every board I make. I even made a breakfast board that was centered just around sweet foods!
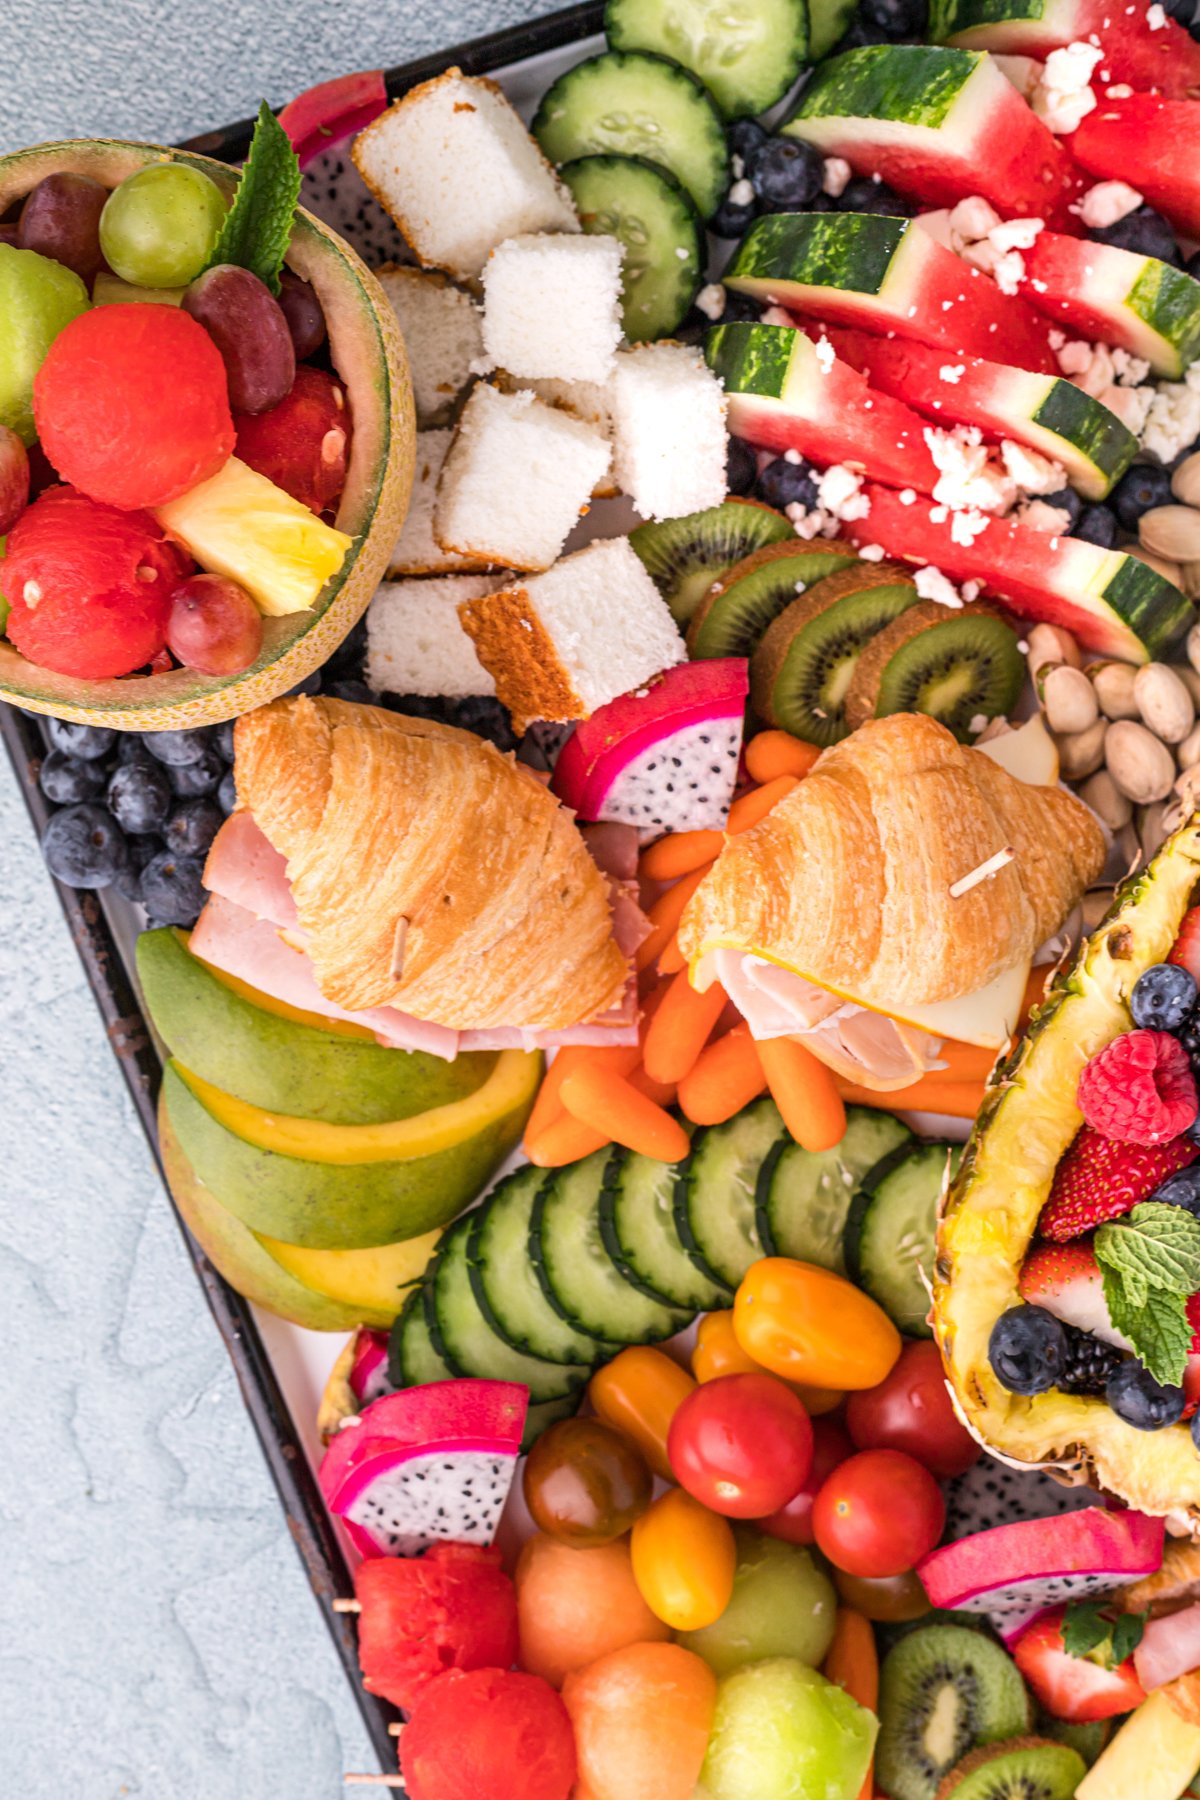
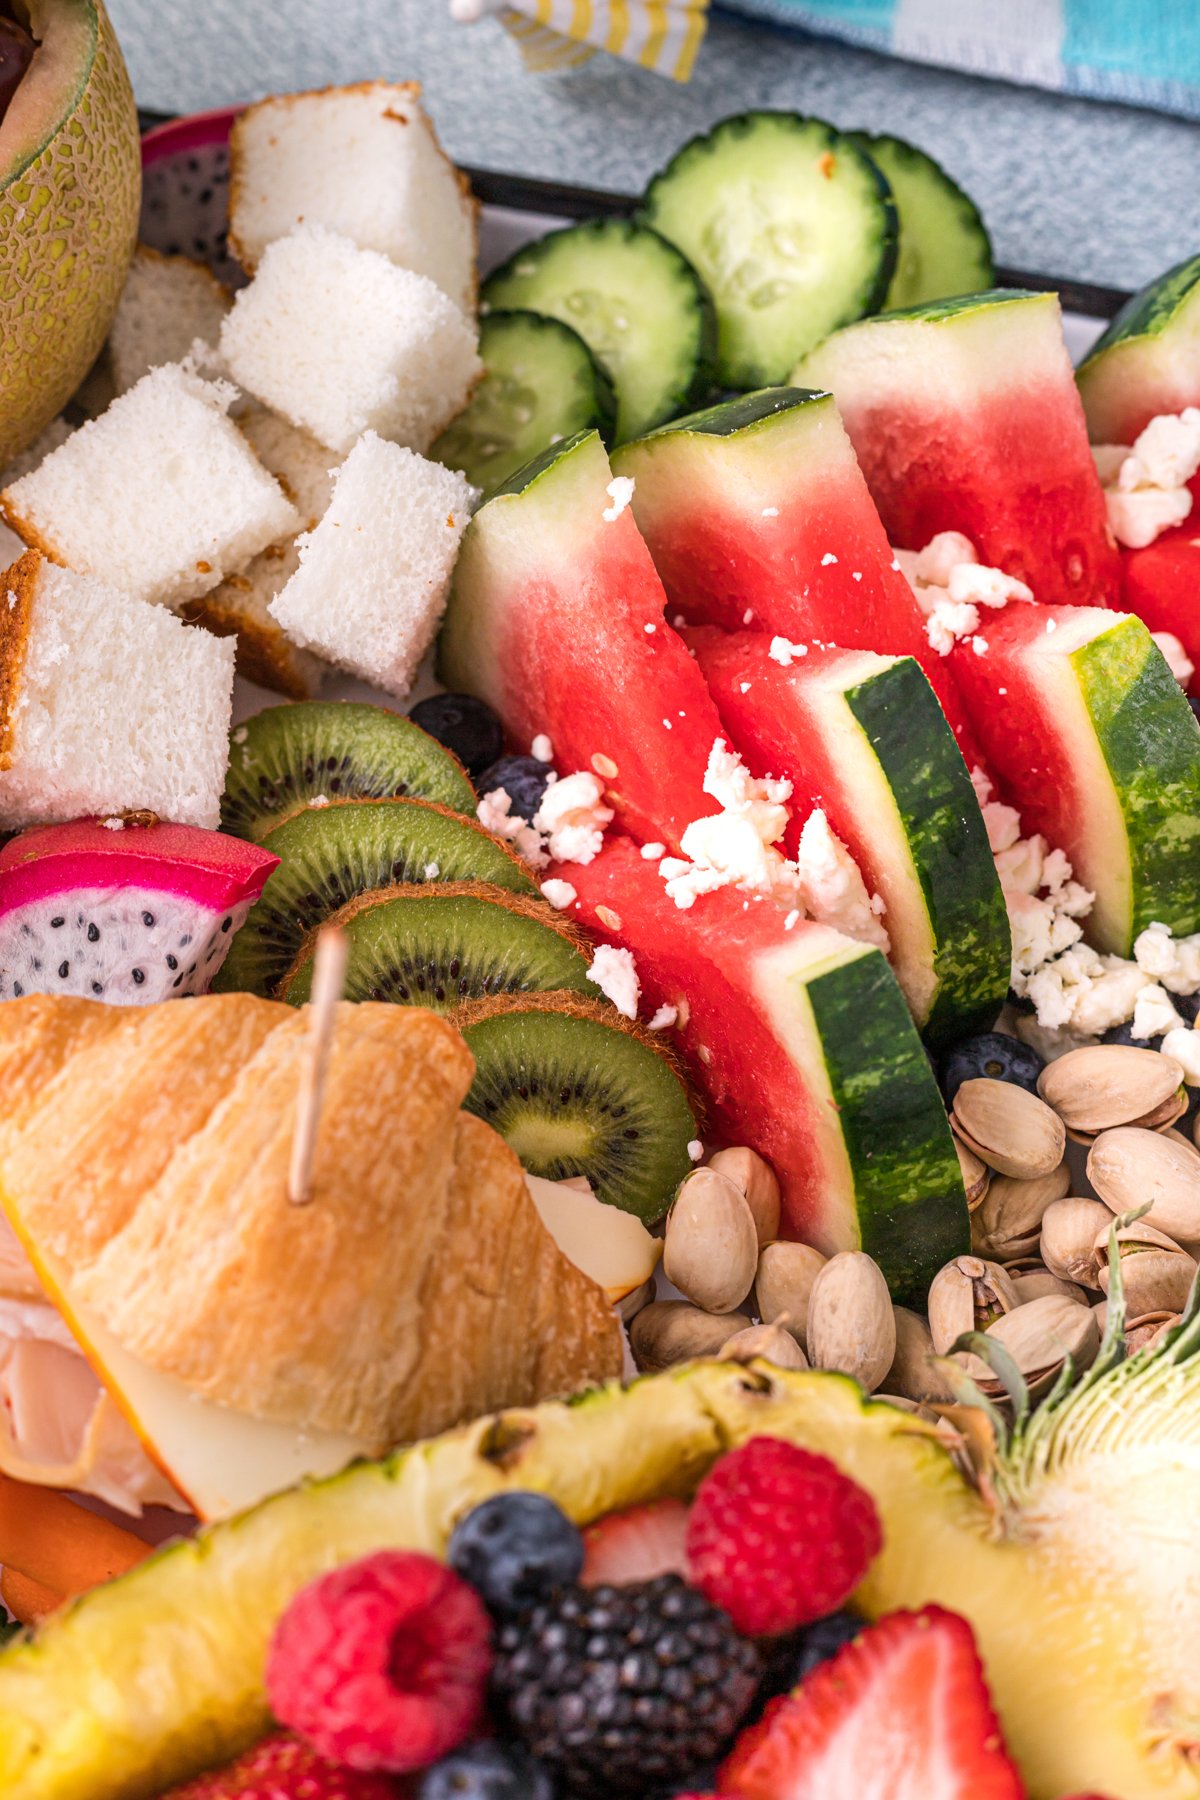
For this summer board, I did cubed angel food cake, but you could totally do graham crackers, shortbread cookies, or anything else that would taste good with the fruit combination you’ve chosen.
I also sprinkled some crumbled up goat cheese on the board to go along with the fresh watermelon and to add a little dimension to the board.
4 – Make the charcuterie board
Now that everything is prepped, it’s time to put your board together.
I always recommend starting with the bigger items like bowls and bigger food items and working your way down. It’s like that object lesson you’ve probably heard – start with the big things and the small things will all fit in!
I actually really like to start with small bowls, or in this case my fruit bowls.
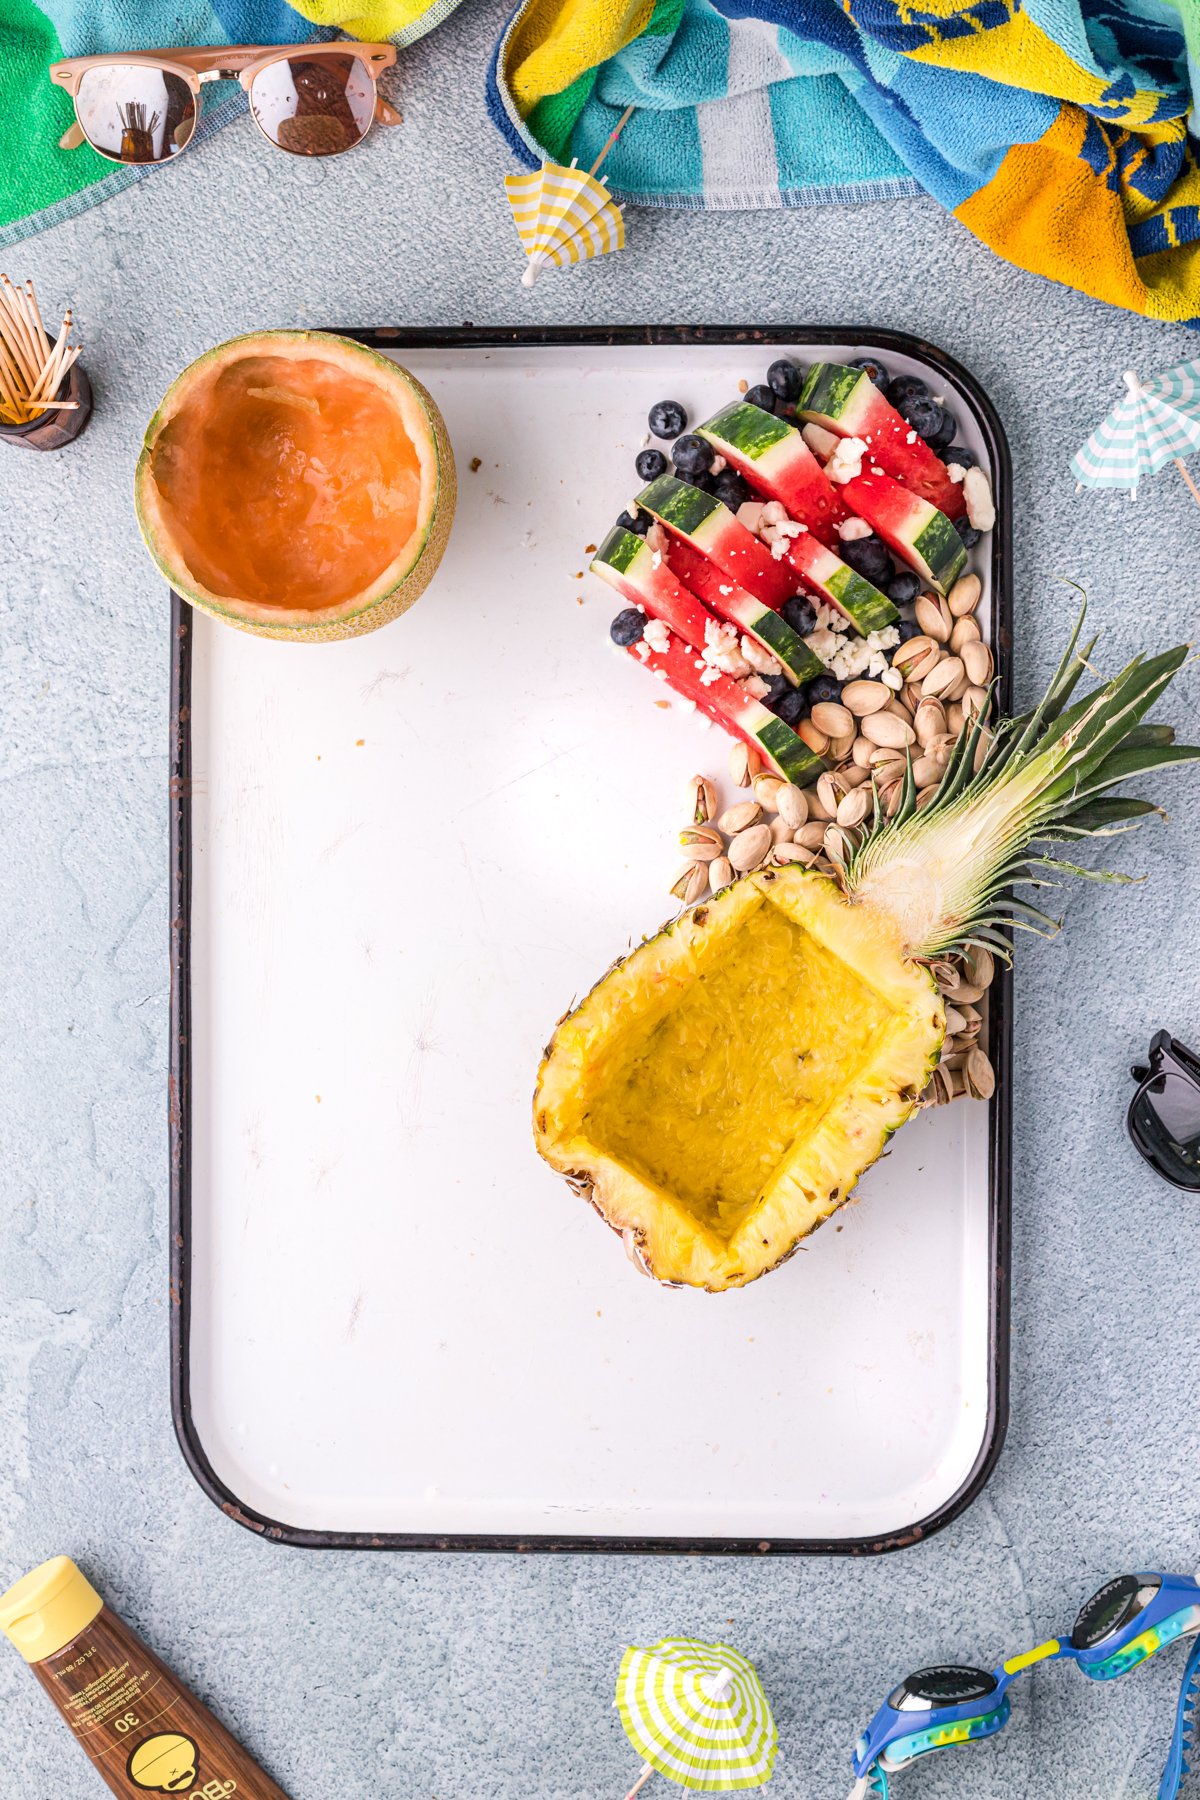
Bowls are the hardest thing to place later if you forget about them because they take up such a large amount of inflexible surface space. Putting them onto the board first is also a great way to really anchor the space and create defined sections of your board.
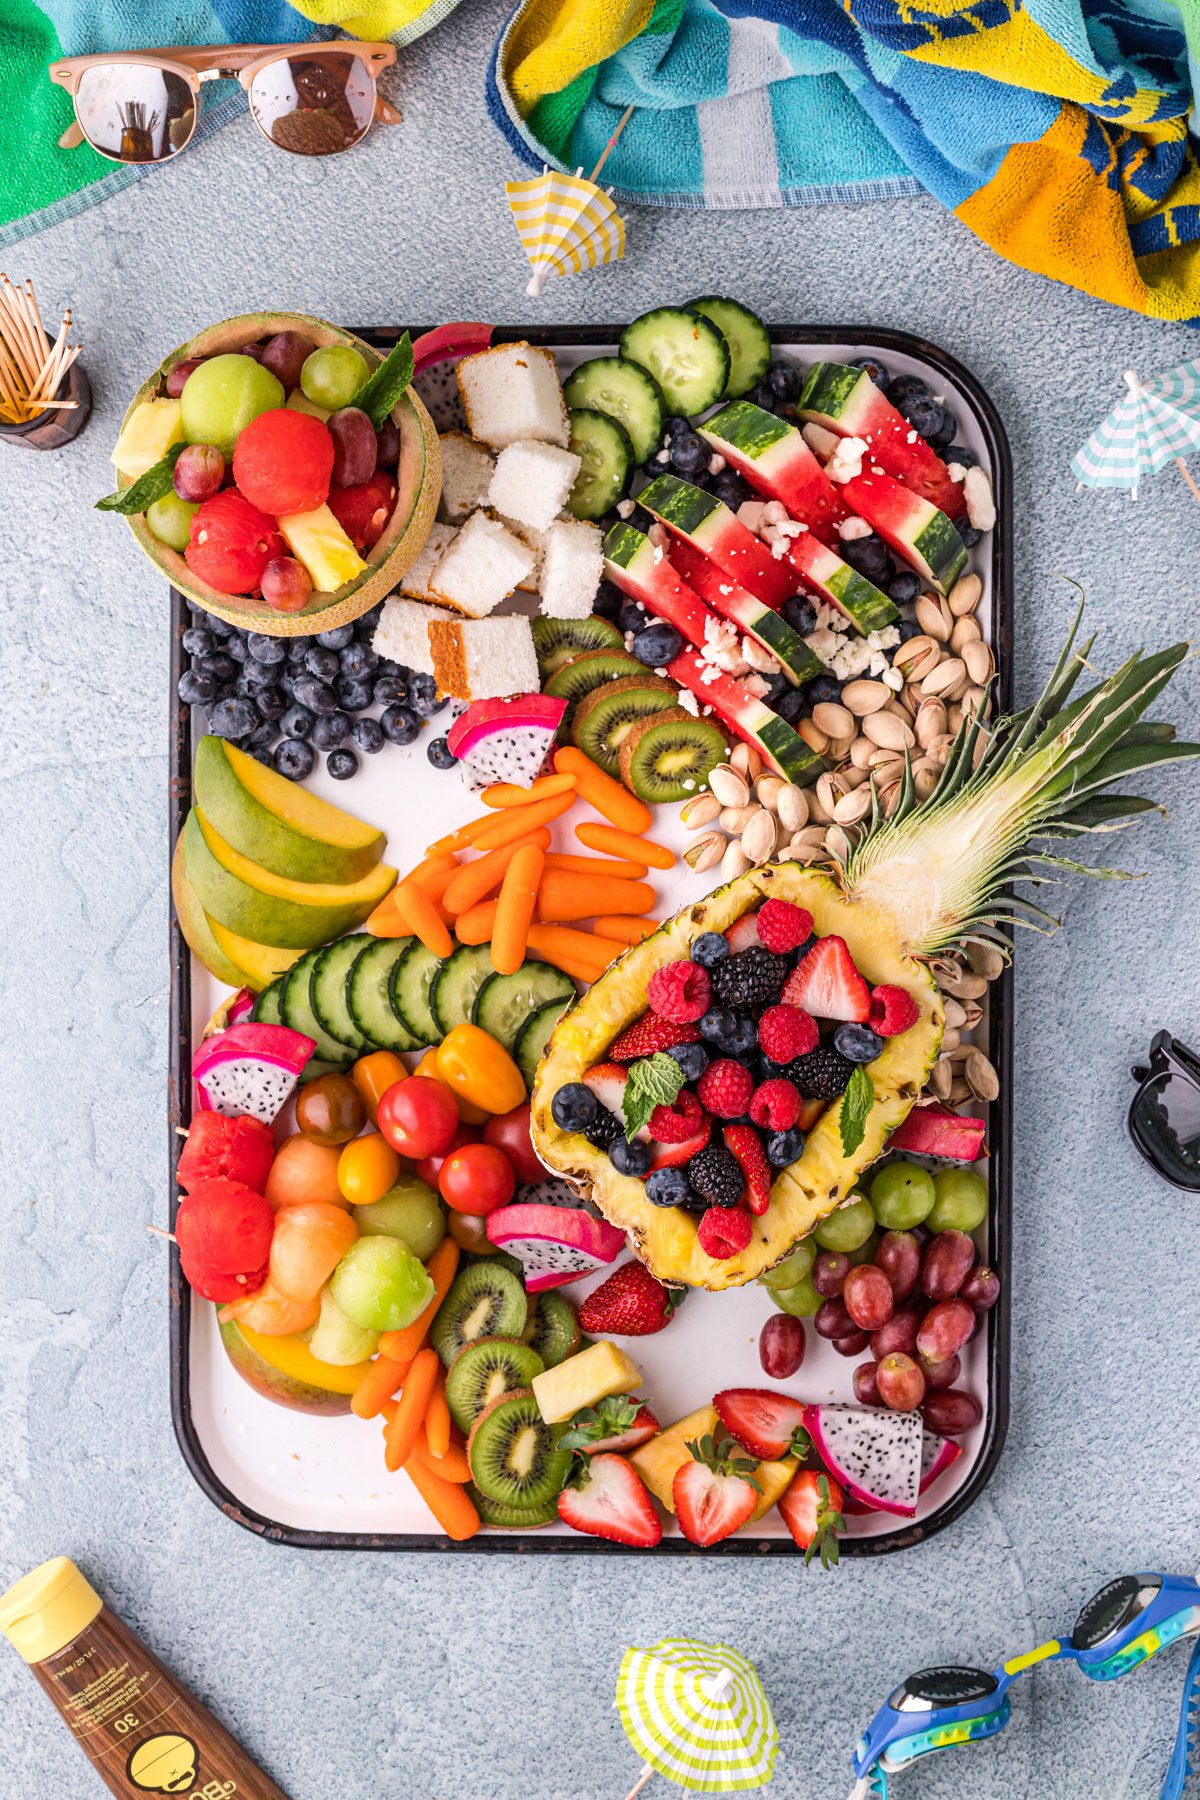
Finish it off by sprinkling in smaller items like pistachios, nuts, and smaller berries to fill the board in completely. You could also do cubes of different types of cheeses if you want this to be a more hearty appetizer for someone.
Serve the board lightly chilled and make sure to refrigerate any leftovers once your party is over!
helpful tips to keep the budget down
Charcuterie boards are such a hot trend that the term has gone from meaning a nice cheese plate with some meats and delicious spreads to any themed board full of food. Or a typical cheese and cracker board. Those are all fine, but they’re just not quite as fun as doing a themed board!
Themed boards can get expensive, but this summer charcuterie board is the perfect option for something themed that won’t break the bank! These are my simple tips to keep the costs down when trying to create an inexpensive charcuterie board.
Pair costly items with less expensive ones like I mentioned before with creating a fruit salad that incorporates the more expensive fruit in with the cheaper ones. Or try skewering fruit together so people are more likely to take some of the inexpensive and the more expensive fruit together instead of just going for the higher priced items.
Fresh bread makes a great low cost option, especially homemade sweet breads like this pineapple bread, cut into small pieces.
Look in the back of the fridge to see what types of things you already have that you can put on your board before buying everything new. Since charcuterie boards typically just have little bits of items, you can often find things in your fridge to create the board!
Use soft cheeses like goat cheese or brie cheese that people have to spread instead of a hard cheese like parmesan where people grab it by the slice. People are less likely to go overboard on the cheese when they have to spread it onto something. The same goes for fancy cheese – people tend to eat less of the best cheeses, especially if there’s just a little on the board.
Make your shopping list before you go to the store. Think about what you really need and even design the board in your head. If you just get to the store without planning, you’re likely to spend more creating your delicious charcuterie board than you’d planned.
Head to the deli counter and order just the ounces of meat and ounces of cheese that you think you’ll actually need. By getting them at the deli counter instead of pre-packaged, you can just spend money on how much you need, not how much comes in a package.
Use dried fruit and nuts as low cost fillers for in between the larger items.
Use seasonal items because they’re more likely to be on sale or clearance than out of season items. Plus, in season items always taste better, especially when it comes to fresh produce.
Make it a good charcuterie board visually and people honestly won’t care how expensive or inexpensive the food items are on it. The best part about a charcuterie board is that’s beautiful to look at and a great way for people to graze and snack on a number of different things.
Skip the meat and cheese board. Often times meats and cheeses can be pricey so unless you have your heart set on having actual meat and cheese, mix it up and use lower cost items in place of those classic charcuterie board items.
Remove any baked goods from the board before storing so that they don’t get hard in the refrigerator and ruined. There’s nothing worse when you’re on a budget than wasting good food before you didn’t store it properly! Wrap up the rest of the board with plastic wrap and chill until you’re ready to enjoy the leftovers, within three days.
How to Store a Charcuterie Board
One of the good things about charcuterie boards is that they make great leftovers! I personally love making my own mini snack plate from a charcuterie board for breakfast, lunch, or dinner!
To store the board, I recommend taking bigger items off like the croissant sandwiches and storing those in bags or storage containers individually. Also remove anything that doesn’t need refrigerated or that might be worsened with refrigeration (like the angel food cake).
Then you can just wrap the entire board with plastic wrap tightly and place it in the refrigerator. When you’re ready to graze again, just unwrap and enjoy your favorite things on day two. Or you can take everything off and store things in their own storage containers, but that kind of defeats the point of creating the charcuterie board in the first place – might as well enjoy your efforts!
Recipe FAQs
What can I use if I don’t have a charcuterie board?
If you don’t have an actual charcuterie board, you can use sort of serving item that’s large and flat. Cookie sheets, serving platters, cutting boards, wooden boards, and even tables all work great.
Should charcuterie be served cold?
A charcuterie board with meat and cheese should be served lightly chilled. It should be fine at room temperature for a couple of hours before being put back in the fridge to store. If you’re going to have it out for more than a couple of hours, have backup food items in the fridge that you can rotate onto the charcuterie board (and put the originals back in the fridge) so nothing is out for more than a few hours.
More Easy Charcuterie Board Ideas
If you liked this summer charcuterie board, make sure to check out these other board ideas that are great for any occasion!
- Mexican charcuterie board – Mexican appetizers like tacos, empanadas, and quesadillas abound on this fun grazing platter that’s perfect for Taco Tuesday or Cinco De Mayo!
- Christmas tree cheese board – this fun cheese board is great for the holidays because it’s in the shape of a tree!
- S’mores charcuterie board – the perfect board if you want to have a plethora of s’mores toppings and options!
- Caramel apple toppings board – setup a DIY your own caramel apple board with tons of different caramel apple toppings!
- Charcuterie wreath – another fun holiday themed charcuterie board, this time in the shape of a wreath!
Want more Goodies?
Want more delicious recipes just like this one? Enter your first name and email address in the form below to join the Play Party Plan community! You’ll receive weekly recipes and party ideas directly to your inbox!

Summer Charcuterie Board on A Budget
Ingredients
- Watermelon
- Canteloupe
- Pineapple
- Berries (blueberries, blackberries, strawberries, raspberries)
- Grapes
- Kiwi
- Dragon fruit
- Cherry tomatoes
- Cucumbers
- Carrots
- Sandwich meat (such as turkey, ham, roast beef)
- Variety of cheese slices (such as muenster, Swiss, provolone, cheddar, etc.)
- Nuts (pistachios, almonds)
- goat cheese crumbles
- Mini croissants or sandwich bread
- Angel food cake (cut into bite-sized cubes)
Instructions
- Choose a board or platter appropriate for the size of your gathering. A cookie sheet will also work.
- Prepare fruits and vegetables as desired. Fruits can be sliced or scooped into balls. You can can also use cookie cutters or cut shapes. Save any shells from melons or pineapples to use as serving bowls for the fruit. Place fruits and vegetables on board.Watermelon, Canteloupe, Pineapple, Berries, Grapes, Kiwi, Dragon fruit, Cherry tomatoes, Cucumbers, Carrots
- Make finger sandwiches or mini-croissant sandwiches with your favorite sandwich fillers such as turkey, ham, roast beef and a variety of cheeses. Arrange the sandwiches on the board.Sandwich meat, Mini croissants or sandwich bread, Variety of cheese slices
- To finish the board off, add any remaining ingredients to the board such as berries, almonds, pistachios, and cubed angel food cake.Nuts, goat cheese crumbles, Angel food cake



Leave a Reply