
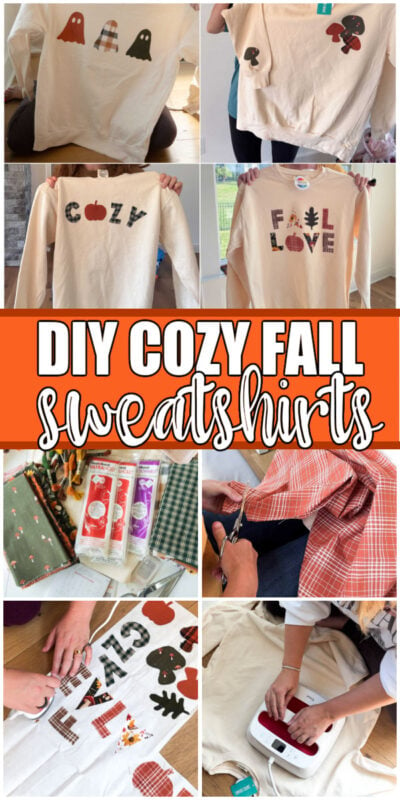
Make your own cozy sweatshirt at home with a fun fall craft night, girls night, or even just on your own. We did this with a bunch of our mom friends as part of our monthly cozy club, and everyone came up with the cutest, coziest sweatshirts for fall!

Want to save this Idea?
Enter your email below and we’ll send this idea straight to your inbox (plus you’ll receive tons of fun weekly ideas from us!)
Fun Fall Craft Night Idea
After we hosted our sweater pumpkin craft night last year, my group of friends has been trying to do regular crafty girls nights with simple crafts that we can finish in just one night.
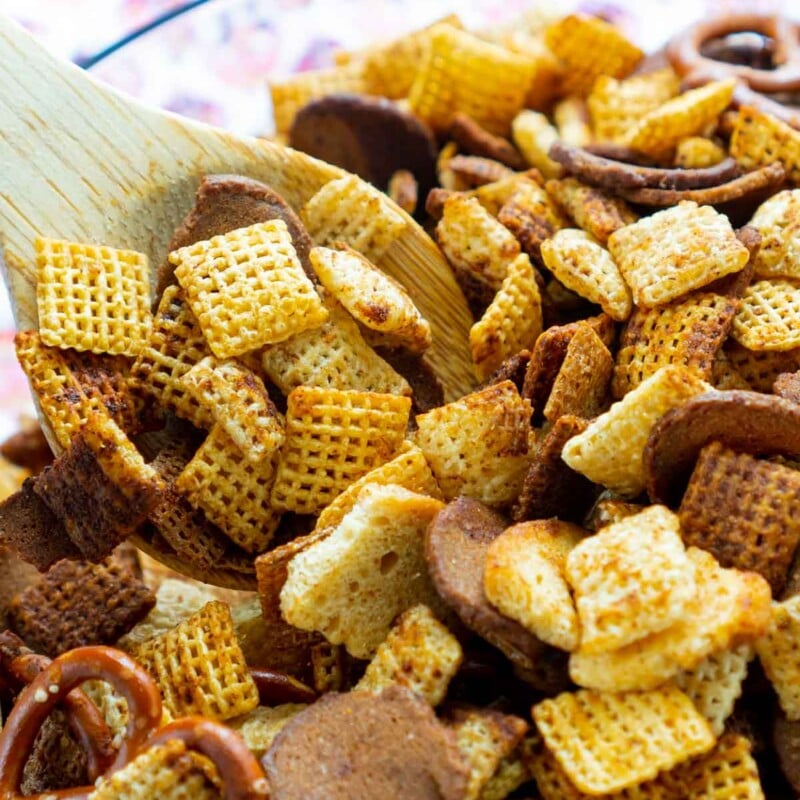
These cozy sweatshirts are the perfect craft for a girls night (or really an activity for any fall party) because they take less than 15 minutes to make, so there’s plenty of time for snacking – try pumpkin snickderdoodles and fall snack mix – and chatting!
Plus, everyone can customize them to their own preference using different fabrics, thread colors, letters, and shapes!

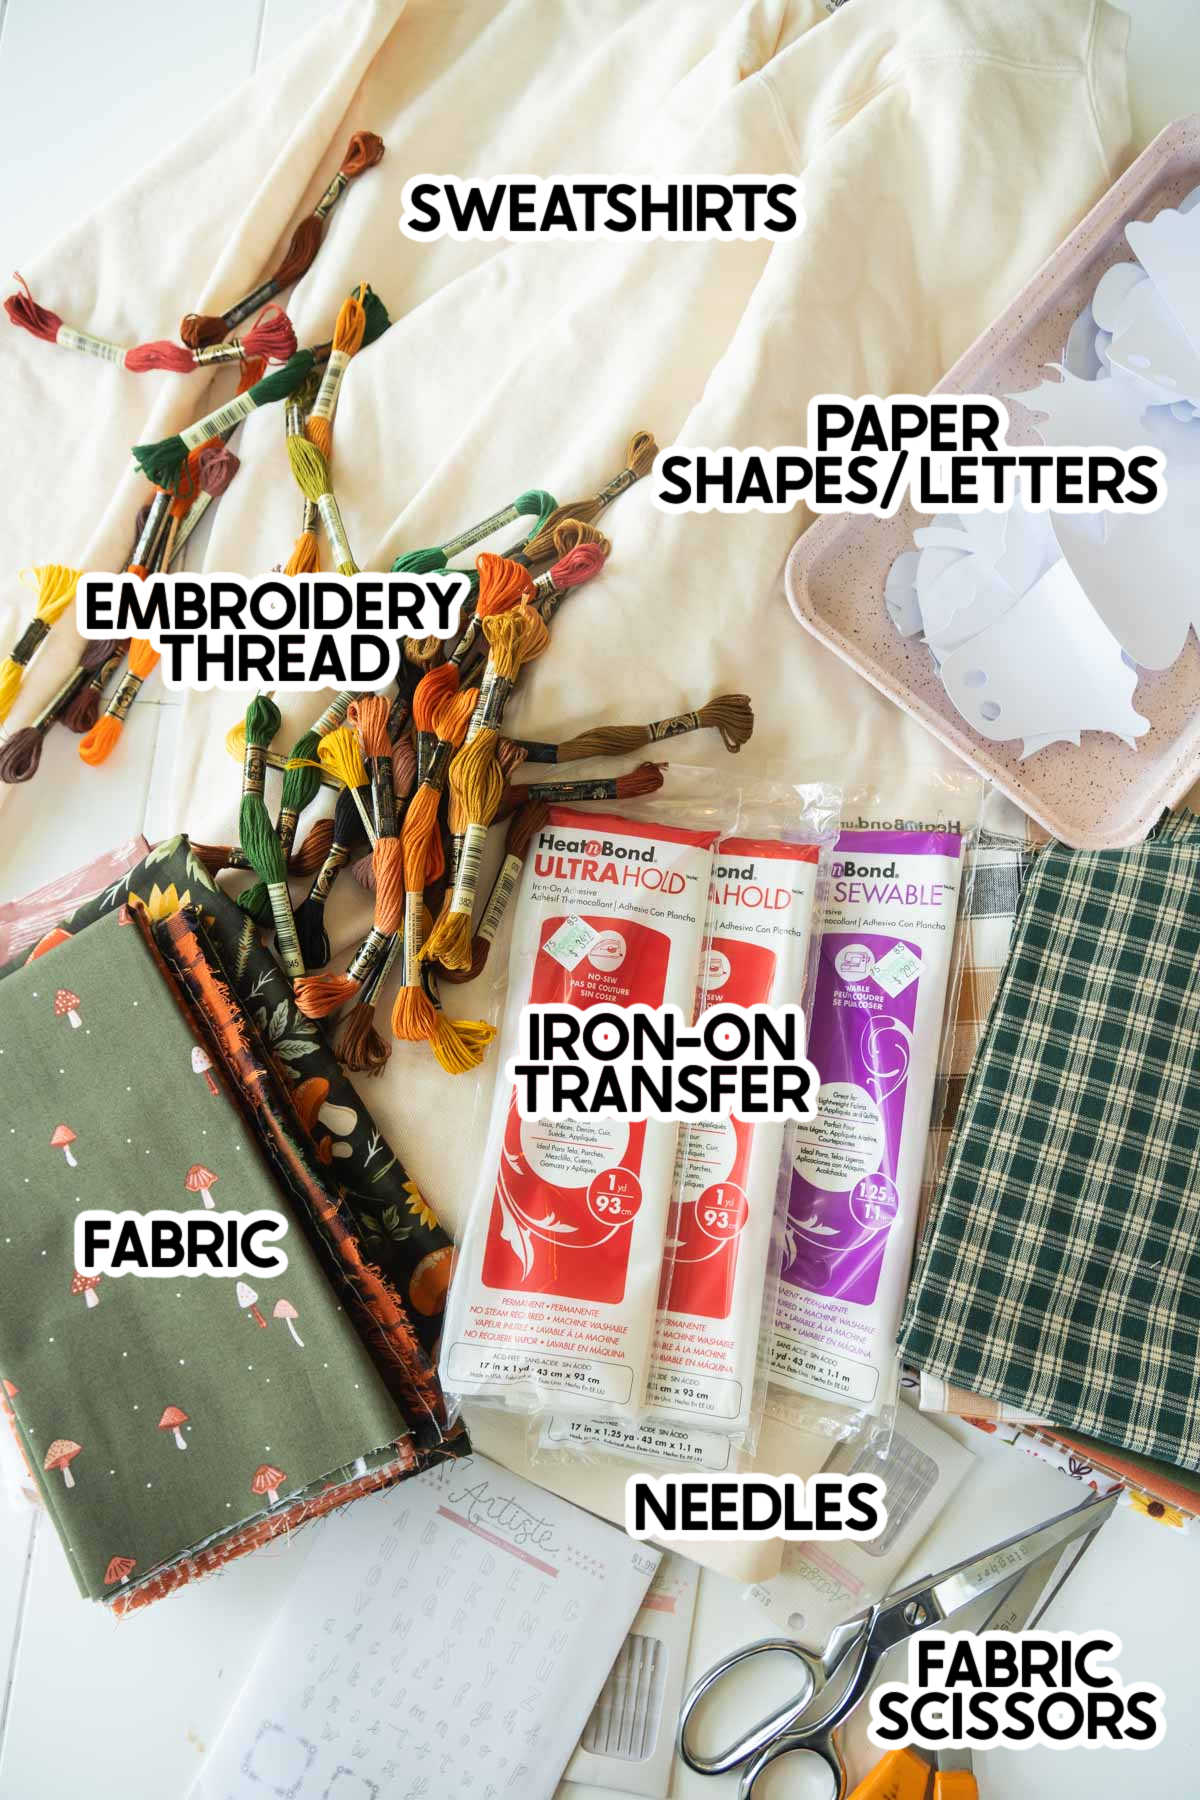
Supplies

Supply notes
- Sweatshirts – these can be from the thrift store, your closet, Hobby Lobby, or wherever you want. They just need to be plain or have somewhere you can add fabric!
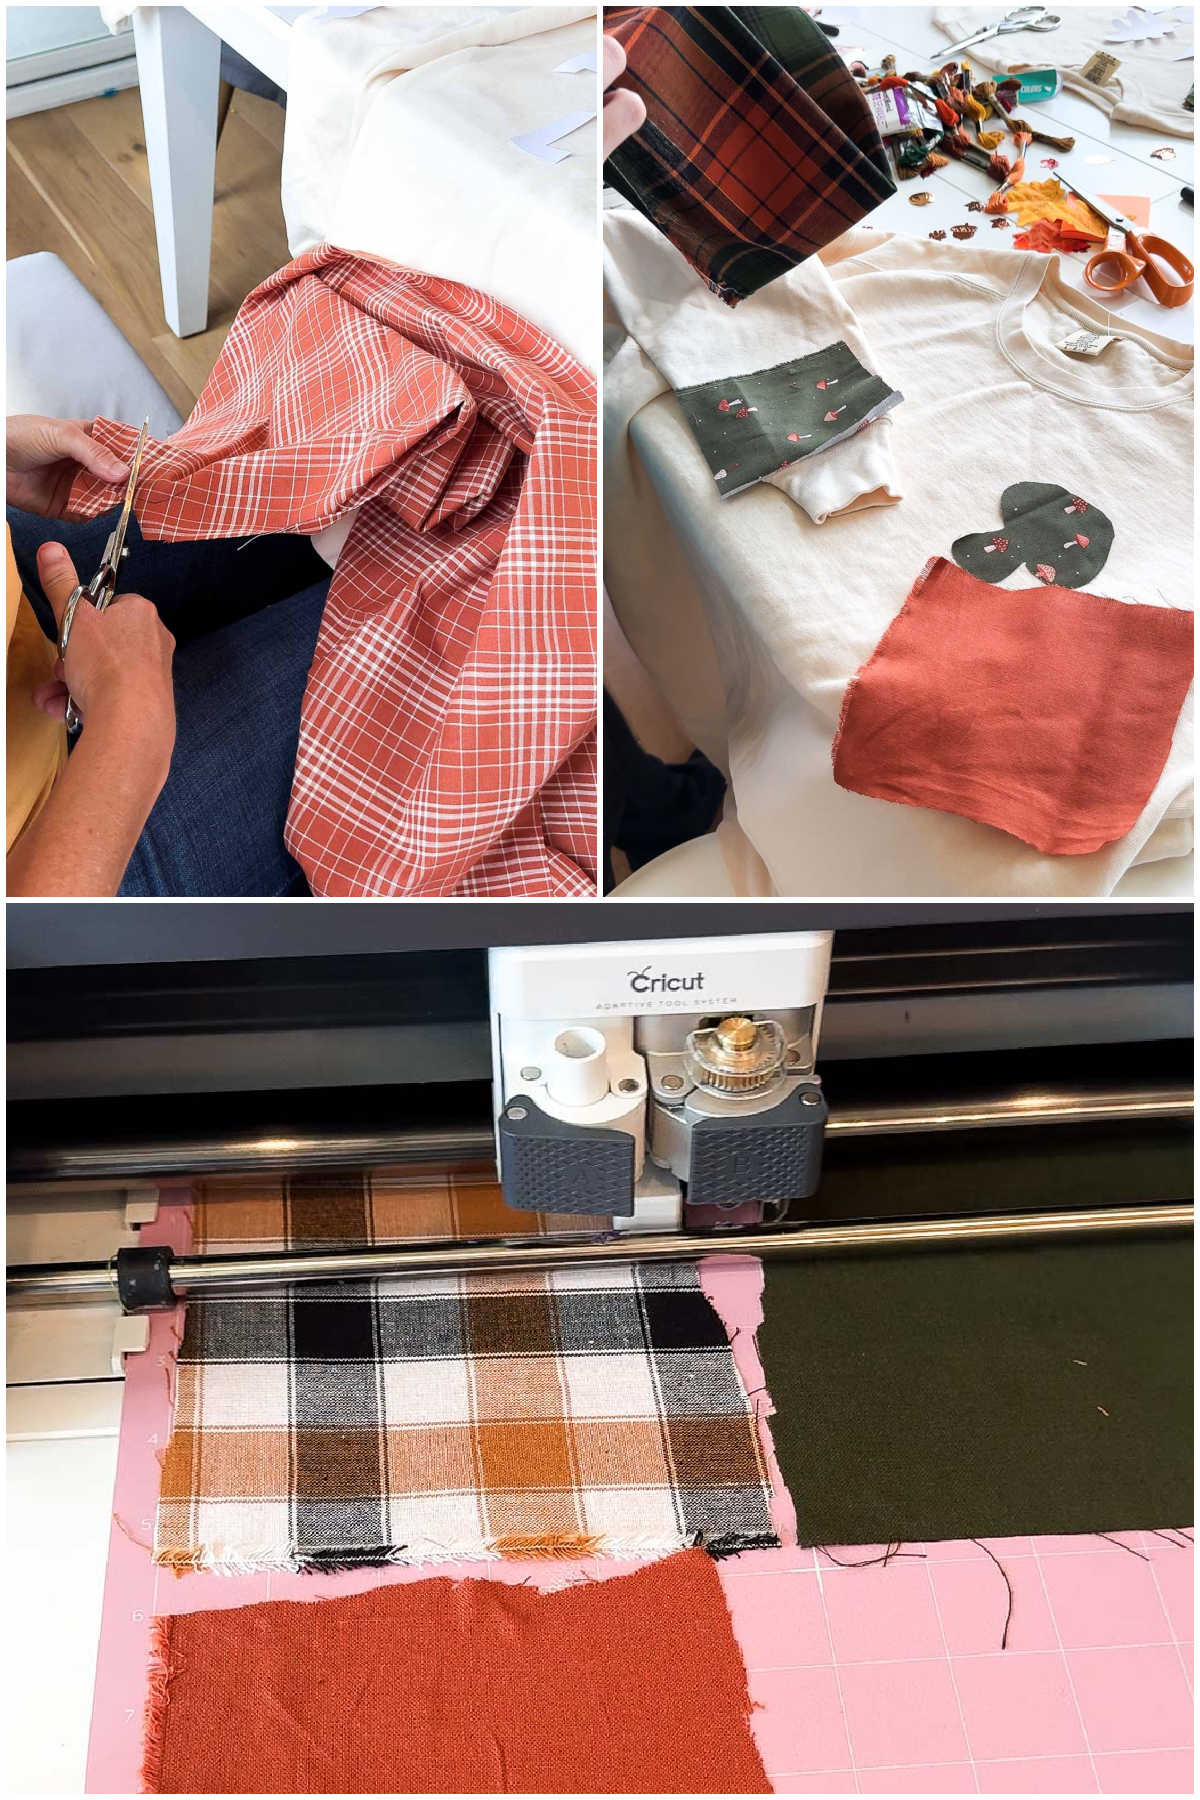
- Fabric – I had a lot of fun picking out our favorite fall fabrics. You don’t need much fabric, so I just bought 1/2 yard of a bunch of fabrics. Also, I highly recommend using cotton fabrics rather than thicker things like suede.
- Scissors – you’ll want fabric scissors (to cut the fabric) and non-fabric scissors (to cut the paper and transfer sheets). No need to get the fancy fabric scissors, although they are the best. A cheap pair like these will do the same job.
- No sew transfer sheets – make sure you get the no sew pack. One pack was plenty for our group of six.
- Embroidery thread – grab a couple that match the majority of your fabrics. It’s really easy to go overboard on this. Just remember, you don’t need as many as you think.
- Needles – any needle that has a large enough eye to thread embroidery floss through will work.
- Pencils or fabric markers – really just anything that will write on fabric.
- Iron – most people will use an iron but if you have it, a Cricut Heat Press or Easy Press Mini is perfect for this!
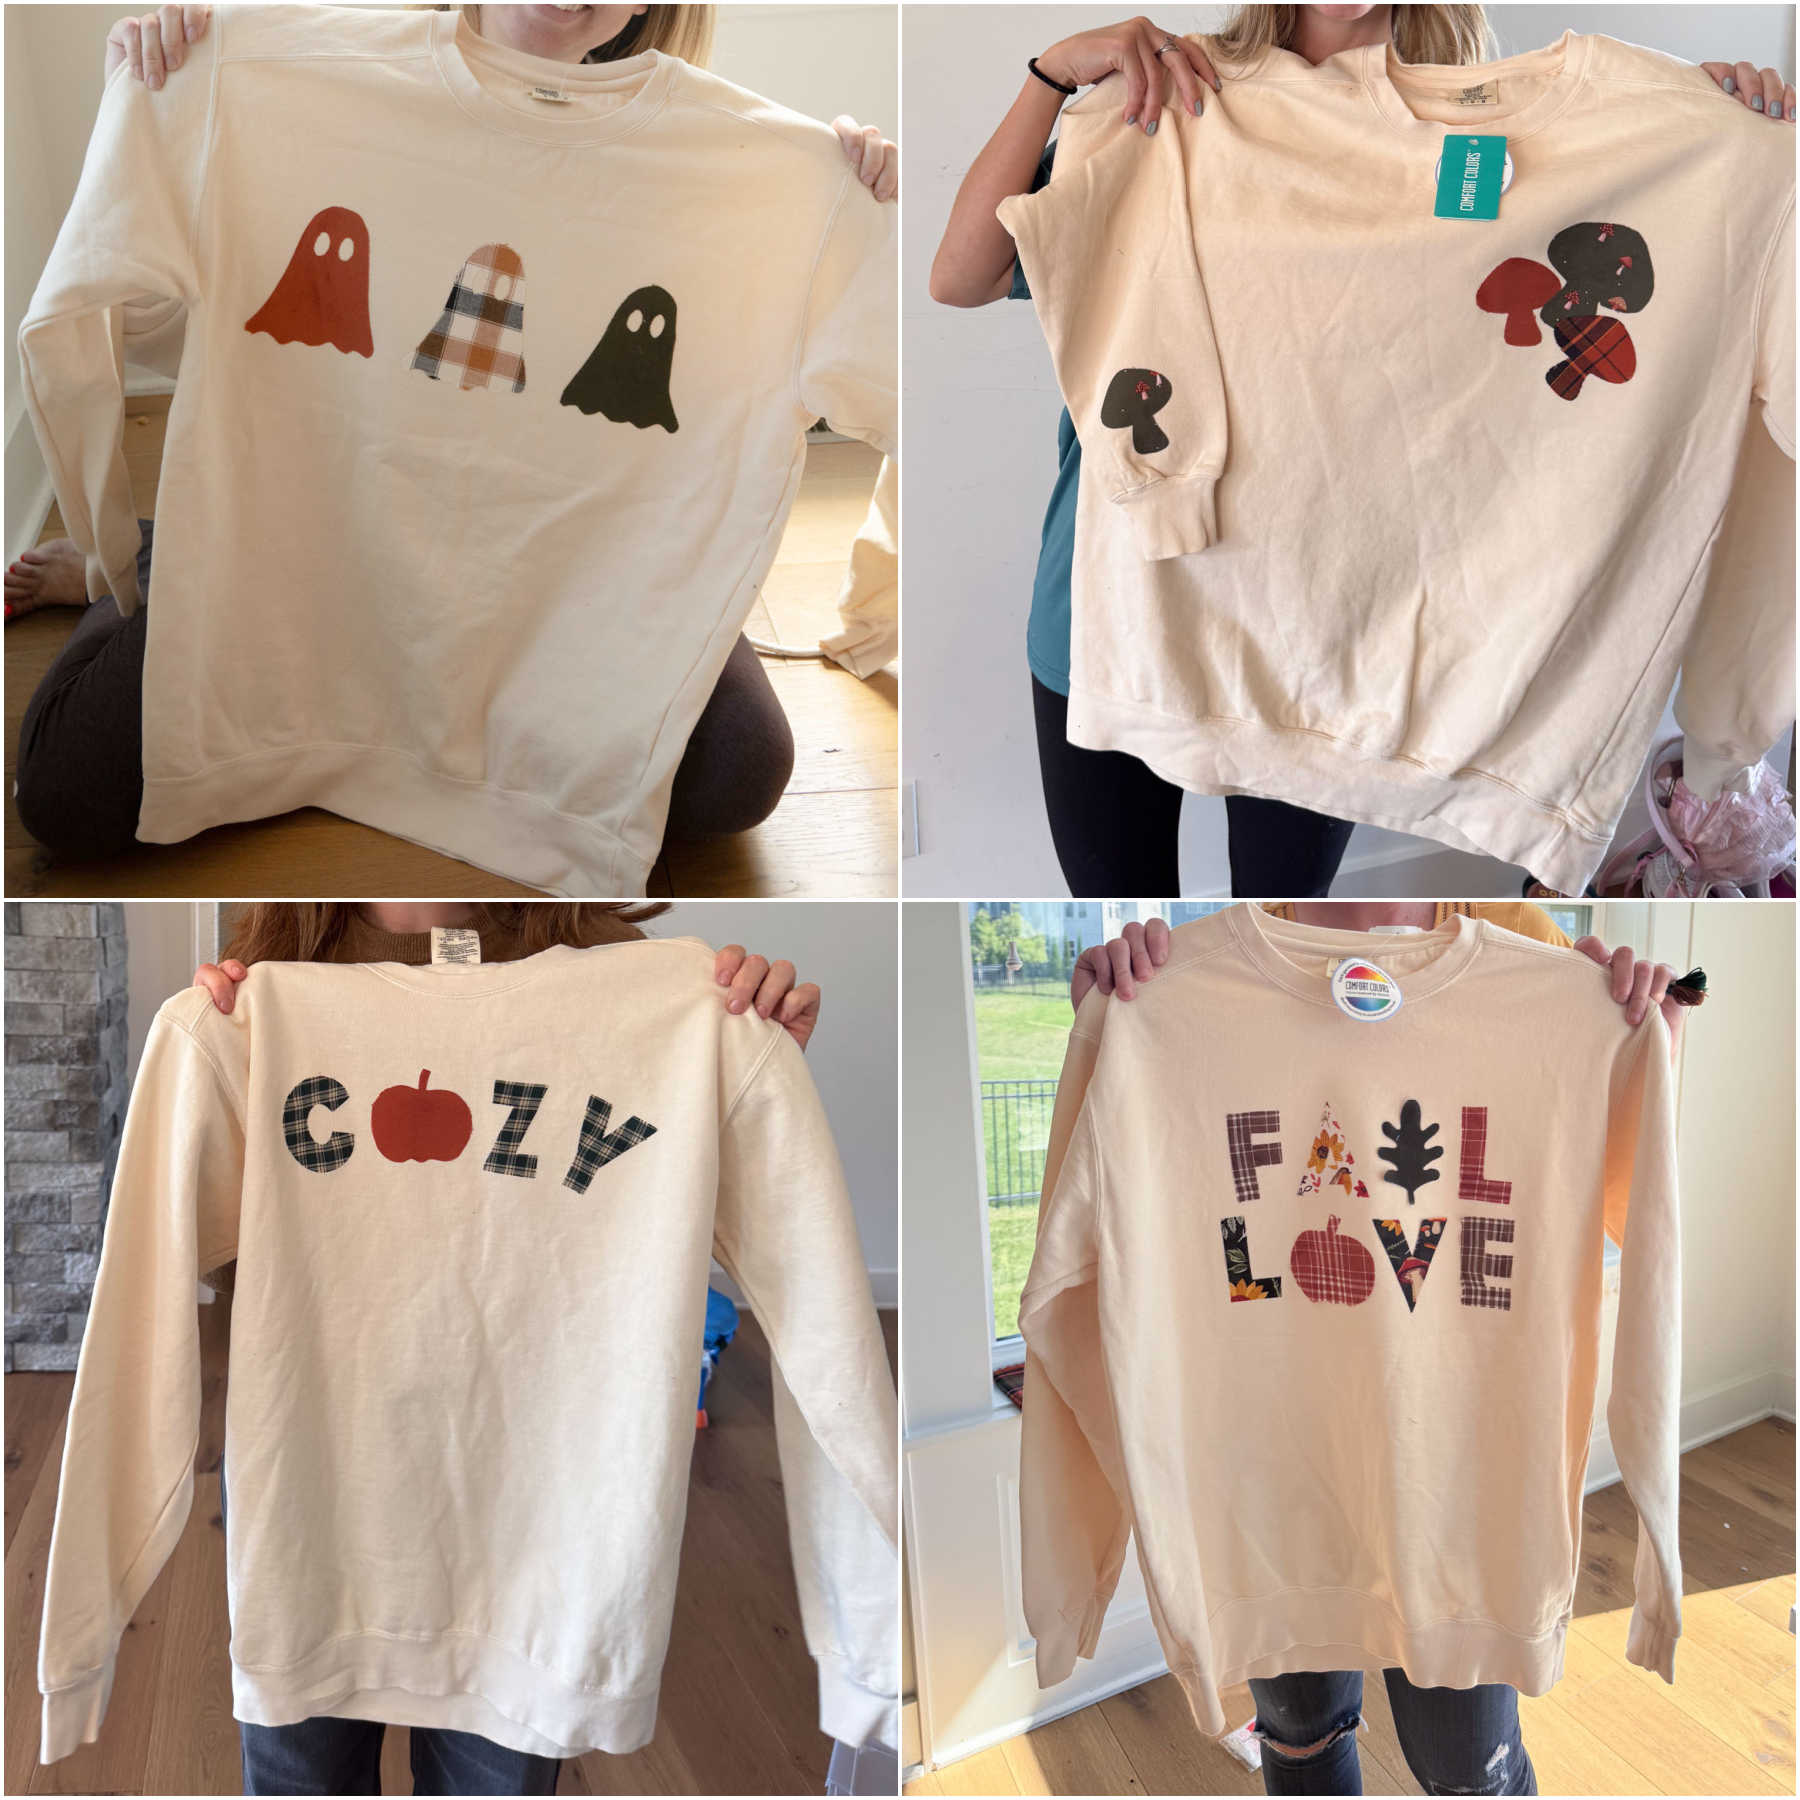
- Stencils – these can be made out of anything. You can print and cut out fall shapes and letters, or they can draw them by hand. Or just buy some letter stencils online. I cut out a bunch of shapes – ghosts, pumpkins, apples, leaves, mushrooms, etc. and letters on my Cricut.
Make it even easier
Part of our group used scissors to cut out their fabric shapes and part of the group used my Cricut Maker to cut out the fabric shapes. If you have a Cricut Maker (or another cutting machine that cuts fabric), using a rotary wheel blade and fabric cutting mat to cut the fabric shapes is WAY easier. It took minutes and the cuts were perfect every time. But totally doable by hand too!

How to make your own cozy sweatshirts
With the supplies purchased and ready, it’s time to get creative.
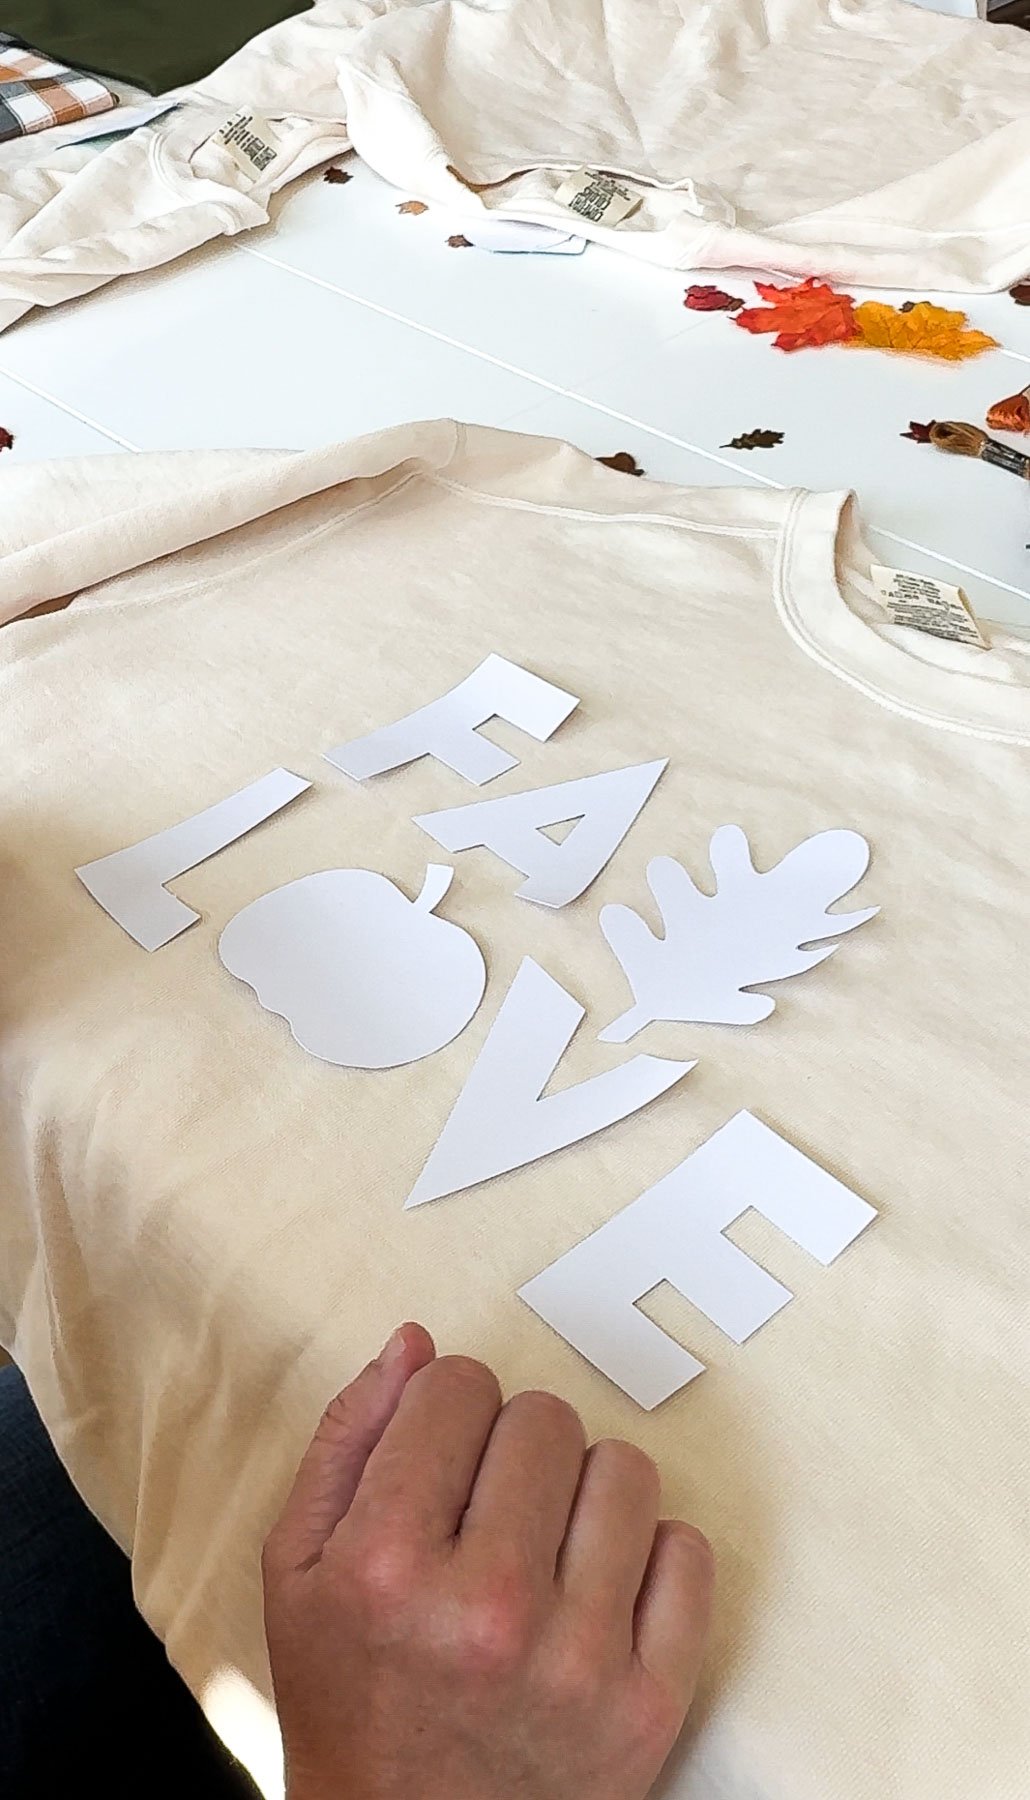
1 – Design the sweatshirt
Start by adding all of your supplies to a large table so that everyone can go through and come up with their own designs to get started! I was so impressed by all of the designs people came up with – so creative!
To design the sweatshirt:
- Choose your fabrics and matching embroidery threads.
- Figure out what you want your design to be.
- Lay it out in stencils (or Cricut cut outs) on top of your sweatshirt to make sure it’ll fit in the space you have.
- Take a picture so you can remember the design as you’re cutting out the shapes in fabric.
Cricut version
If you’re doing this on a Cricut, here’s the Cricut Design Space file that we used for our designs. You can open this to get all of the images and letters we used or you can just create your own designs!
2 – Cut out the shapes
Once you’ve created your design, it’s time to bring it to life so you can actually add it to your sweatshirt by cutting it out of fabric.
- Trace the stencils onto the fabrics using a pencil or sewing markers.
- Use the fabric scissors to cut out the shapes you just traced on the fabric.
Cricut Version
If you’re cutting the design out on a Cricut, I recommend cutting out rectangles or squares of the fabric (rather than using the bigger piece) you are using, placing those on the mat, and designing the cut file to place the shapes where they line up with the fabric squares on your fabric mat.
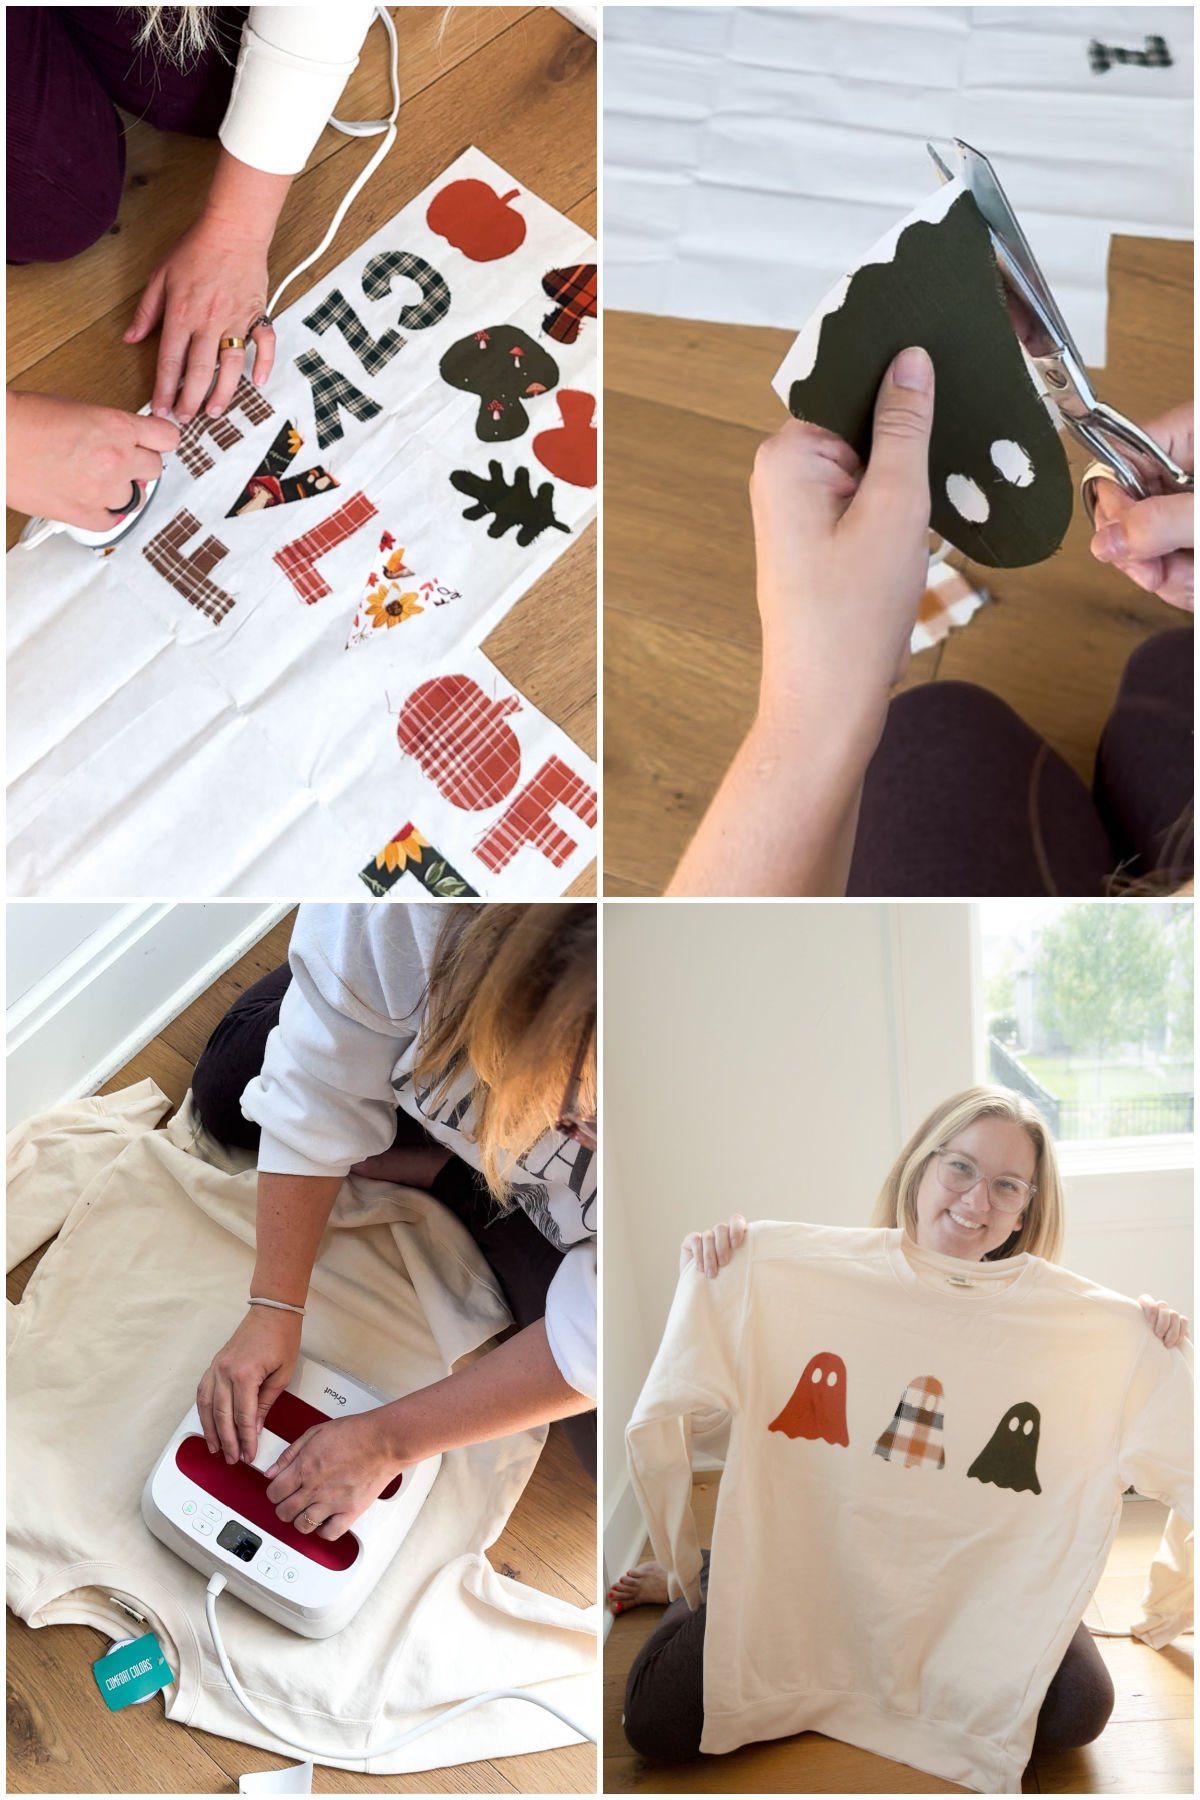
3 – Iron on the design
While you’re cutting out the design, warm up your iron or HeatPress to the setting that matches whatever fabric your sweatshirt is.
- Roll out the bonding sheet onto an iron-safe surface. Make sure to read the package instructions so that you know how to use the bonding sheet correctly.
- Arrange your cut-out pieces with the fabric side face up so that they are not touching on the bonding sheet. You don’t need a lot of space, but they can’t be touching.
- Gently iron the pieces until they are completely bonded. The package instructions will provide you with exact times and temperatures to use.
- Once all the pieces are done, cut each one out individually, making sure not to cut the fabric (it’s okay to leave a little bit of bond around the shape).
- You’ll likely remove the bond backing now but read your instructions carefully to make sure this process is done correctly – then place them where you want on the sweatshirt (with the fabric side up), and iron them into place.
Cricut Version
The Cricut version will be the same as the regular version in this case except instead of using an iron, you’ll be using your Easy Press or Easy Press Mini. Just use the cotton setting – assuming your sweatshirt is cotton!
4 – finish the cozy sweatshirts
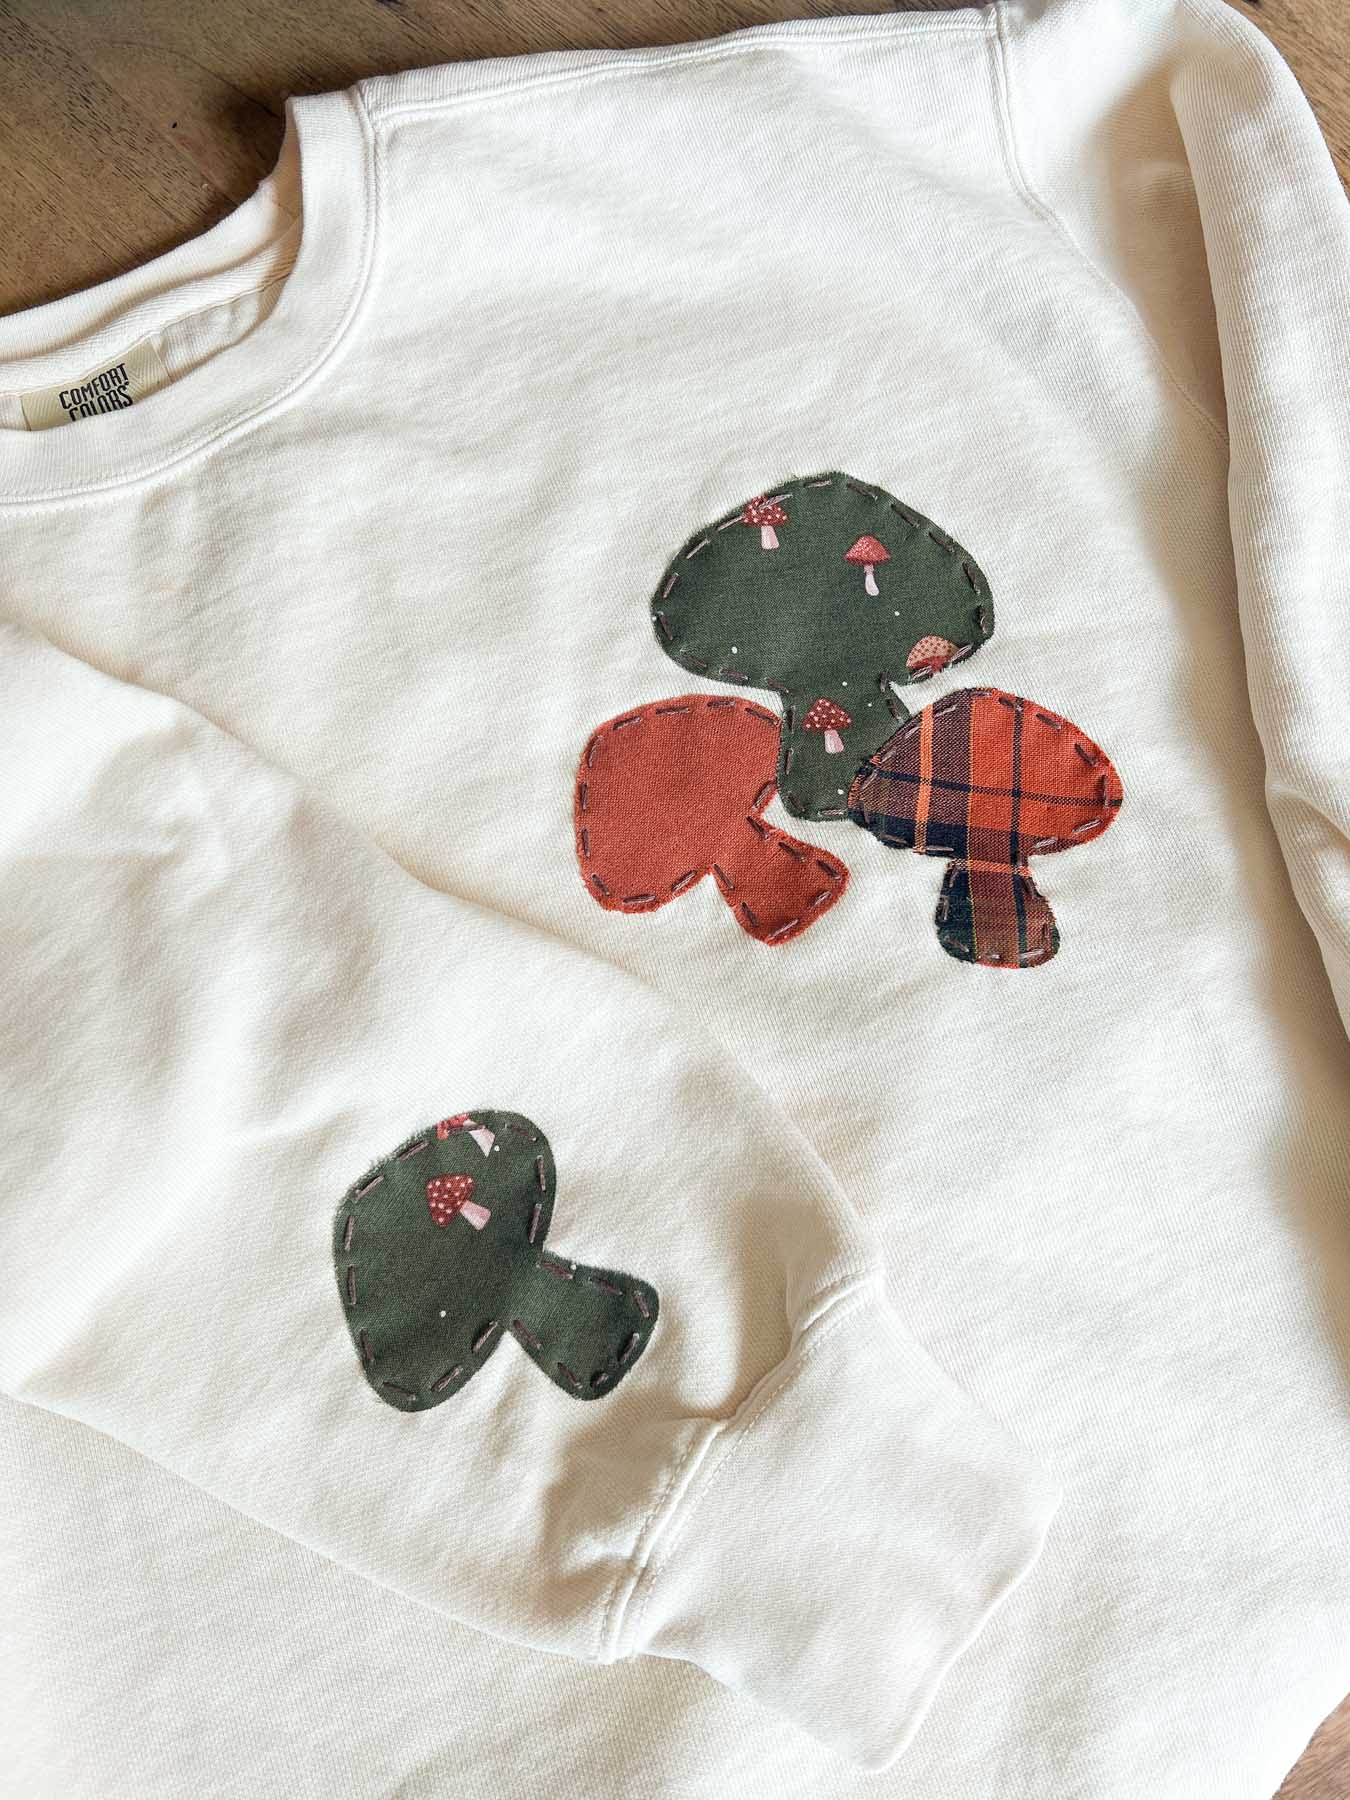
With all the pieces on, you get to add the final details. Using the embroidery thread and needle, hand stitch any additional designs you’d like.
This can be as simple or as complicated as you like. There are a ton of great Youtube tutorials out there that can teach you all kinds of fancy stitches. Or you can keep it simple and do a running stitch around the edges.
After you’ve put in your final stitch, you’re done! All that’s left is to grab a glass of hot apple cider and enjoy the cooler weather in your new favorite sweatshirt.
Helpful Tips
Use a printer to print out the designs you want. That way, you don’t have to spend forever or be an artist to get your designs to be perfect.
Read the package instructions for your bonding sheets. I can’t guarantee that you use the same one I did, so make sure you know how to use it properly.
If you like to sew, do it! There is no reason you can’t use a sewing machine or hand-stitch the patches on.
Fall Sweatshirt Video Tutorial
If you are anything like me and are a visual learner, watching the video can make it much easier to do. It is also a great way to explain what you are making if you are doing this for a girls’ night. Much easier to show the steps than to have to talk through every part of the project.

DIY Fall Cozy Sweatshirt
Ingredients
- iron on bonding sheets
- sweatshirt
- fabric
- embroidery floss
- stencils
Instructions
- Choose your fabrics and matching embroidery threads. Lay out the desired design on the sweatshirt using the stencils.sweatshirt, fabric, stencils
- Trace the stencils onto the fabrics using a pencil or sewing markers.
- Use the fabric scissors to cut out the shapes you just traced on the fabric.
- Roll out the bonding sheet onto an iron-safe surface. Make sure to read the package instructions so that you know how to use the bonding sheet correctly.iron on bonding sheets
- Arrange your cut-out pieces with the fabric side face up so that they are not touching on the bonding sheet. You don’t need a lot of space, but they can’t be touching.
- Gently iron the pieces until they are completely bonded. The package instructions will provide you with exact times and temperatures to use.
- Once all the pieces are done, cut each one out individually, making sure not to cut the fabric (it’s okay to leave a little bit of bond around the shape).
- You’ll likely remove the bond backing now but read your instructions carefully to make sure this process is done correctly – then place them where you want on the sweatshirt (with the fabric side up), and iron them into place.
- Using the embroidery thread and needle, hand stitch any additional designs you’d like or just stitch all the way around the edge of the designs.embroidery floss
- Use the embroidery needle and thread to outline the design as desired to finish the sweatshirt.
Tips & Notes:

More Easy Fall Crafts
Make all sorts of fall crafts with these other fun ideas!
- Rope pumpkins – cute pumpkins made out of hand dyed rope!
- Turkey crafts – more Thanksgiving than fall but still super cute!
- Fall art projects – all sorts of fall crafts and projects.
- Pumpkin patch craft – super easy fall craft that’s great for littles!
- Thanksgiving crafts – plenty of pumpkins and leaves to be found in this collection!
Want More Fun Ideas?
Want more fun ideas like this one? Enter your first name and email address in the form below to join the Play Party Plan community! You’ll receive weekly recipes, party ideas, games, and more directly to your inbox!


Leave a Reply