
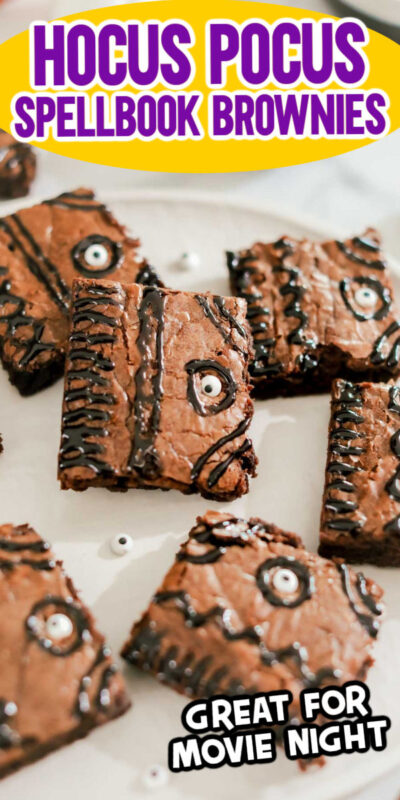
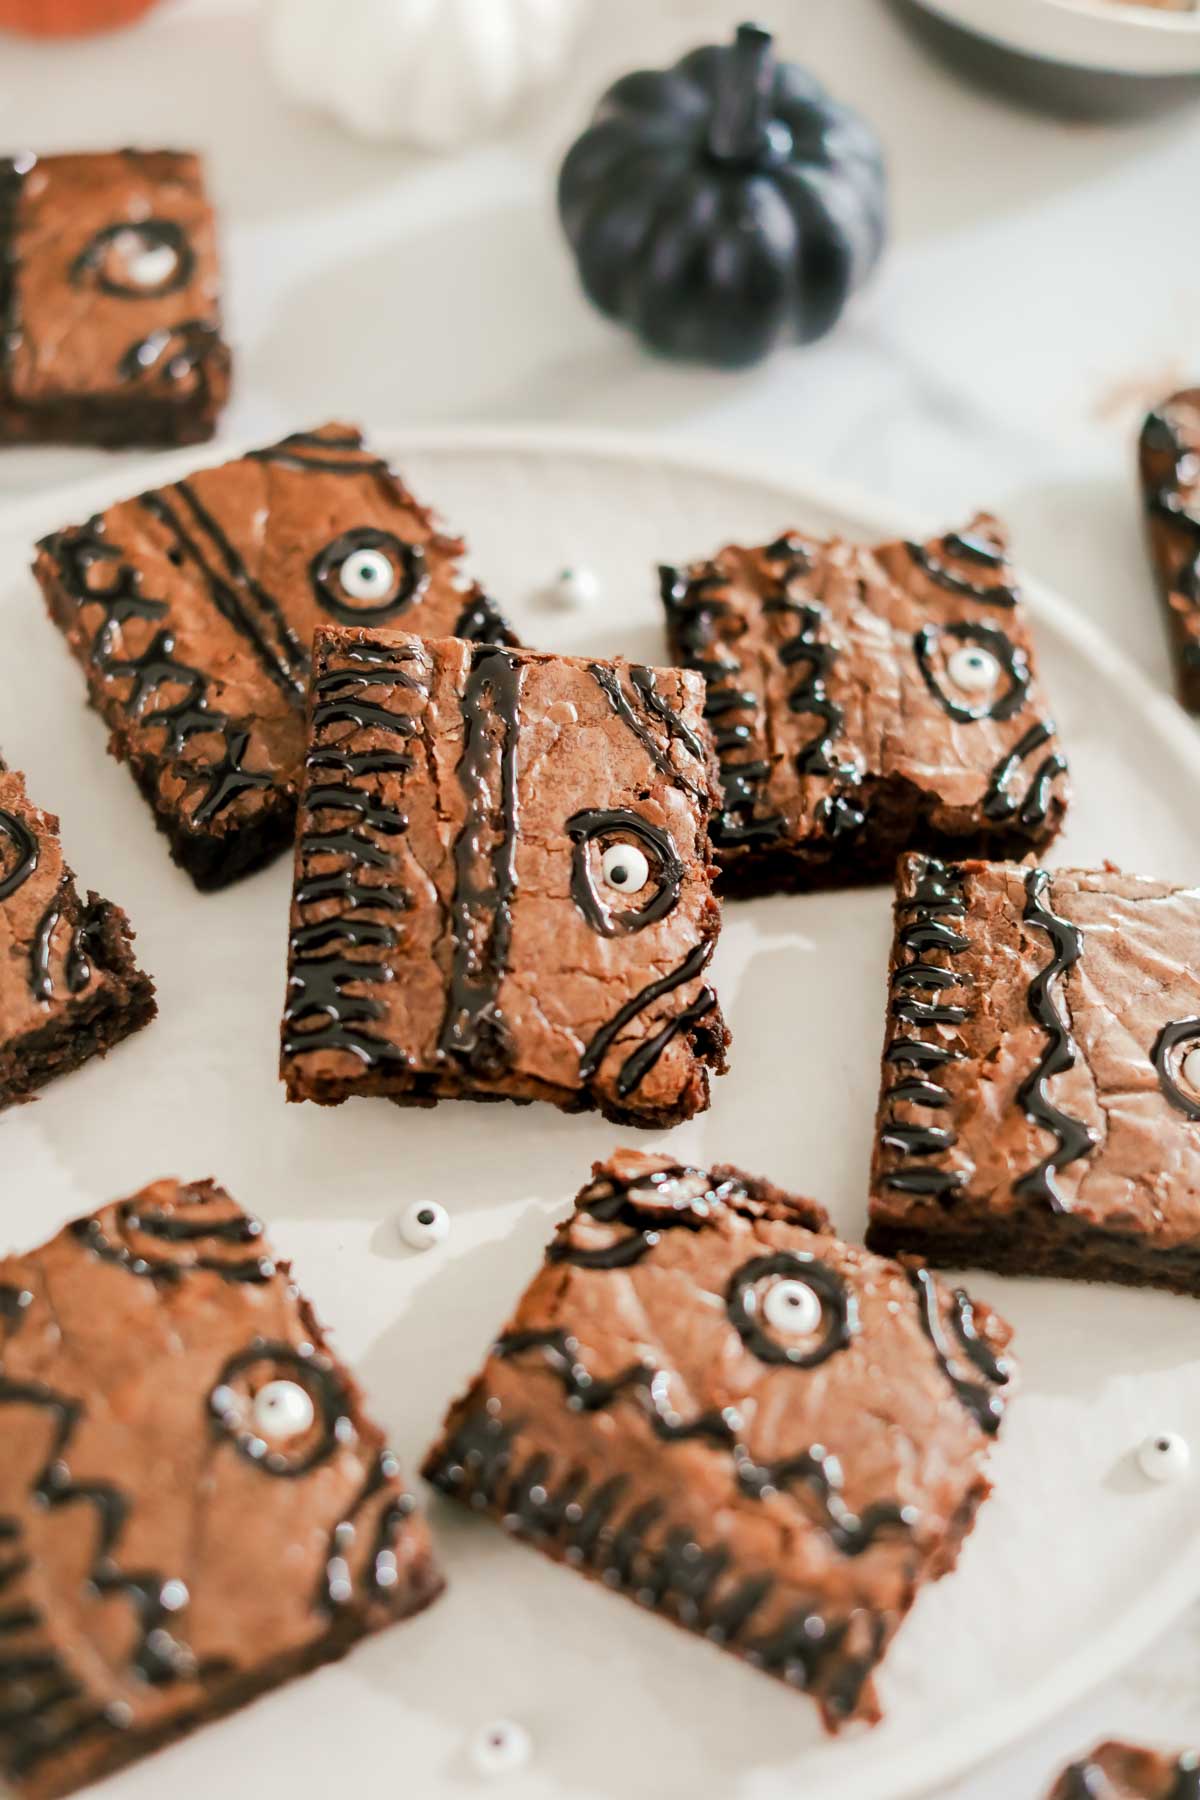
These fun Hocus Pocus brownies look like spell book used by the Sanderson Sisters in the classic Halloween movie! Make them up for a movie night, a Hocus Pocus party, or even just any Halloween party! They’re super easy to make and a great addition to any Halloween dessert table!

Want to save this recipe?
Enter your email below and we’ll send this idea straight to your inbox (plus you’ll receive fun weekly ideas from us too!)
One of my favorite parts of the Hocus Pocus movies is the spellbook, so I thought it would be fun to share some Hocus Pocus themed recipes like these spell book brownies! I’ll be sharing some more ideas soon but figured these Hocus Pocus spell book brownies was a good enough place to start as any!
I still can’t believe they made a new Hocus Pocus movie honestly – it’s like they’re bringing back all of the classics. I’m glad they did the original justice, kind of like how they brought back Top Gun and the new one is a masterpiece. While Hocus Pocus may not at the top of my list of favorite Halloween movies, it’s a good one. And we watch it every Halloween season, so that’s something.
Anyway, these brownies will be the hit of a Hocus Pocus movie night or your next Hocus Pocus themed party!
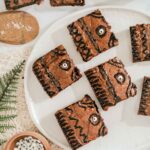
They’re designed to look like the Manual of Witchcraft and Alchemy that Winifred gets during the movie and that they use throughout the film. I mean Winifred Sanderson’s spell book is almost a main character, so I needed to make brownies just for it!
You could even make this fun Halloween dessert board and just add these delicious Hocus Pocus brownies and these Hocus Pocus cookies to the board – it’s already witched themed so it would go perfectly with these!
Why You’ll Love This Recipe
- Easy – by starting with a box brownie mix, these brownies will be done in no time! Plus, you know they’ll be delicious since box brownie mixes always are!
- Festive – if you like themed treats, you’re in the right place because these are made specifically to be themed to the movie Hocus Pocus!
- Great make ahead recipe – unlike some Halloween recipes that aren’t easy to make ahead of time, these ones are! Brownies last for a few days so if you want to make the brownies first and then decorate just before serving, that’s a great option!
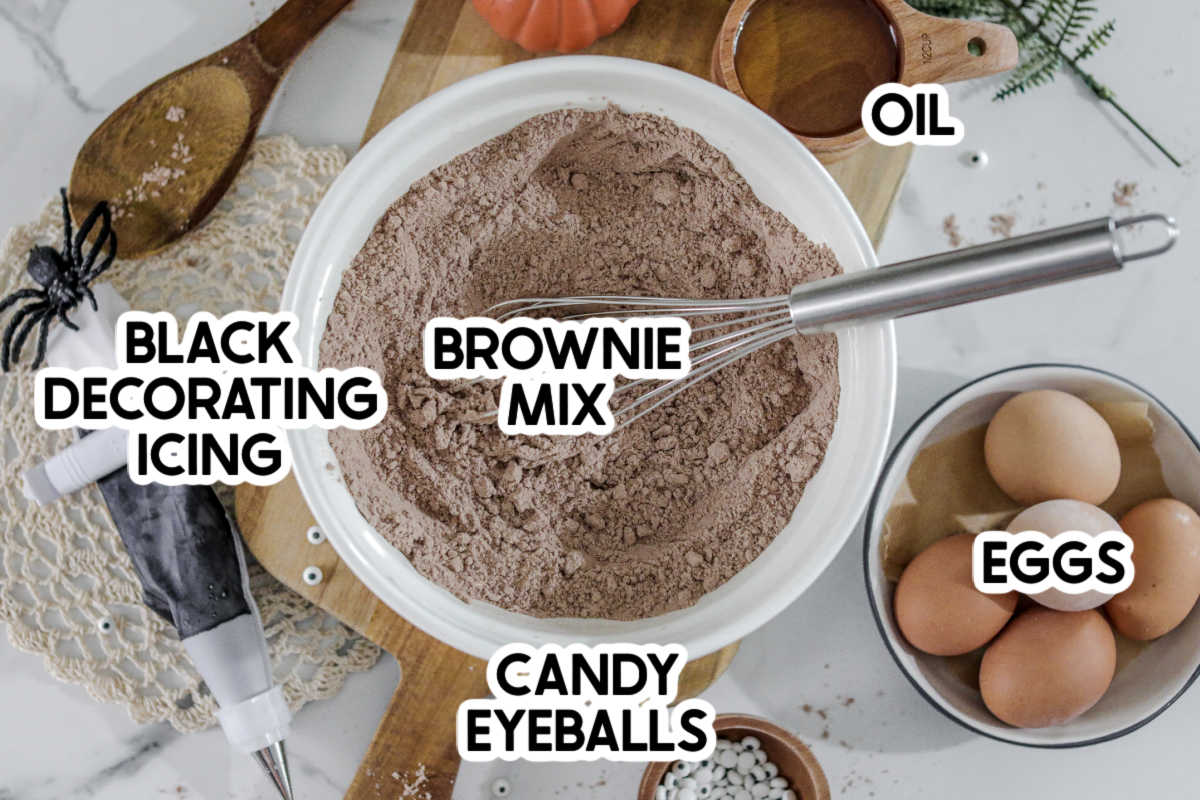
Ingredients
Ingredient Notes
- Brownie Mix – you can either use a box brownie mix or you could make your own homemade brownies with this recipe. Honestly, as long as you get brownies out of the deal, you can really use anything. If you’re using a box mix, you’ll also need the things to mix into it (typically eggs, oil, and water).
- Black Icing – you can either make your own using this sugar cookie icing recipe or you can buy store-bought decorator’s icing – just make sure it’s thin enough to actually decorate. I’ve had issues with the tubes of icing you buy at stores being too thick for the small designs on these brownies. If you don’t have black icing, you could also substitute with melted chocolate piped with a piping bag. Or just pipe out black cookie frosting (store-bought works fine).
- Candy eyes – if you can’t find candy eyes in your stores yet (you should be able to), you can order them in bulk on Amazon here. Candy eyes are not optional, that’s what makes this the Hocus Pocus book of spells! If you want to use large candy eyes, I recommend cutting your brownies a little bit bigger than normal. I like to use large candy eyes or jumbo candy eyes if I can find them but couldn’t this summer so small ones were all I had!
How to Make hocus pocus brownies
Are you ready to make Hocus Pocus themed brownies? These aren’t just for Hocus Pocus fans, they’re easy enough that anyone can make them, whether you’re a big fan of not!
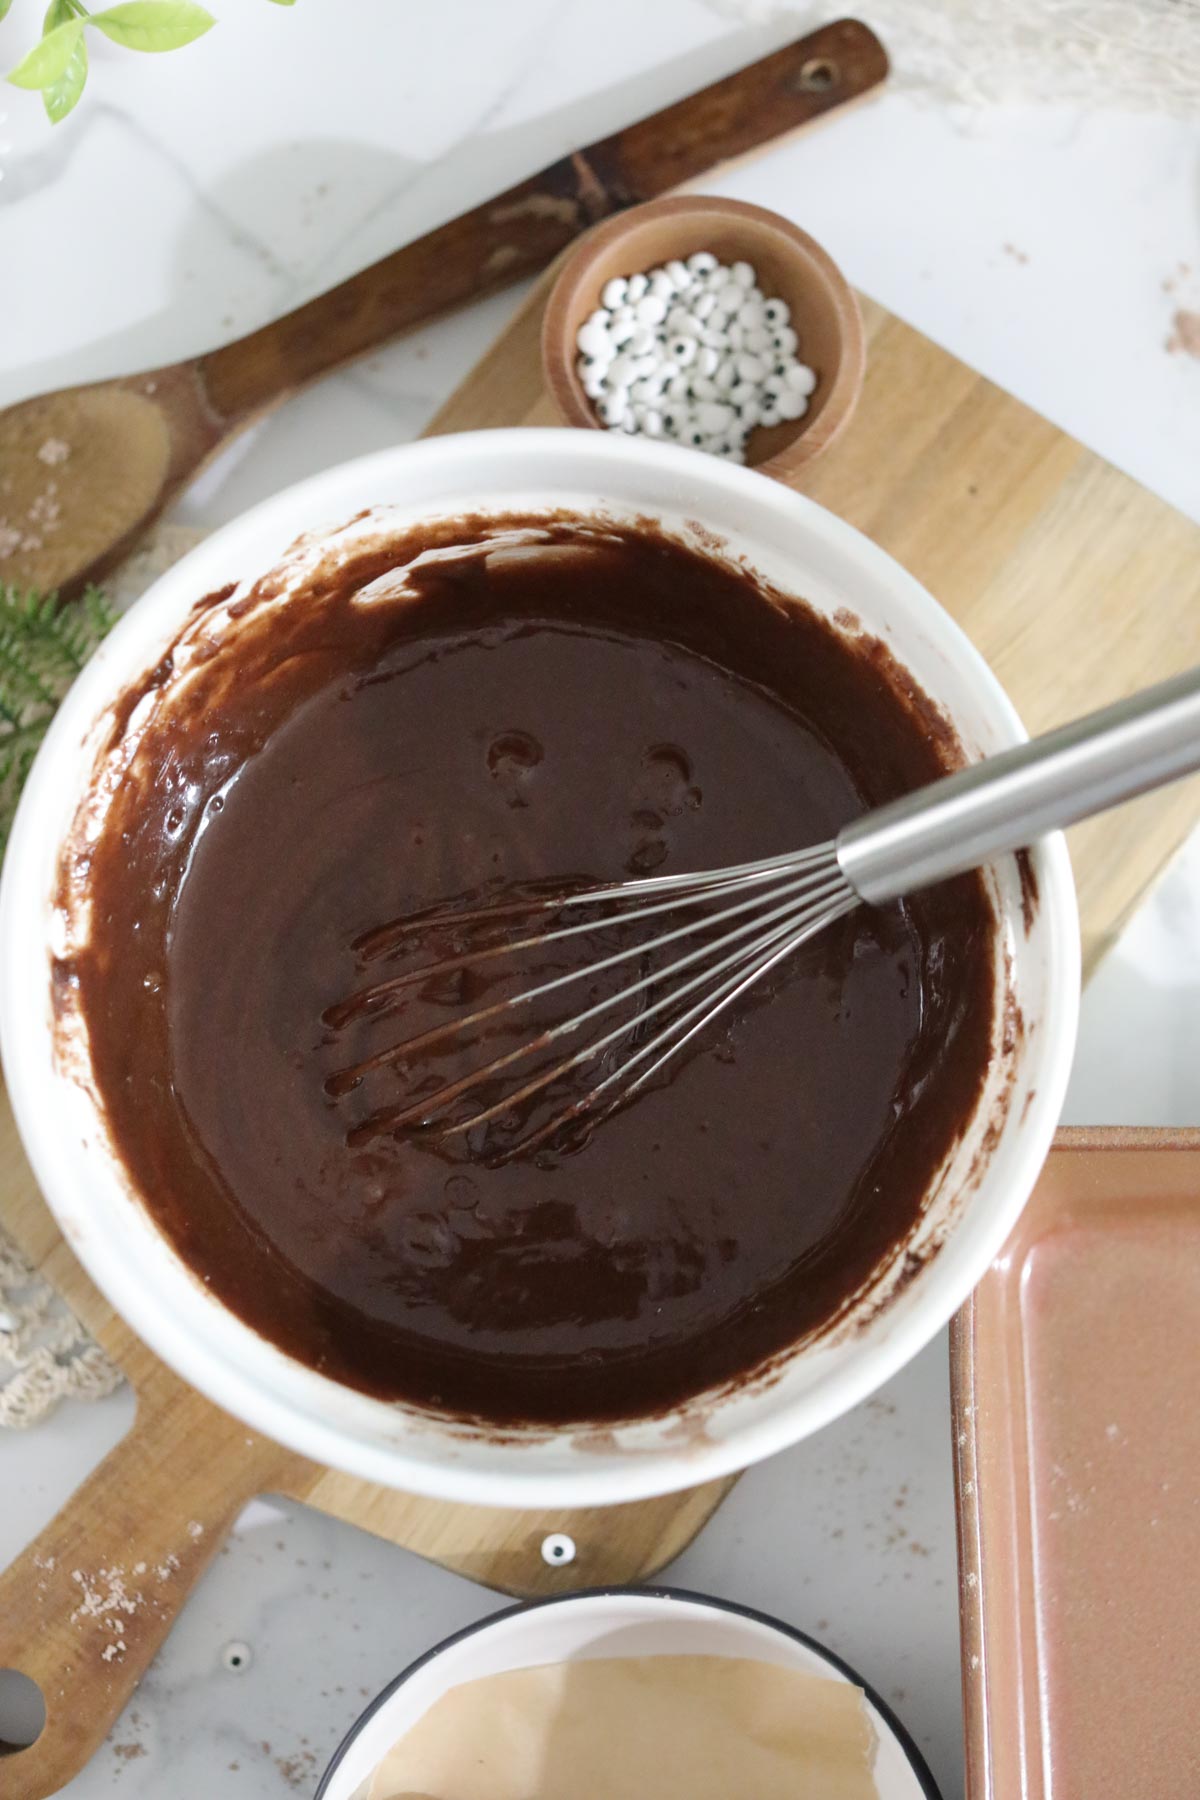
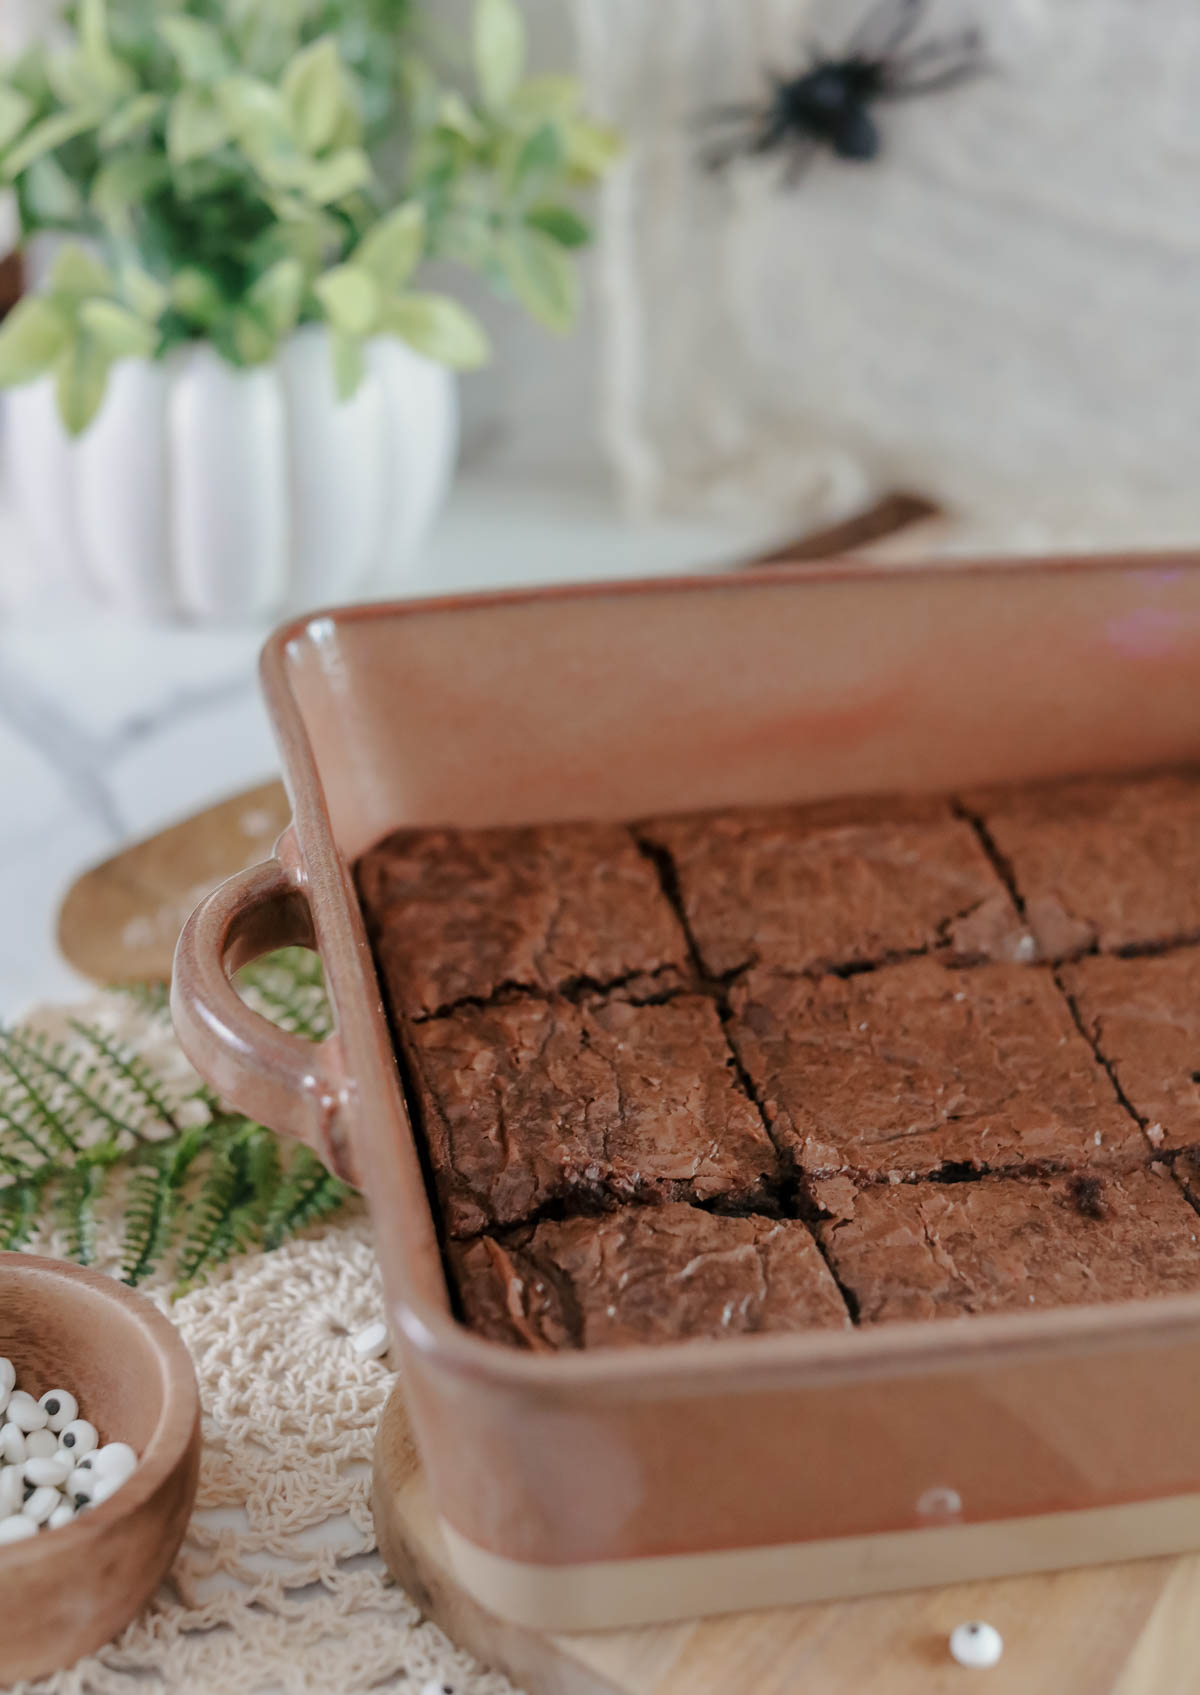
Prepare the brownies according to the directions on the package. It’s typically something like combining the brownie mix, eggs, oil, and water in a large bowl and mixing until smooth.
Pour the batter into an 8×8 or 9×9 square pan. This will give you thicker brownies, looking more like Winifred’s spellbook.
Tip!
If you want to make it easier to get the brownies out of the pan and to cut them once they’re cooled, you can also line the pan with parchment paper first, before you pour brownie batter in the prepared pan. Then when they’re cool, you just pop out the parchment paper and cut the brownies into squares from there. A little parchment paper is always a great idea.
Bake according to the directions for brownies (not cake) on the box. Depending on your mix, it’s typically 30-35 minutes but some are as short as 20-25 minutes so just read the directions carefully.
You can really make these with any kind of brownie mix, but I always prefer high quality brownies like Ghirardelli. I just love the added chocolate chips in the mixture.
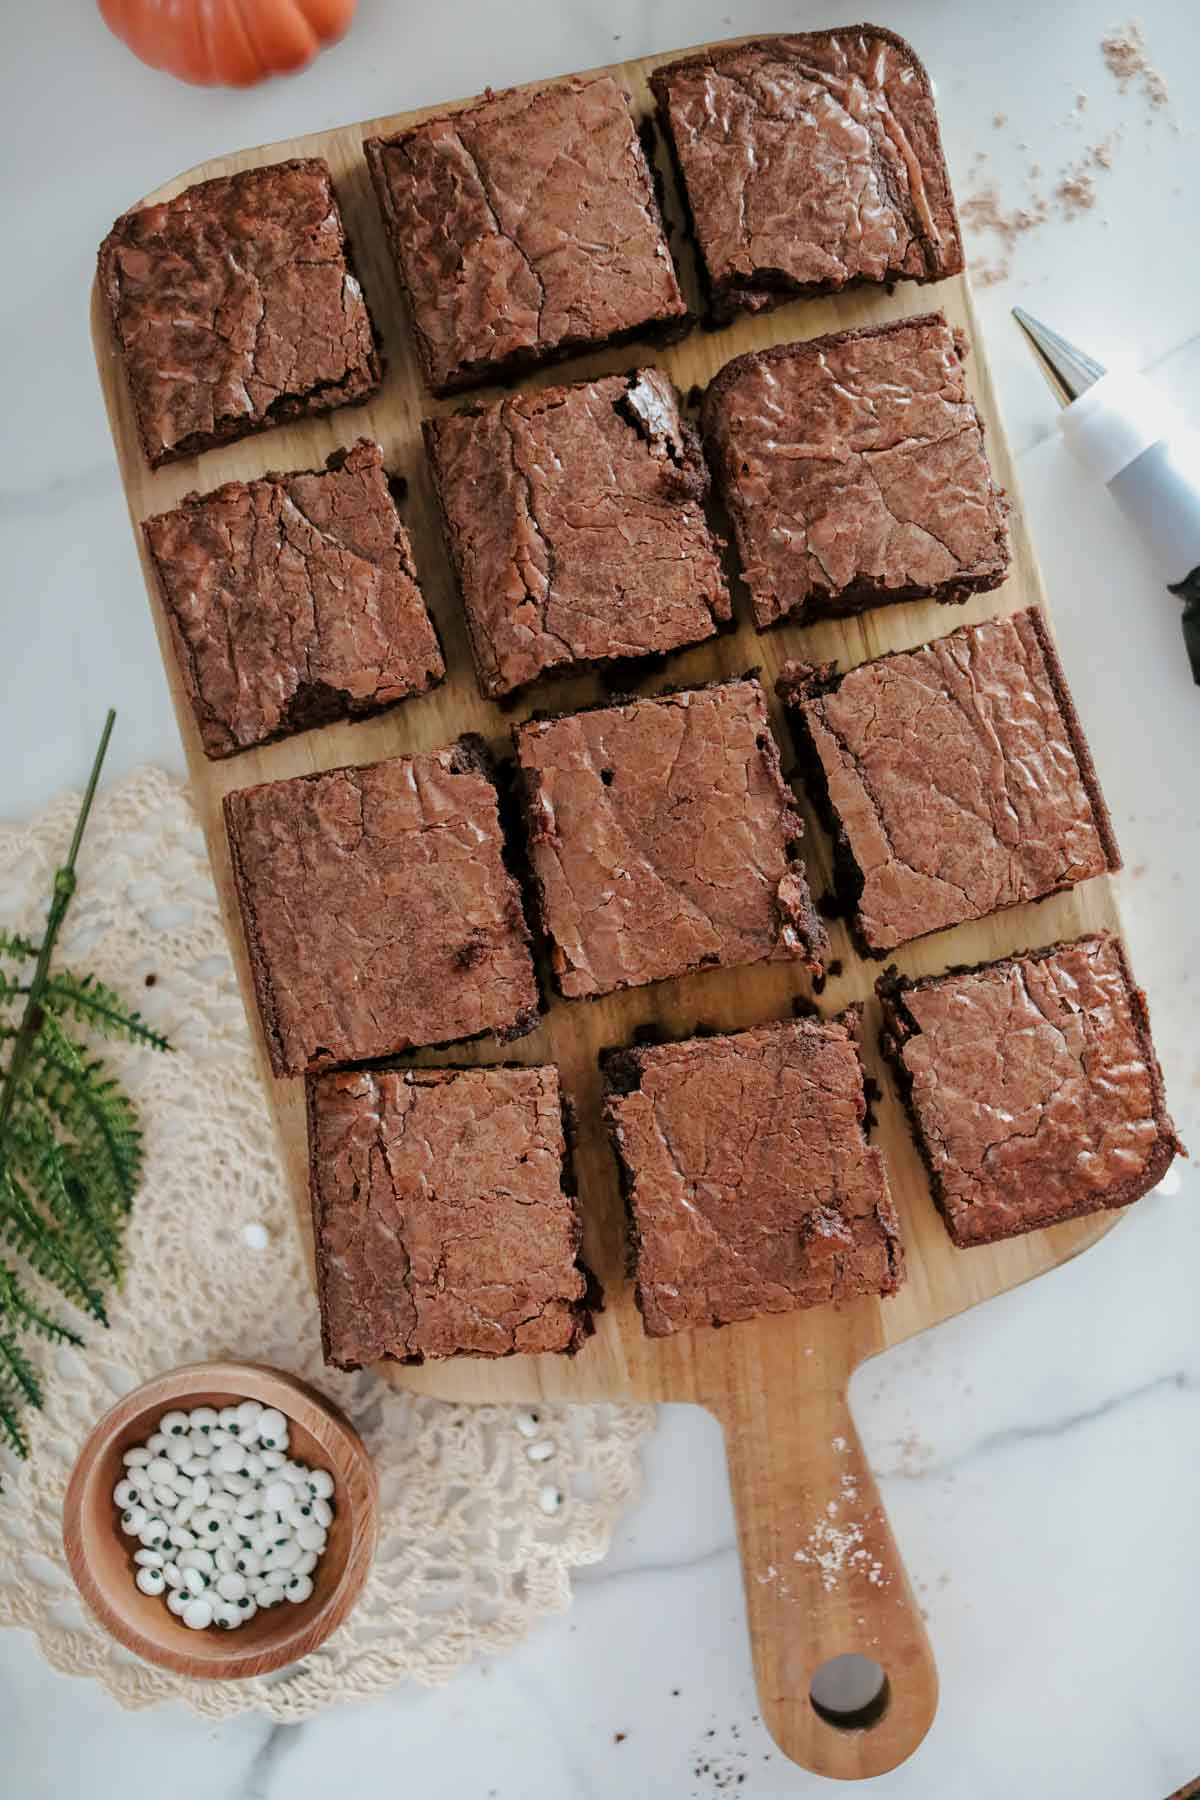
Allow the brownies to cool completely. You can either leave them in the pan or if they’re on parchment paper, you can pull them out and move to a cooling rack.
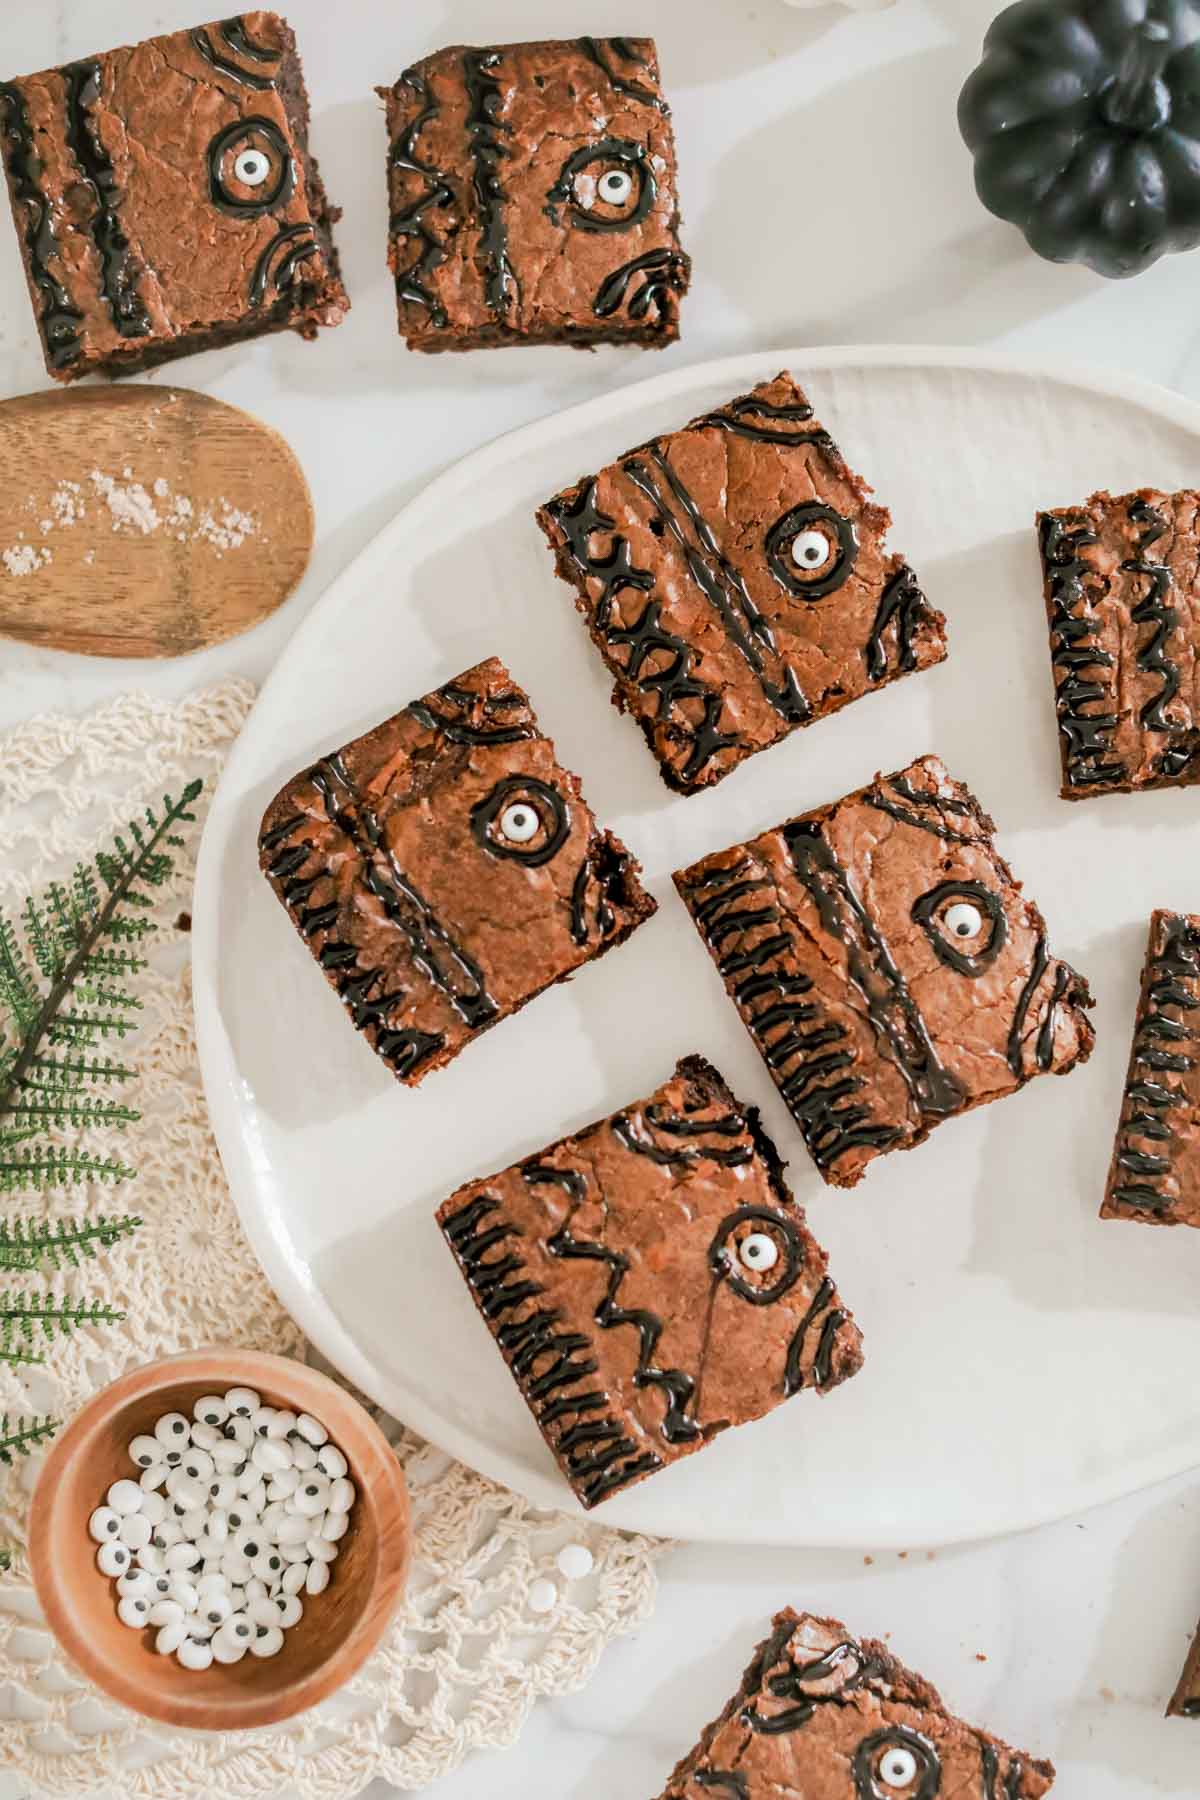
Once cooled, cut into 12 equal rectangles.These are Hocus Pocus spellbook brownies so you want to make them at least somewhat the shape of the spellbook so stick with wider rectangles compared to skinny and narrow.
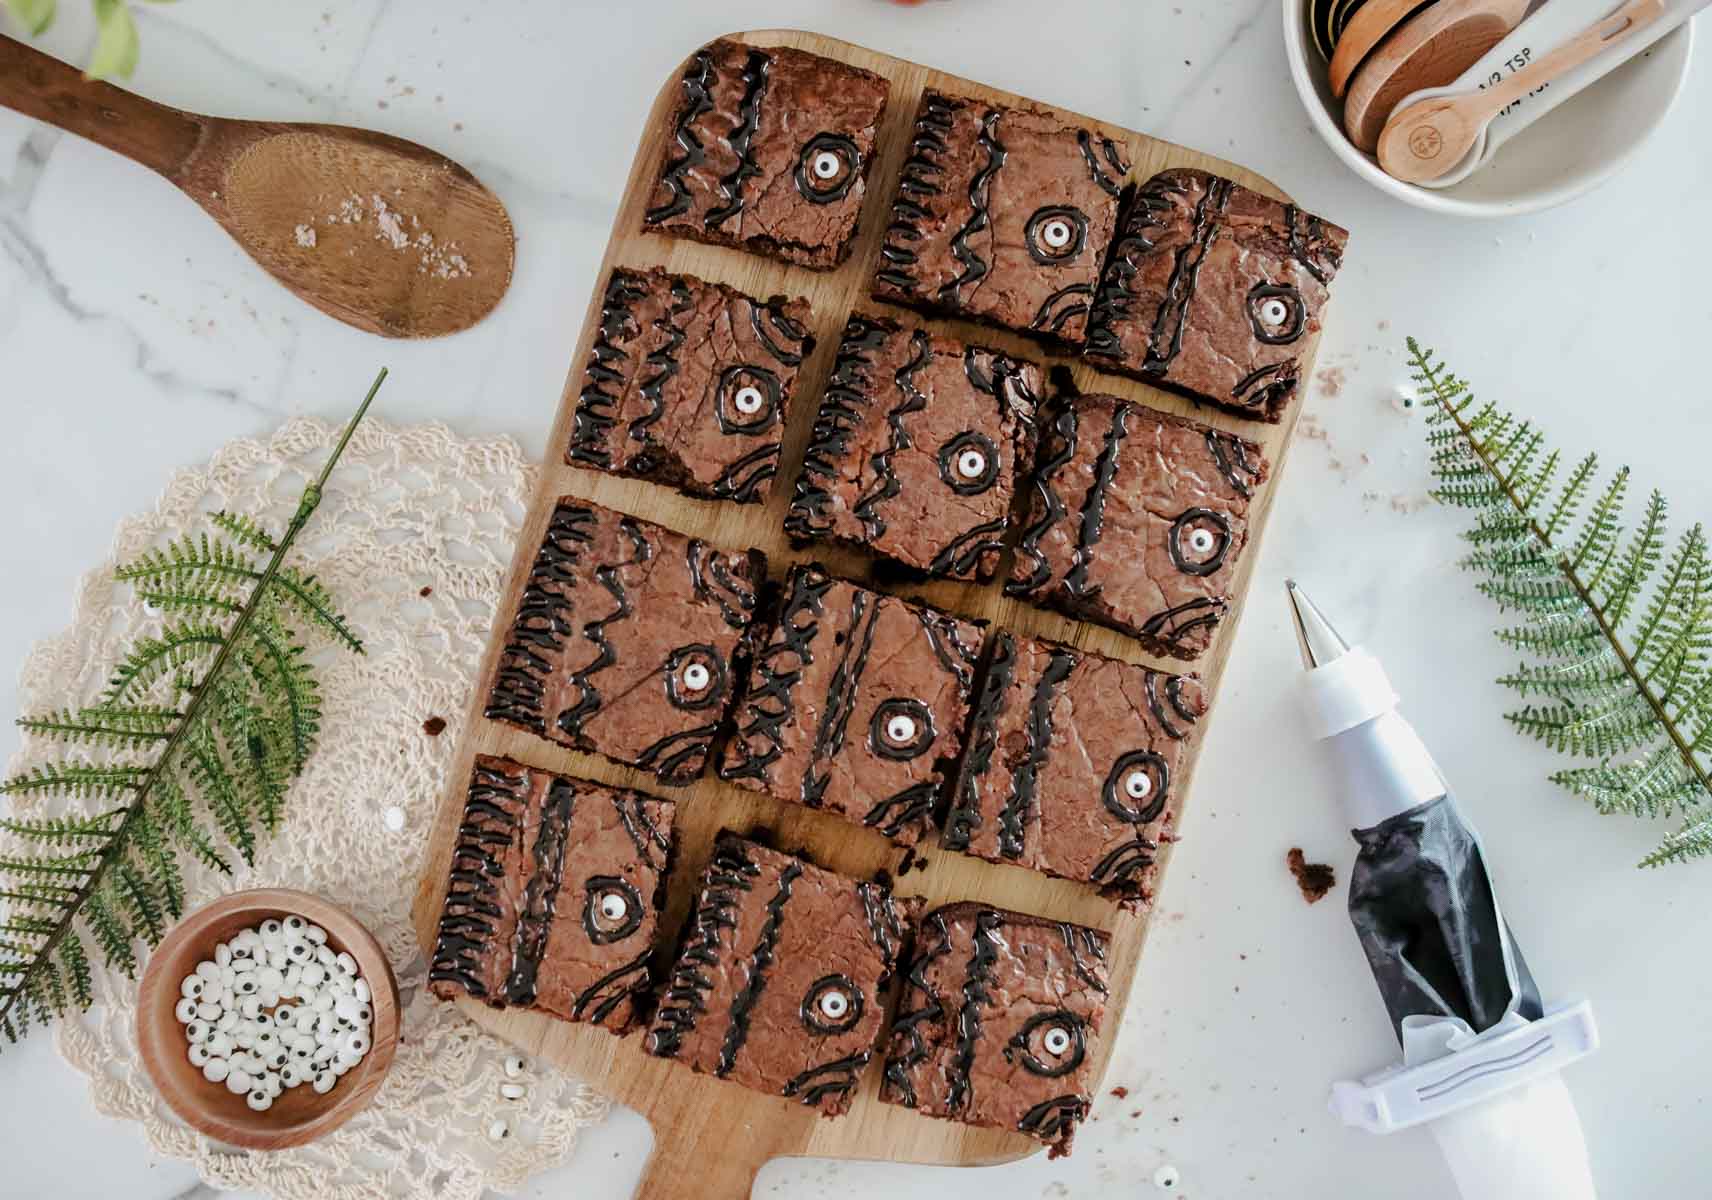
Now gently press one candy eye into the right long side of each brownie about halfway down, toward the center of the brownies. Make sure you leave enough space to draw a circle around the eye. If you’re worried about the eye staying on the brownie, you can add a small dot of frosting underneath first, but it’s typically pretty easy to just press the eye into the brownie gently.
Next, use the black decorating icing or gel to draw a circle around the candy eye on each brownie.
To finish up the spell book, use the black icing in either a piping bag or a ziplock bag with the corner cut off to draw short horizontal lines (aka zig zag lines) like a book seam on the long side opposite the candy eye. You could also do one long straight line and short lines across it if you want.
Once you’ve done the seams, add half circles to each corner above and below the eye. You can also add additional vertical lines or swirls to add more character to your spell book brownie. You can google a picture of the actual spellbook if you want to be super precise but people will get the idea that these are Hocus Pocus book brownies just by the circled eye itself!
These fun Halloween brownies are perfect for a Hocus Pocus movie night, Halloween party, or just when you want a fun festive treat! They’re perfect for watching the silly antics of the Sanderson sisters on screen again! I mean I’m just so excited to see Bette Middler and Sarah Jessica Parker back up on the screen together!
Expert Tips
Store the brownies at room temperature in an airtight container for up to five days. If they’re not eaten by then (guessing they will be), toss any remaining brownies. Or give them away so someone can enjoy these delicious Halloween treats!
Test the icing out on a piece of wax or parchment paper before you start icing the brownies. Sometimes store-bought icings can get a bit watery and that needs to be removed before icing. Same thing with melted chocolate, make sure to squeeze out any excess chocolate clumps to make sure you can get one smooth frosting line.
Store in a cool place (but not the fridge) if you use melted chocolate into of black icing. If you store them in a warm place, the melted chocolate has a tendency to melt or smear easily.
Recipe FAQs
Do I have to use a box brownie mix?
No, you can use your favorite homemade brownie recipe as well!
What size candy eyeballs should I use?
If you want these to look the most like the spellbook, you can use a large or jumbo candy eye like the ones available on Amazon here. If you want to make these the easiest possible, just use regular candy eyes you can find in grocery stores all the time and especially around Halloween!
More Fun Halloween Treats
If you like fun and spooky treats, you’re in the right place! Try one and these next and who knows, you may just find your new favorite Halloween dessert! Or if nothing else, treats for your next Halloween party!
- Witch hat cookies – super easy cookies that look just like cute little witch hats!
- Pretzel Spider Webs – a quick and easy spiderweb dessert that I shared last year that were super popular on TikTok!
- Ghost brownies – another fun Halloween recipe that starts with a box brownie mix and gets topped with sweet ghosts!
- Witch rice krispie treats – store-bought rice krispie treats get turned into the cutest witches you ever saw!
- Candy corn cups – layers of pudding come together in this fun candy corn inspired treat!
Hocus Pocus Brownies
Ingredients
- 8 ounces semi-sweet baking chocolate
- 3 cups powdered sugar
- 1 cup sugar
- 1 ½ cup flour
- ½ cup cocoa powder
- 2 tsp salt
- 1 cup oil
- ½ cup water
- 2 tsp vanilla
- 12 candy eyeballs
- black decorating icing or gel
Instructions
- Preheat oven to 325 and line a 9×13 pan with parchment paper.
- Using a microwave-safe bowl, melt ounces of chocolate. Microwave for 30 seconds then stir. Return to the microwave and heat for 15 seconds. Remove and stir. Continue to heat in 15-second increments until it is fully melted and silky. Set aside to cool slightly, not all the way.8 ounces semi-sweet baking chocolate
- Mix powdered sugar, sugar, flour, cocoa powder, and salt in a large bowl. Whisk until fully combined and there are no lumps.3 cups powdered sugar, 1 cup sugar, 1 1/2 cup flour, 1/2 cup cocoa powder, 2 tsp salt
- In a small bowl mix eggs, oil, water, and vanilla.1 cup oil, 1/2 cup water, 2 tsp vanilla
- Add the wet ingredients to the dry ingredients and mix just until you see no dry patches.
- Fold in the melted chocolate until just combined.
- Transfer the batter to the prepared pan, spreading the batter evenly throughout the pan.
- Bake in preheated oven for 45 minutes or until a toothpick can be inserted with just a few crumbs sticking to it.
- Allow to cool for twenty minutes until just slightly warm to the touch to set. Remove from pan to cool completely.
- Once cooled, cut brownies into 12 equal rectangles.
- Press one candy eye into the right long side of each brownie about halfway down. Leave enough space to draw a circle around the eye.12 candy eyeballs
- Draw a circle around each candy eye with black decorating icing or gel.black decorating icing or gel
- Use black icing to draw short horizontal lines like a book seam on the long side opposite the candy eye.
- Add half circles to each corner above and below the eye. Draw additional vertical lines or swirls to add more character to your spell book brownie.


Leave a Reply