This monthly mom and me box is one of the best personalized gifts for kids! Make it all about them with this box of monthly gifts of time throughout the year! It’s easy to make and great for any kid no matter their age or interests!
While this post is sponsored by Cricut, all opinions are 100% honest and my own. This post also contains affiliate links. If you purchase via these links, I may receive a small commission at no additional cost to you.
Why Personalized Gifts for Kids?
One of the hardest things about having a new baby, other than the whole not sleeping thing, is trying to navigate how it impacts big brother.
It was just the three of us for six years, and as much as my 6-year-old adores his baby brother, it’s also been tough for him to have to share our attention. It’s been a learning curve to say the last.
And since baby is taking up more of my time, it feels like when I’m not feeding or taking care of the baby, I’m trying to get a little work done.
Big brother definitely gets the short end of the straw more days than not because while his needs are important, his needs aren’t as immediate as a screaming baby who doesn’t know how get himself a snack.
It’s been an adjustment for everyone and unfortunately I feel like I haven’t done the best job with it.
It breaks my heart just a little bit every time K asks if we can please just spend some time together or every time he mentions how I never spend enough time with him. Even if we literally just spent an hour playing one of these fun board games together.
Whether you have a new baby or not, time is one of the most important things you can give kids as parents. And the personalized gifts for kids below are all about time – and showing them you care! And hopefully this gift will do just that!
Personalized Gifts for Kids Who Have Everything
One of my goals for next year is to dedicate at least one day a month to just me and him. Dad can take care of the baby while we go out for a mom and K day.
This mom and me monthly gift stemmed from my plan to do our own day together once a month.
One of other things K loves as much as he loves spending time with me is getting this monthly subscription box in the mail. He loves seeing what the package has in store, and he loves that it’s just for him.
Since he’s one of those kids who has pretty much everything already, I thought it would be fun to make him a personalized mom and me monthly gift that’s kind of like his own personalized time with mom subscription box.
This is the one of the best gifts for kids who have everything because time and memories are way better than more junk. There’s a reason experience gifts are so popular!
You could totally do this as a date night box as well, but I like the idea of the mommy and me thing more. If you want a gift for your significant other, this date night deck is similar!
Mom & Me Box Supplies
Honestly putting together a supply list for this is tough because you want to make it personalized for your own kids.
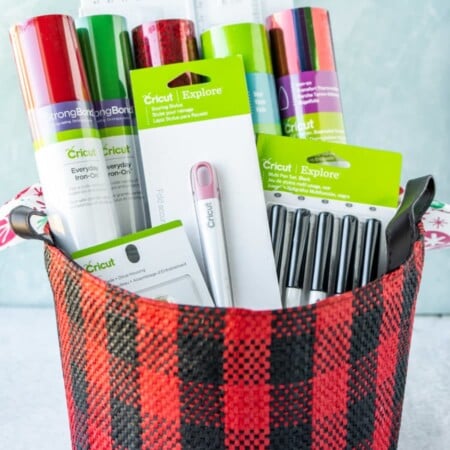
I’ve included the supplies that I used below but other than the top ones, you can swap out whatever paper, iron-on vinyl, and iron-on designs that make the most sense for your own kids.
Banker box – this will be what you use to hold all of the envelopes for the year. You could get a different box as well, but I like that banker boxes come with lids and are big enough to hold large envelopes.
10×14 envelopes – this is the size that I’m using because I want to put in various goodies, but you could totally use smaller ones as well or even the padded ones.
Cricut Cardstock – Cricut has a huge collection of patterned cardstocks that you can use. Pick whatever makes the most sense for your kids. I went with this Star Wars paper, this Marvel pack, and this Finding Dory.
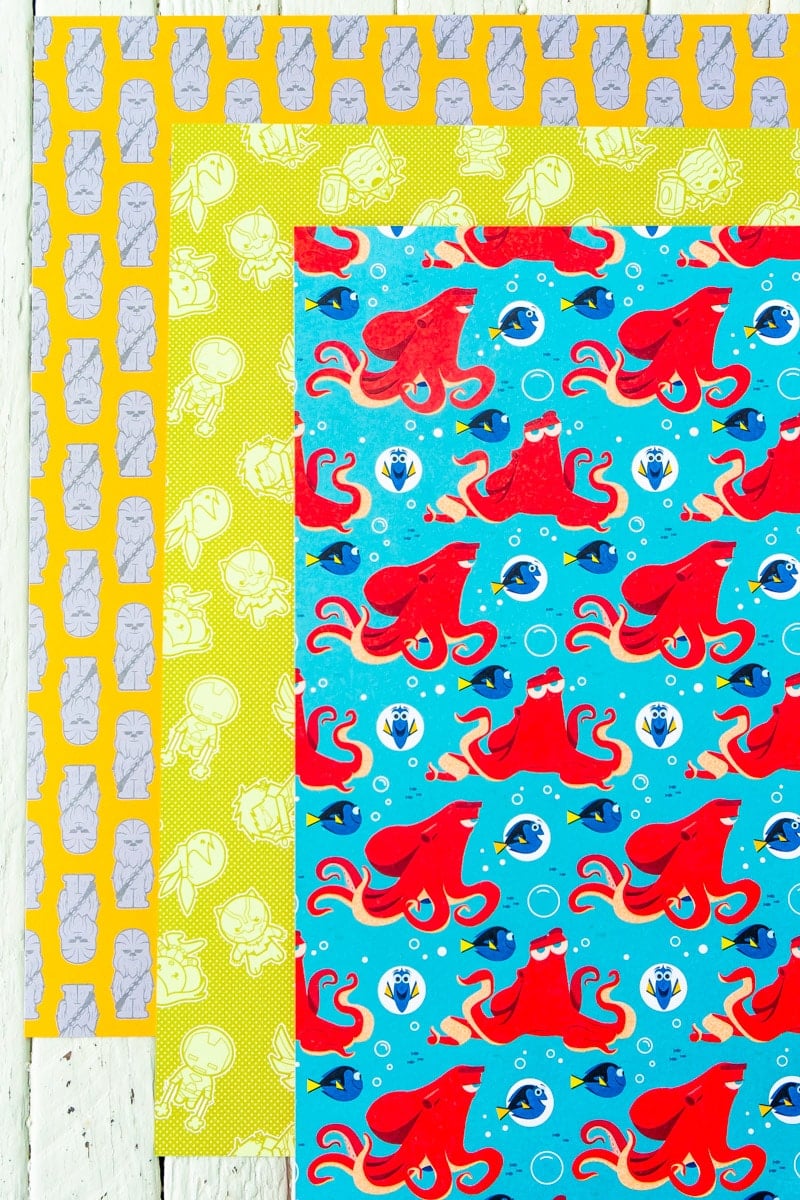
Cricut patterned iron-on vinyl – I thought it would be fun to add in DIY shirts to a few of the envelopes and the collection of patterned iron-on vinyl is perfect for this. Again, choose whatever makes sense for you – I went with this Star Wars and this Spider-Man one. I also love the ones I used on this DIY Incredibles shirt.
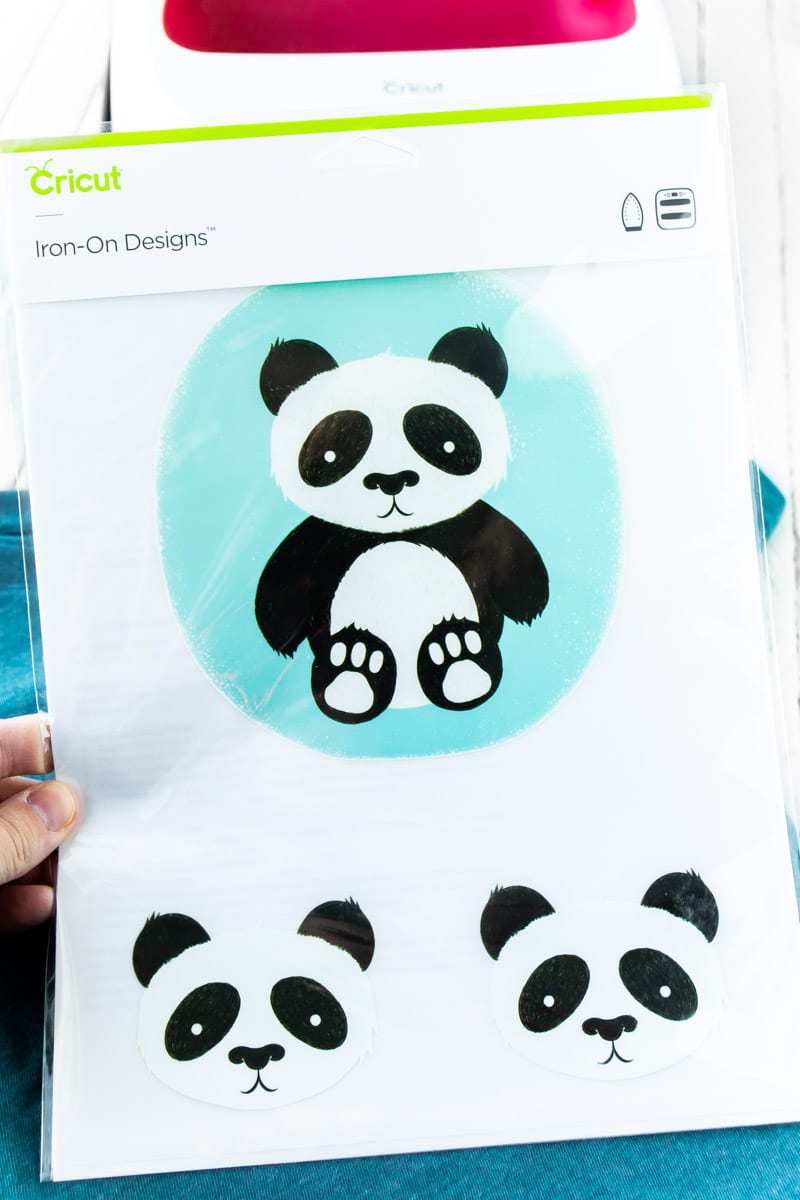
Cricut Iron-On Designs – Cricut sells a ton of pre-made iron-on designs that you literally peel off and immediately press onto your material. You don’t have to cut a thing, just peel, and press. I used this panda bear, this sea creatures set, and this game day one. You can see the whole collection to find something that makes sense for you here.
Premium permanent vinyl – this is what I used for the design on the lid of the box. I wanted something that would last on the box all year even if it got banged up a bit or moved around a lot. I used red and blue, but it comes in tons of colors options if you want to choose your kids’ favorites.
Cricut Transfer Tape – this makes it so much easier to get vinyl from the backing to the project.
Cricut Explore Air 2 – there are so many projects you can make with the Cricut Explore Air 2, and this is just one of them. I used it to cut out the vinyl, paper, and my print and cut shapes! You could totally do this project with a Cricut Maker as well but I just used my Explore. There’s a reason they both make my list of best gifts for entertainers!
Cricut StandardGrip Mat – this works best for this project that uses everything from paper to iron-on vinyl.
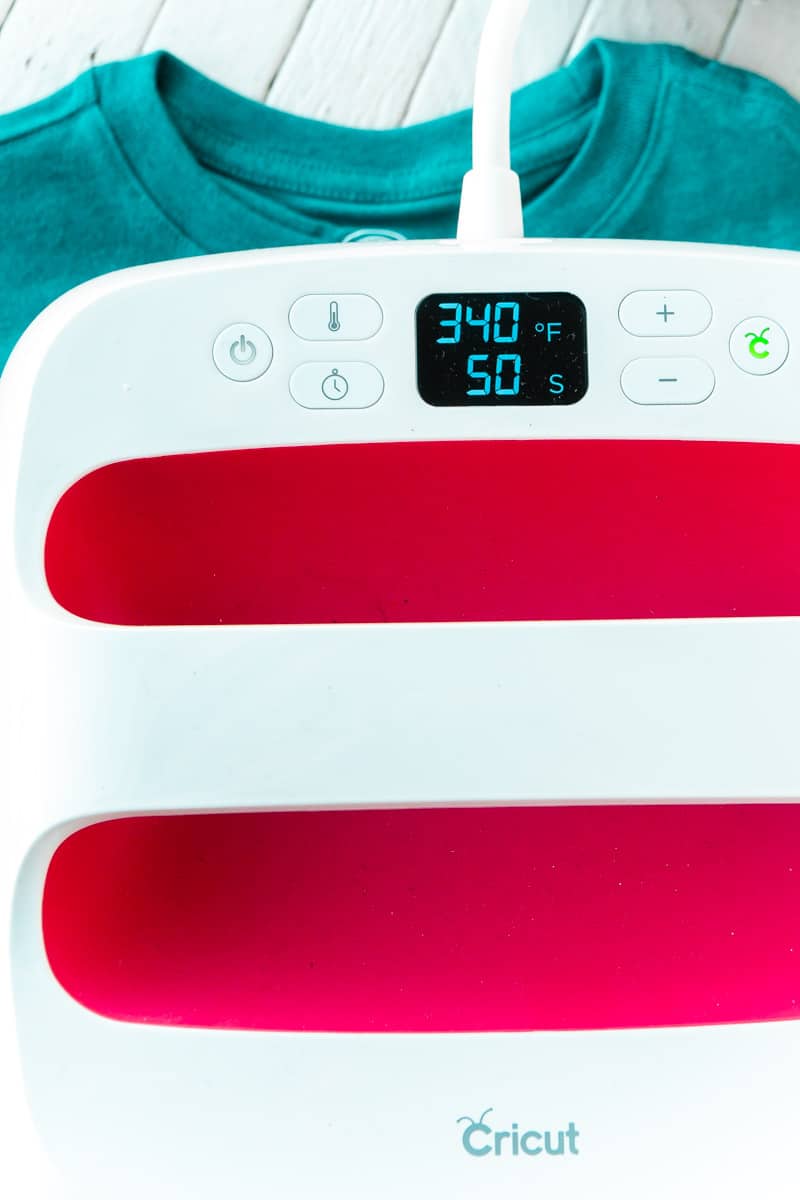
Cricut EasyPress 2 – if you’re doing shirts or anything else with iron-on vinyl, the EasyPress 2 will come in handy.
Cricut Weeder – only really need this if you’re doing iron-on vinyl, the paper cuts and weeds pretty easily on its own. This is also one of my recommended gifts for Cricut newbies!
8 1/2 x 11 White Cardstock Paper – you’ll want to use white card stock for any print and cut items you’re going to put into the envelopes.
Scissors – just good to keep on hand if you want to cut vinyl or paper down to size to decrease the amount you waste
Glue sticks – best for pasting the labels on the envelopes because of the small letters
Double-sided tape – I always prefer to use double-sided tape when I’m taping paper together like on my itinerary sheets below, but if you prefer to use the glue sticks, go ahead. I personally just don’t love glue sticks and only use them when another option doesn’t really work.
Printer – you’ll want a good printer to use for the Cricut print and cut feature on your Explore Air 2 as well as to print out any tickets, itineraries, etc. I use this one but it’s not necessarily the best, it’s just the one I have.
Tickets, gift card, etc – These can be varied by what you decide to do with your personalized mom and me envelopes. For me, it will include things like tickets to see the new Star Wars movie, zoo passes, a gift card to the local donut place, and a play card for our local arcade. Yours can be as personalized for your kids.
Other themed items – Same thing as above. Pick up some things that go along with your monthly themes and add in a little something special to go with each of them. It might be a coloring book, a custom shirt you made to wear during your time together, or even just a little treat.
I’ve included examples of all twelve months for our boxes last year along with the print and cut files for theme cut-outs, a sample editable itinerary sheet, and what I’m putting in three of our envelopes to get you started with making your own monthly mom and me box!
How to Make Your Mom and Me Monthly Personalized Gifts
Because we’ve been doing a subscription box for a year, and I kind of know what my son expects to get in a surprise package – I went all out on our boxes. You could totally do all of these things or just pick a couple or do none of them.
I also kind of tried to mimic the feel of the envelope we got for our Pack Up and Go trip that had an itinerary, some fun cut outs, and a little bit of information. It was fun to open, so I figured these will be fun for K to open as well.
1 – Make labels for the envelopes.
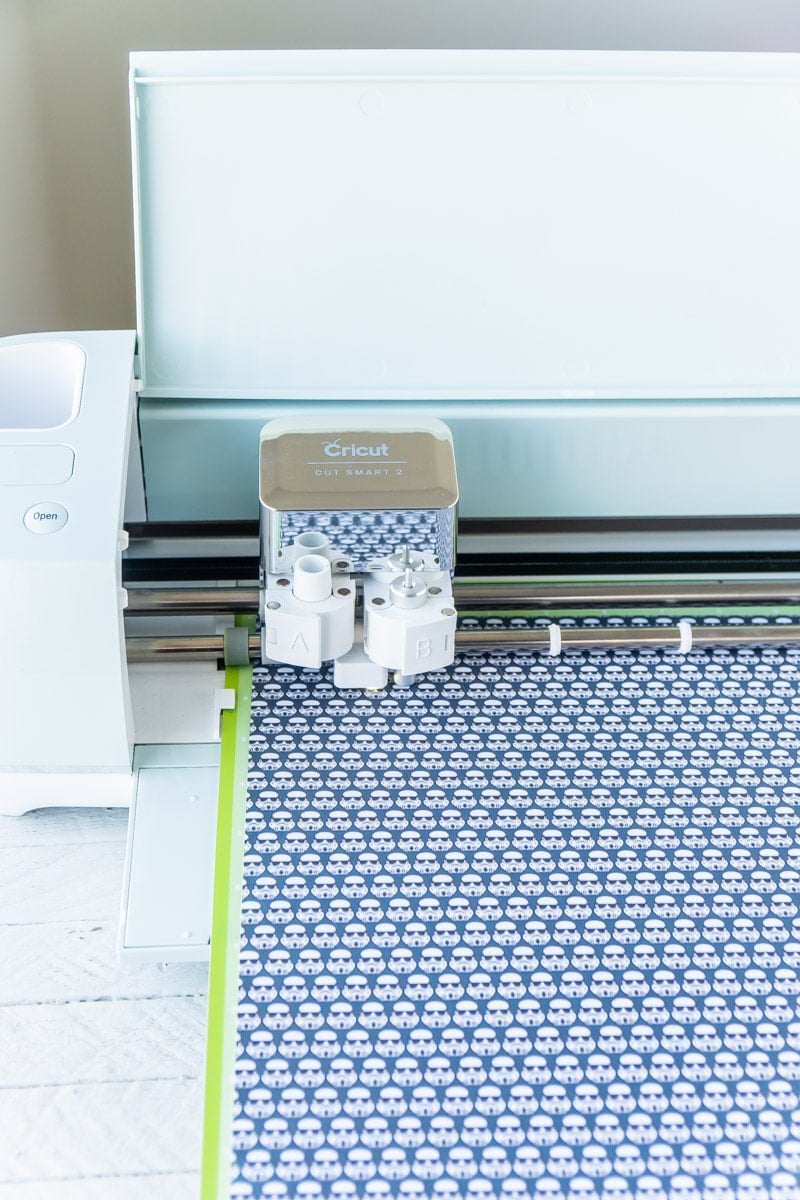
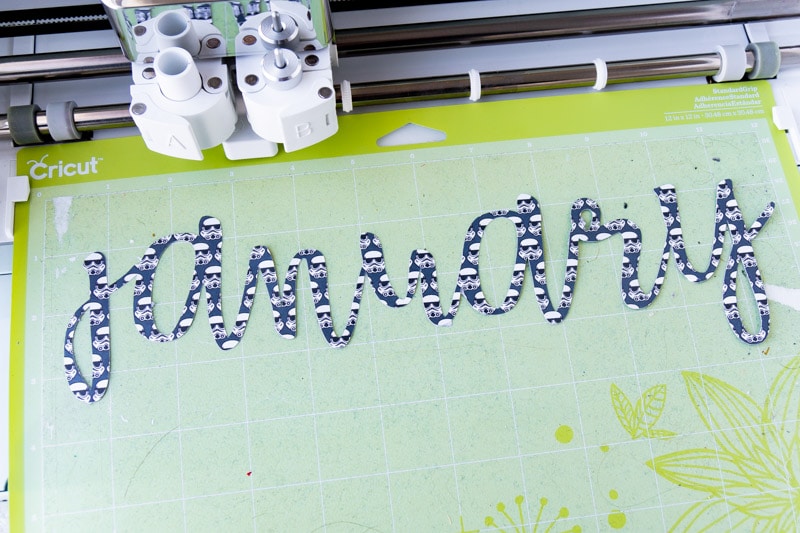
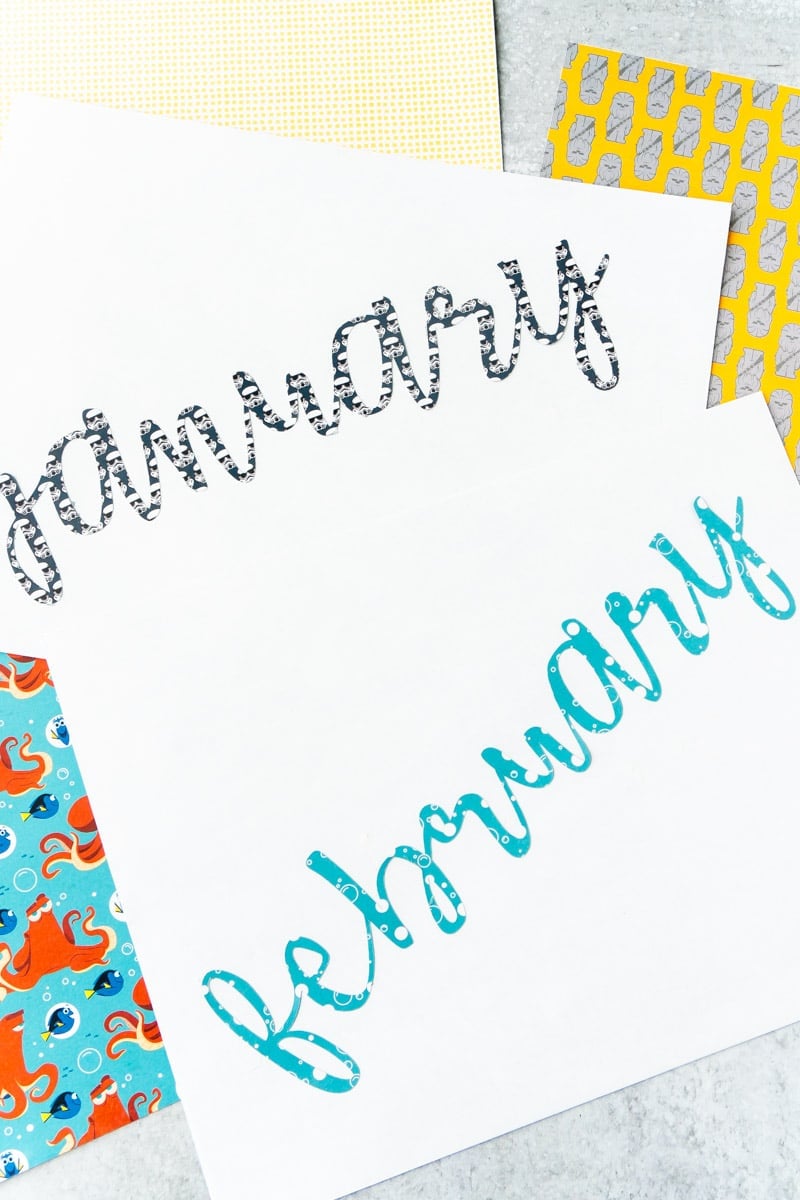
I used some of that cool Cricut patterned paper I was talking about above and cut it using my Cricut Explore Air 2 to be monthly labels for the envelopes. I purposely cut the labels out of paper tied to the theme for the month to give my son a hint.
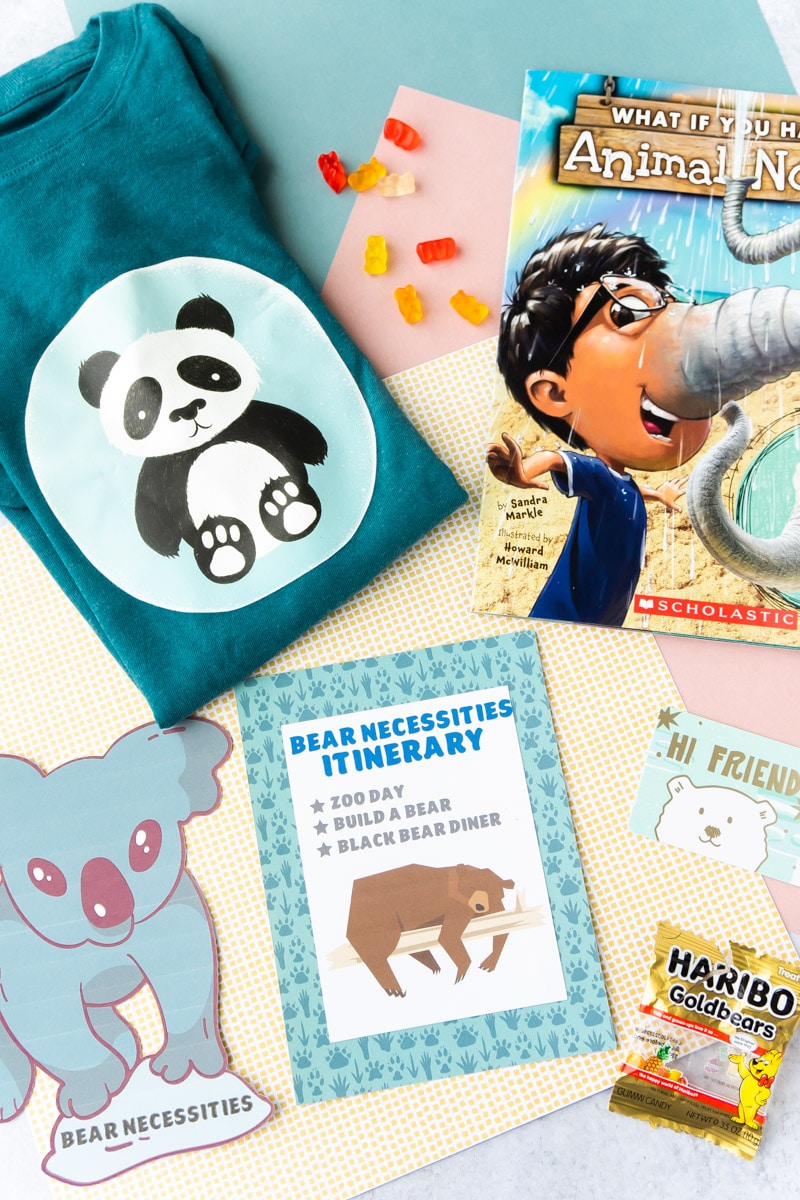
January is Star Wars paper. February is bubbles from the Finding Nemo paper pack. And I used the paw prints from an animal pack for March.
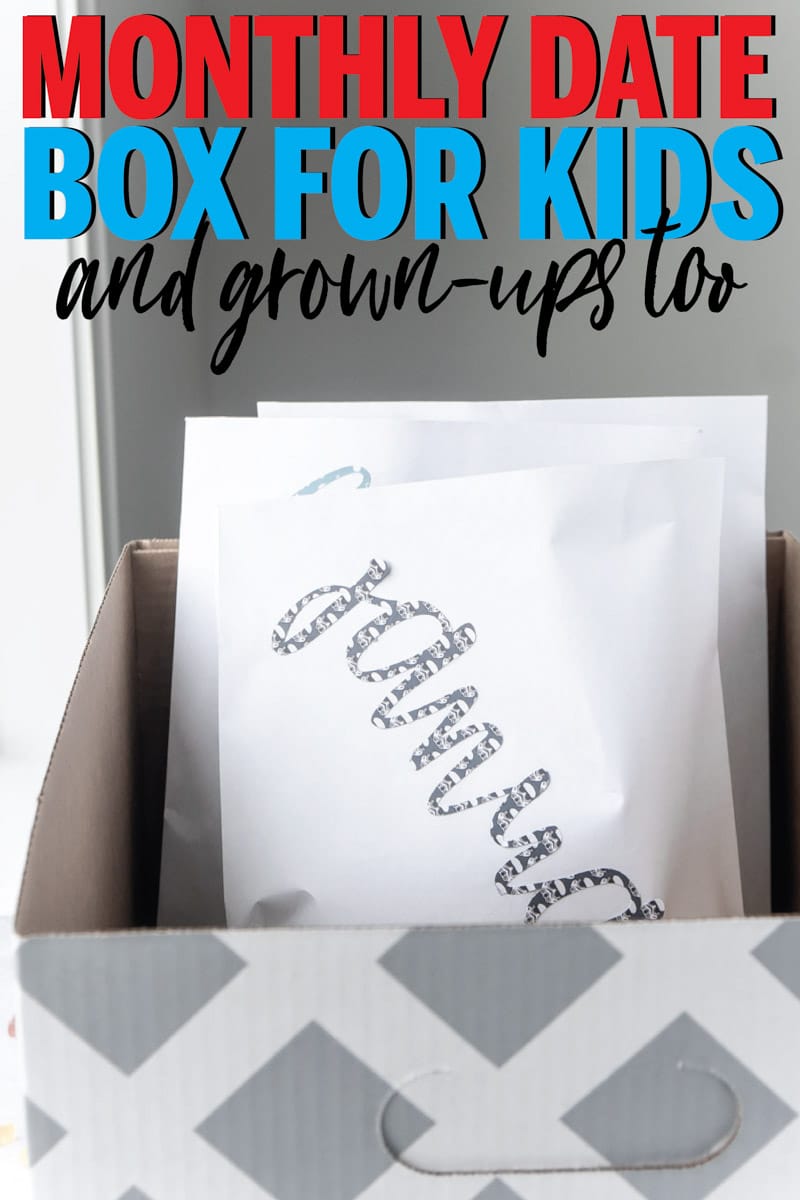
Once the month is cut out, I simply glued it on to the front of the envelopes that will go in the box.
2 – Print and cut your theme cards.
If you’ve never used Cricut’s print and cut functionality, it’s my favorite.
Once I’d picked out my monthly themes, I went in the Cricut Design Studio and opened Cricut Access to find images that matched my themes. I did a tiny bit of tweaking, added my themes onto the images, and flattened the images all together.
That’s all you have to do to create a print and cut image – make sure it’s flattened and it should print the image then cut the outline of the entire thing.
I put together a little video to show you how easy it is to do!
Once the image is designed, you simply send it to your printer, put it on the Cricut mat however its shown on your display, and let the Cricut Explore Air 2 do its thing.
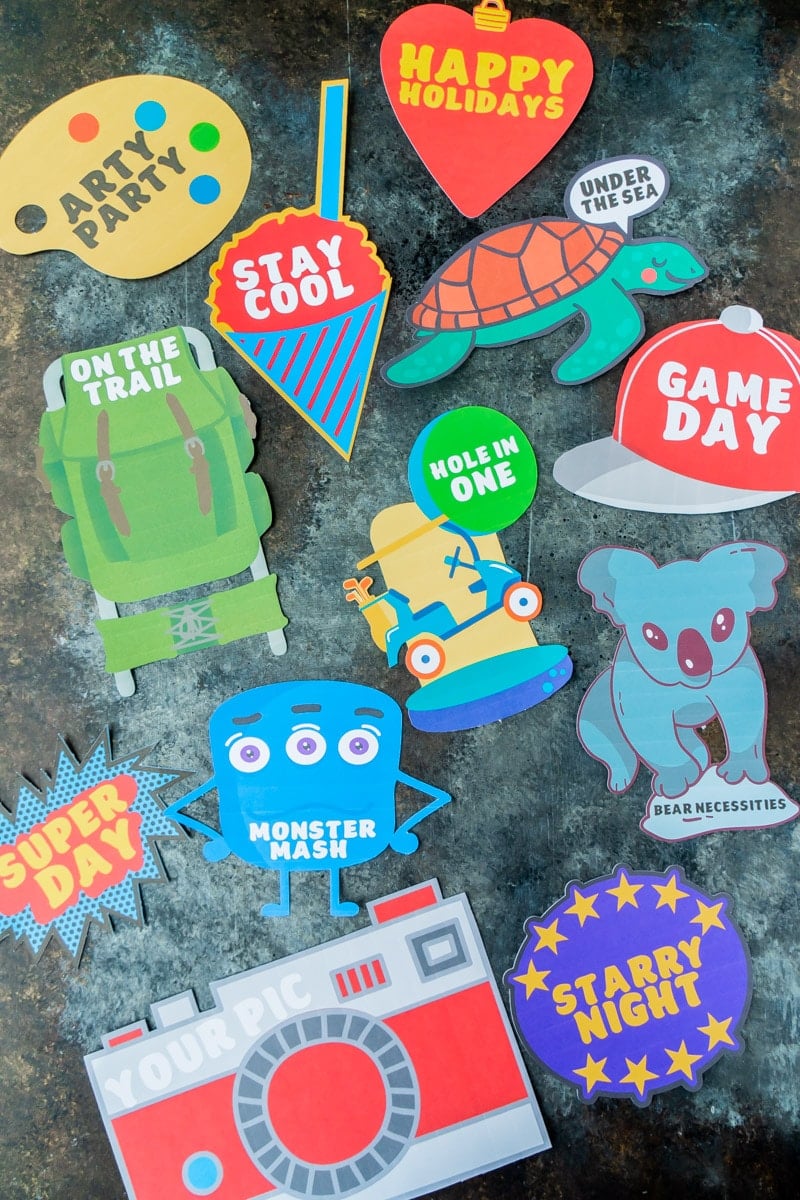
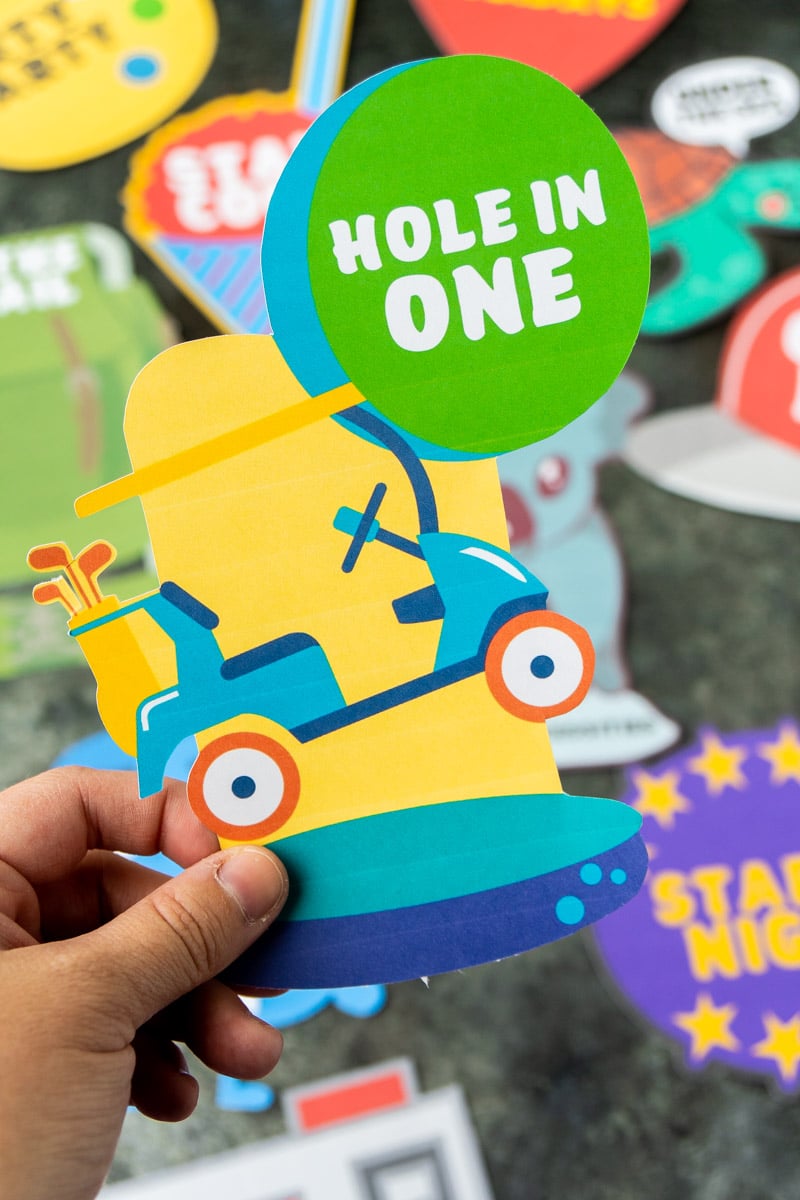
I used the print and cut feature to make a theme card to put in each of the envelopes to tell K all about the theme for the month. I’m sharing all of our themes at the end of this post if you want more details!
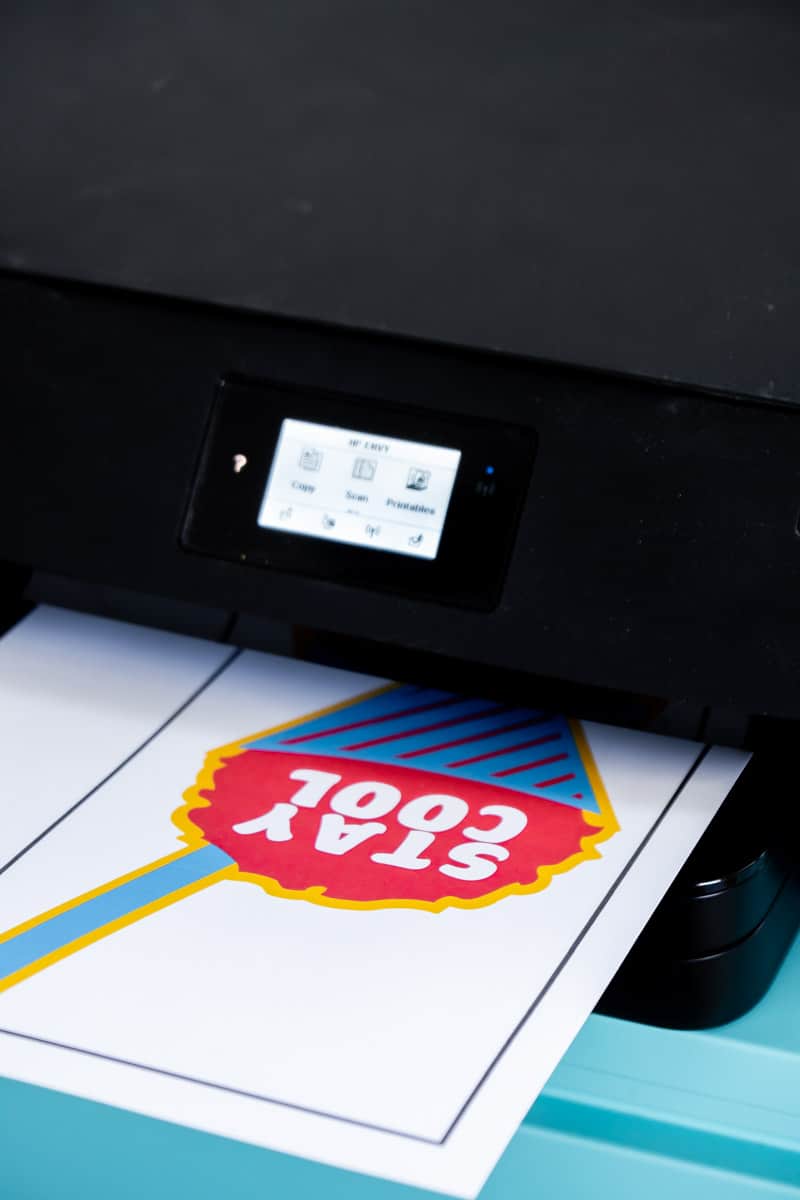
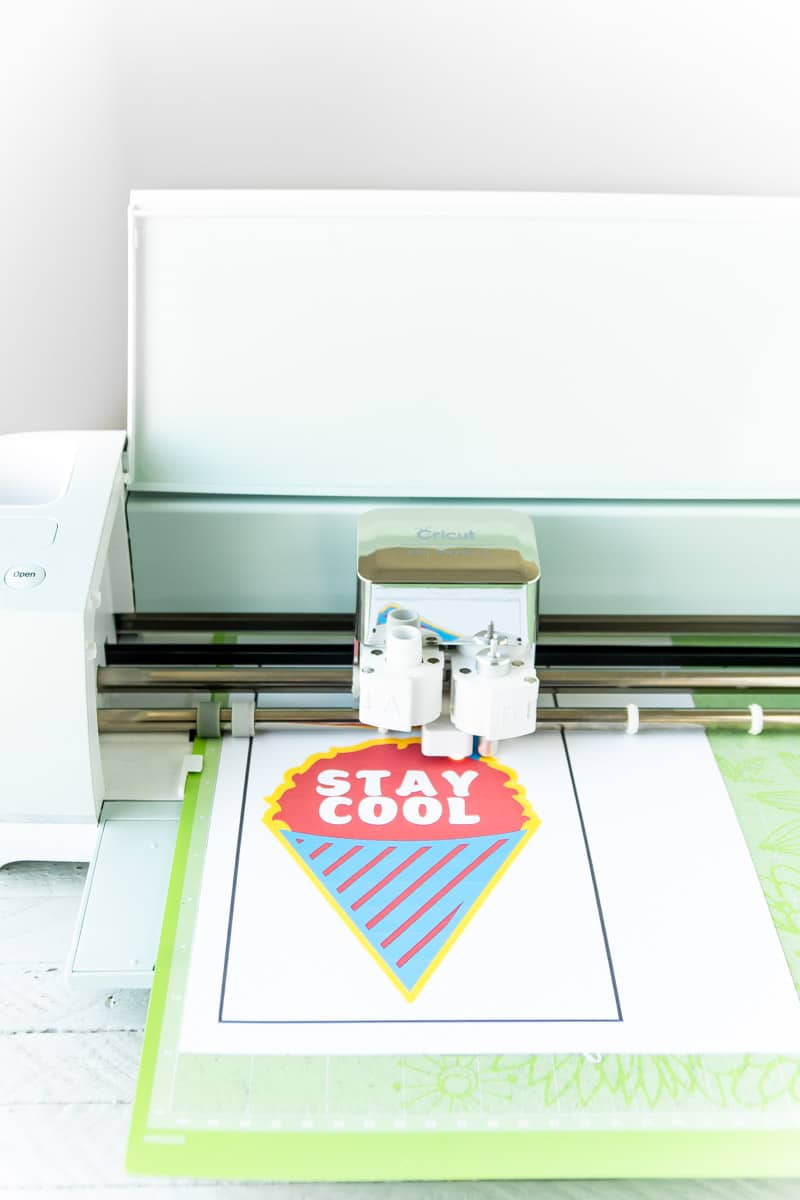
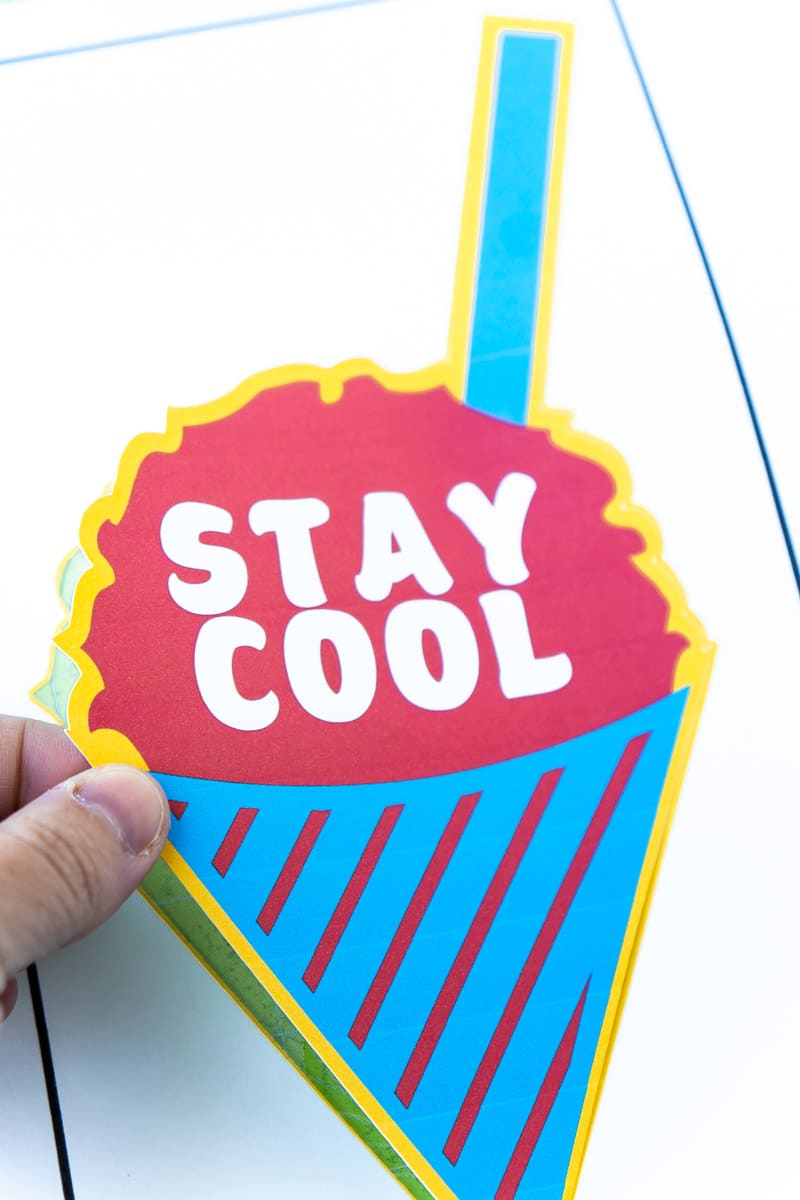
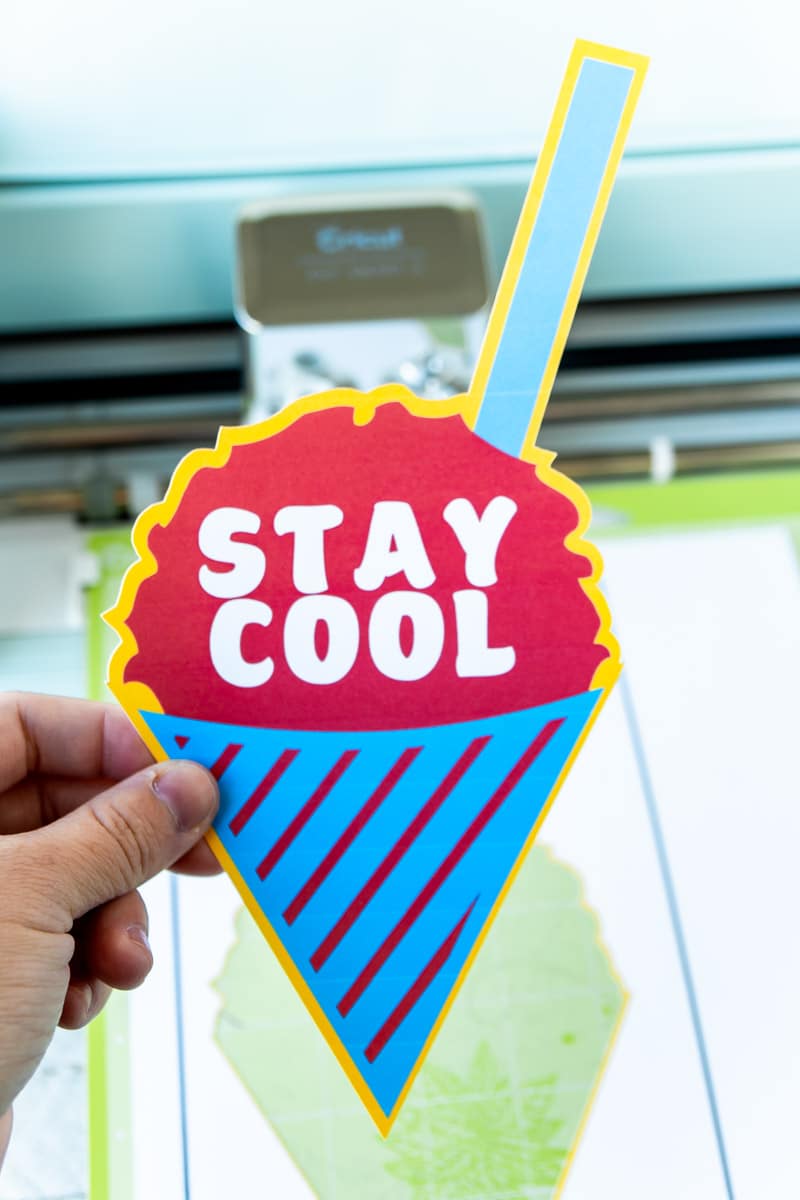
3 – Make any shirts or additions for your envelopes.
Every time we’ve done a trip to Disney World, even if it’s just been for one day, I’ve made our family custom DIY Disney shirts. And K loves it!
I thought it’d be a fun little surprise if I made a few custom shirts to go into some of the envelopes, specially made for our outings!
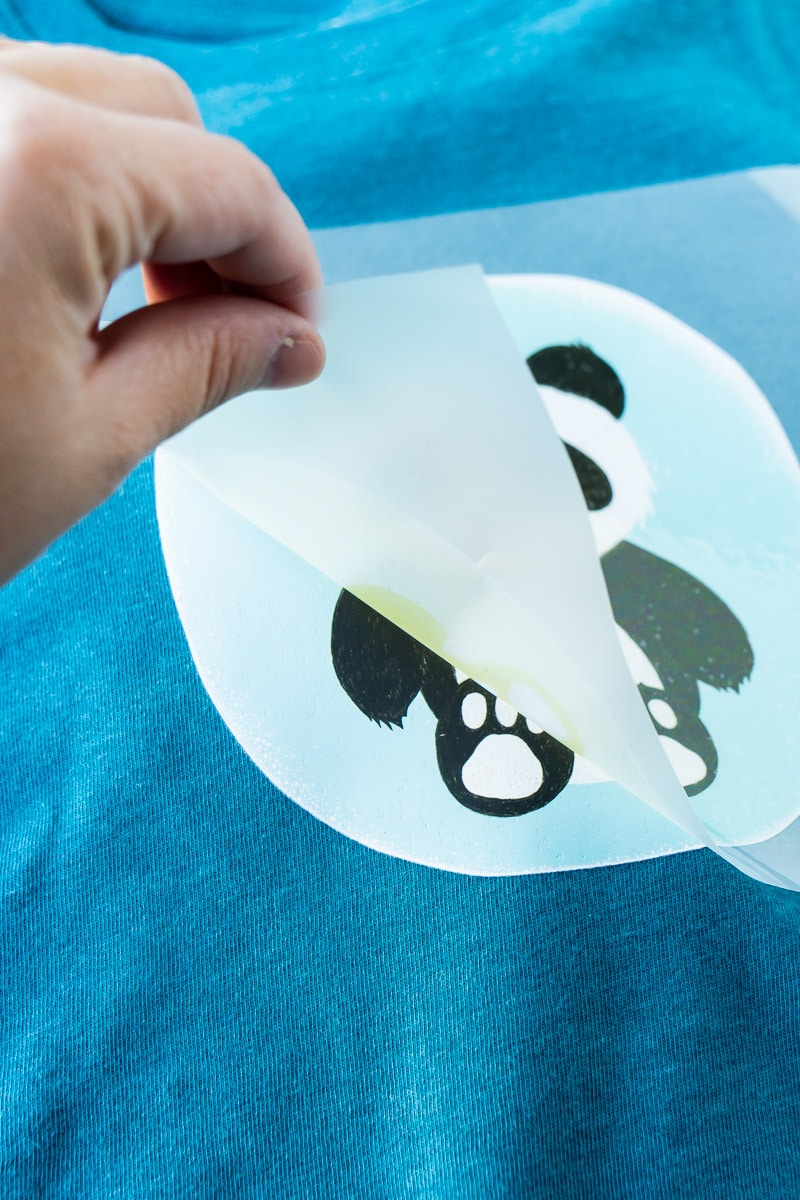
Cricut has so many different ways to make custom shirts. I made a holiday one using this patterned vinyl and made a fun panda bear one using this already pre-made iron-on decal.
The decals are awesome because they’re a lot more detailed than even the patterned vinyl. And there’s no cutting involved.
Simply peel the decal off the backing, place on the shirt, and follow the instructions in the package to apply it to the shirt with the Cricut EasyPress 2. It’s super easy and a fun way to make a custom shirt without having to design or cut anything.
And there are a ton of iron-on decals – something for every interest!
4 – Print and cut itinerary cards.
A lot of the time when I do an activity day with K we spend a lot of time trying to figure out what to do instead of actually doing things. This time around I’m actually planning out each month’s activity before I give him his gift.
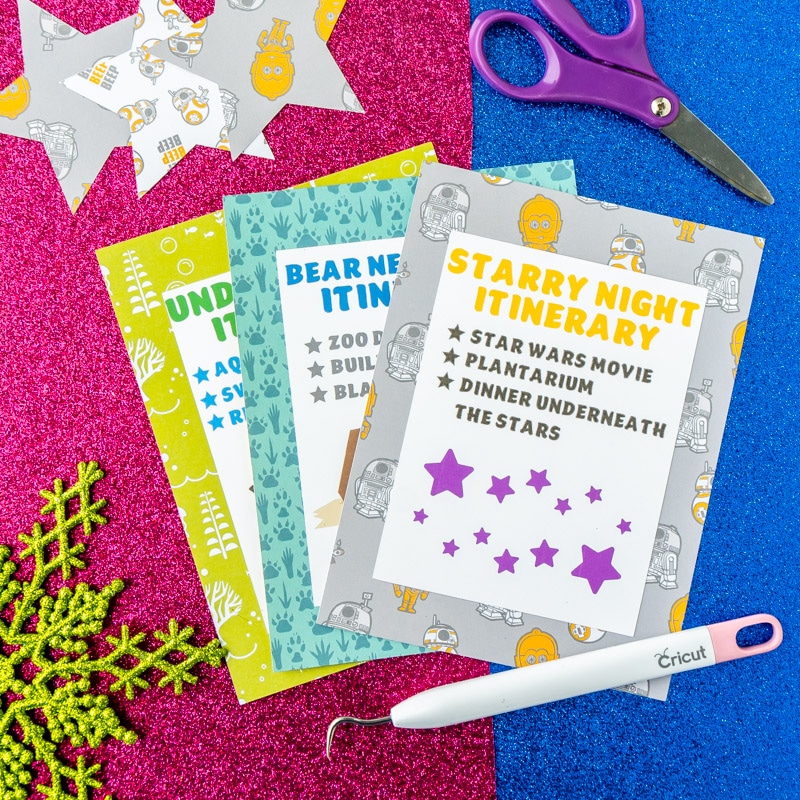
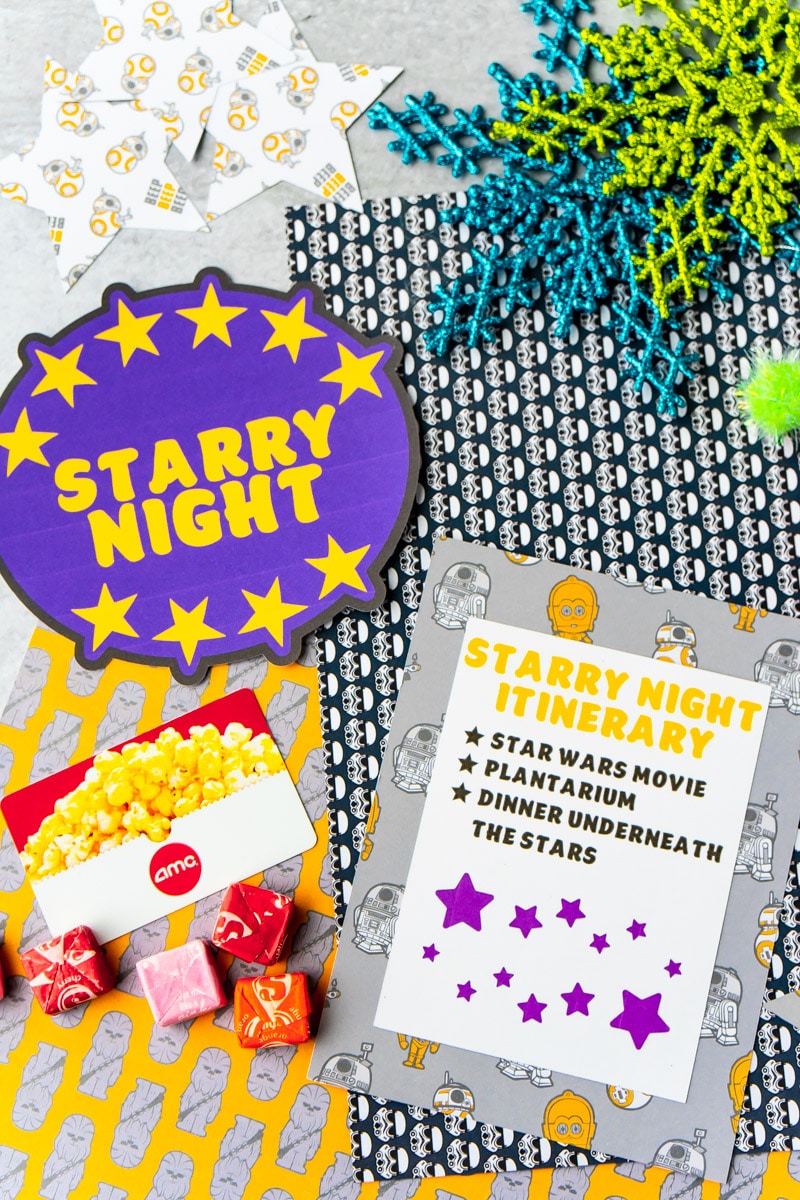
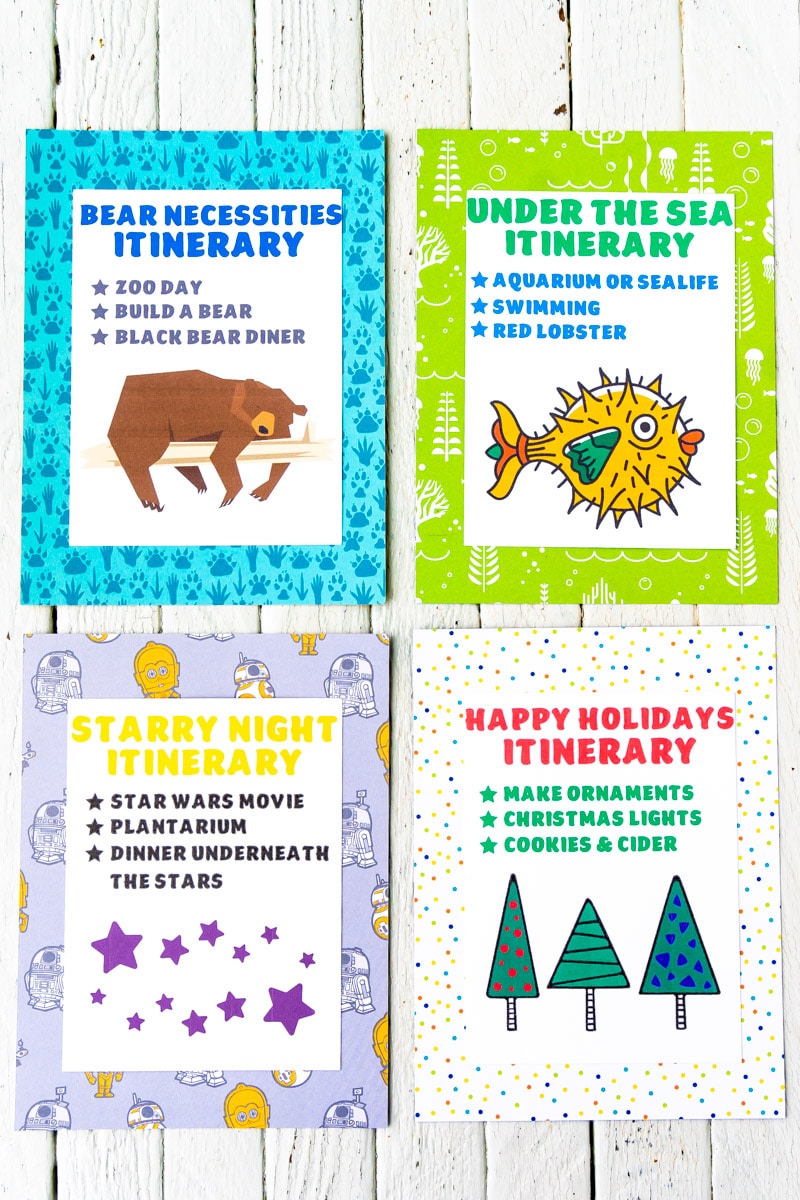
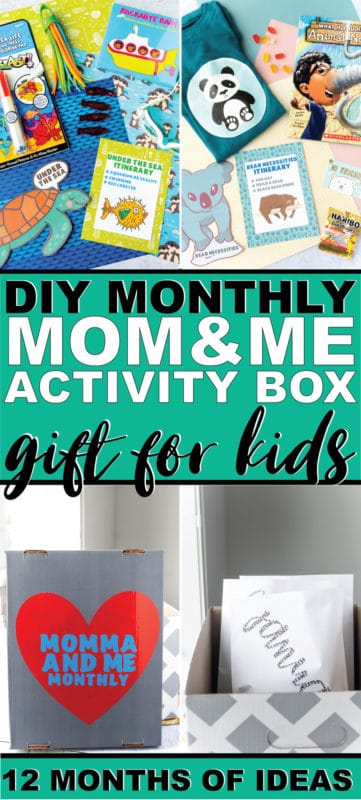
I actually created itinerary cards for each of the months that have 2-3 themed activities plus a meal of some sort. The full list is at the bottom of this post but here are a few examples of the itinerary cards I made.
I did the same thing with these as I did with the themes cards above. I started with a white rectangle, added a couple of images and some text, flattened it all together and sent to my printer. Then cut them out with the Cricut because if you’ve ever seen me try to cut a straight line, you know the Cricut is the way to go.
I did the same thing with the paper behind the itinerary cards – cutting it on my Cricut made sure they were all the same size and again with the straight lines!
Since I’m planning my itineraries ahead of time, I’m also buying gift cards, tickets, and passes to put in the envelopes as well. I did that with my husband’s anniversary gift a few years ago and it helped make sure we actually did the activities instead of just talking about them!
It also makes it way easier to get out and go when you already purchased things ahead of time!
5 – Embellish your envelopes.
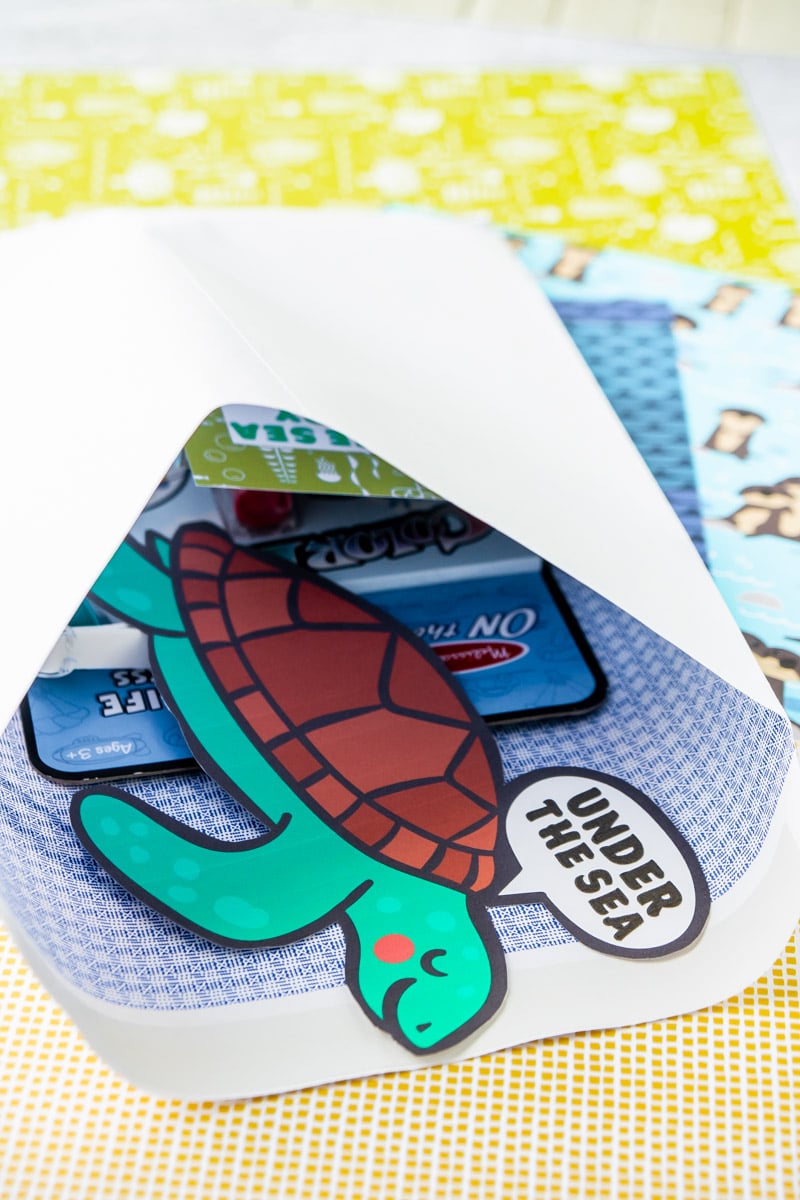
This is where it really gets fun. Once you’ve made all of the crafty stuff and added your labels, themes, and itineraries – add in some bonus surprise items just for fun.
Coloring books, shirts, stickers, treats, activity pads – you name it! Have fun with it, and I guarantee they’ll have fun opening their envelope each month.
6 – Decorate your box.
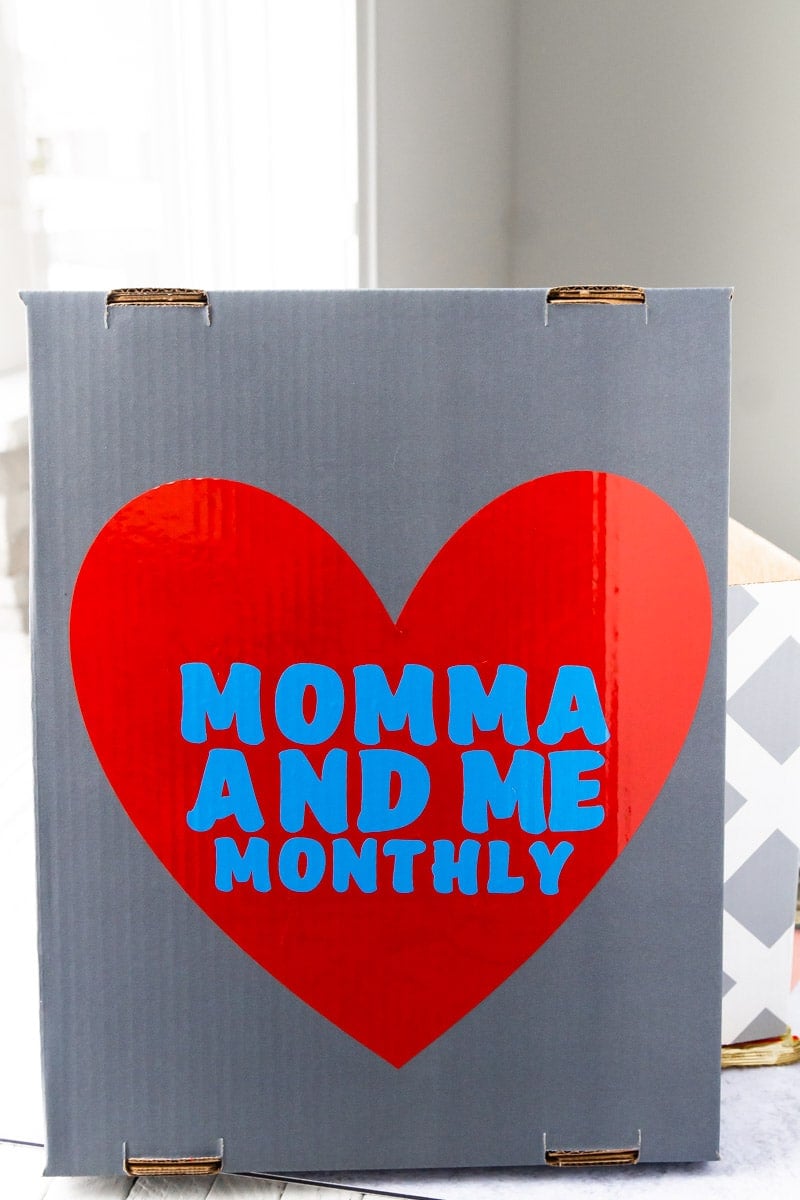
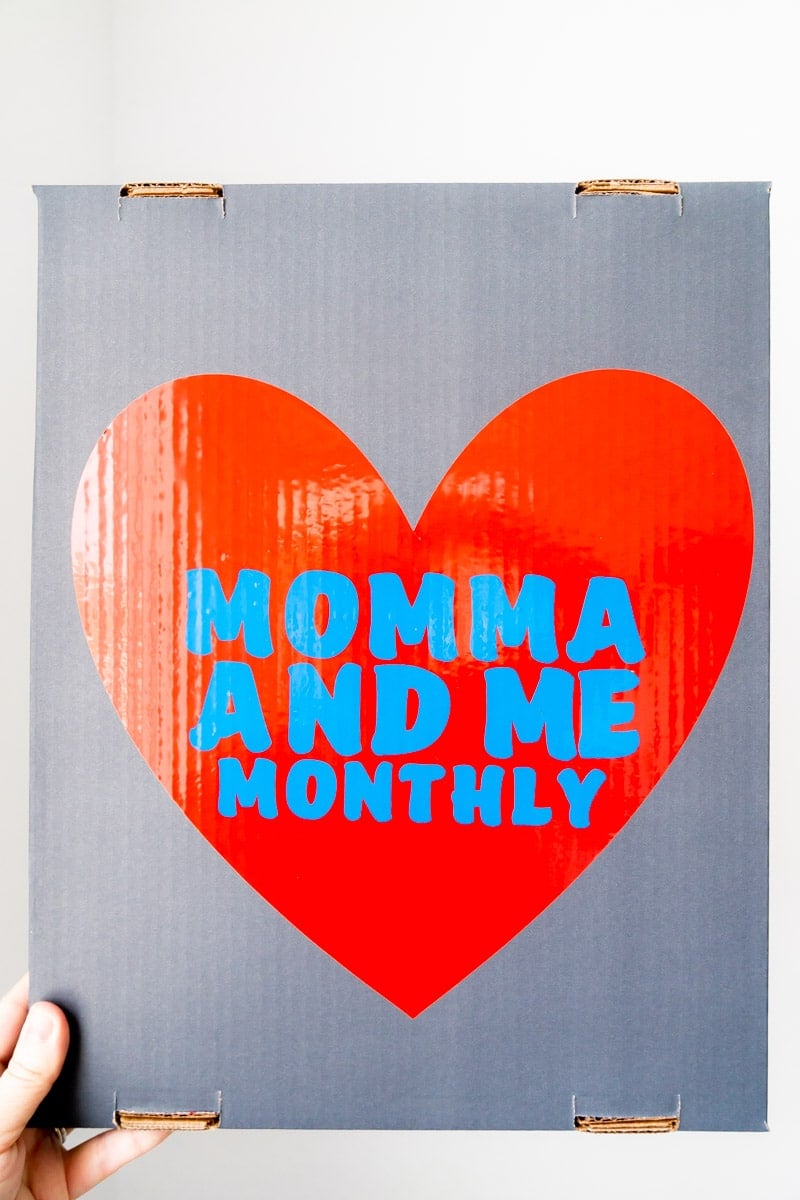
This isn’t absolutely essential, but I added a little heart label to our box to give the gift a name – momma and me monthly – because K calls me momma when he’s being sweet and it’s a box of monthly time together.
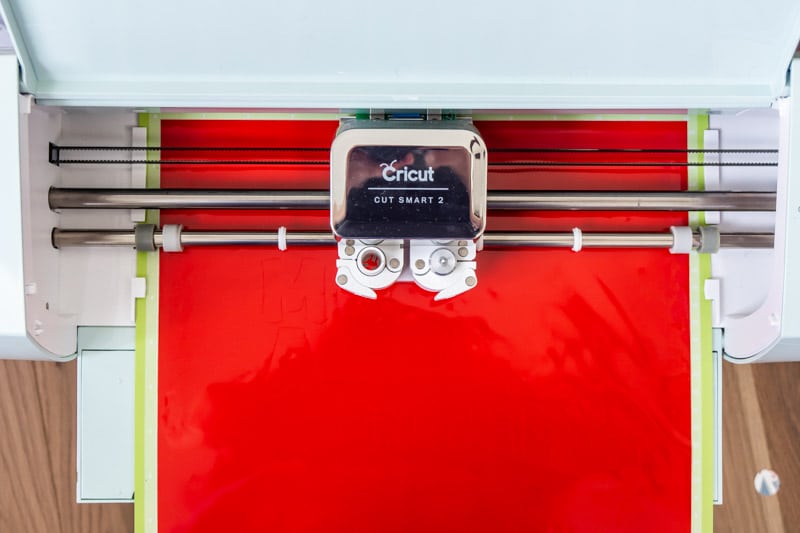
Design whatever you want for your box or use this file that I created. Put the permanent vinyl shiny side up on the Cricut mat and cut with the Explore Air 2 with vinyl selected as your material.
When the vinyl is cut, remove the non-cut vinyl from the backing leaving just your design.
Place the transfer tape over the vinyl to “pick it up” on the transfer tape. Apply the transfer tape to your box lid and press down securely. Remove the transfer tape and leave your vinyl design behind.
It’s so easy but will make a huge difference, especially as your kids open the box and realize what it is!
7 – Fill your box.
Once you’ve cut everything out, it’s time to fill those envelopes. Put everything you need for each month into the box (except maybe perishable treats) and seal the envelopes.
Put the envelopes into the box, January on top and December on bottom. Put the lid on top and wrap it up all ready for holiday gifting!
Each month choose a day when you open that month’s envelope. You can either do what’s in the envelope that day or just go through everything and plan it out for later that month.
Monthly Theme Ideas
These are the monthly themes that I did for my son’s box. If you want to use any of these, you can get my already designed print and cut images here. Or you can create your own with totally different themes.
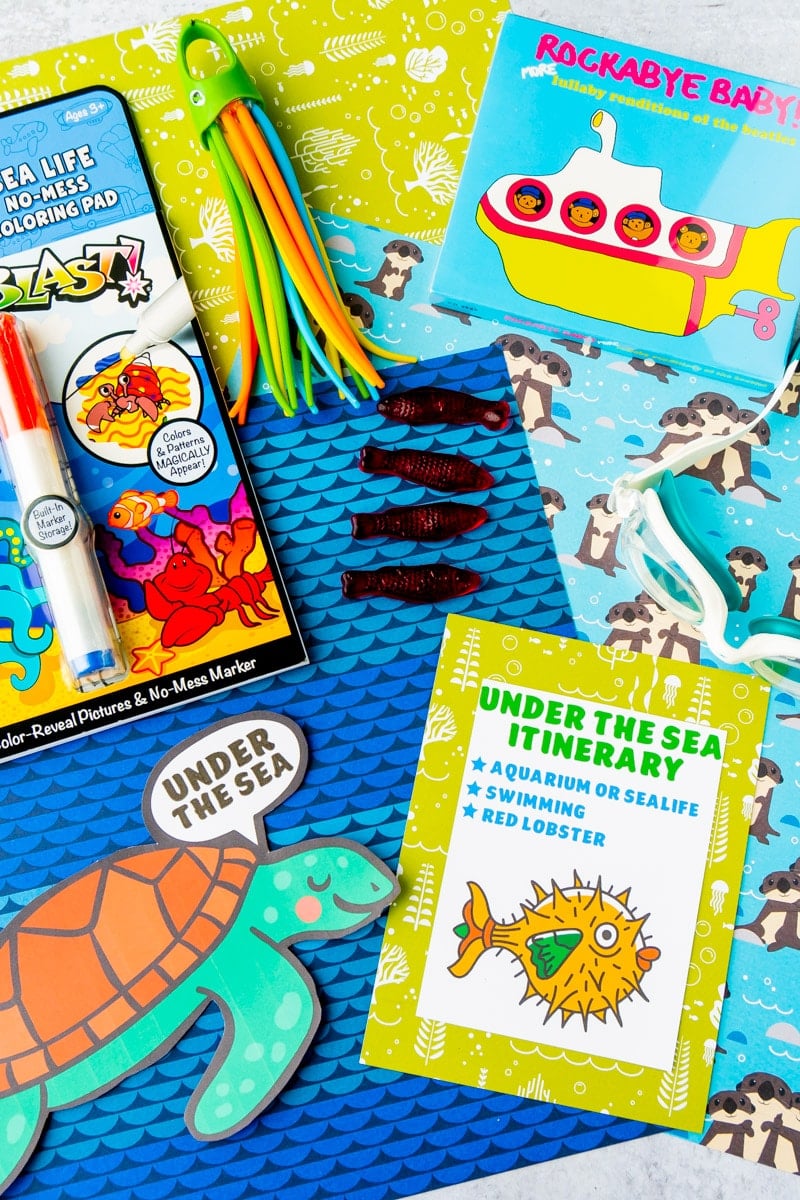
I’ve also included what’s on our itineraries as well as other items that will be going in the envelopes for those months to give you some ideas. You can see I kind of did a little bigger envelopes each month – this will really be his big Christmas present rather than just getting more toys, so I spent a bit more money on it.
You could totally just do activities and make it a cheap gift that’s more about time than anything!
- January: Starry Night – Star Wars movie tickets, tickets to the local planetarium, Starburst candies, star erasers, a Star Wars coloring book, and dinner under the stars
- February: Under the Sea – passes to our local aquarium, new goggles for swimming at the YMCA, a sea creature activity book, Swedish Fish, and lunch or dinner at Red Lobster (he loves their cheddar biscuits!)
- March: Bear Necessities – zoo passes, Build-A-Bear gift card, gummy bears, a bear gift card to Starbucks for a drink for the zoo, a panda bear shirt, and dinner at our local Black Bear Diner,
- April: Super Day – tickets to see the newest superhero movie, gift card for Dave & Buster’s to play his favorite Marvel alliance game, sour “punch” straws, and a $10 bill to pick out whatever dinner he wants at the supermarket
- May: Hole in One – gourmet donuts for breakfast, peach rings as a little treat, miniature golf passes, and a crazy cheese puzzle game
- June: On the Trail – go to the grocery store and let him pick out his own items to create a trail mix, paint rocks to leave on the trail, go on a hike, and finish the day with a little Oregon Trail game night
- July: Your Pic – go to the Farmer’s Market and let him “pick” out snacks for a picnic in the park, picture scavenger hunt, then go to the movie theater to see a motion picture of his choice.
- August: Stay Cool – waterpark passes, gift card to our local snow-cone place, mini Super-Soaker water guns, and a pair of fun sunglasses
- September: Game Day – tickets to see our local baseball team, RedBox coupons to rent a new Nintendo Switch game, a new family card game, and Big League Chew gum
- October: Monster Mash – monster activity book, make monster cookies, go to a Halloween/fall festival or party, and making monster themed Boo buckets for friends
- November: Art Party – paint your own pottery outing, coloring book, Skittles (to taste the rainbow), Crayola experience, and decorate cookies to enjoy at home
- December: Happy Holidays – custom Christmas shirt, go see Christmas lights, make Christmas ornaments, enjoy cookies and cider
More DIY Gift Ideas
- DIY gifts for golf lovers
- Date night cards
- DIY gift basket ideas for women
- DIY get well gift baskets
- DIY candy gram with balloons
More Fun Cricut Project Ideas
- Making puzzles with Cricut
- DIY baby onesie
- DIY luggage tags
- How to personalize items
- Free dinosaur games for kids (made with the Cricut!)
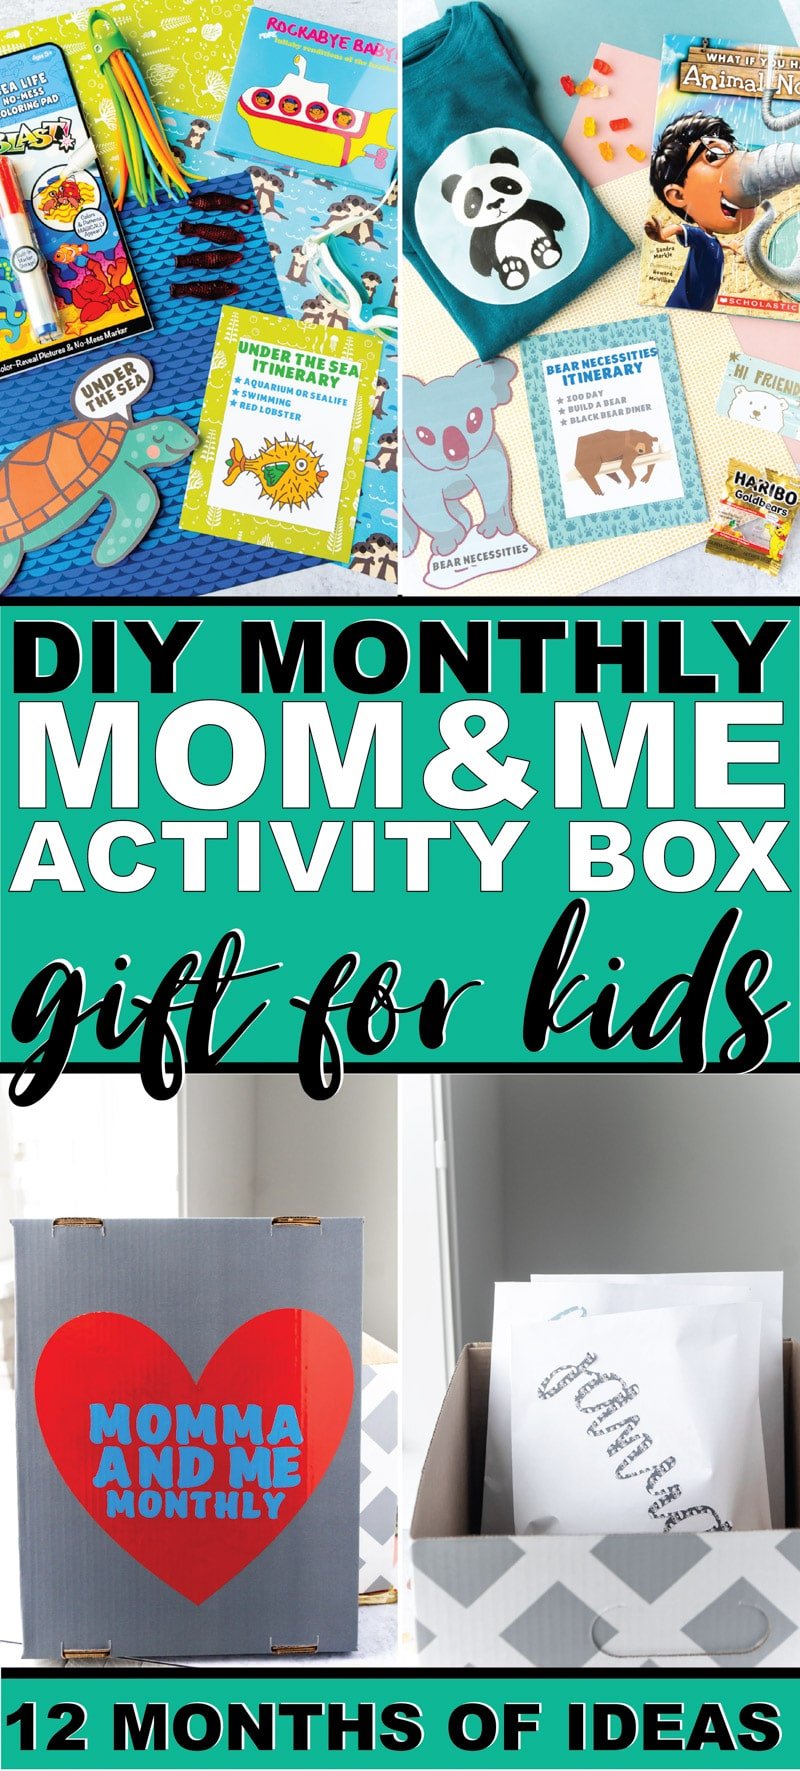
Don’t forget to pin these personalized gifts for kids for later!
This is a sponsored conversation written by me on behalf of Cricut. The opinions and text are all mine.

Leave a Comment