
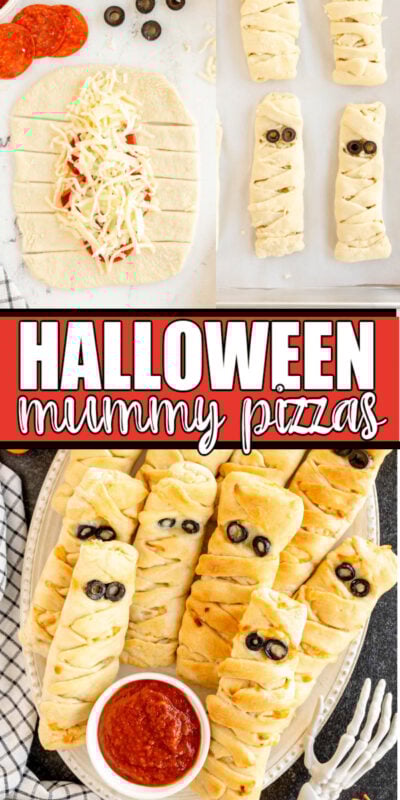
Mini mummy pizza loaves are a fun, festive, and delicious Halloween appetizer that work for any Halloween party spread! Make up a dozen to share at a Halloween celebration or just make a few for a really fun festive Halloween dinner! They’re easy to make, easy to customize, and always a family favorite!


Want to save this recipe?
Enter your email below and we’ll send this idea straight to your inbox (plus you’ll receive fun weekly ideas from us too!)
Mummy Pizza Appetizers
Pizza loaf is one of my family’s all-time favorite foods. When we all get together, pizza loaf is on the menu at least half the time (with striped delight for dessert)! It’s great because everyone can choose their favorite toppings, so it works for the entire family!
Pizza loaf is kind of like a calzone but somehow better.
These Halloween mummy pizza loaves are the perfect way to enjoy pizza loaf during Halloween but in a much cuter version! Even better than the pumpkin pizzas I made a few years ago!
Why you’ll love These pizza mummys
- Kids and adults love these mummy loaves – just like everyone loves pizza, everyone will love these pizza mummies!
- Everyone gets what they want because they can choose their own toppings!
- Work for any occasion from a kid’s lunch to Halloween potluck to family dinner.
Ingredients

Ingredient Notes
- Pizza dough – this pizza dough recipe works great but you can use any homemade dough. I have also tried using crescent rolls and canned pizza dough. I wasn’t as impressed with the results, they were harder to work with and didn’t taste nearly as good. If you don’t want to make your dough, try getting fresh dough from a local pizza shop or Whole Foods.
- Pizza sauce – choose your favorite or make your own. If you aren’t a fan of red sauce you can always dip the pizza into ranch or pesto.
- Mozzarella cheese – any type of pizza blend will work as well. I highly recommend sneaking in some cheddar cheese too, it’s my personal favorite.
- Pizza toppings – this can be anything you want it to be, from pepperoni to olives to anchovies. This is the perfect time to make your dream pizza.
- Butter – you’ll need a butter stick to top the loaves after they bake, this actually makes a big difference!
- Black olives – If your kids don’t like olives you can just as easily use candy eyes or an edible marker.
How to make a mummy pizza loaf
Alright, it’s time to wrap up (pun intended) the intro and get into the how-to portion of our mummy snack.
1 – Shape The Dough
First things first, preheat that oven to 375 degrees and line two baking sheets with parchment paper.
Grab your pizza dough and divide it into twelve sections on a floured surface. There’s no need to be exact here, eyeballing it is great.

Gently shape each section into a thick oval disc. Allow these to sit for two to three minutes so the dough can rest, making it easier to work with.
Once they’ve had a minute to rest, take one disk and gently work it into a long oval. I like to do this by hand just by gently stretching the dough. I think it’s easier to control the shape this way, but you can use a rolling pin, too.
You need to be able to move the dough easily, so add as much flour to your work surface as you need to make it workable.
You want your oval to be at least four inches wide and tall. You can make them bigger than this, but anything smaller than four inches is tough to work with.

2 – Fill The Dough
Now it’s time to stuff those mummies. Keep in mind, when stuffing, you want to make sure you have at least an inch of dough on each side of the toppings. You also want to evenly spread out the toppings from end to end.
Begin by laying down those toppings. I like to start with pepperoni to give myself a flat base, then build up. Add whatever toppings you like.
Now, it’s time to add the cheese. Add as much cheese as you want, but try to keep the topping pile less than two inches high. Any more than that, and you’re going to have a hard time wrapping your mummy.

3 – Wrap The Mummy pizza
Before you fold the dough you need to cut the dough into strips. You’ll use a pizza cutter for this step.
Place the pizza cutter roughly 1/2 to 3/4 an inch from the top of the dough and just left of the filling. Make a cut from the inside out making sure to cut through the dough completely.
Once you’ve got your cut, repeat that process down the length of the left side, making your strips roughly 1/2 inch apart.
Repeat the cutting process on the right side. Don’t worry about making the cuts align perfectly, it’ll look great either way.
Starting from the top down, take your first left strip and cross it over to the right side at an upward diagonal. Lightly press that strip into the dough where the filling meets the edge.
Repeat with the right strip going to the left side, this time crossing over the previous crossed strip to create an flattened X shape.
Repeat again with the second strip down on both sides.
When you get to the third set you will continue to cross them, but this time them at a downward angle and leave a half-inch gap between the second and third set. This is where you will add the eyes later on.
Continue to cross the remainder of the mummy in the same downward pattern until you reach the end. Tuck your final strand under the strip above it.

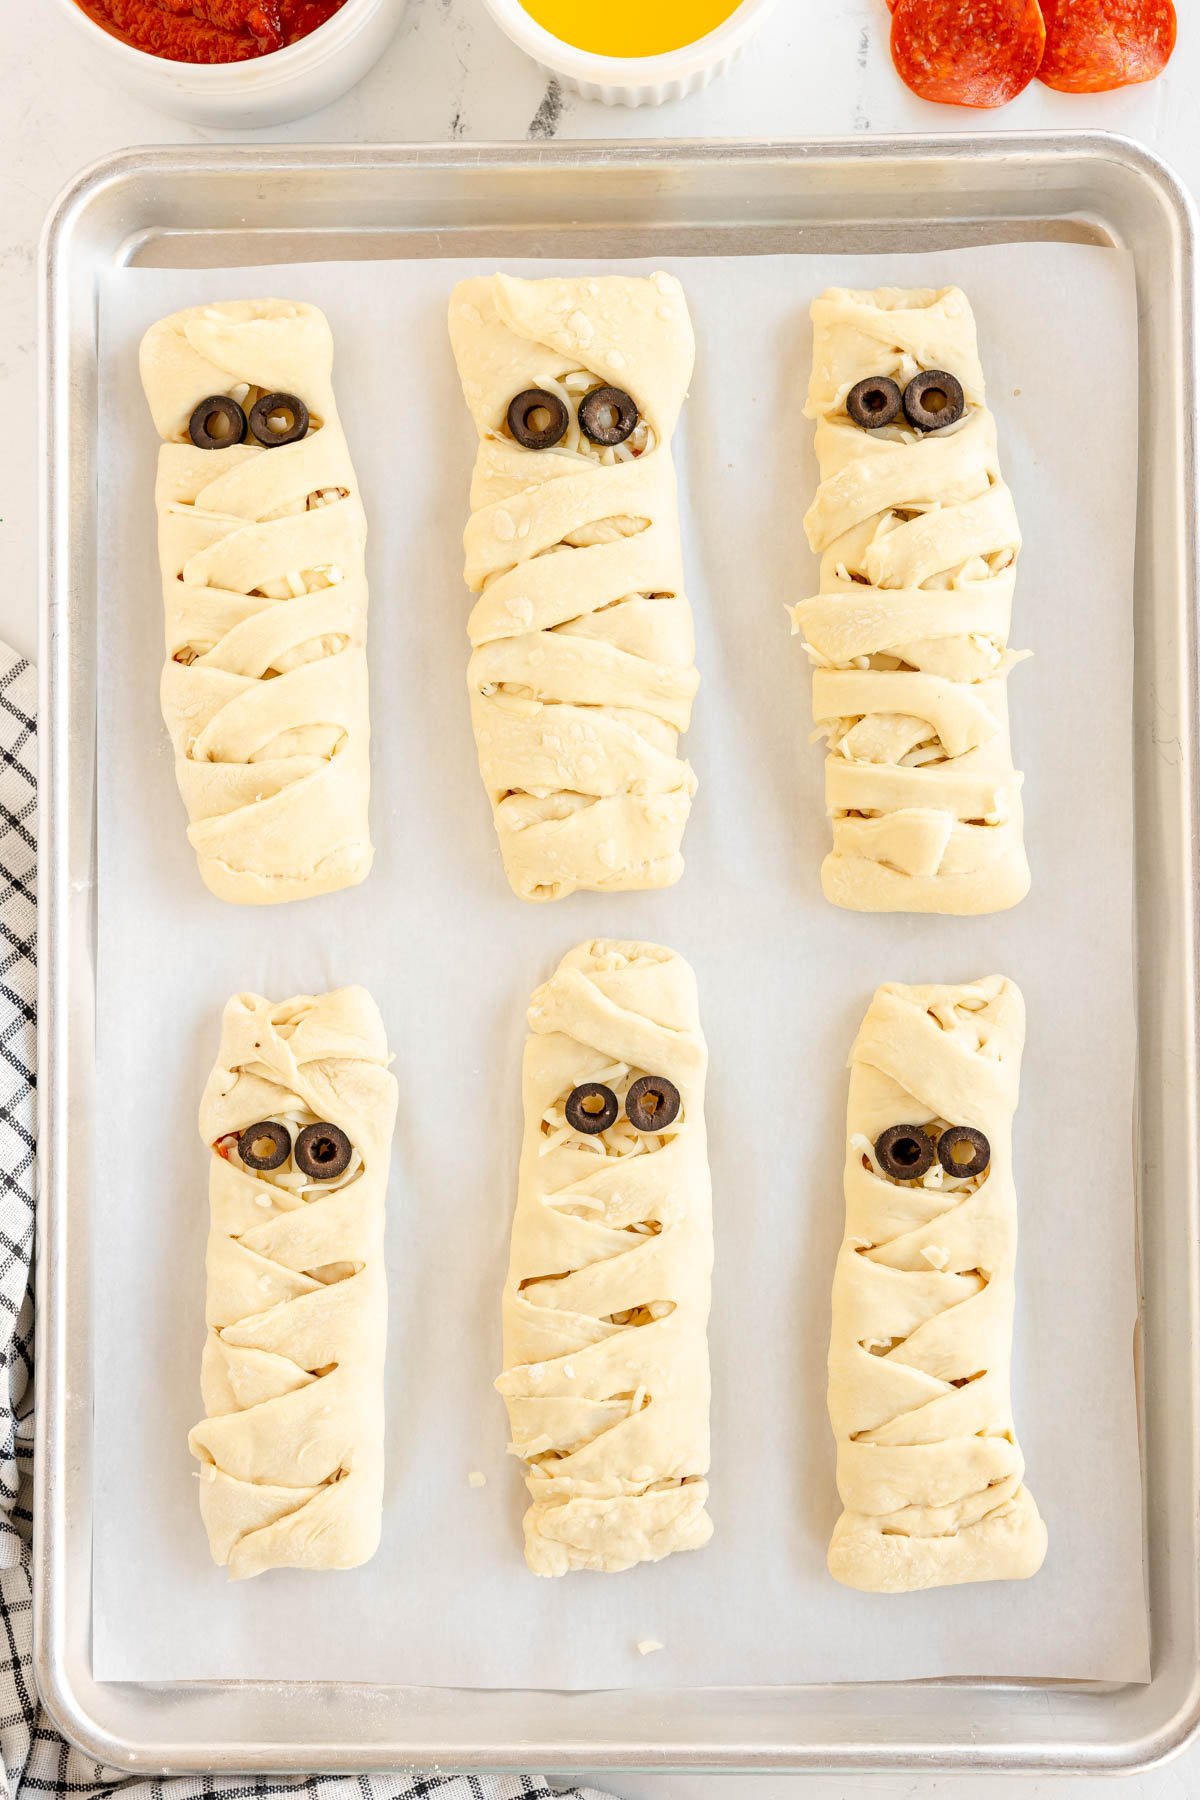
Then, grab your sliced olives and add two to the dough gap at the top of the pizza mummy for eyes. If you prefer no olives, you can add candy eyes or icing eyes after the mummies are baked.
Transfer the mummy pizza loaf to a parchment paper lined baking sheet, leaving about an inch between the mummies so they can expand as they bake.
Repeat the shaping, filling, and wrapping process over until you have mummified all your dough and placed them onto two baking sheets.
I know it seems like a lot to do it twelve times, but once you do it once, it’s really easy to repeat. Plus the folding process gets easier the more you do it.
4 – Bake the mummy pizzas
Now toss those into the oven, one tray at a time, and bake for 12-15 minutes until golden brown.
Pull them out when they are ready and top with butter. I like to rub the end of a softened butter stick across the top rather than using a pastry brush for this step. It’s a lot easier and uses one less dish.
If you forget to soften butter, you can always melt it and brush on with a pastry brush as well!

Serve these mummy pizza snacks with your favorite pizza sauce to dip it in.
The pizzas don’t have sauce in them so dipping them into the sauce gives you the full pizza flavor!

You can either eat them for Halloween dinner or make them for your next Halloween party! They’d even be a great option to add to this Halloween snack board!

Expert Tips & Storage Information
If you are using candy eyeballs instead of olives, don’t put them on until you are done baking or they will melt away.
Make sure to overlap the previous strand where it meets the dough with the new strip. Otherwise, your strands will lift up and not look as good.
For fluffier mummies, allow the dough to rise for thirty minutes after being filled.
Putting the toppings down first helps protect the dough from the cheese. Having the cheese first allows the liquid from the cheese to soften the dough beneath it.
Store in an airtight container for up to a week. Reheat in the oven at 350 until the cheese is melted.

Recipe FAQs
How many mummies do I need to make?
Knowing how many mummies to make depends on what you are using them for. My five-year-old ate one mummy for dinner, whereas my husband ate three. That should give you some context to help you plan out how many you need for your party.
Can I make these bigger?
It’s really easy to make these bigger; just cut your dough into fewer sections, then proceed as explained. I would avoid making the dough smaller unless your pizza dough is really big.
How many mummy pizzas does this make?
If you use our pizza dough recipe, it’ll make 12 pizza mummies. If you’re using a regular pizza dough ball from say Whole Foods or another grocery store, it may only make six.

More Halloween Snacks
If you’re looking for more Halloween snacks to enjoy with these pizza mummies, try one of these!
- Halloween buffalo chicken dip – this fun boo-ffalo chicken dip is the perfect Halloween appetizer!
- Halloween charcuterie board – this board is full of all sorts of spooky snacks that would go with any Halloween party theme!
- Mummy dogs – another fun mummy snack that everyone will love!
- Frankenstein guacamole – you could serve this fun snack with the pizza loaves for dipping!
- Halloween party snacks – tons of fun ideas for creepy and cute snacks!

Mummy Pizza Loaf
Ingredients
- 1 premade pizza dough
- 1 can pizza sauce
- 6 cups mozzarella cheese shredded
- 1 package pepperoni
- 2 tbsp butter
- pizza toppings optional
Instructions
Shape The Dough
- Preheat that oven to 375 degrees and line two baking sheets with parchment paper.
- Grab the pizza dough and divide it into twelve sections on a floured surface.1 premade pizza dough
- Gently shape each section into a thick oval disc. Allow these to sit for two to three minutes.
- Once rested, take one disk and gently work it into a long oval. This can be done by hand or with a rolling pin. The oval needs to be at least four inches wide and tall.
- You want your oval to be at least four inches wide and tall. You can make them bigger than this, but anything smaller than four inches is tough to work with.
Fill The Dough
- Now it’s time to stuff those mummies. Keep in mind, when stuffing, you want to make sure you have at least an inch of dough on each side of the toppings. You also want to evenly spread out the toppings from end to end.
- Beginning with the pepperoni, lay out the toppings in the middle of the dough from top to bottom. Leave at least one inch on each side to use as wrapping later.1 package pepperoni
- Next, add a layer of cheese.6 cups mozzarella cheese, pizza toppings
Wrap The Mummy
- Before you fold the dough you need to cut the dough into strips. You’ll use a pizza cutter for this step.
- Place a pizza cutter roughly 1/2 to 3/4 an inch from the top of the dough and just left of the filling. Make a cut from the inside out making sure to cut through the dough completely.
- Once you’ve got your cut, repeat that process down the length of the left side, making each strip roughly 1/2 inch apart.
- Repeat the cutting process on the right side. Don’t worry about making the cuts align perfectly.
- Starting from the top down, take your first left strip and cross it over to the right side at an upward diagonal. Lightly press that strip into the dough where the filling meets the edge.
- Repeat with the right strip going to the left side, this time crossing over the previous crossed strip to create an flattened X shape.
- Repeat again with the second strip down on both sides.
- Make another cross with the third set but this time cross them at a downward angle and leave a half-inch gap between the second and third set. This is where you will add the eyes later on.
- Continue to cross the remainder of the mummy in the same downward pattern until you reach the end. Tuck your final strand under the strip above it.
- Add two sliced olives to the dough gap at the top for eyes.
Bake
- Transfer your wrapped mummy loaf onto a cookie sheet lined with parchment paper and grab a new section of dough. Repeat the shaping, filling, and wrapping process over until you have mummified all your dough and placed them onto two baking sheets.
- Bake in the oven one tray at a time, for 12-15 minutes until golden brown.
- Pull them out when they are ready and top with butter.2 tbsp butter
- Serve these delicious treats with your favorite pizza sauce to dip it in.1 can pizza sauce


Leave a Reply