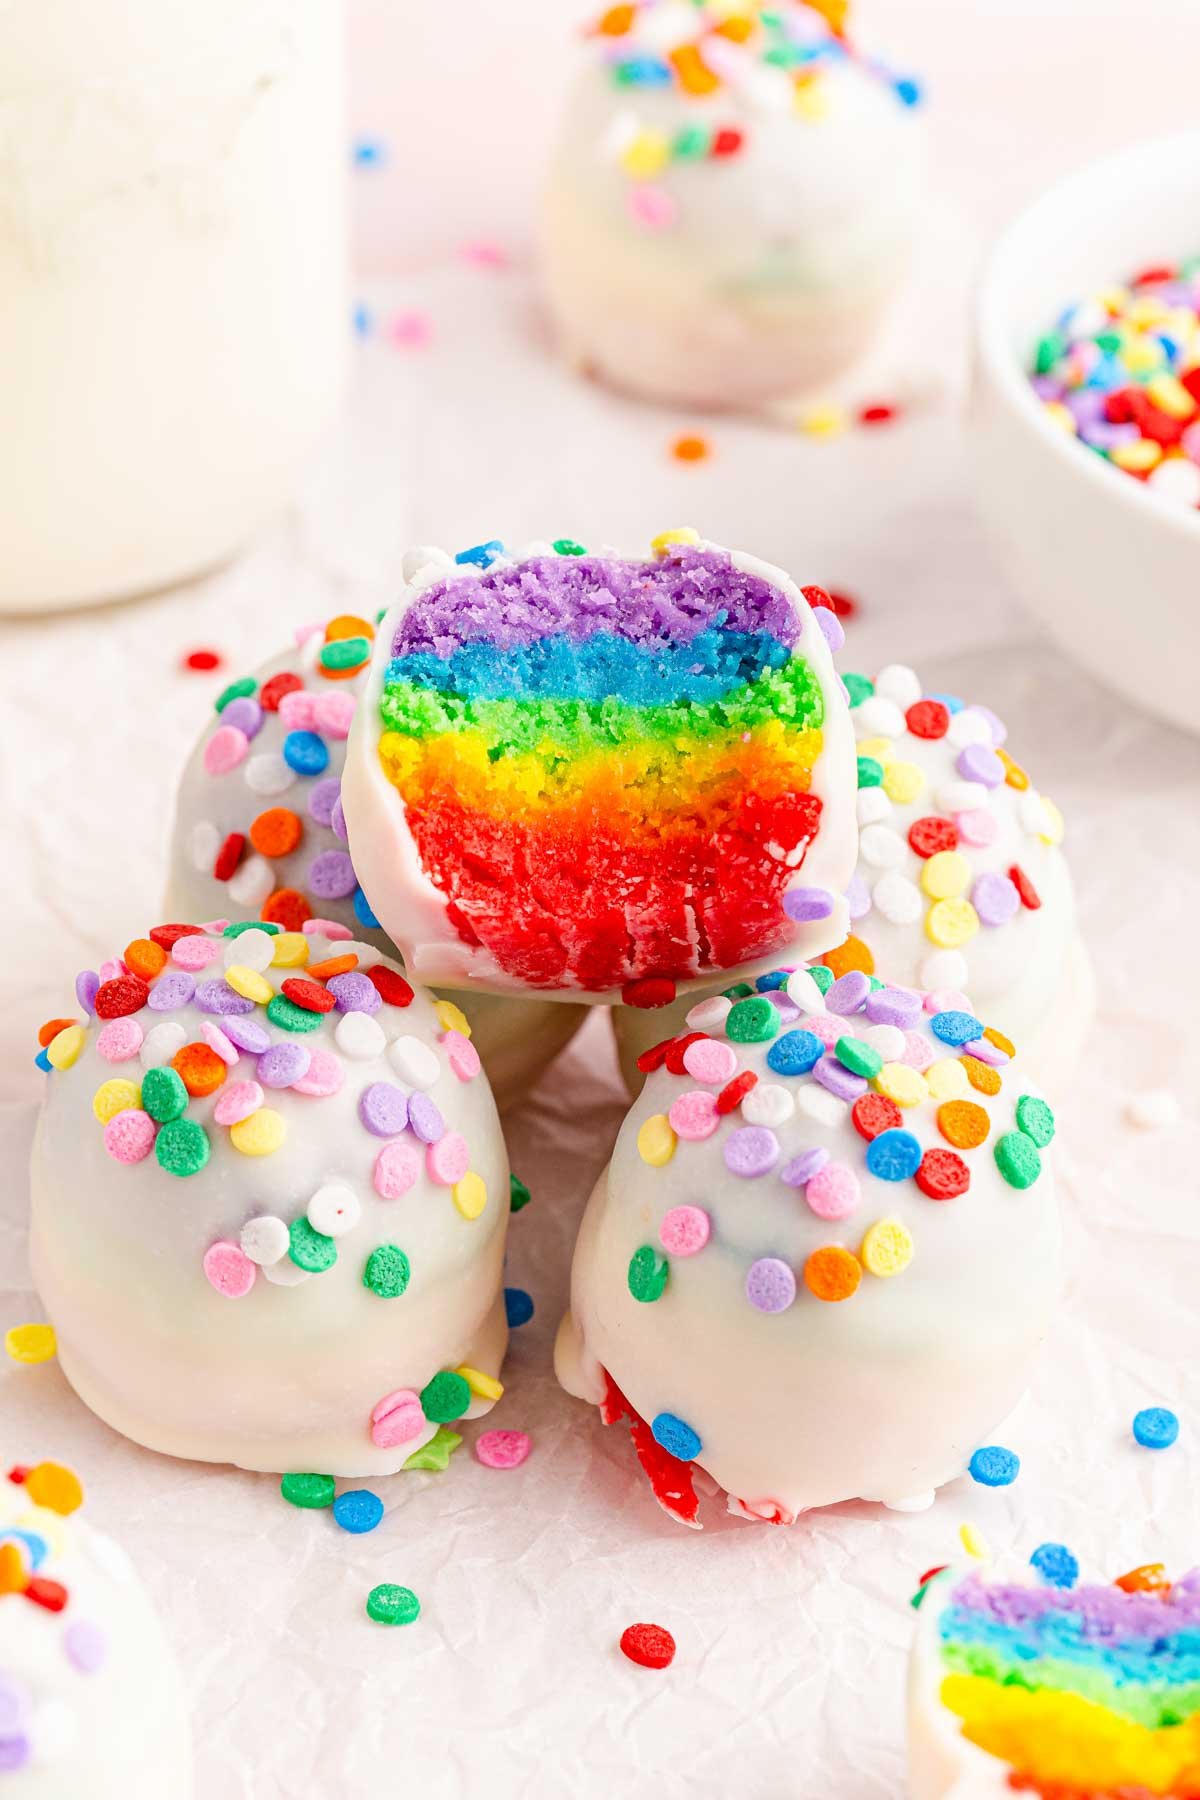
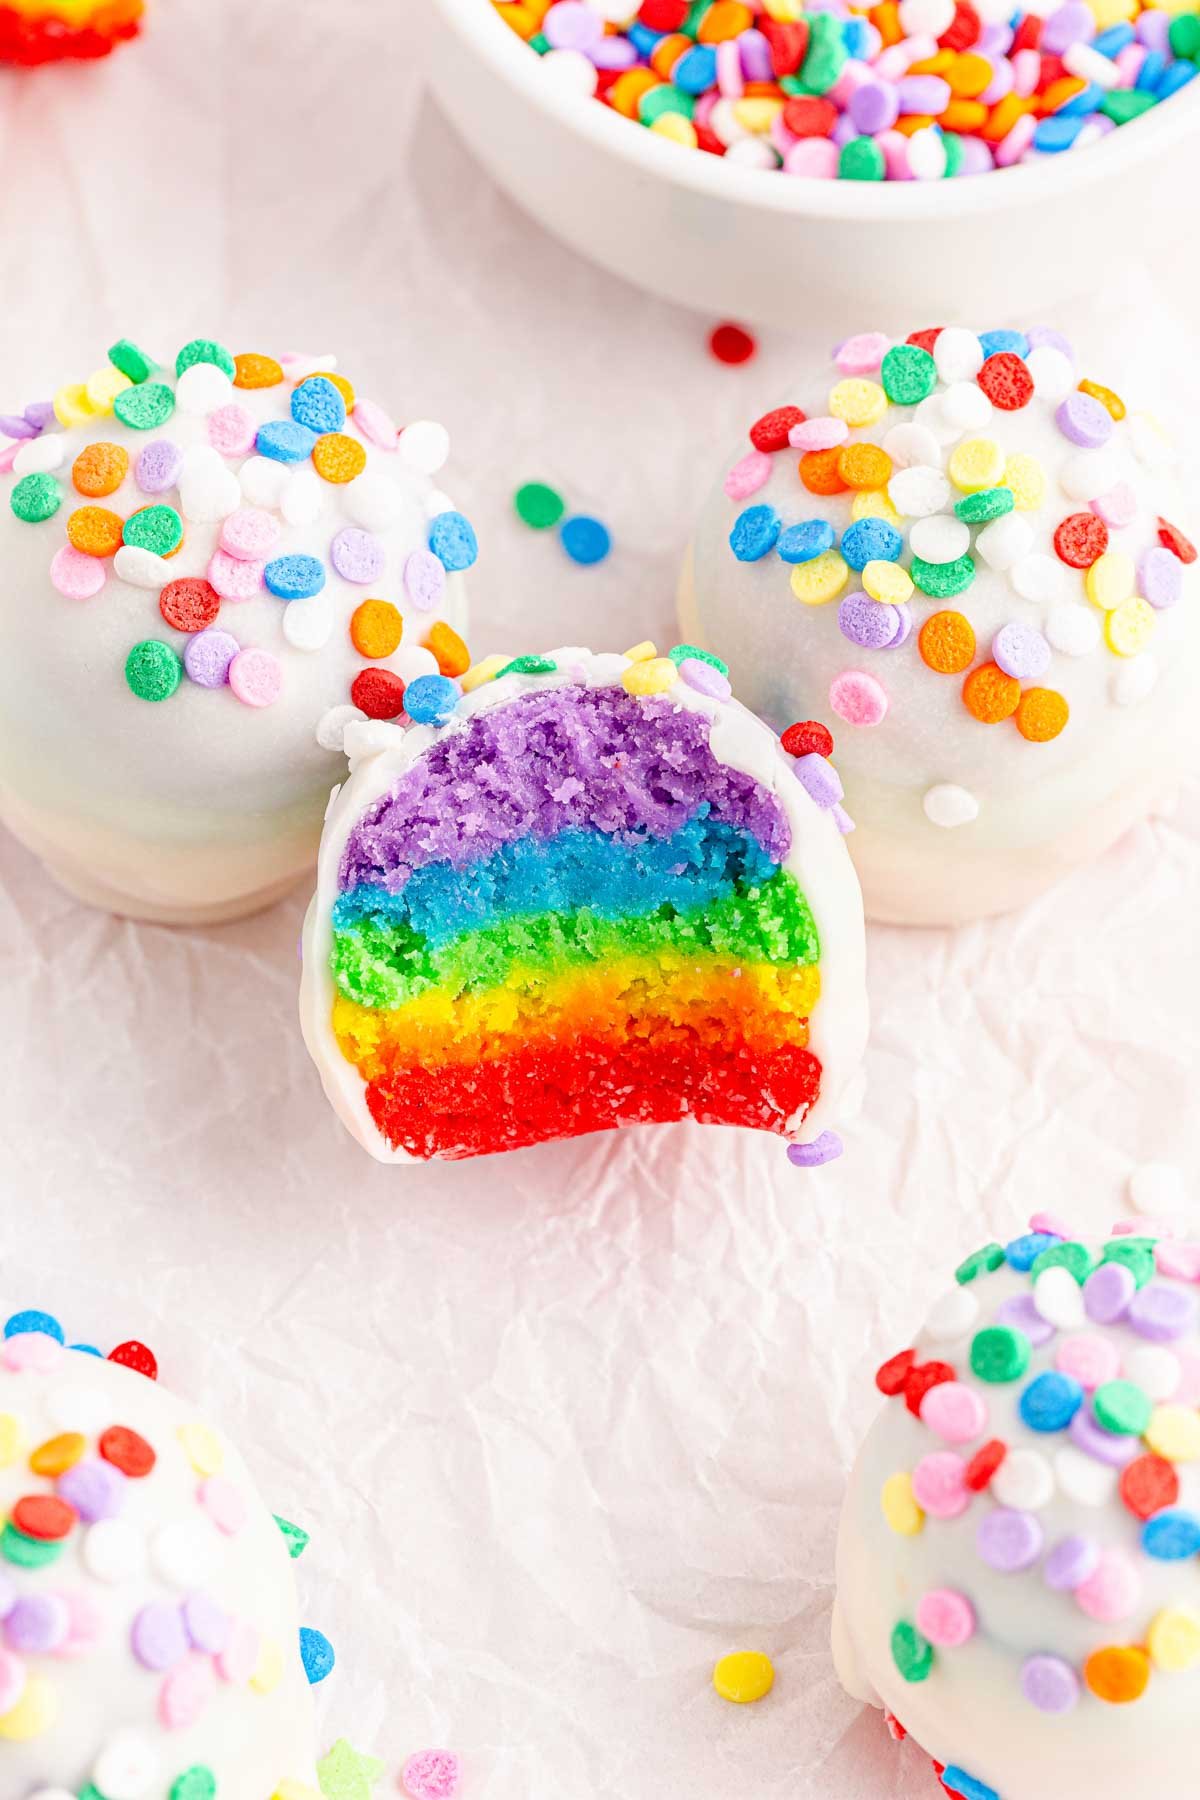
These brightly colored rainbow cake balls are a fun treat for any special occasion. Imagine how fun it would be to bite into the melted chocolate shell to find an entire rainbow of delicious cake mix. Whether you make them cake balls or rainbow cake pops, this fool-proof recipe is perfect for every baker looking to add a little color to their day.
Want to save this recipe?
Enter your email below and we’ll send this idea straight to your inbox (plus you’ll receive fun weekly ideas from us too!)
I am all about making life fun whether it be by adding a little color to my life, playing one of my favorite board games, putting up a new photo wall, or making these rainbow cake balls. What could be more fun than a tray of colorful treats at a party or for a family night?
You’ll love how easy these are to make without compromising on taste or looks. These eye-catching treats combine white cake mix and cream cheese to make a perfectly moist cake mixture that you won’t be able to resist, even if you wanted to.
These fun rainbow treats are a fun way to add a surprise element to your dessert table. On the outside, all you see are rainbow sprinkles on melted white chocolate. Bite into them and you discover a rainbow of colors that will have everyone talking. Perfect for a unicorn party or a birthday charcuterie board!
Love the idea but not the colors? Try these brownie balls, these chocolate truffles, or these Oreo truffles instead! instead!
Why You’ll Love This Recipe
- Wow factor – enjoy seeing everyone’s reaction when they bite into one of these fun rainbow truffles.
- Versatile – serve them with lollipop sticks to make them true rainbow cake pops or skip the cake pop sticks and call them cake balls.
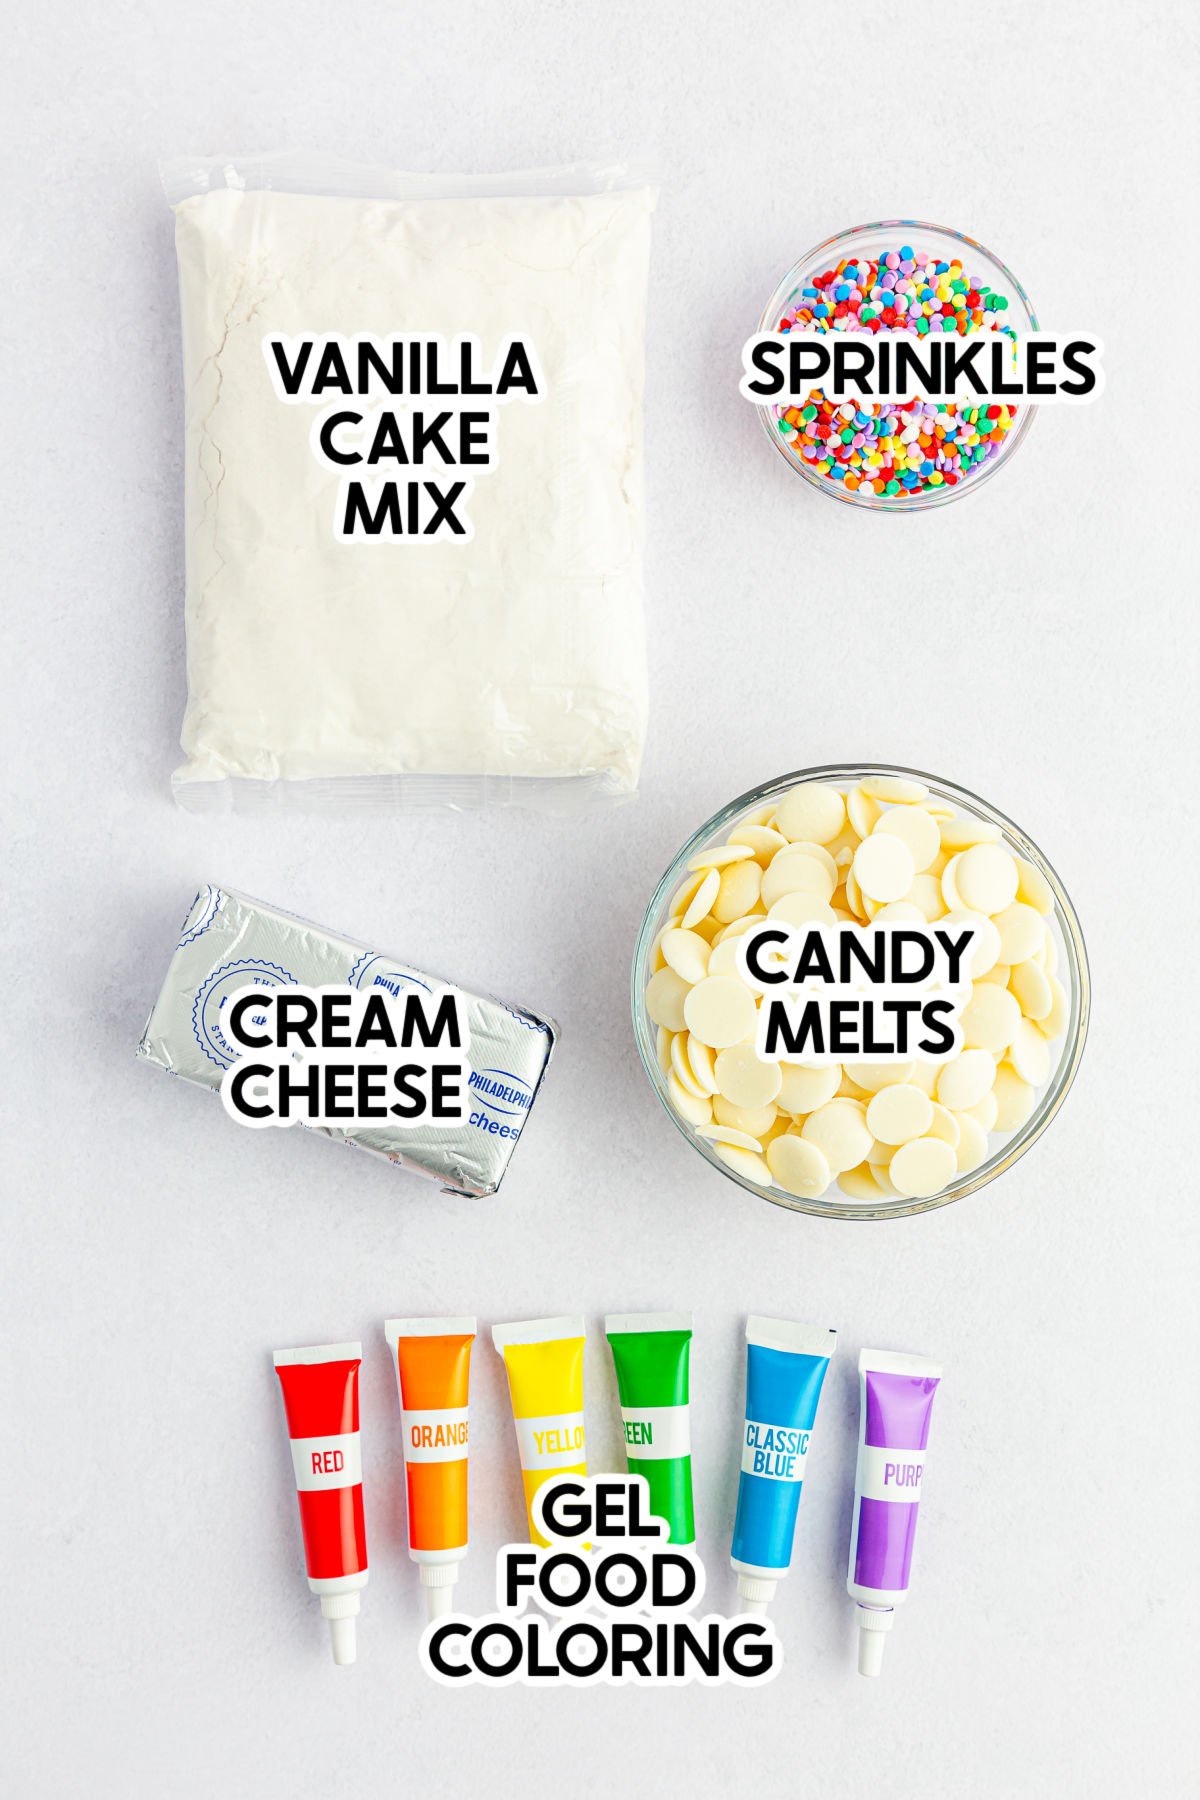
- Easy ingredients – you only need two things to make the cake dough, cake mix and cream cheese. Grab some gel food coloring, candy coating, and sprinkles and you are all set.
Ingredients
Ingredient Notes
- Cake mix – I like using white cake mix to get the most vibrancy out of my colors but you can use vanilla as well. I recommend staying away from something colored (like yellow cake or chocolate) or you’ll ruin the rainbow.
- Cream cheese – full fat is best, and it needs to be softened to room temperature.
- Food coloring – both regular and gel food color will work for this. I always prefer gel food color because less goes further but up to you.
- Rainbow sprinkles - add your favorite colorful sprinkles, any kind will work as long as they’re smallish.
- White chocolate – I prefer to use this brand, but you can use any type of melting candy or chocolate coating you want like candy melts and almond bark.
Instructions
Making these can seem tedious, but don’t worry I’ve got you covered. You’ll find detailed instructions with easy steps and pictures to help you make the perfect rainbow cake balls (or read the tips for rainbow cake pops).
1 – Make The Cake Mixture
Start by preheating the oven to 350 degrees. Then line a baking sheet with parchment paper.
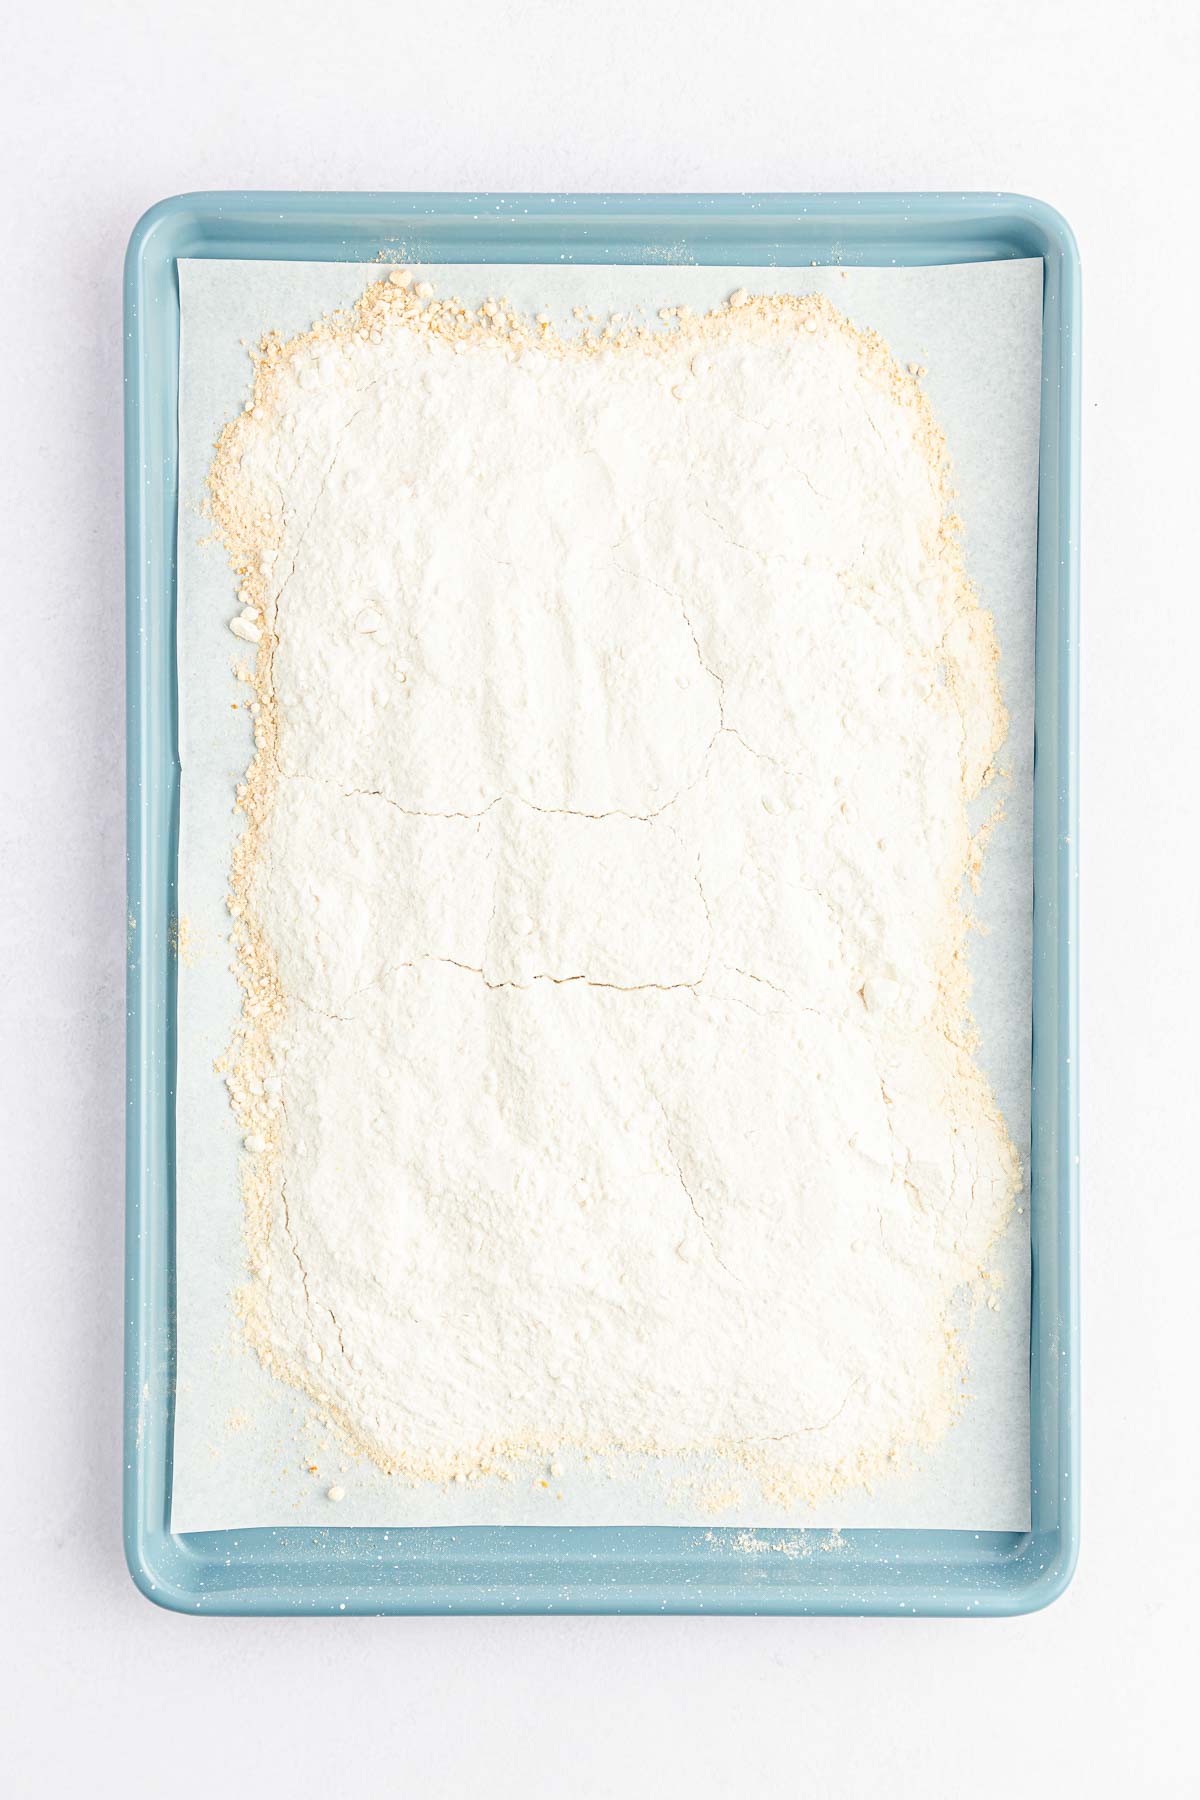
While the oven heats up, pour the dry cake mix out onto the baking sheet and bake for 5 minutes. This heat treating will kill any bacteria in the cake mix and is essential for safety purposes!
Remove the cake from the oven and let it cool on a cooling rack.
In a medium mixing bowl add in the room temperature cream cheese and beat with a hand mixer until creamy. This should take about 1-2 minutes.
Next, add the cooled cake mix to the cream cheese and beat on medium speed until it’s fully combined. The batter will feel doughy and thick at this point.
Next, divide the batter into six equal portions (I like to make a ball and cut it with a pizza cutter). Then separate each into their own small bowl.
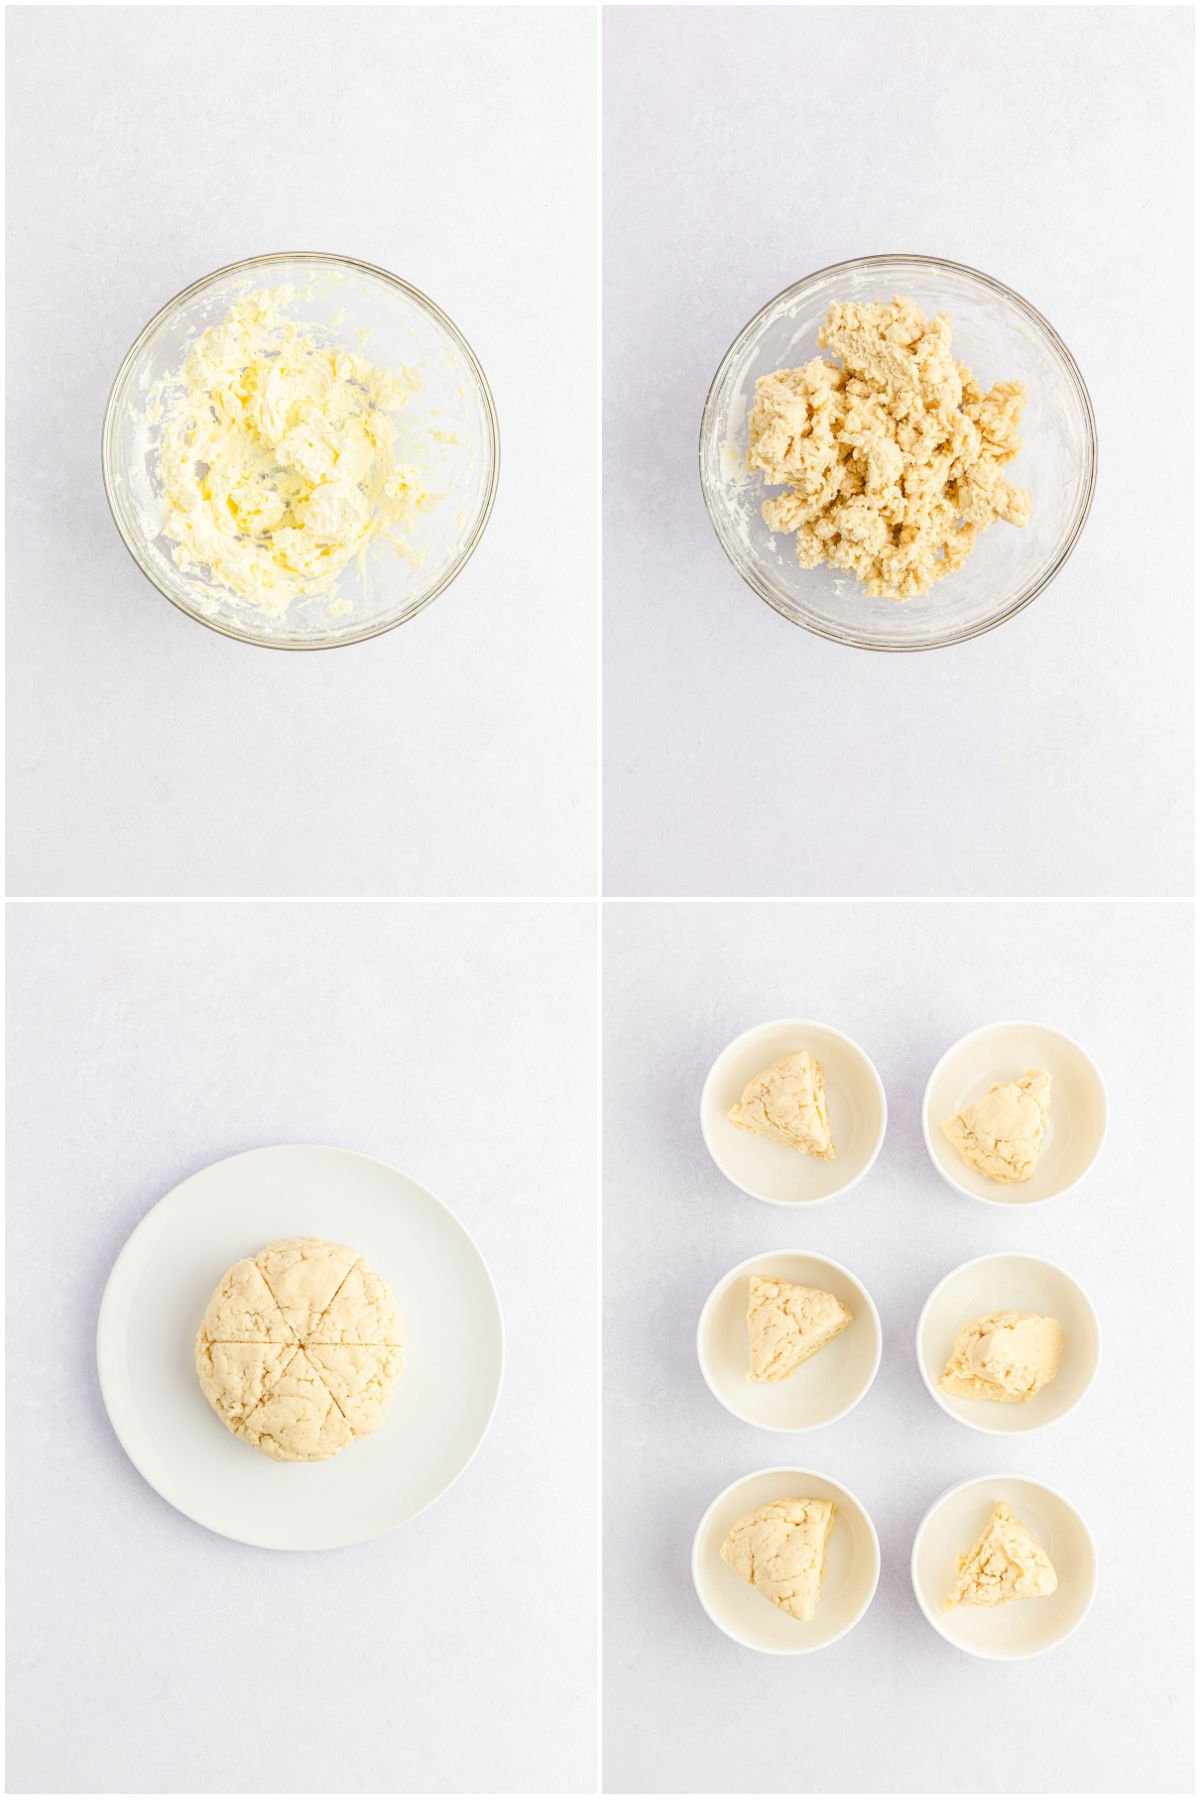
Next, add the six different food colors into their own bowls. Then mix each of the separate bowls until you have one small bowl of each color of the rainbow.
After each separate bowl of dough has been colored, cover them with plastic wrap and place them in the fridge for an hour.
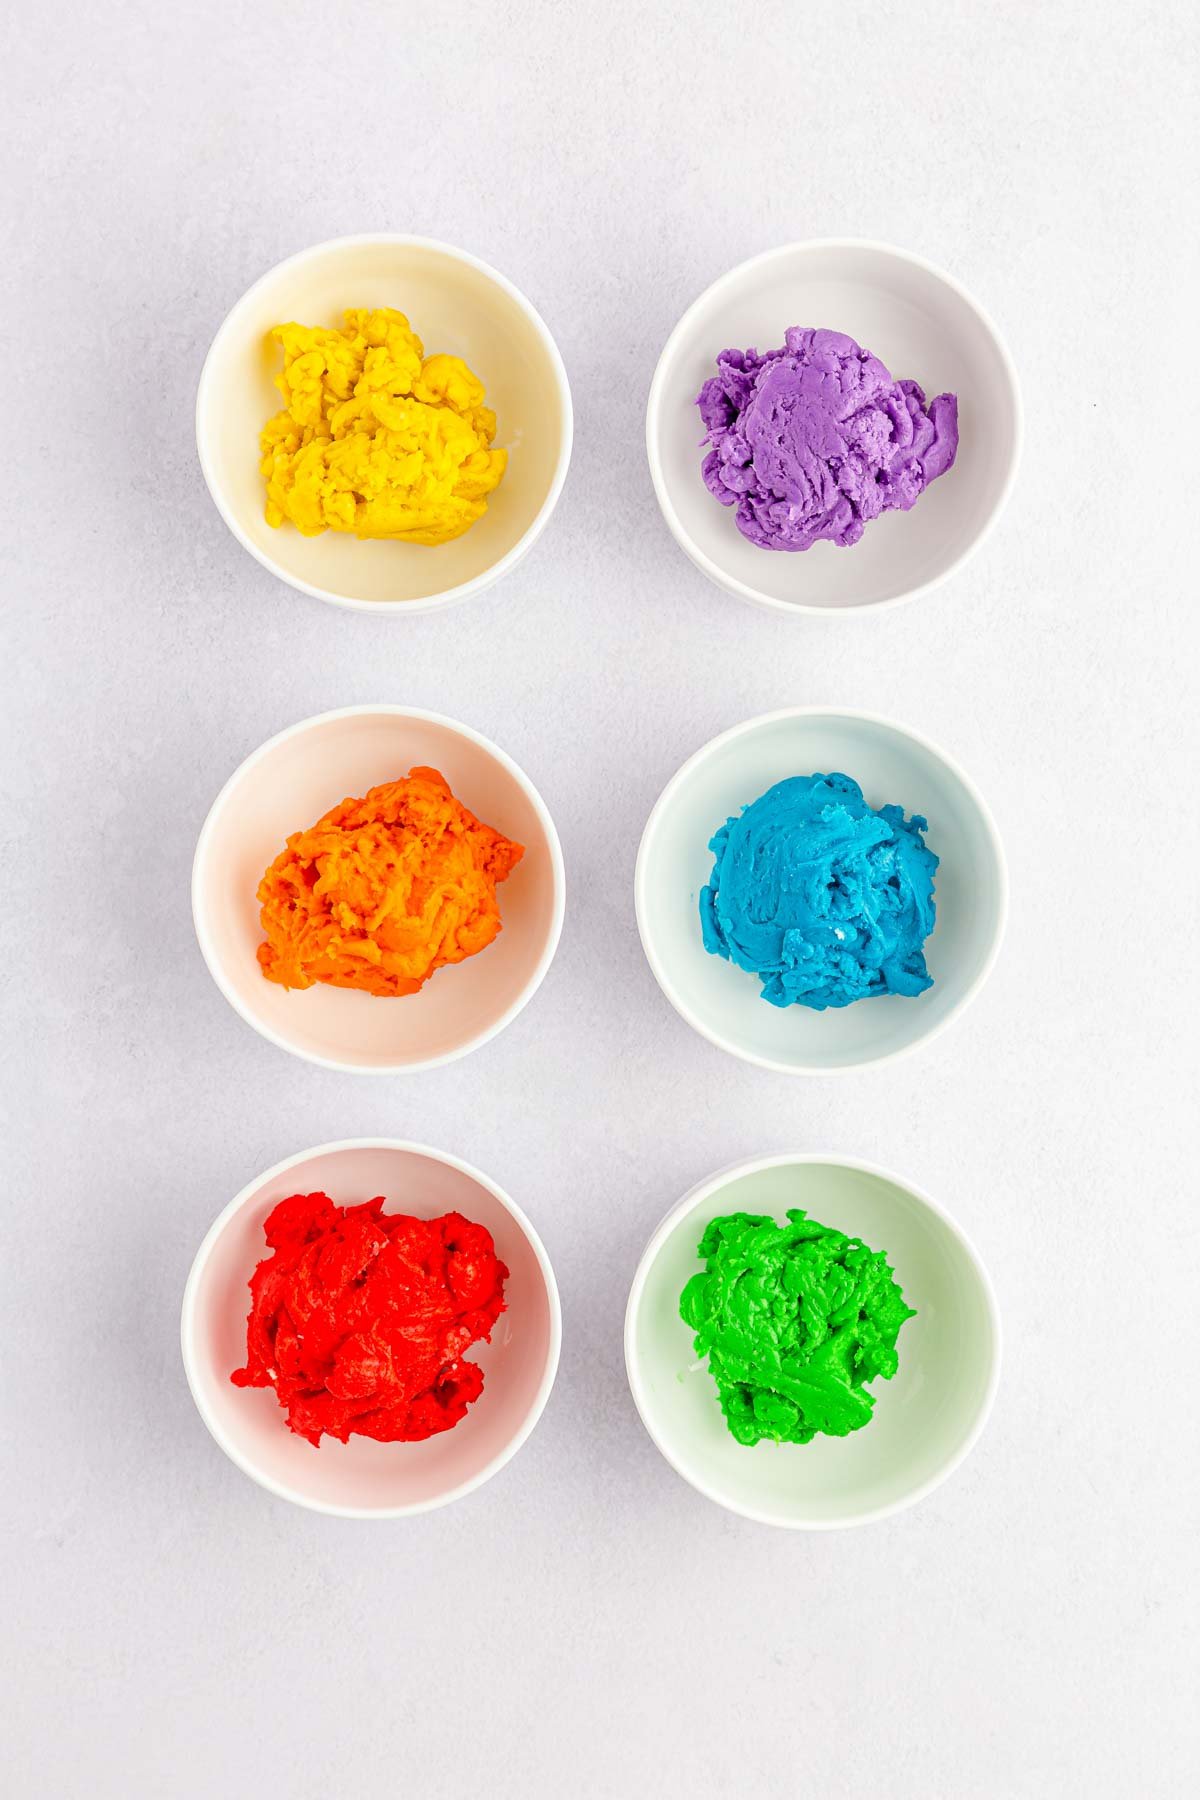
2 – Form Rainbow Cake Balls
Prepare another baking sheet with parchment paper.
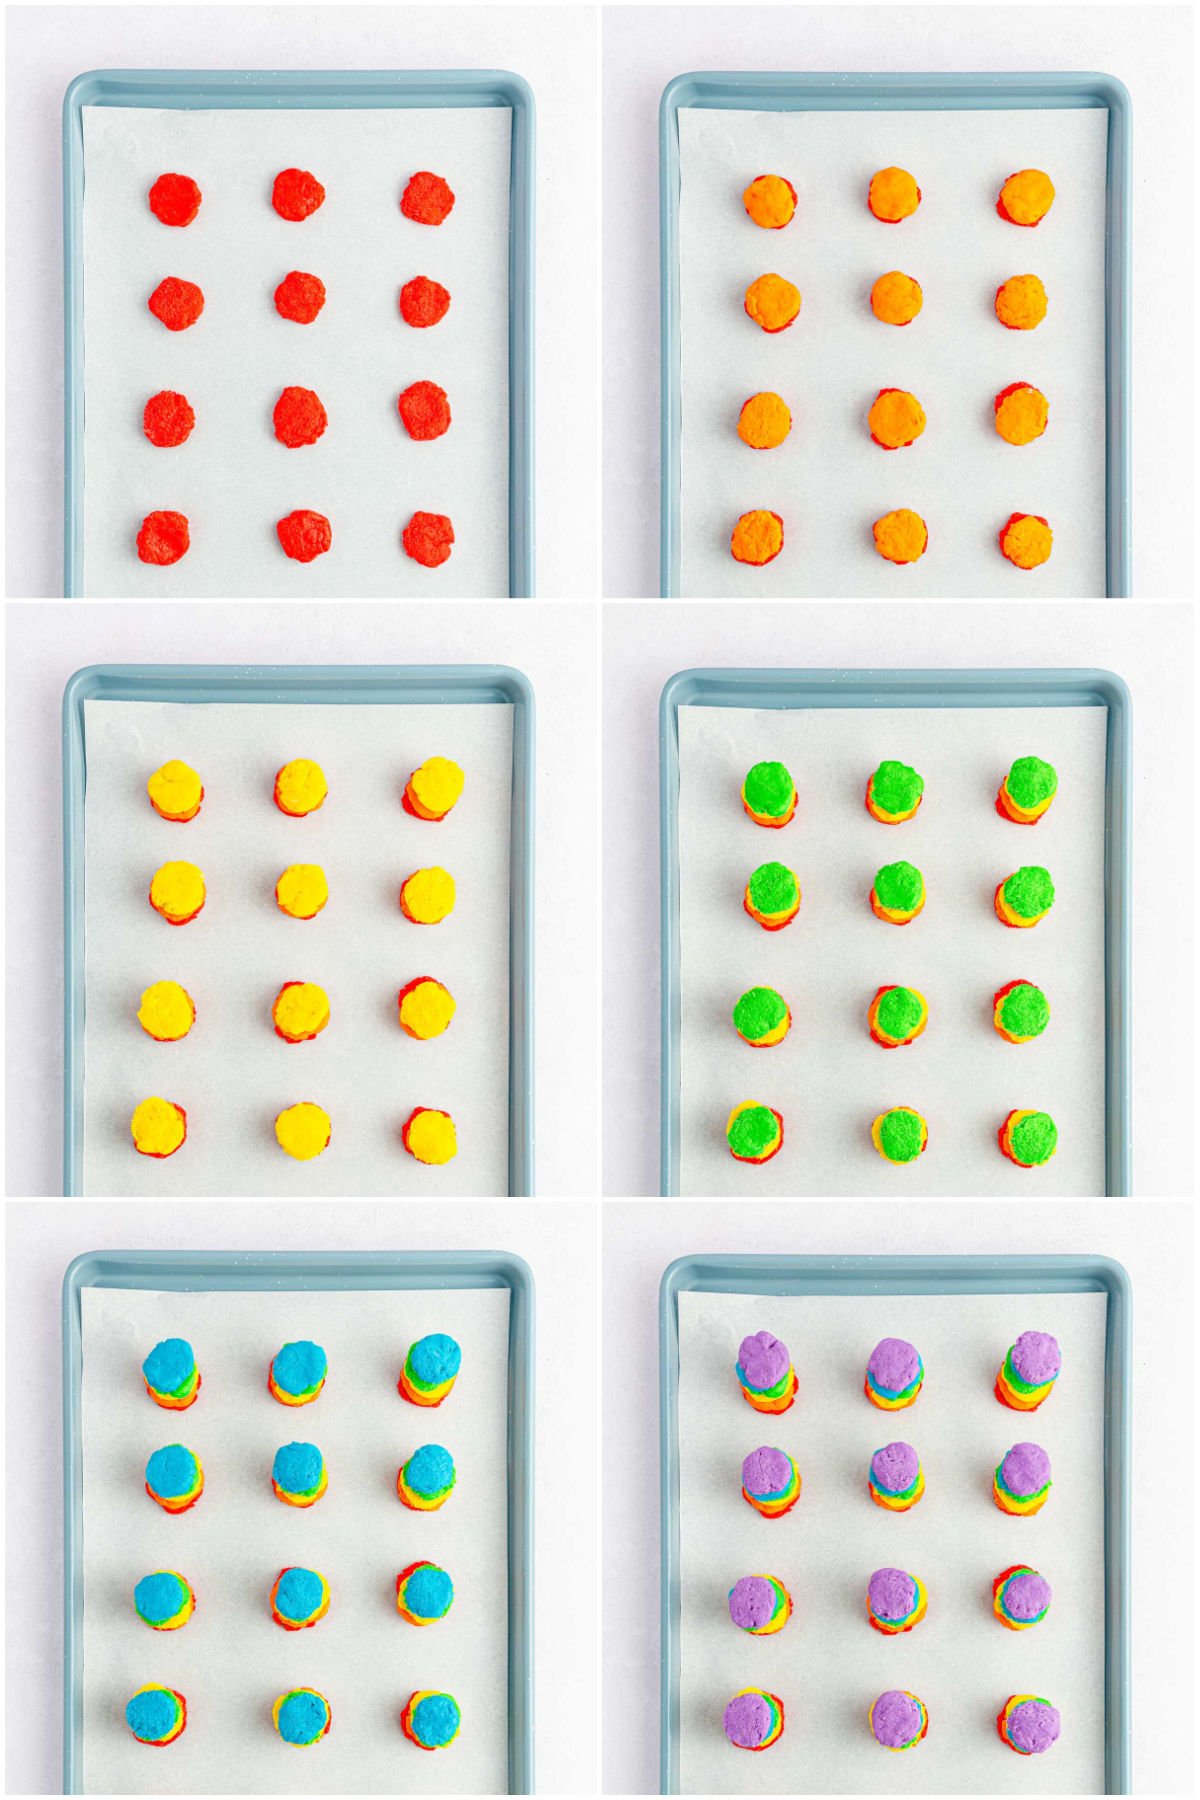
Take the dough out of the refrigerator after it has chilled. Start with the red dough and pull off about 1- 1 1/4 inch sized pieces and flatten them out with your fingers until about the size of a quarter. Place it onto the parchment paper and repeat until you are out of red dough.
Next, make an orange layer by doing the same thing as the red dough. Pull off 1- 1 1/4 inch pieces and flatten them with your finger and place each orange piece on top of the red dough.
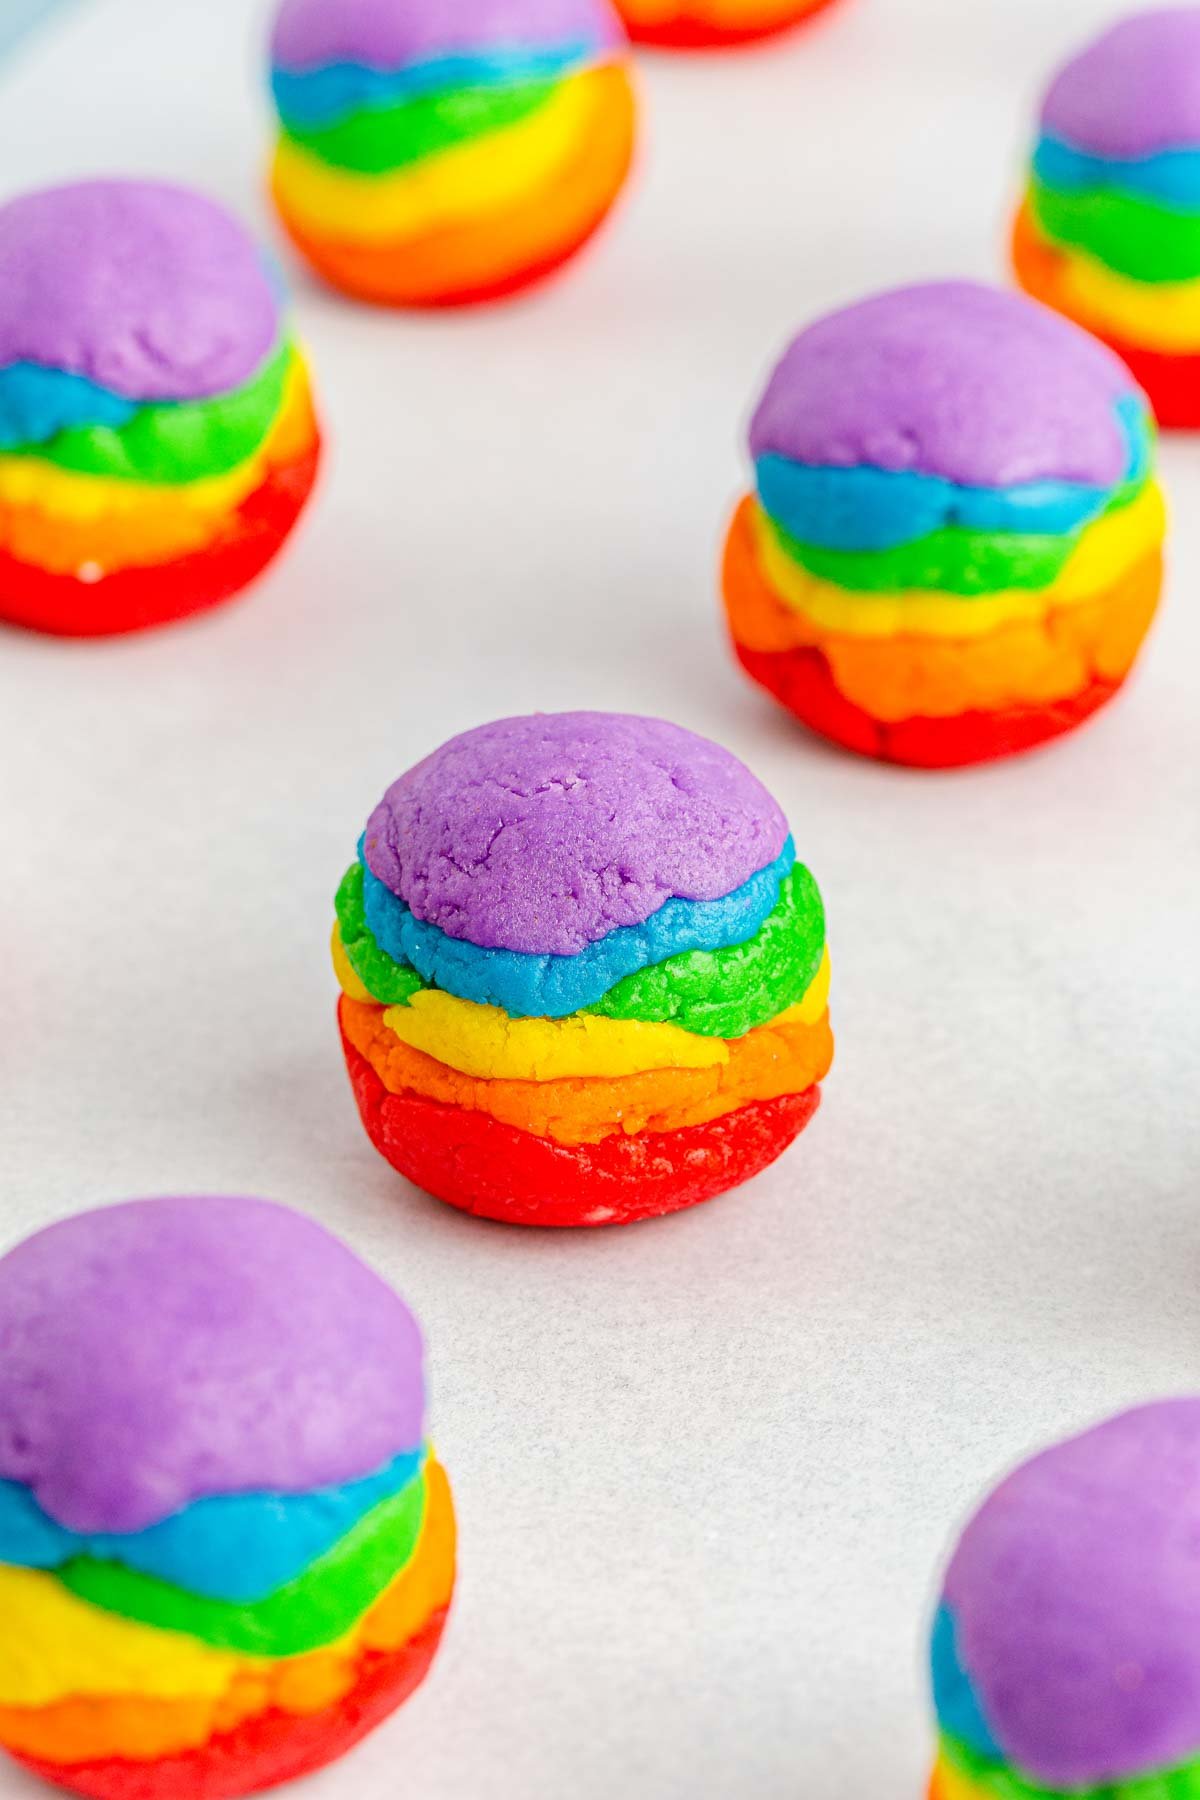
Continue stacking the colors in rainbow order red, orange, yellow, green, blue, and purple. The stacks should look colorful and be slightly smaller than the size of a golf ball.
Next, gently roll each stack of dough into a small ball and then place each one onto the prepared baking sheet. Place them in the fridge for another hour to set.
Make them Cake Pops!
If you want to make these into rainbow cake pops, melt a 1/4 cup of melting chocolate in a bowl. Then dip a cake pop stick into the melting chocolate then firmly press it into the bottom of the cake ball. Do this for all of the cake balls then put the entire sheet of cake pops back in the fridge for another hour to let the base of the stick harden before you dip them completely.
3 – Dip, Decorate, And Serve!
After the dough is chilled, melt the white chocolate melting wafers by placing thee melting wafers in a microwave-safe bowl and melting in 30-second increments, stirring in between increments, until melted and smooth.
Take the rainbow balls of dough out of the fridge. Put each ball of dough onto a fork (skip if you are making cake pops, just use the pop instead) and dip it into the melted wafers, letting excess chocolate drip off before placing the pop back on the parchment paper-lined cookie sheets.
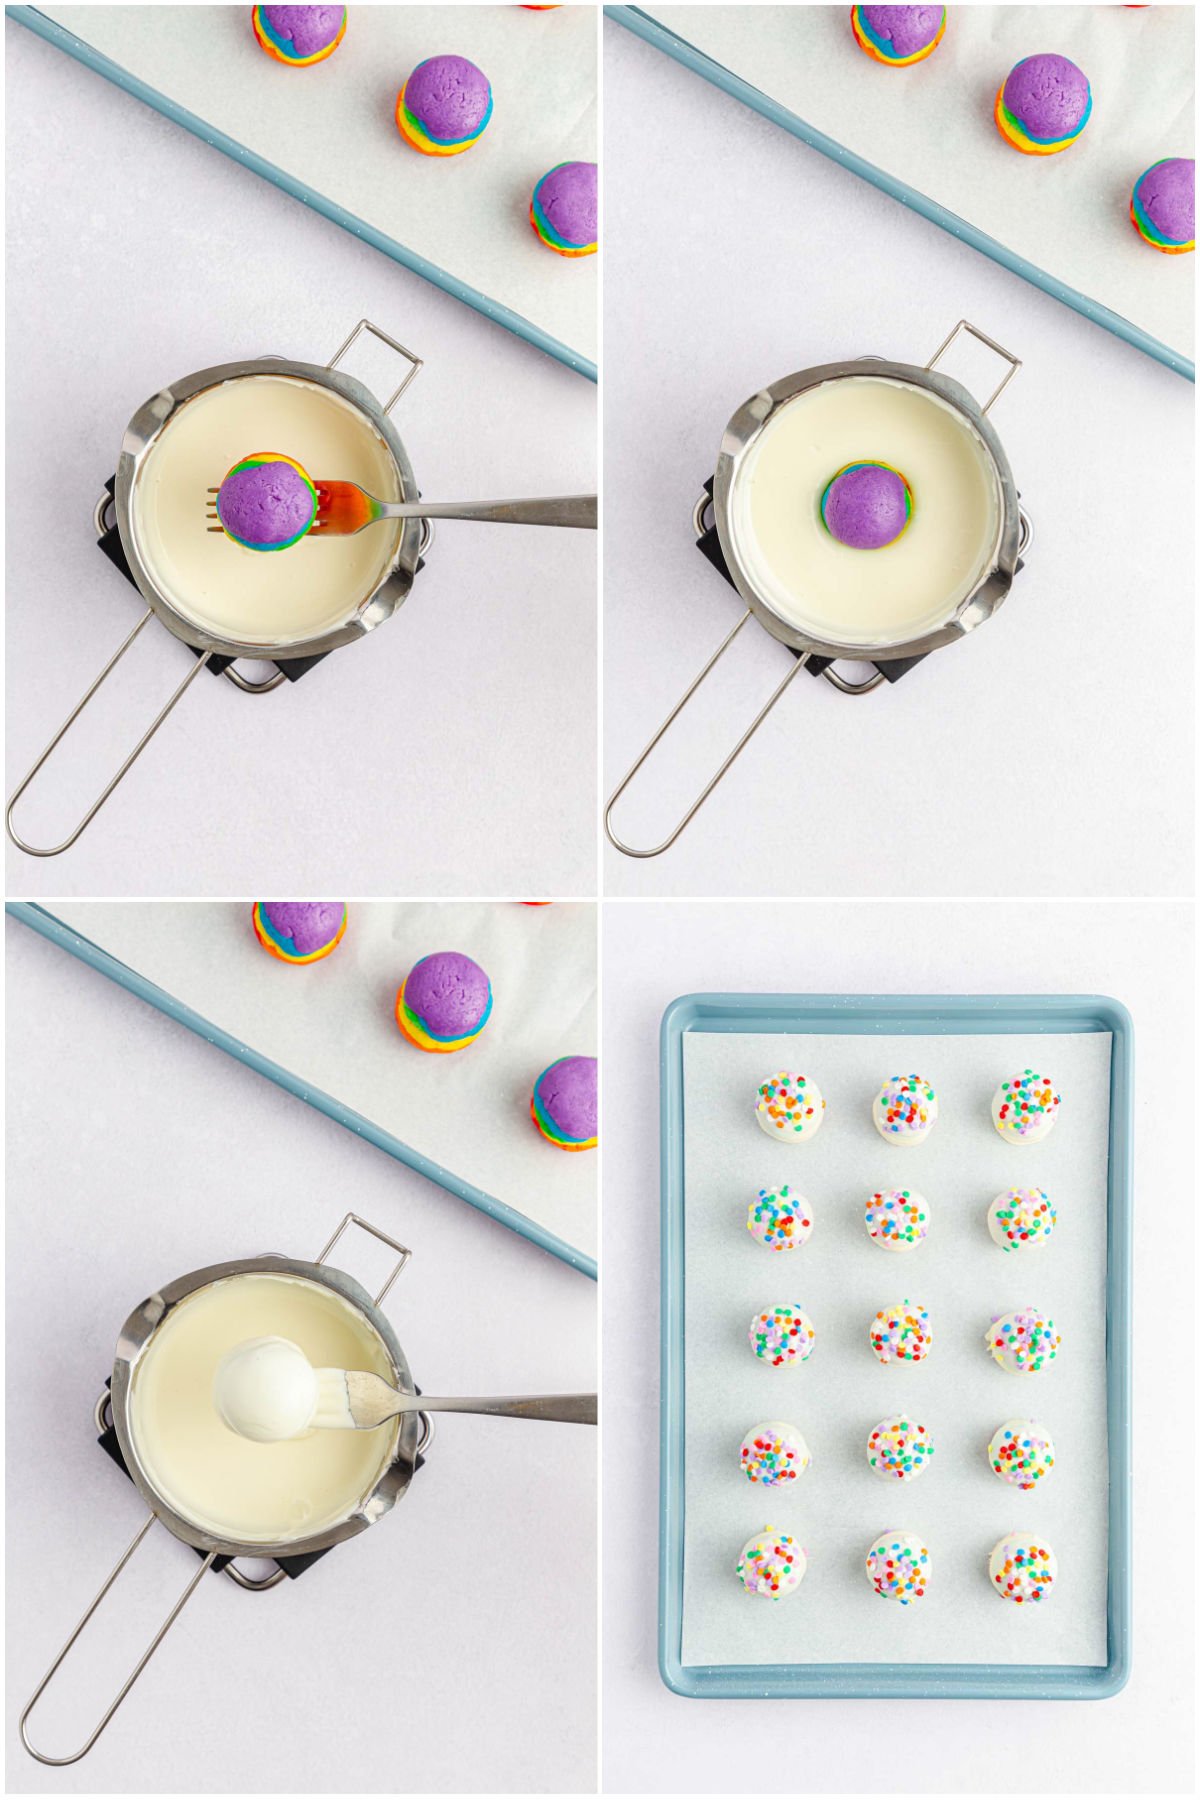
Cake Pops!
If you want to turn these into cake pops, you’ll want to have some sort of cake pop stand or a piece of styrofoam or something to put the cake pops into to dry (after they’ve been dipped). This will keep them in the cake pop shape you’re really looking for!
I find it is best to add sprinkles immediately, before you finish dipping them all, so the coating doesn’t dry out. You can probably get through at least a couple before the chocolate dries but don’t wait too long.
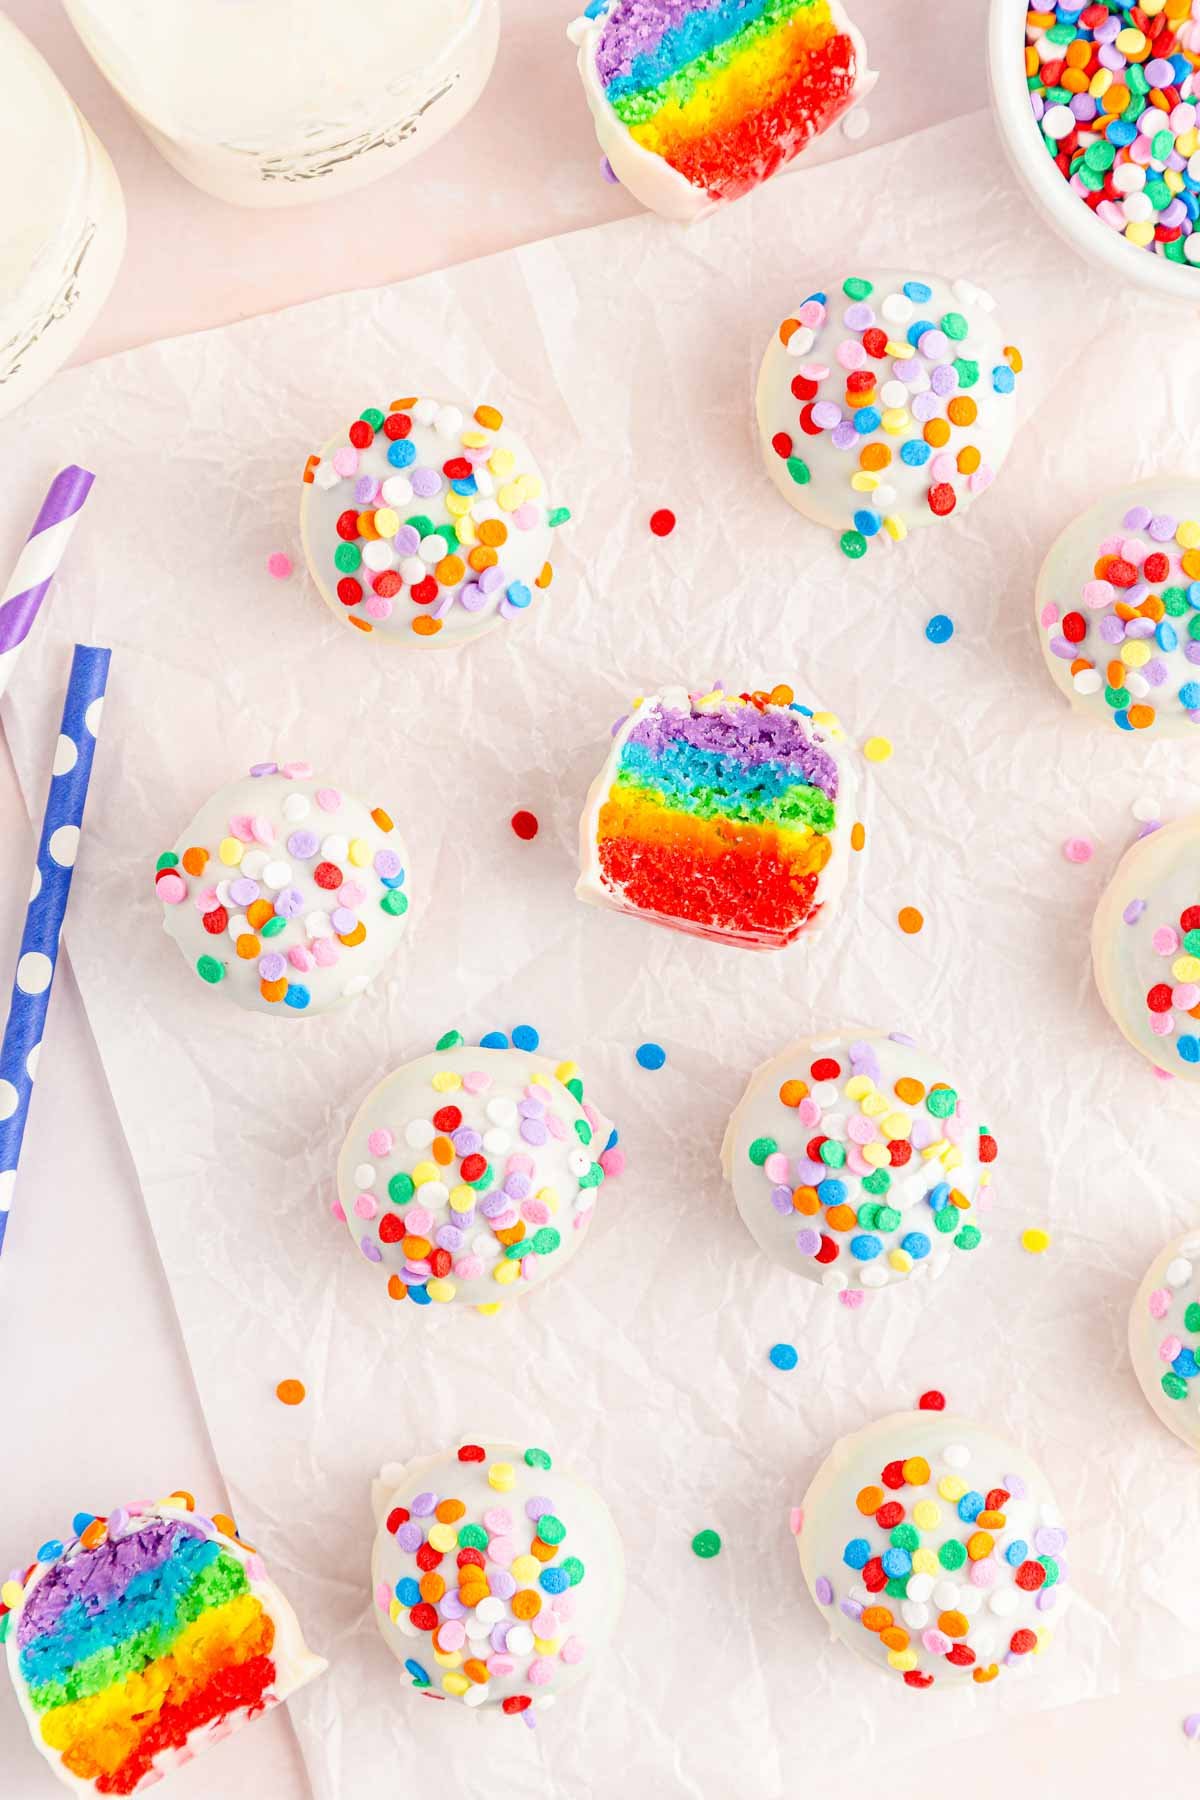
Let the coating set for about five to ten minutes and then they’re ready to serve! Everyone will love biting into the white chocolate balls to find the rainbow surprise inside!
Expert Tips And Storage Info
Keep it in the fridge until they are ready to be served. The dough can expand if left out too long which will crack the chocolate shell.
If you are making cake pops to get a round smooth finish, once dipped in chocolate place sticks in a styrofoam block or cake pop stand to set.
Adding a teaspoon of coconut oil will give the chocolate a glossier look.
Add a teaspoon of your favorite extract to the cake mix for added flavor.
Store in an airtight container in the fridge for up to five days.
Try it with different colors of cake for different themes. A pink ombre cake would be perfect for any of these girl baby shower themes or a blue ombre would be great for boy baby showers!
Recipe FAQs
Can you make cake balls the day before?
Yes, but make sure you keep them in the fridge so they don’t expand too much. You can also make the cake ball dough ahead of time and then dip them day of to avoid them growing.
How do you keep cake balls from falling apart?
Chilling the dough is the best way to ensure the balls stay together.
Can you freeze cake balls before dipping?
You can freeze the cake balls before dipping, but I don’t recommend freezing them for too long so they don’t expand as they thaw and break the outer chocolate shell. If you’re really in a hurry, you can freeze then dip, but I always recommend the chill in the refrigerator method for optimal results.
More Colorful Recipes
If you like fun and colorful food, make sure to try out these fun treats!
- Rainbow donuts – colorful breakfast treats topped with rainbow sprinkles!
- Birthday cake ice cream – a no-churn ice cream recipe that’s perfect for a colorful party!
- Ice cream bread – this 2-ingredient bread is easy to make and fun to eat!
- Dunkaroo dip – you can make either this yummy dessert dip or switch it out with this funfetti dip, both are great colorful options!
- Lucky Charms cookies – everyone will be feeling lucky when you serve up these rainbow colored treats!
Want more Goodies?
Want more delicious recipes just like this one? Enter your first name and email address in the form below to join the Play Party Plan community! You’ll receive weekly recipes and party ideas directly to your inbox!

Easy Rainbow Cake Pops (Balls)
Ingredients
- 15.25 oz box white or vanilla cake mix
- 8 oz block cream cheese
- Gel food coloring red, orange, yellow, green, blue, and purple
- 2 (10 oz) bags Ghirardelli vanilla melting wafers
- rainbow sprinkles
Instructions
- Preheat the oven to 350 degrees. Then line a baking sheet with parchment paper.
- Pour the dry cake mix out onto the baking sheet and bake in the preheated oven for 5 minutes. Then take the baking sheet out of the oven and let it cool on a cooling rack.15.25 oz box white or vanilla cake mix
- In a medium mixing bowl add in the cream cheese and beat with a hand mixer until creamy.8 oz block cream cheese
- Add in the cake mix to the cream cheese and beat on medium speed until it’s fully combined.
- Divide the batter into 6 equal portions and separate each ball into 6 separate bowls.
- Add the different food coloring gels into the separated balls of dough, then mix until the dough is fully colored. Add a few drops red to one bowl, a few drops of orange to one bowl, a few drops of yellow to one bowl, and repeat with green, blue, and purple.Gel food coloring red, orange, yellow, green, blue, and purple
- Cover each bowl with plastic wrap and place them in the fridge for an hour.
- Prepare another baking sheet with parchment paper.
- Start with the red dough and pull off about 1- 1 1/4 inch sized pieces and flatten them out with your fingers. Place it onto the parchment paper and repeat until you are out of red dough.
- Make an orange layer by doing the same thing as you did with the red. Pull off 1- 1 1/4 inch pieces and flatten them with your finger and place each orange piece on top of the red dough. Continue stacking the colors in rainbow order red, orange, yellow, green, blue, purple.
- Gently roll each stack of dough into a ball and then place each one onto the baking sheet. Place them in the fridge for another hour to set.
- Place the melting wafers in a microwave safe bowl and melt in 30 second increments until melted.2 (10 oz) bags Ghirardelli vanilla melting wafers
- Take the rainbow balls of dough out of the fridge. Put each ball of dough onto a fork and dip it into the melted wafers to coat each one. Then place the balls back onto the baking sheet. Immediately add sprinkles on top.rainbow sprinkles
- Let the wafers dry then serve!




Leave a Reply